
AZZUNO AZZUNO 250A MIG Welder
AZZUNO 250A Multi-Process Welding Machine User Manual
Model: AZZUNO 250A MIG Welder
Brand: AZZUNO
1. Safety Information
Always prioritize safety when operating welding equipment. Failure to follow safety guidelines can result in serious injury or death.
- Eye and Face Protection: Always wear a welding helmet with appropriate shade lenses to protect against arc flash and sparks.
- Body Protection: Wear flame-resistant clothing, welding gloves, and safety shoes. Avoid synthetic fabrics.
- Ventilation: Ensure adequate ventilation to remove welding fumes. Use a fume extractor if necessary.
- Electrical Safety: Never operate the welder in wet conditions. Ensure proper grounding. Do not touch live electrical parts.
- Fire Prevention: Keep a fire extinguisher nearby. Remove flammable materials from the welding area.
- Work Area: Keep the work area clean and free of clutter. Ensure stable footing.
2. Product Overview
The AZZUNO 250A Multi-Process Welding Machine is a versatile 6-in-1 welding solution designed for various metal fabrication tasks. It supports multiple welding processes, offering flexibility for both beginners and experienced welders.

Key Features:
- 6-in-1 Functionality: Includes Gas (Solid Wire) MIG, Gasless (Flux Core) MIG, Stick/MMA, Spot welding, Lift TIG, and Spool Gun compatibility.
- Synergic & Manual Control: Digital control system automatically recommends current and wire feed speed based on wire diameter and material, with an option for manual adjustments.
- Wide Material Compatibility: Capable of welding stainless steel, iron, copper, and aluminum.
- Dual Voltage Input: Operates on both 110V and 220V power supplies.
- Large LED Display: Provides clear and easy-to-read welding parameters.

3. Components and Accessories
The AZZUNO 250A MIG Welder comes with essential accessories to get you started. Please check the package contents upon arrival.

- Ground Clamp
- Electrode Holder
- Gas Hose
- Contact Tips (x4)
- Teflon Feed Liner
- Drive Roller (x2)
- MIG Torch (15AK)
- 100V->200V Adapter
- Hammer
Note: TIG gun and spool gun are not included and must be purchased separately if desired for those welding processes.
4. Setup and Installation
Proper setup is crucial for safe and effective welding. Follow these steps for different welding modes.
4.1 Power Connection
- Ensure the welder is turned off before connecting to power.
- Connect the power cord to a suitable 110V or 220V power outlet. Use the provided adapter for 220V if needed.
- Verify the power source meets the welder's requirements.
4.2 Wire Installation (MIG/Flux Core)
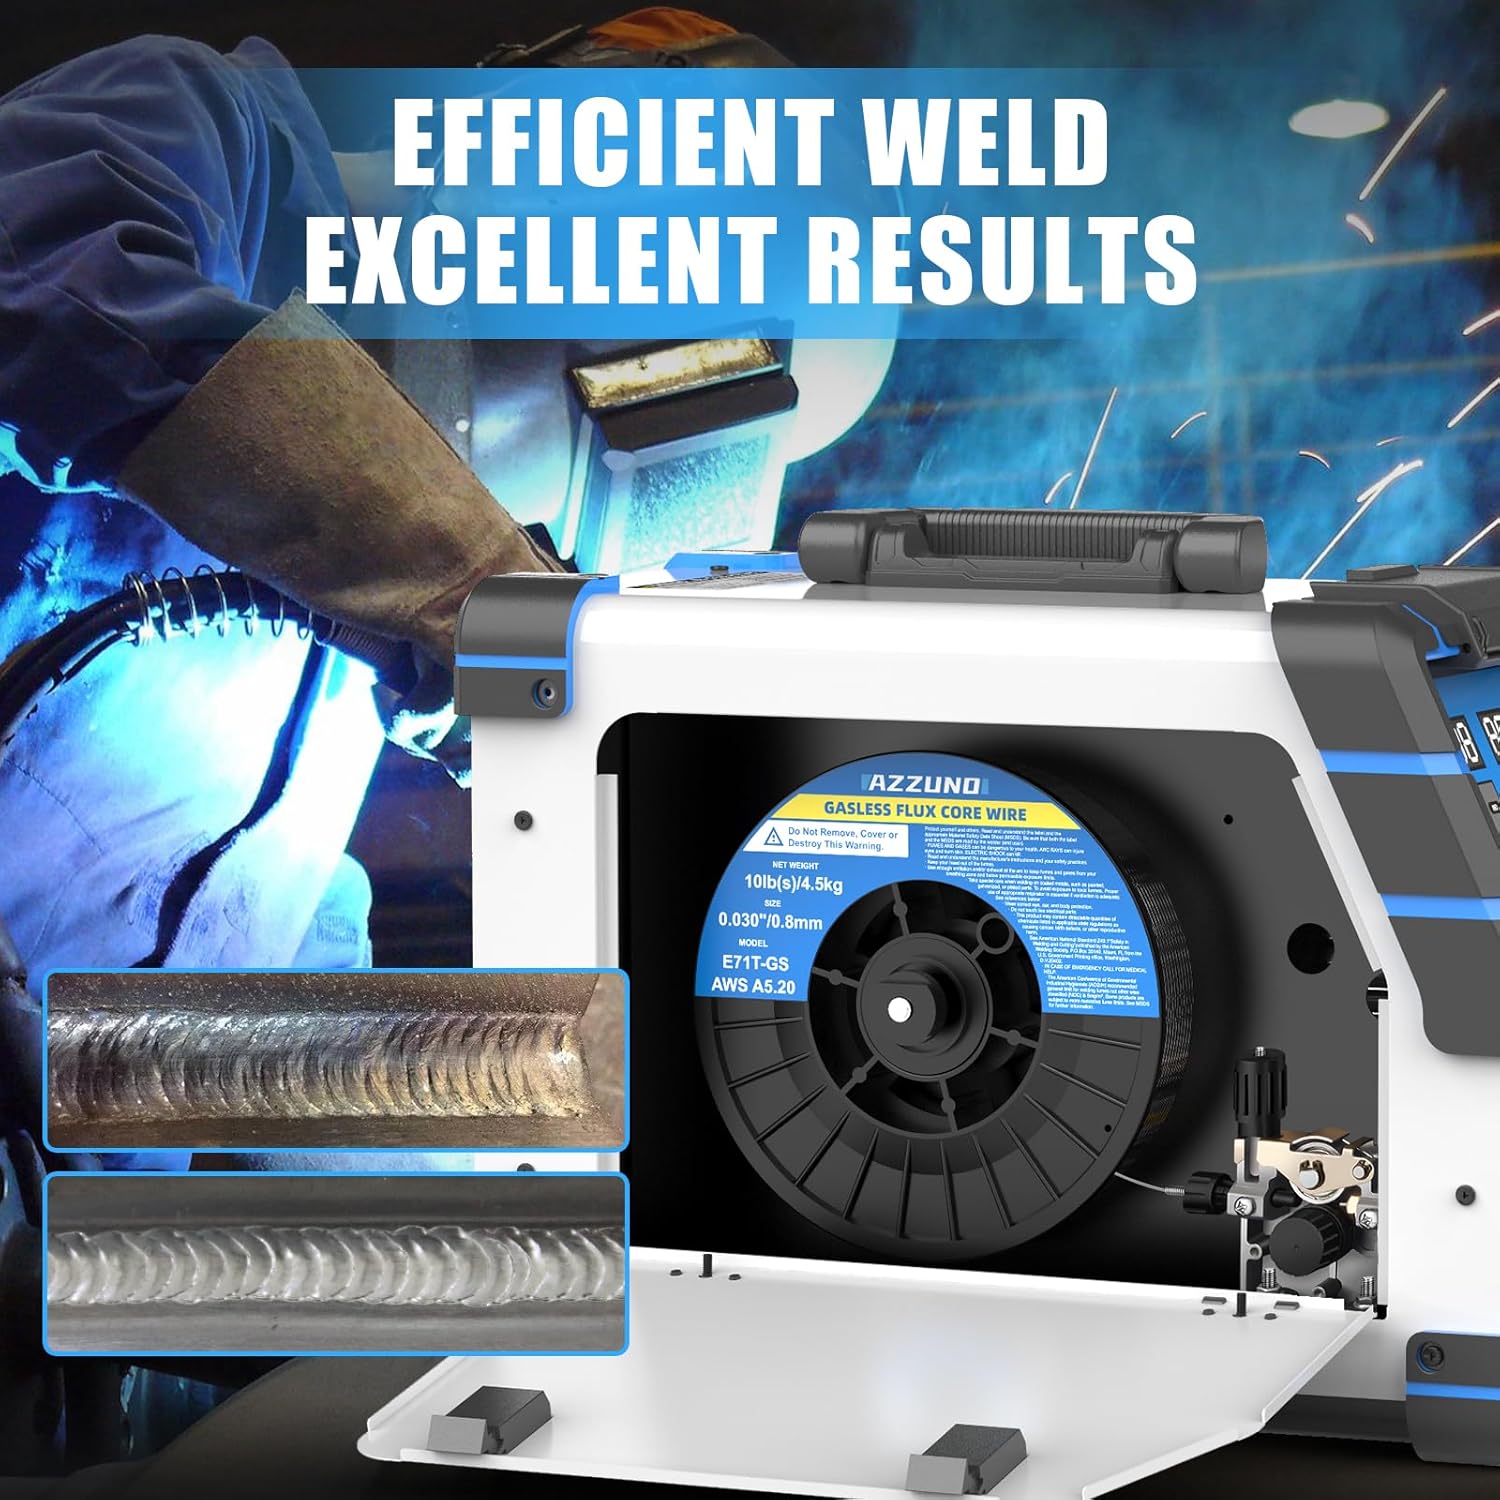
This welder supports 10LBS spools of welding wire.

- Open the wire feeder compartment.
- Place the wire spool onto the spindle, ensuring it rotates freely.
- Thread the wire through the guide tube and into the drive rollers.
- Close the drive roller tension arm and adjust tension as needed.
- Feed the wire through the MIG torch liner until it exits the contact tip.
- For aluminum welding, install the Teflon wire feed tube or use a spool gun.
4.3 Connection Diagrams for Different Modes

- Lift TIG: Connect TIG torch (not included) to the appropriate terminal, ground clamp to workpiece.
- Spool Gun (Gasless MIG): Connect spool gun (not included) to the dedicated port, ground clamp to workpiece.
- Spool Gun (Gas MIG): Connect spool gun and gas hose to the dedicated ports, ground clamp to workpiece.
- Stick (MMA): Connect electrode holder and ground clamp to their respective terminals.
- Flux MIG (Gasless): Connect MIG torch and ground clamp. Ensure correct polarity for flux core wire.
- Gas MIG: Connect MIG torch, gas hose to gas inlet, and ground clamp.

5. Operating Instructions
This section details how to operate your AZZUNO 250A welding machine.
5.1 Control Panel Overview
The large LED display and control knobs allow for precise setting adjustments.
- Mode Selection: Use the 'MODE' button to cycle through welding processes (MIG, MMA, Lift TIG, Spot).
- Synergic/Manual Control: Toggle between synergic mode (automatic parameter matching) and manual mode for custom settings.
- Voltage/Current Adjustment: Use the 'VOLTAGE' knob to adjust voltage and the 'A : MMA/TIG/+' knob to adjust current or other parameters depending on the selected mode.
- Wire Feed Speed: In MIG modes, the wire feed speed is often synergically linked to current or can be adjusted manually.
- Material Selection: Select the type of material (Fe+CO2, Fe+MIX, SS+MIX, Al+Ar, Cu+Ar) for optimized synergic settings.
5.2 Welding Different Materials
The AZZUNO 250A is capable of welding various metals:
- Stainless Steel & Iron: Use appropriate MIG wire or stick electrodes.
- Copper & Aluminum: For aluminum, ensure proper setup with a Teflon wire feed tube or a spool gun for best results. Use 100% Argon shielding gas for MIG aluminum welding.
6. Maintenance
Regular maintenance ensures the longevity and optimal performance of your welding machine.
- Cleaning: Regularly clean the machine's exterior with a dry cloth. Use compressed air to blow out dust from inside the machine (ensure power is disconnected).
- Wire Feeder: Inspect and clean the drive rollers and wire guide tubes periodically. Replace worn contact tips and liners.
- Cables and Connections: Check all cables for damage (cuts, fraying) and ensure connections are tight.
- Storage: Store the welder in a dry, clean environment, away from excessive dust and moisture.
7. Troubleshooting
This section provides solutions to common issues you might encounter.
| Problem | Possible Cause | Solution |
|---|---|---|
| No Arc/Poor Arc | Improper ground connection, wrong settings, worn contact tip, power issue. | Check ground clamp connection. Verify welding parameters. Replace contact tip. Ensure adequate power supply. |
| Wire Feeding Issues | Incorrect drive roller tension, clogged liner, wrong drive roller size, tangled wire. | Adjust drive roller tension. Clean or replace liner. Use correct drive rollers for wire size. Untangle wire spool. |
| Overheating | Exceeding duty cycle, poor ventilation, blocked fan. | Allow machine to cool down. Ensure proper airflow around the welder. Clean fan vents. |
| Excessive Spatter | Incorrect voltage/wire feed speed, dirty workpiece, wrong gas/polarity. | Adjust settings. Clean workpiece thoroughly. Verify correct gas and polarity for the process. |
8. Specifications
Technical specifications for the AZZUNO 250A MIG Welder and included Flux Core Wire.
| Feature | Detail |
|---|---|
| Model | AZZUNO 250A MIG Welder |
| Welding Processes | Gas MIG, Gasless Flux Core MIG, Stick/MMA, Spot Welding, Lift TIG, Spool Gun Compatible |
| Input Voltage | 110V/220V |
| Max Current | 250A |
| Control Type | Synergic & Manual |
| Display | Large LED Display |
| Wire Spool Capacity | Up to 10 LBS |
Included Flux Core Welding Wire Specifications:

| Feature | Detail |
|---|---|
| Wire Model | AWS E71T-GS |
| Wire Diameter | .030" (0.8mm) |
| Net Weight | 10 LBS (4.5 kg) |
| Polarity | DCEN (Direct Current Electrode Negative) |
9. Warranty and Support
AZZUNO products are designed for durability and performance. For specific warranty details and customer support, please refer to the warranty card included with your product or visit the official AZZUNO website.
For technical assistance, troubleshooting beyond this manual, or parts inquiries, please contact AZZUNO customer service through the contact information provided on the official website or your purchase platform.
Related documentsAZZUNO 250A MIG Welder


Ask a question about this manual
Ask about setup, troubleshooting, compatibility, parts, safety, or missing instructions. Manuals+ will review the question and use this page’s manual context to help answer it.