
Mycket 012-2402B
Mycket Star Projector Instruction Manual
Model: 012-2402B | Brand: Mycket
1. Introduction
Thank you for purchasing the Mycket Star Projector. This device combines a galaxy projector, night light, and Bluetooth speaker to create a relaxing and immersive environment. Please read this manual thoroughly before use to ensure proper operation and to maximize your experience.
2. What's in the Box
Verify that all components are present in the package:
- 1 x Mycket Snail Galaxy Star Projector
- 1 x Remote Control (with 1 AAA battery included)
- 1 x USB Cable (Type-C)
- 1 x User Manual

Image: Packaging contents showing the snail projector, remote control, USB cable, and user manual.
3. Safety Information
- Do not look directly into the projector light source to avoid eye strain.
- Keep the device away from water or other liquids.
- Do not disassemble or attempt to repair the device yourself. Contact customer support for assistance.
- Use only the provided USB cable for power.
- Keep out of reach of small children to prevent choking hazards from small parts (e.g., remote battery).
- Ensure proper ventilation; do not cover the device during operation.
4. Product Features
- Dual Projection Lenses: Projects both northern lights (aurora) and star light effects.
- Multiple Light Modes: Offers various aurora effects, star mode, and combined aurora + star modes.
- Adjustable Brightness: 5 levels of brightness (20%, 40%, 60%, 80%, 100%).
- Adjustable Rotation Speed: 4 levels of speed (Stop, Slow, Medium, Fast).
- Built-in Bluetooth Speaker: Connects to your device via Bluetooth for audio playback.
- Music Rhythm Mode: Synchronizes light effects with music beats.
- Timer Function: Automatic shut-off options for 1 or 2 hours, or default 4-hour auto-off.
- Remote Control: Full control over all functions.
- Snail Design: Unique and appealing aesthetic.

Image: Overview of the snail-shaped projector highlighting its key features.
5. Setup
- Unpack: Carefully remove the projector and all accessories from the packaging.
- Power Connection: Connect the provided USB cable to the Type-C charging port on the projector. Plug the other end into a standard USB power adapter (not included) or a compatible USB port. The projector will power on automatically.
- Remote Control Battery: The remote control comes with one AAA battery pre-installed. Remove the plastic tab from the battery compartment if present to activate it.
- Placement: Place the projector on a stable, flat surface. For optimal projection, position it in a dark room, facing a ceiling or wall.

Image: Detailed view of the projector's control buttons and the remote control functions.
6. Operating Instructions
6.1 Power On/Off
- Power On: Connect the USB cable. The projector will turn on automatically. Alternatively, press the Power Button on the remote or the unit.
- Power Off: Press the Power Button on the remote or the unit.
6.2 Light Modes
The projector offers various light modes, controlled via the remote or the unit's buttons.
- Star Light Mode: Press the Star Light Mode button on the remote or the unit to activate the star projection.
- Northern Lights (Aurora) Mode: Press the Northern Lights Mode button on the remote or the unit to activate the aurora projection. You can cycle through different aurora colors (Red, Green, Blue, White) using the corresponding buttons on the remote (R, G, B, W).
- Combined Mode: Activate both Star Light and Northern Lights modes simultaneously for a combined effect.

Image: Examples of different light modes: star, aurora, and combined effects.
6.3 Brightness Adjustment
Adjust the brightness of the projection using the remote control.
- Press the Brightness Adjustment button on the remote to cycle through 5 brightness levels (20%, 40%, 60%, 80%, 100%).
6.4 Rotation Speed
Control the rotation speed of the projected lights.
- Press the Speeds Up or Speeds Down buttons on the remote to adjust the rotation speed (Stop, Slow, Medium, Fast).
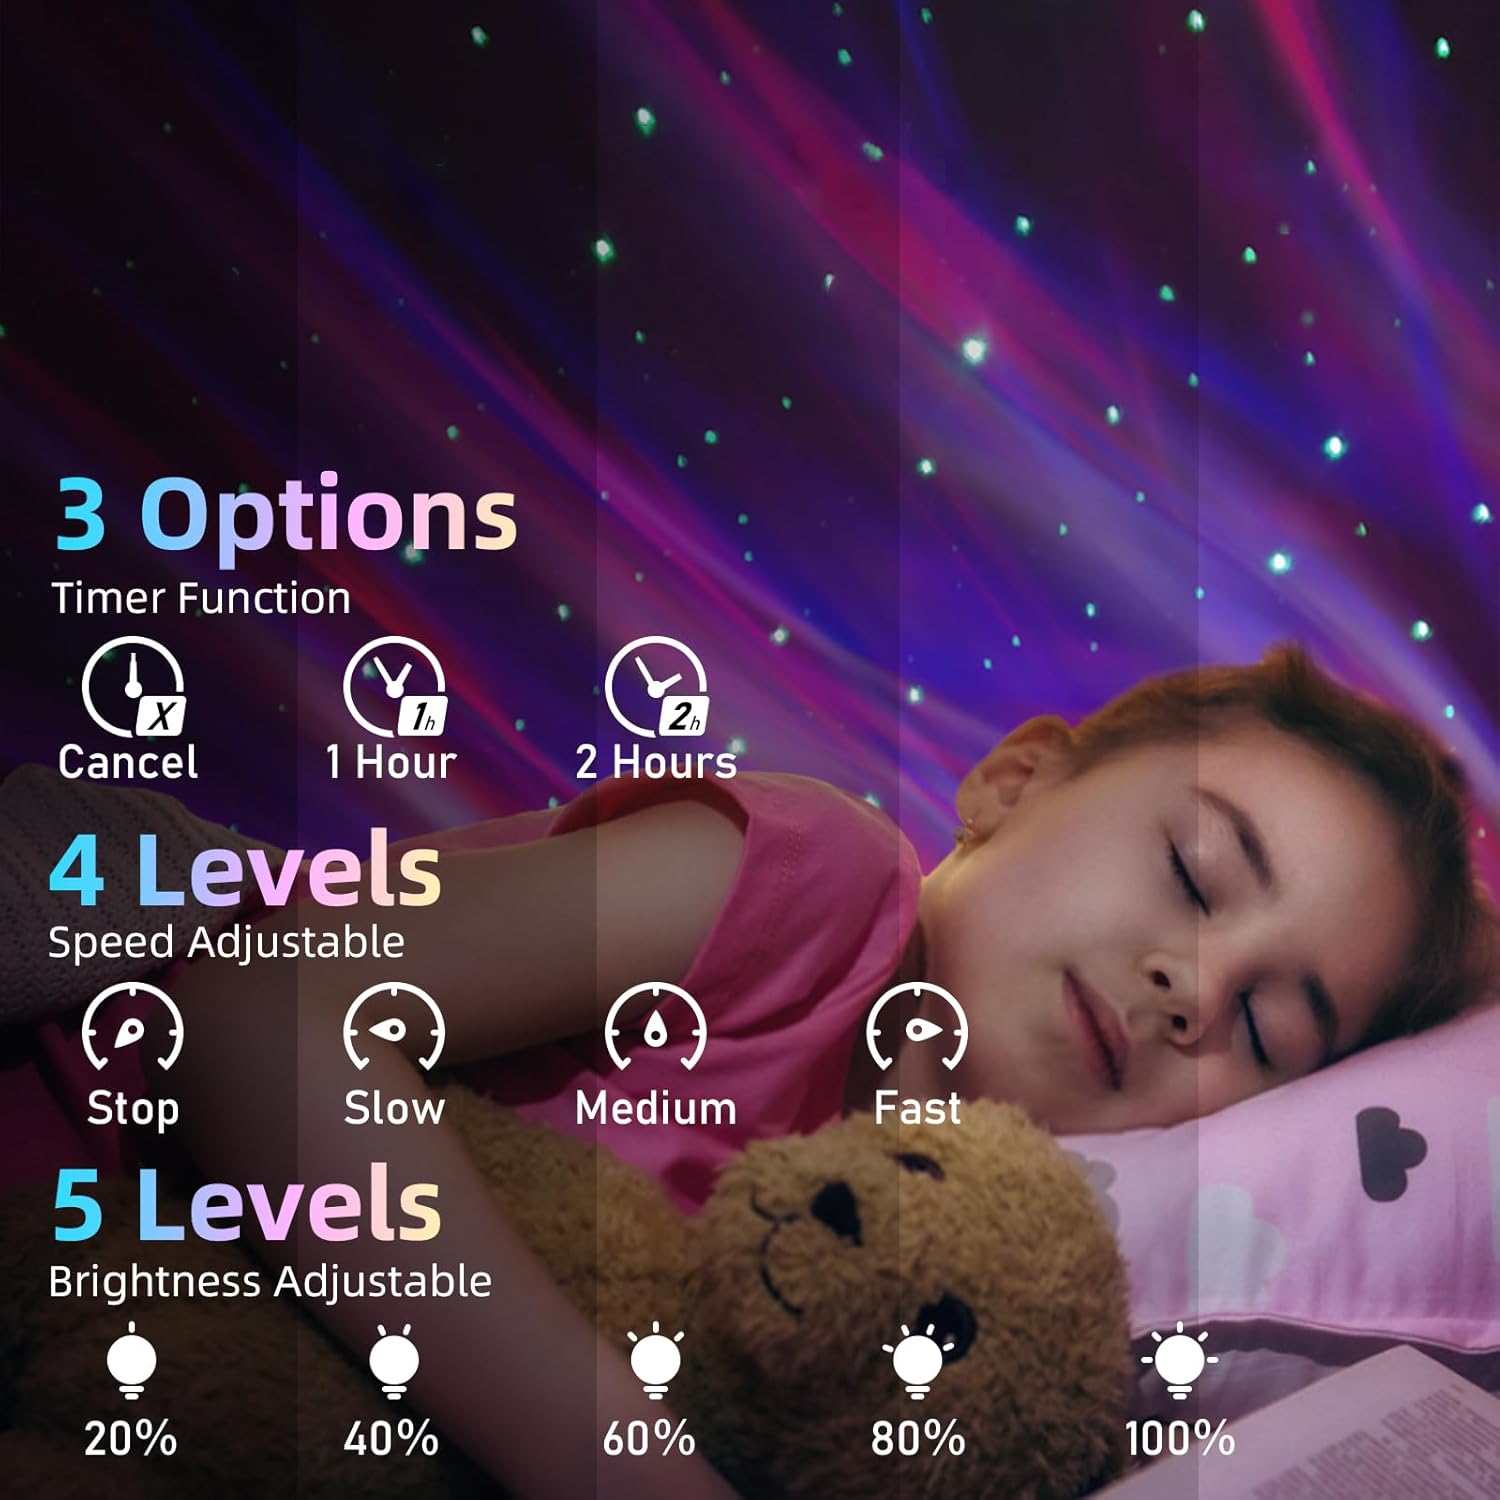
Image: Visual guide for timer, speed, and brightness settings.
6.5 Bluetooth Speaker Pairing
Connect your mobile device to the projector's built-in Bluetooth speaker.
- Ensure the projector is powered on.
- On your mobile device, enable Bluetooth and search for available devices.
- Select "XB2308" from the list of devices to pair.
- Once connected, you can play audio through the projector's speaker.

Image: Bluetooth speaker functionality with a connected smartphone.
6.6 Music Rhythm Mode
Activate this mode to synchronize the light effects with the beat of your music.
- After connecting via Bluetooth and playing music, press the Music Rhythm Mode button on the remote to enable this feature.
6.7 Timer Function
Set the projector to automatically turn off after a specified time.
- Press the 1 Hour Timing button on the remote for a 1-hour shut-off.
- Press the 2 Hour Timing button on the remote for a 2-hour shut-off.
- To cancel the timer, press the Cancel Timer button.
- If no timer is set, the projector will automatically turn off after 4 hours of continuous operation.
7. Maintenance
- Cleaning: Use a soft, dry cloth to wipe the surface of the projector. Do not use abrasive cleaners or solvents.
- Storage: When not in use for extended periods, store the projector in a cool, dry place, away from direct sunlight.
- Lens Care: Gently clean the projection lenses with a lens cleaning cloth to maintain clear projection quality.
8. Troubleshooting
8.1 Projector Does Not Turn On
- Ensure the USB cable is securely connected to both the projector and the power source.
- Verify that the power adapter or USB port is functional.
- Check if the remote control battery is inserted correctly and has power.
8.2 Lights Are Dim or Not Projecting Clearly
- Adjust the brightness settings using the remote control.
- Ensure the room is sufficiently dark for optimal projection.
- Clean the projection lenses with a soft cloth.
- Adjust the projector's position and distance from the projection surface.
8.3 Bluetooth Speaker Not Connecting
- Ensure the projector is powered on.
- Make sure Bluetooth is enabled on your mobile device.
- Check that you are selecting the correct device name: "XB2308".
- Move your mobile device closer to the projector.
- If previously paired, try unpairing and re-pairing the device.
8.4 Remote Control Not Working
- Ensure the remote control has a working AAA battery and the plastic tab is removed.
- Point the remote directly at the projector's infrared receiver.
- Ensure there are no obstructions between the remote and the projector.
8.5 Projector Turns Off Unexpectedly
- Check if a timer (1-hour or 2-hour) is activated. Cancel the timer if continuous operation is desired.
- The projector has an automatic 4-hour shut-off feature if no timer is manually set. This is normal operation.
9. Specifications
| Model Number | 012-2402B |
| Dimensions (L x W x H) | 5.83"D x 3.94"W x 4.8"H (approx. 14.8cm x 10cm x 12.2cm) |
| Item Weight | 13 ounces (approx. 368g) |
| Material | Plastic |
| Power Source | Corded Electric (USB) |
| Wattage | 4 watts |
| Light Source Type | LED (Star Light, Aurora) |
| Control Method | Remote, Touch Buttons |
| Remote Battery | 1 x AAA (included) |
| Bluetooth Name | XB2308 |
| Indoor/Outdoor Usage | Indoor |
10. Warranty and Support
10.1 Limited Warranty
Mycket products are designed and manufactured to the highest quality standards. This product is covered by a limited warranty from the date of purchase against defects in materials and workmanship. Please retain your proof of purchase for warranty claims. This warranty does not cover damage caused by misuse, accident, unauthorized modification, or normal wear and tear.
10.2 Customer Support
If you encounter any issues or have questions regarding your Mycket Star Projector, please contact our customer support team. For the fastest service, please have your model number (012-2402B) and purchase information ready.
Contact Information:
- Email: [Insert Customer Support Email Here]
- Website: Mycket Official Store on Amazon
Ask a question about this manual
Ask about setup, troubleshooting, compatibility, parts, safety, or missing instructions. Manuals+ will review the question and use this page’s manual context to help answer it.