1. Introduction
This manual provides detailed instructions for the installation, operation, and maintenance of your EMKE Rain Shower System. Please read this manual thoroughly before installation and use to ensure proper function and safety.

Image 1.1: Overview of the EMKE Rain Shower System with its main components.
2. Safety Information
Your safety is paramount. This shower system incorporates several features to ensure a safe and comfortable experience:
- Child Safety Lock: The system includes a child safety feature to prevent accidental scalding.
- Constant Temperature Control: Maintains a constant water temperature of 38°C (100.4°F) to prevent sudden temperature fluctuations.
- KTW Certified: The product is KTW certified, ensuring compliance with strict hygiene and material standards for drinking water contact.
Warning: Always test water temperature before stepping into the shower, especially when children or individuals with reduced sensitivity are using it.
3. Product Features
The EMKE Rain Shower System is designed with advanced features for an enhanced showering experience:
- LED Display: Real-time water temperature display for precise control.
- Integrated Glass Shelf: A 40 cm wide shelf provides convenient storage for shower essentials.
- Thermostatic Mixer: Ensures a consistent water temperature.
- Rain Shower Head: A large 40 cm rain shower head provides a wide, even water flow.
- Parent and Child Hand Showers: Includes a standard hand shower and a smaller, adjustable hand shower suitable for children or individuals with limited mobility.
- Warm Start Function: Pre-heats water to the desired temperature before you enter the shower, eliminating cold bursts.
- Dechlorination Filter: Improves water quality for a softer feel on the skin.
- 3-in-1 Hand Shower Modes: Offers Jet Spray, Massage, and Spray modes for varied preferences.
- Hidden Waterfall Spout: A concealed lower spout provides a gentle, splash-free water flow.
4. Setup and Installation
The EMKE Rain Shower System is designed for straightforward wall-mounted installation. It is recommended to have basic plumbing knowledge or consult a professional for installation.
4.1. Before You Begin
- Ensure all components are present as listed in the packing contents.
- Turn off the main water supply to your bathroom.
- Gather necessary tools. A basic installation kit is included, but additional tools like a level, drill, and sealant may be required.
4.2. Installation Steps
- Prepare Wall Connections: Ensure your existing hot and cold water connections are clean and ready for the new system. If replacing an old system, remove it carefully.
- Mount the Main Bar: Securely attach the main shower bar to the wall using the provided mounting hardware. Ensure it is level and at the desired height. The total length of the system is 113 cm.
- Connect Water Lines: Connect the hot and cold water lines to the thermostatic mixer. Use appropriate sealing materials (e.g., plumber's tape or hemp with sealing paste) to prevent leaks.
- Install Shower Heads and Hoses: Attach the rain shower head, standard hand shower, and child hand shower to their respective connections. Connect the shower hoses.
- Insert Batteries (if applicable): The LED display and Warm Start function require 4x AA batteries (not included). Insert them into the designated compartment in the faucet.
- Test for Leaks: Slowly turn on the main water supply and check all connections for leaks. Tighten any leaking connections.
- Calibrate Warm Start Button: After inserting batteries, press and hold the "Warm for You" button near the faucet until an audible tone confirms connection.

Image 4.1: Close-up of the control panel, showing the shelf, child lock, LED display, and dechlorination filter.
5. Operating Instructions
5.1. Water Flow and Temperature Control
- Temperature Adjustment: Use the thermostatic knob to set your desired water temperature. The LED display will show the current temperature. The system is preset to a maximum of 38°C for safety.
- Flow Control: Use the other knob to control the water flow and switch between the different water outlets (rain shower, hand shower, lower spout).
5.2. Warm Start Function

Image 5.1: Activating the Warm Start function to pre-heat water.
Press the "Warm for You" button to activate the pre-heating function. This will run cold water out of the lower spout until the desired temperature is reached, ensuring a warm shower from the moment you step in.
5.3. Rain Shower Head

Image 5.2: The generous 36 cm rain shower head provides a wide, even spray.
Select the rain shower option using the flow control knob for a wide and gentle water distribution.
5.4. Hand Showers

Image 5.3: The continuously adjustable hand shower and the concealed lower spout.
- Standard Hand Shower: Adjust its height and angle on the shower bar.
- Child Hand Shower: This smaller hand shower is designed for easy use by children or those with limited mobility. It features a soft, continuous spray.
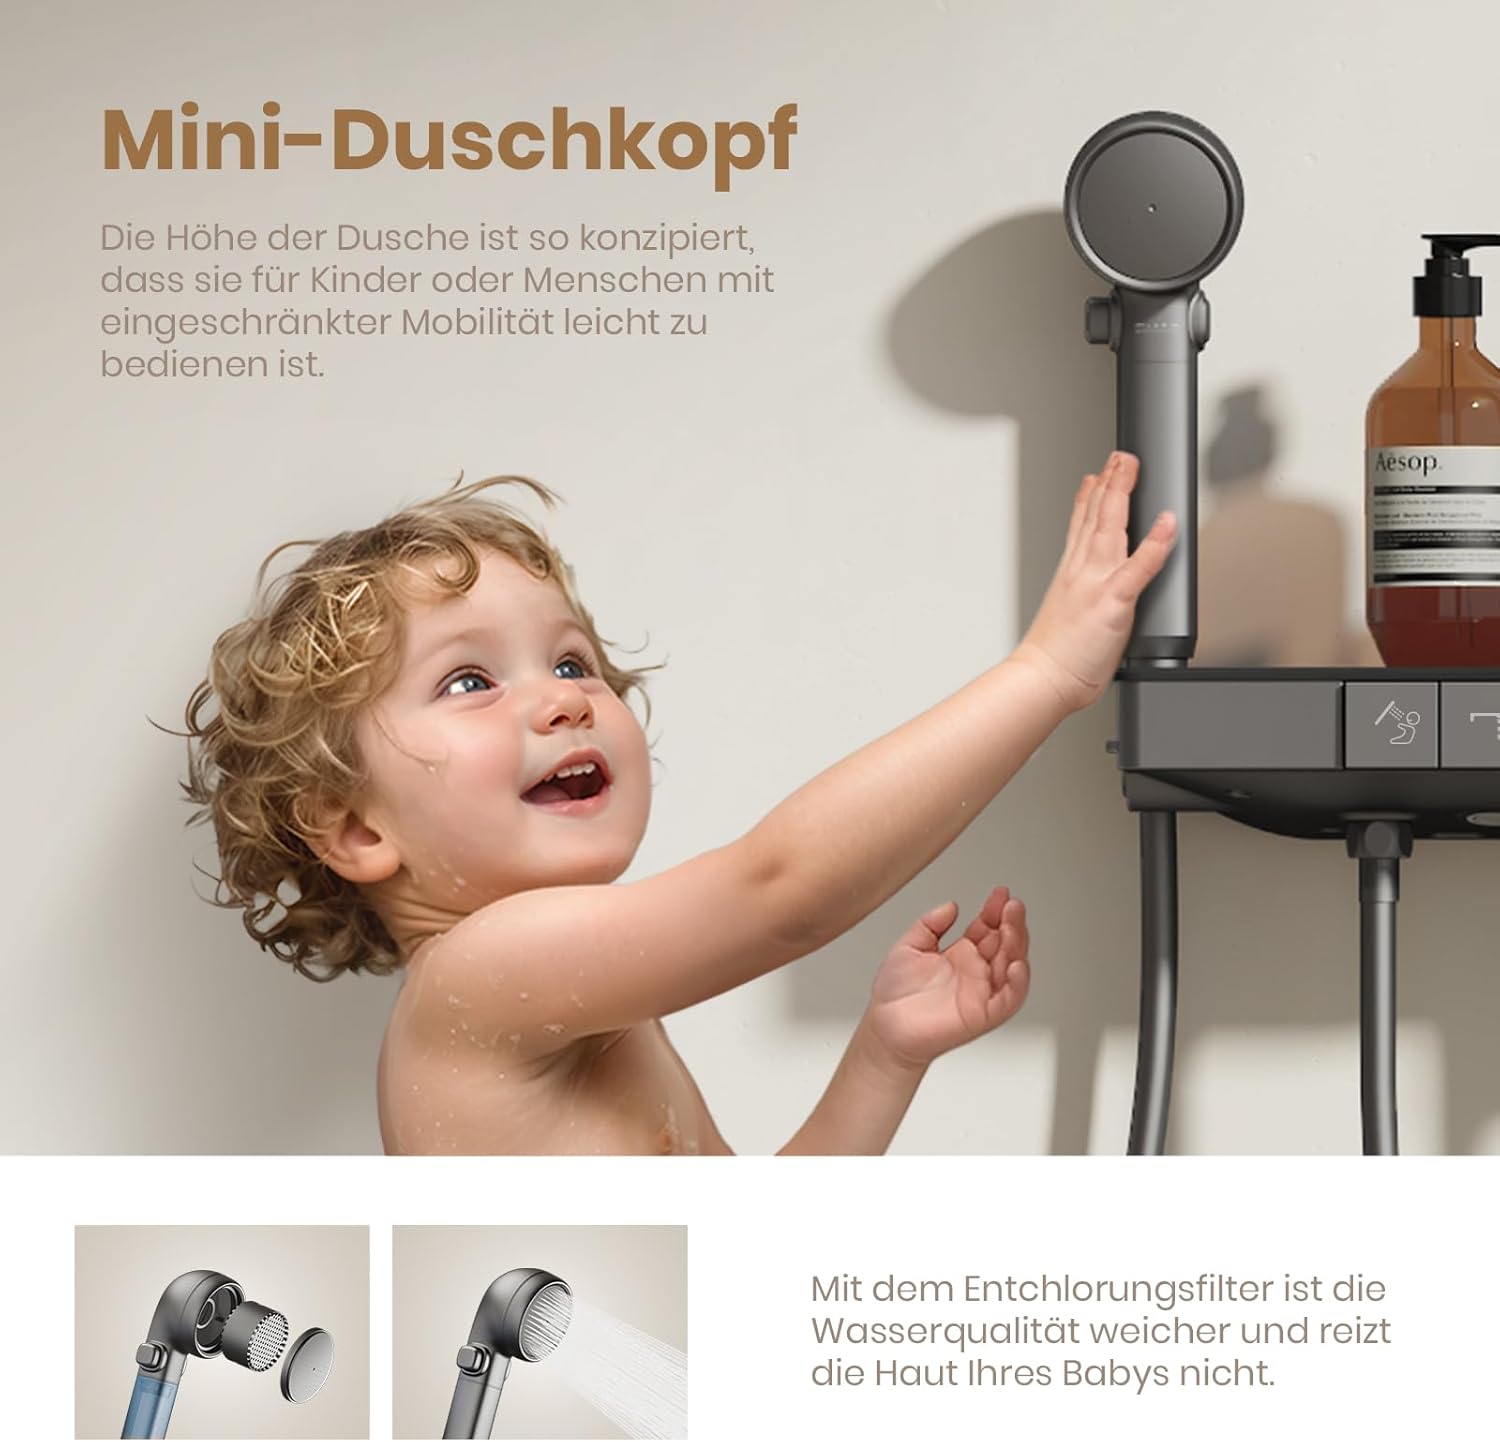
Image 5.4: The mini hand shower is designed for easy access and use by children, featuring a dechlorination filter for softer water.
5.5. 3-in-1 Hand Shower Modes

Image 5.5: The hand shower offers three distinct spray modes: Jet Spray, Massage, and Standard Spray.
Rotate the shower head or press the button on the hand shower to cycle through the Jet Spray, Massage, and Standard Spray modes.
6. Maintenance
6.1. Cleaning
To maintain the finish and functionality of your shower system:
- Clean regularly with a soft cloth and mild soap or a non-abrasive bathroom cleaner.
- Avoid using harsh chemicals, abrasive cleaners, or scouring pads, as these can damage the anthracite matt finish and plastic components.
- The self-cleaning nozzles on the shower heads help prevent limescale buildup.
6.2. Dechlorination Filter Replacement
It is recommended to replace the dechlorination filter every six months to ensure optimal water quality and performance.
- Turn off the water supply to the shower system.
- Locate the filter housing (refer to Image 4.1).
- Carefully open the housing and remove the old filter.
- Insert a new EMKE replacement filter.
- Close the housing securely and turn the water supply back on.
7. Troubleshooting
| Problem | Possible Cause | Solution |
|---|---|---|
| No water flow or low pressure | Water supply off, clogged filter, blocked nozzles. | Check main water supply. Replace dechlorination filter. Clean shower head nozzles. |
| Inconsistent water temperature | Thermostat malfunction, insufficient hot water supply. | Ensure hot water supply is adequate. If problem persists, contact customer support. |
| LED display not working | Dead batteries, loose battery connection. | Replace 4x AA batteries. Check battery compartment for secure connection. |
| Warm Start button not responding | Batteries not installed or dead, button not paired. | Ensure batteries are installed and functional. Re-pair the button by holding it near the faucet until a tone is heard. |
| Leaks from connections | Improperly sealed connections, loose fittings. | Turn off water supply. Tighten connections. Apply additional sealing material (plumber's tape/hemp) if necessary. |
8. Specifications
| Feature | Detail |
|---|---|
| Brand | EMKE |
| Model Number | F23SSC00GM |
| Color | Anthracite Matt |
| Finish Type | Painted |
| Installation Method | Wall-mounted |
| Product Dimensions (L x W x H) | 40 x 58 x 113 cm |
| Item Weight | 7.46 Kilograms |
| Number of Handles | 1 |
| Handle Material | Plastic |
| Components Included | Lower spout, Rain shower, Hand shower, Shower hose, Thermostatic shower system |
| Batteries Required | Yes (4x AA, not included) |
9. Warranty and Support
EMKE provides comprehensive support for your shower system:
- 2-Year Warranty: Your EMKE Rain Shower System is covered by a 2-year warranty from the date of purchase. This warranty covers manufacturing defects and material faults.
- 14-Day Return Period: You are eligible for a 14-day return period from the date of receipt.
- Customer Service: For any questions, technical assistance, or warranty claims, please contact EMKE customer service. If a part is defective, contact EMKE for a replacement.


