
SwitchBot Switchbot S1
SwitchBot Smart Robot Switch Instruction Manual
Model: Switchbot S1 (Bot Bianco)
Introduction
The SwitchBot Smart Robot Switch is a versatile device designed to automate existing switches and buttons in your home. It allows you to control various appliances and lights remotely via your smartphone, smartwatch, or through smart home integrations, making your daily life more convenient.

Figure 1: SwitchBot Smart Robot Switch (Bot Bianco) and its packaging.
What's in the Box
- SwitchBot Smart Robot Switch
- 3M VHB Adhesive Tape (pre-applied or included)
- Additional accessories for specific switch types (e.g., pull ring for toggle switches)
Key Features
- Universal Compatibility: Works with most rocker switches and push buttons.
- Built-in Timer: Schedule automatic on/off actions directly from the SwitchBot App without needing a Hub.
- Long Battery Life: Utilizes Bluetooth Low Energy (BLE) for extended operation, up to 600 days on a replaceable battery.
- Easy Installation: Attaches in seconds using 3M adhesive, no wiring or tools required.
- Smart Home Integration (with Hub): Connects with SwitchBot Hub Plus/Mini (sold separately) for remote control and voice assistant compatibility (Amazon Alexa, Google Assistant, Siri, IFTTT).
Setup and Installation
- Download the SwitchBot App: Search for "SwitchBot" in your smartphone's app store (iOS or Android) and install it.
- Add Your Device: Open the app, create an account or log in, and follow the on-screen instructions to add your SwitchBot. Ensure Bluetooth is enabled on your smartphone.
- Prepare the Installation Surface: Clean the surface around the switch or button where you intend to install the SwitchBot. Ensure it is dry and free of dust or grease.
- Attach the SwitchBot:
- Remove the protective film from the 3M VHB adhesive on the back of the SwitchBot.
- Carefully align the SwitchBot with the switch or button you wish to automate. For rocker switches, ensure the arm aligns with the switch toggle. For push buttons, ensure the arm can press the button effectively.
- Press firmly for at least 30 seconds to ensure a strong bond.

Figure 2: The SwitchBot is designed for easy installation using 3M adhesive, supporting both on and off functions for rocker switches.
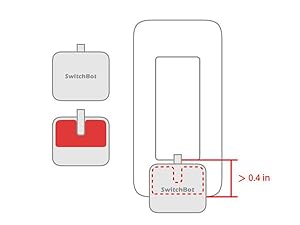
Figure 3: Applying the 3M VHB adhesive to the SwitchBot for secure mounting.
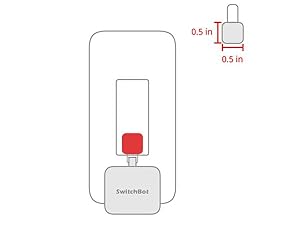
Figure 4: Attaching the SwitchBot directly to a standard light switch.
- Configure in App: Once attached, use the SwitchBot App to calibrate the Bot's movement for optimal performance with your specific switch or button. You can choose between "Press Mode" for push buttons or "Switch Mode" for rocker switches.

Figure 5: SwitchBot offers three control modes: Press Mode for push buttons, Switch Mode for rocker switches, and Custom Mode for advanced configurations.

Figure 6: The SwitchBot is adaptable for various types of switches and buttons, including standard rocker switches, push buttons on appliances, and more.
Operating Instructions
1. App Control (Bluetooth)
Control your SwitchBot directly from your smartphone via Bluetooth. Ensure your phone is within Bluetooth range of the Bot.
- Open the SwitchBot App.
- Select your SwitchBot from the device list.
- Tap the "ON" or "OFF" button to activate the Bot.
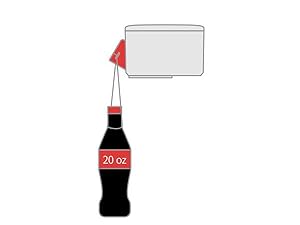
Figure 7: The SwitchBot app provides intuitive controls for turning devices on or off.
2. Timer Function
Set schedules for your SwitchBot to operate automatically, even without your phone nearby or an internet connection.
- In the SwitchBot App, select your Bot.
- Navigate to the "Schedule" or "Timer" settings.
- Set desired times for the Bot to activate or deactivate, and choose repeat days if needed.

Figure 8: Configure daily or weekly schedules for automated operation of your SwitchBot.
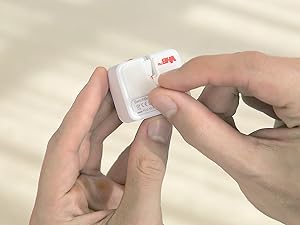
Figure 9: An example of using the schedule setting to automate a coffee machine.
3. Remote Control (Requires SwitchBot Hub)
For control outside of Bluetooth range, or to integrate with voice assistants, a SwitchBot Hub Plus/Mini (sold separately) is required. The Hub connects your SwitchBot to your home Wi-Fi network and the internet.
- Ensure your SwitchBot Hub is set up and connected to your Wi-Fi (2.4 GHz only).
- In the SwitchBot App, link your SwitchBot to the Hub.
- You can now control your SwitchBot from anywhere with an internet connection.

Figure 10: Remote control of your SwitchBot is possible through the SwitchBot Hub, allowing management from anywhere.
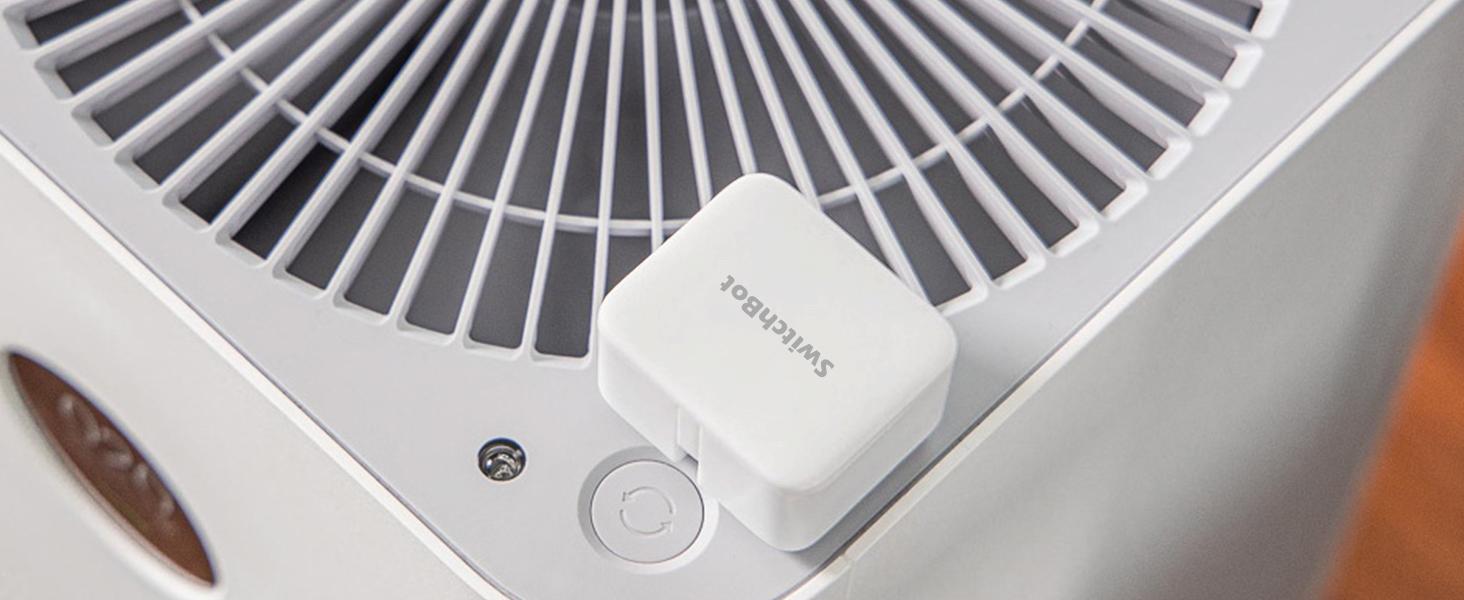
Figure 11: The SwitchBot app allows for remote control of your devices when paired with a SwitchBot Hub.
4. Voice Control (Requires SwitchBot Hub)
Integrate your SwitchBot with popular voice assistants for hands-free control.
- Ensure your SwitchBot Hub is set up and connected to your Wi-Fi (2.4 GHz only).
- Link your SwitchBot account with your Amazon Alexa, Google Assistant, or Siri account through their respective apps.
- Use voice commands such as "Alexa, turn on the light" to control your devices.

Figure 12: Voice control is enabled through a SwitchBot Hub, allowing integration with popular voice assistants like Alexa.

Figure 13: An example of using Alexa for voice control with the SwitchBot.
Compatibility and Ecosystem
The SwitchBot ecosystem is designed for broad compatibility and smart home integration.
- Smartphones & Smartwatches: Compatible with iOS and Android devices, and Apple Watch for direct Bluetooth control.
- SwitchBot Hubs: Works with SwitchBot Hub Plus/Mini for Wi-Fi connectivity, remote control, and advanced features.
- Voice Assistants: Seamless integration with Amazon Alexa, Google Assistant, and Siri (via Hub).
- IFTTT: Supports IFTTT (If This Then That) for custom automation rules and expanded functionality.
- Matter: Supports Matter through Hub 2 for broader smart home interoperability.

Figure 14: SwitchBot's compatibility with Matter via Hub 2 enhances connectivity with various smart home platforms like Alexa, Google Home, SmartThings, and Home Assistant.
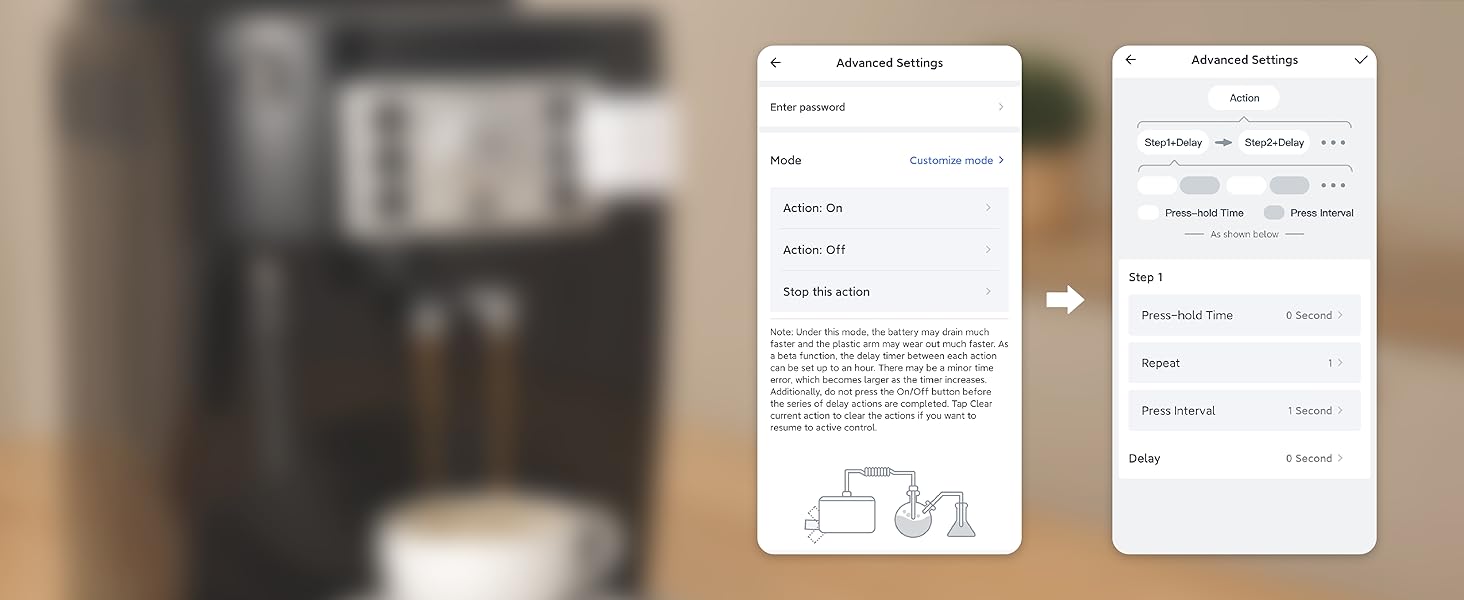
Figure 15: The SwitchBot ecosystem integrates with various smart home platforms and voice assistants, including Alexa, Google Home, Home Assistant, SmartThings, Homey, and IFTTT.
Maintenance
- Battery Replacement: The SwitchBot uses a replaceable lithium metal battery. When the battery is low, the app will notify you. Refer to the app for specific battery type and replacement instructions.
- Cleaning: Wipe the device with a soft, dry cloth. Avoid using harsh chemicals or abrasive materials.
- Adhesive: If you need to re-position the Bot, new 3M VHB adhesive strips may be required to ensure secure attachment.
Troubleshooting
| Issue | Possible Cause / Solution |
|---|---|
| SwitchBot not responding via Bluetooth. |
|
| Remote control not working. |
|
| Voice control not working. |
|
| SwitchBot not activating switch/button correctly. |
|
Specifications
| Attribute | Detail |
|---|---|
| Model Number | Switchbot S1 |
| Dimensions | 4.25 x 3.65 x 2.4 cm (42 x 36 x 24 mm) |
| Weight | 39 grams |
| Power Source | 1 Lithium Metal battery (included) |
| Battery Life | Approx. 600 days (depending on usage) |
| Connectivity | Bluetooth Low Energy (BLE) |
| Operating Voltage | 3 Volts (AC) |
| Rated Current | 3 Ampere |
| Material | Plastic |
| Country of Origin | China |
Official Product Video
Video 1: An overview of the SwitchBot, demonstrating its ease of use and various applications in a smart home environment. This video highlights how the SwitchBot can automate lights, coffee machines, TVs, computers, and pet feeders, and its simple installation process using 3M adhesive. It also touches upon Bluetooth Low Energy Mesh for multi-Bot control and the role of the SwitchBot Hub for internet connectivity and voice assistant integration.
Warranty and Support
For warranty information, technical support, or further assistance, please refer to the official SwitchBot website or contact their customer service directly. Keep your purchase receipt for warranty claims.
Related documentsSwitchbot S1


Ask a question about this manual
Ask about setup, troubleshooting, compatibility, parts, safety, or missing instructions. Manuals+ will review the question and use this page’s manual context to help answer it.