
1. Introduction
This manual provides detailed instructions for the proper use and maintenance of your SVBONY SA206 Night Vision Binoculars. Please read this manual thoroughly before operating the device to ensure optimal performance and longevity.
2. Safety Information
- Do not look directly at the sun or any bright light source through the binoculars, as this can cause permanent eye damage.
- Keep the device away from water and moisture unless specifically designed for waterproof use. While the SA206 features silicone material for water resistance, avoid submersion.
- Do not attempt to disassemble or repair the device yourself. Contact qualified service personnel for assistance.
- Store the binoculars in a cool, dry place when not in use.
- Keep out of reach of children.
3. Package Contents
Verify that all items are present in your package:
- 1 x SVBONY SA206 Night Vision Binoculars
- 1 x Neck Strap
- 1 x 32GB TF Card
- 1 x USB Cable (Type-C)
- 1 x Cleaning Cloth
- 1 x User Manual
- 1 x Storage Bag

Image 3.1: SVBONY SA206 Night Vision Binoculars with neck strap, 32GB TF card, USB cable, and storage bag.
4. Product Overview
Familiarize yourself with the main components of the SVBONY SA206 Night Vision Binoculars.

Image 4.1: Top view of the binoculars highlighting control buttons (Menu, Mode, Power, Zoom In/Out, IR adjustment) and the focus wheel.
- Objective Lenses: Front lenses for light collection.
- Infrared Illuminator: Emits infrared light for night vision.
- Focus Wheel: Adjusts focus for clear images.
- Display Screen: 3-inch HD TFT screen for viewing.
- Control Buttons: Power, Menu, Mode, Zoom, IR adjustment.
- TF Card Slot: For inserting the memory card.
- Type-C Port: For charging and data transfer.
5. Setup
5.1. Charging the Battery
The device features a built-in 5000mAh rechargeable lithium battery. Before first use, fully charge the binoculars.
- Connect the supplied Type-C USB cable to the binoculars' Type-C port.
- Connect the other end of the USB cable to a compatible USB power adapter (not included) or a computer's USB port.
- The charging indicator will show the charging status. Once fully charged, disconnect the cable.

Image 5.1: Illustration of the 5000mAh battery capacity and Type-C charging interface.
5.2. Installing the TF Card
A 32GB TF card is included. The device supports up to 128GB TF cards.
- Locate the TF card slot on the side of the binoculars.
- Insert the TF card into the slot with the metal contacts facing down until it clicks into place.
- To remove, gently push the card until it springs out, then pull it out.

Image 5.2: Visual guide for TF card insertion.
5.3. Attaching the Neck Strap
Attach the neck strap to the designated loops on the binoculars for secure carrying.
6. Operation
6.1. Power On/Off
- Press and hold the Power Button (
 ) to turn the device on or off.
6.2. Focusing
Rotate the Focus Wheel located between the objective lenses to achieve a clear image of your subject.

Image 6.1: Adjusting the focus wheel for image clarity.
6.3. Digital Zoom
The binoculars feature an 8x digital zoom. Use the zoom buttons to adjust magnification.
- Press the Zoom In (+) Button to increase magnification.
- Press the Zoom Out (-) Button to decrease magnification.
Image 6.2: Visual representation of 8x digital zoom.
6.4. Infrared (IR) Adjustment
The 3W 850nm infrared illuminator has seven adjustable levels to enhance night vision in varying dark conditions.
- Press the IR Button to cycle through the 7 IR intensity levels (IR:1 to IR:7).
- Higher IR levels provide greater visibility in total darkness but consume more battery.

Image 6.3: Demonstrating the effect of different IR intensity levels on night vision clarity.
6.5. Day and Night Modes
The device automatically adjusts for day or night use. In low light or darkness, the infrared illuminator activates.
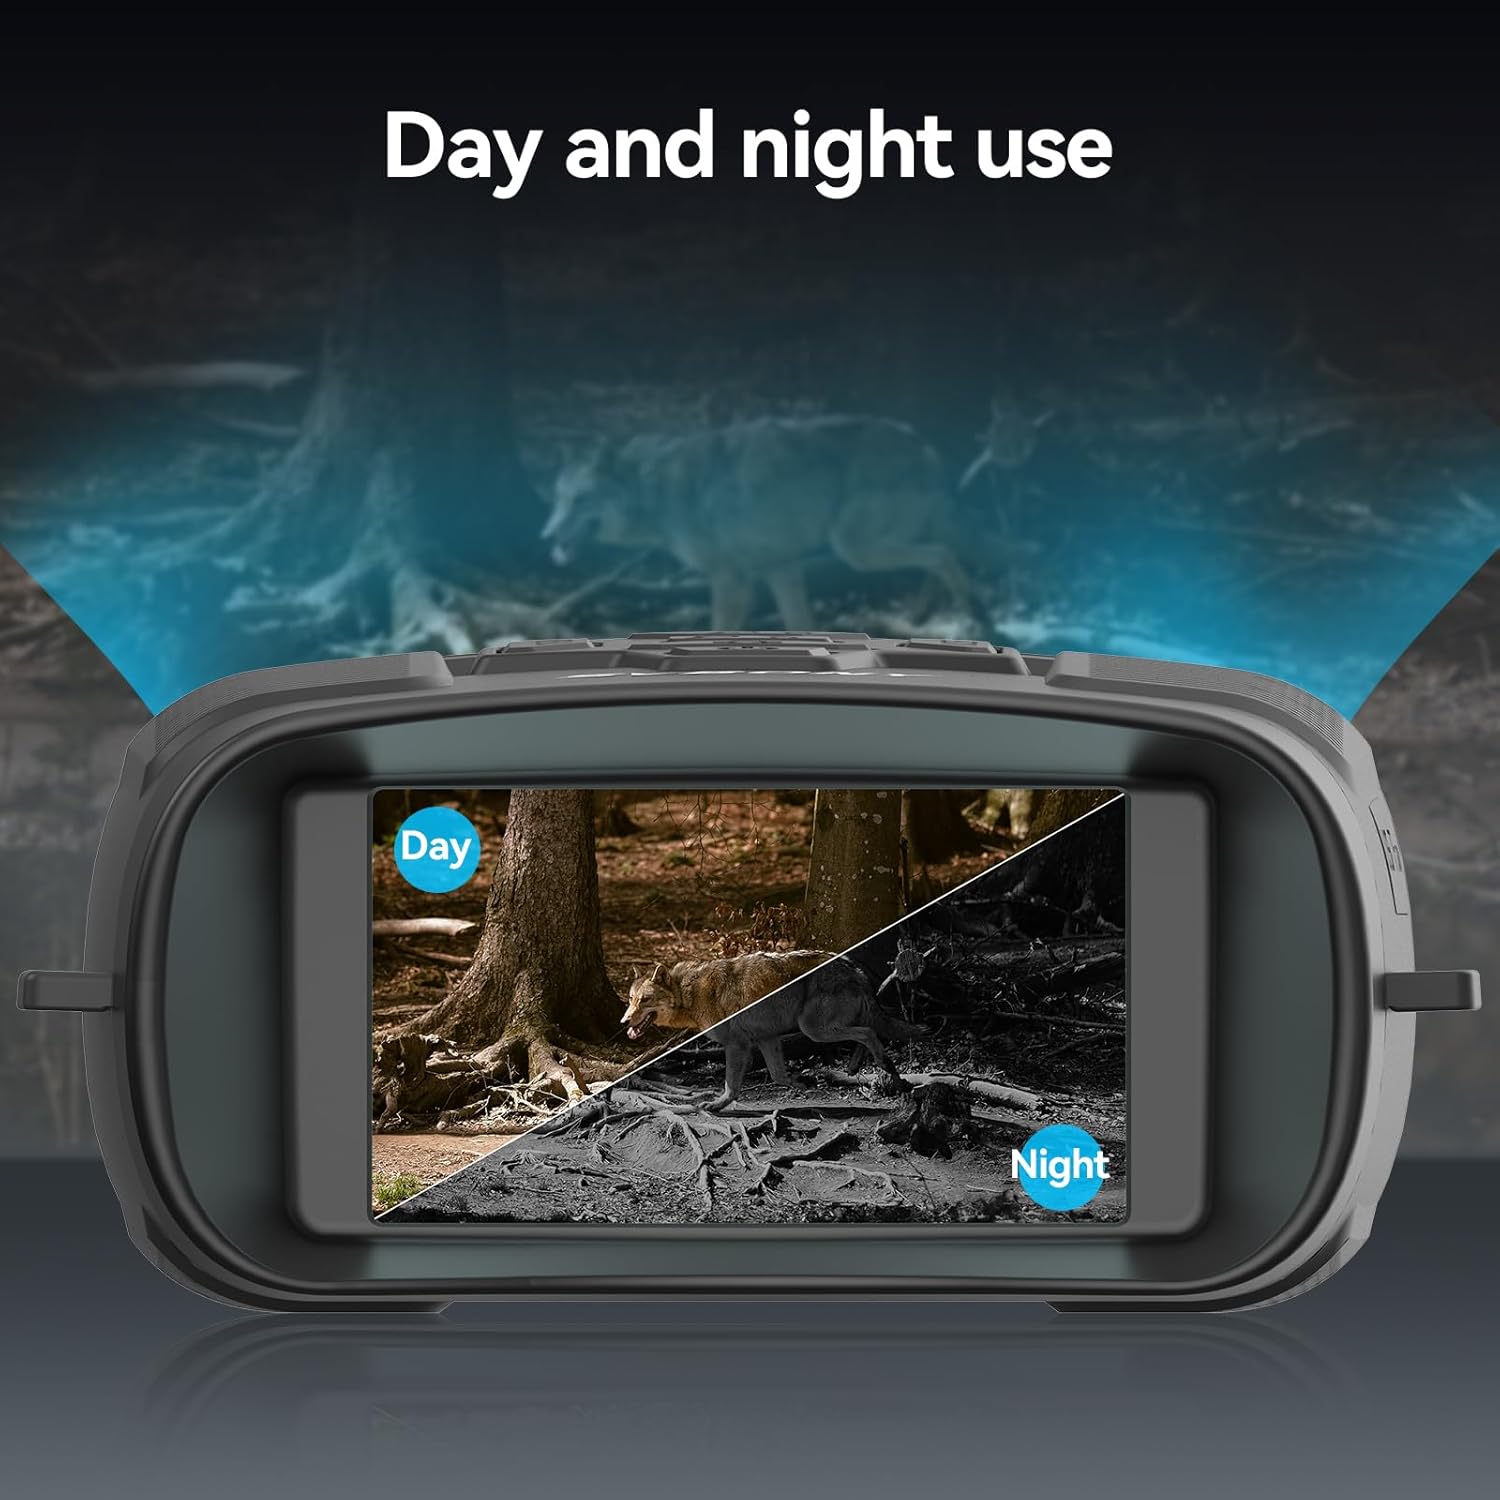
Image 6.4: Comparison of day and night viewing modes.
6.6. Screen Brightness Adjustment
The 3-inch HD TFT screen offers 15 levels of brightness adjustment for comfortable viewing in various lighting conditions.
- Access the menu to adjust screen brightness. Refer to the on-screen menu for specific navigation.

Image 6.5: Screen brightness adjustment interface.
6.7. Photo and Video Recording
The SA206 can capture 36MP photos and 4K videos.
- Press the Mode Button to switch between photo and video modes.
- In photo mode, press the Shutter Button to take a picture.
- In video mode, press the Record Button to start/stop recording.
- The anti-shake function helps stabilize images and videos.

Image 6.6: Icons representing 36MP photo and 4K video resolution.
6.8. Data Transfer
You can transfer photos and videos to a computer using the Type-C USB cable or by using a card reader.
- Using USB Cable: Connect the binoculars to your computer with the USB cable. The device should appear as a removable disk.
- Using Card Reader: Remove the TF card from the binoculars and insert it into a card reader connected to your computer.

Image 6.7: Data transfer via USB cable.
6.9. Firmware Update
Regular firmware updates ensure optimal performance. There are two methods:
Method 1: Connect to computer using USB cable
- Connect the binoculars to your computer using a USB cable.
- Copy the unzipped firmware package to the camera's root directory (do not put it in a subfolder).
- Once copying is complete, safely disconnect the goggles from your computer.
- Turn off and restart the goggles; it will automatically detect and start the firmware update process.
- Once the update is complete, reconnect the goggles to your computer and delete the firmware package file to avoid repeated updates.
Method 2: Use a card reader
- Remove the TF card from the goggles and connect it to your computer using a card reader.
- Copy the unzipped firmware package to the root directory of the memory card (do not place it in a sub-folder).
- Once copying is complete, safely disconnect the card reader from your computer.
- Reinsert the TF card into the goggles and power on. The firmware will be updated automatically.
- Once the update is complete, you can reconnect the TF card to your computer via the card reader and delete the firmware package file.
7. Maintenance
- Cleaning Lenses: Use the provided cleaning cloth or a soft, lint-free cloth to gently wipe the lenses. Avoid using abrasive materials or harsh chemicals.
- Cleaning Body: Wipe the body of the binoculars with a soft, damp cloth.
- Storage: When not in use for extended periods, store the binoculars in the provided storage bag in a dry, cool environment.
- Battery Care: To prolong battery life, avoid fully discharging the battery frequently. Charge the device regularly, even if not in use, to maintain battery health.

Image 7.1: The silicone material provides water resistance for durability.
8. Troubleshooting
If you encounter issues, refer to the following common problems and solutions:
| Problem | Possible Cause | Solution |
|---|---|---|
| Device does not power on | Low battery; Power button not pressed correctly | Charge the battery; Press and hold the power button for a few seconds. |
| Image is blurry | Improper focus; Lens dirty | Adjust the focus wheel; Clean the objective lenses with the cleaning cloth. |
| Night vision is dim or unclear | IR illuminator level too low; Environmental conditions | Increase the IR intensity level; Ensure there are no obstructions. |
| Cannot record photos/videos | TF card full or not inserted; Incorrect mode selected | Check TF card capacity and insertion; Switch to photo or video mode. |
| TF card does not stay in slot | Card not inserted correctly or mechanism issue | Ensure the card is pushed in until it clicks. If issue persists, contact support. |
9. Specifications
| Feature | Specification |
|---|---|
| Brand | SVBONY |
| Model Name | SA206 |
| Color | Black |
| Product Dimensions | 4.4"L x 5.6"W x 2.2"H |
| Item Weight | 456 Grams (1.01 pounds) |
| Material | Rubber (Silicone) |
| Magnification Maximum | 8x Digital Zoom |
| Objective Lens Diameter | 25 Millimeters |
| Night Vision Range | Up to 250 meters (in total darkness) |
| Infrared Power | 3W 850nm (7 adjustable levels) |
| Display Screen | 3-inch HD TFT (15 brightness levels) |
| Video Resolution | 4K, FHD, HD |
| Image Resolution | Up to 36MP |
| Storage | 32GB TF Card included (supports up to 128GB) |
| Battery | Built-in 5000mAh Lithium Battery |
| Battery Life | Up to 14 hours |
| Charging Interface | Type-C |
10. Warranty and Support
For warranty information and technical support, please refer to the official SVBONY website or contact their customer service directly. Keep your purchase receipt as proof of purchase.