
1. Product Overview
The QIXZOCV MWE 43 Inch Mobile Digital Signage Display Kiosk is a versatile and portable information display device designed for various applications such as advertising, media content display, and event information sharing. It features a Full HD IPS screen, Android OS, and supports multiple input methods including app publishing, USB plug-and-play, and screen mirroring.
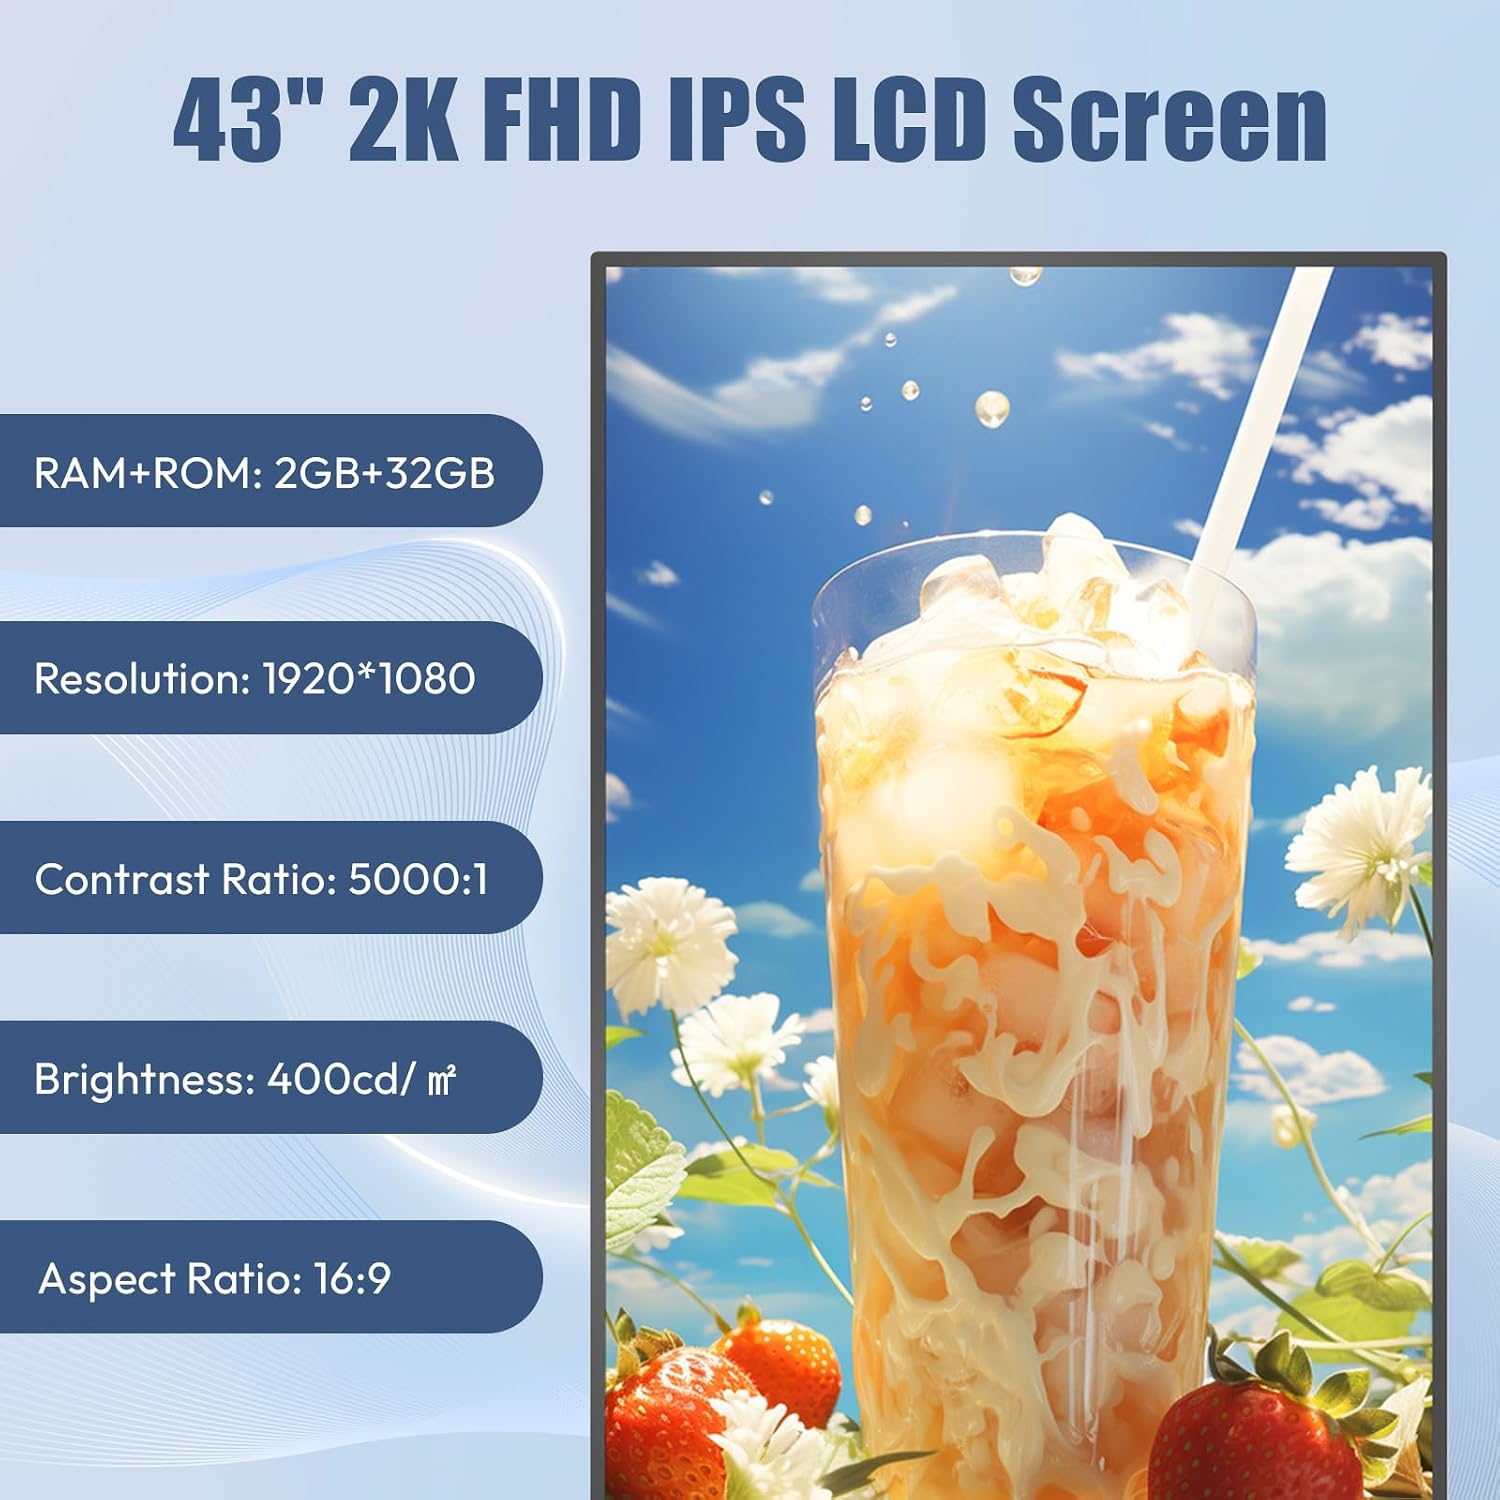
Image: The 43-inch Full HD IPS LCD screen highlights key specifications like RAM+ROM (2GB+32GB), Resolution (1920*1080), Contrast Ratio (5000:1), Brightness (400cd/m²), and Aspect Ratio (16:9).
2. Unboxing and Setup
Carefully unbox your MWE 43 Inch Mobile Digital Signage Display Kiosk. The package includes the screen, floor stand brackets, wheels, bolts, a USB flash drive, screwdriver, remote controller with batteries, and a power cable. Follow the steps below to assemble the device.
Video: This video demonstrates the unboxing process and step-by-step assembly of the digital signage kiosk, including attaching the stand and wheels.
- Unpack Components: Remove the screen, floor stand brackets, wheels, bolts, USB flash drive, screwdriver, remote controller, and power cable from the flight case.
- Assemble the Stand: Connect the three floor stand brackets using the provided bolts. Ensure the cable holes on the brackets are aligned for proper cable management.
- Attach Wheels: Install the wheels onto the bottom of the assembled stand. Hold the top plate of the wheel to screw it in, then release.
- Lock Wheels: Once the stand is upright, lock all four wheels by pressing down on the wheel locks to ensure stability.
- Mount the Screen: Carefully lift the screen and align the four screws on the back of the screen with the bracket holes on the stand. Release the screws slightly to allow the screen to hang securely, then tighten them.
- Connect WiFi Antenna: If not already connected, screw in the WiFi antenna to the designated port on the back of the screen.
- Connect Power: Route the power cable through the cable hole in the stand and connect it to the power socket on the screen. Turn on the power switch.

Image: The packing list illustrates the dimensions of the assembled kiosk and lists all included components: Ultra Narrow Bezel LCD Screen, Wireless Display Adapter, Mobile Stand, Remote Control, and Power Cable.
3. Operating Instructions
3.1 Quick Start Guidance (USB Disk Playback)
The digital kiosk offers two quick start methods for displaying media content: via smartphone app or USB disk. For USB disk playback, simply transfer your pictures and videos to the root directory of a USB disk.
Video: This video demonstrates how to use the USB plug-and-play feature and navigate the system settings using the remote control.
- Prepare USB Disk: Copy your desired pictures and videos to the root directory of a USB flash drive.
- Insert USB Disk: Plug the USB disk into the USB port at the bottom of the digital poster. The screen will automatically detect and play the content.
- Access System Settings: Use the remote controller to click the 'Menu' button. Select 'System Mode'.
- Configure Playback: In 'System Mode', you can choose 'Stand-alone' mode. For 'Loading mode', select 'Copy' to transfer media from USB to internal storage, or 'Expand' to play directly. Adjust 'Play time' for each picture, 'Fill style' (scaling or full screen), and 'Special effects' (random or specific transitions). You can also choose to 'Clear immediately' to remove previous programs when a new USB is inserted.

Image: This image illustrates the USB plug-and-play functionality, showing a USB drive being inserted and various media content displayed on the screen, controlled by a remote.
3.2 App Publishing (Smartphone Control)
Manage and publish content directly from your smartphone using the 'LED Art' application.
Video: This video demonstrates how to connect the digital poster to a smartphone via WiFi and publish content using the 'LED Art' application, including split-screen display settings.
- Install 'LED Art' App: Download and install the 'LED Art' application on your smartphone.
- Connect to WiFi: Ensure both your smartphone and the digital kiosk are connected to the same WiFi network.
- Pair Device: Open the 'LED Art' app, click 'Devices', and select your digital poster (e.g., 'poster1'). You can edit the device name.
- Create New Program: Click 'New Screen' or 'New Program' within the app. You can add images, videos, text, clocks, digital watches, HTML content, weather, timing, QR codes, stream media, HDMI input, and customize button settings.
- Add Media: Select 'Image' or 'Video' and add content from your phone's album. Adjust display duration, animation effects, and resolution.
- Split Screen Display: For split-screen, add multiple programs or elements and adjust their size and position on the screen.
- Send Program: Once your program is ready, click 'Send', select your digital poster, and confirm. The content will be published to the kiosk.
- Clear Program: To clear the displayed content, go to 'Programs' in the app and click 'Clear Program'.

Image: This image demonstrates the 'LED Art' app publishing content to the digital signage, including split-screen playback, with a smartphone connected via WiFi.
3.3 Screen Mirroring Function
The kiosk supports screen mirroring from your smartphone using the included wireless display adapter.
Video: This video shows how to connect the wireless display adapter to the digital poster and then mirror a smartphone screen to the kiosk.
- Connect Adapter: Connect the USB cable from the wireless display adapter to a USB port on the kiosk, and the HDMI cable from the adapter to an HDMI input port on the kiosk.
- Select HDMI Input: Use the remote control to select the corresponding HDMI input (e.g., HDMI 2) on the digital kiosk.
- Connect Phone to Adapter WiFi: On your smartphone, connect to the WiFi network broadcast by the wireless display adapter (usually named 'MiraScreen' or similar). The default password is '12345678'.
- Start Screen Mirroring: Once connected, activate the screen mirroring function on your smartphone (e.g., 'Screen Mirroring' on iOS, 'Smart View' on Android) and select the adapter's name to begin mirroring.

Image: This image illustrates the screen mirroring setup, showing the wireless display adapter connected to the digital signage and a smartphone mirroring its display.
3.4 Multiple Inputs
The MWE Digital Signage supports various input sources for maximum versatility.
- WiFi Input: For wireless content publishing via the 'LED Art' app.
- LAN Input: For wired network connectivity.
- HDMI Input: Connect external devices like laptops, HD players, TV boxes, or gaming consoles.
- USB Input: For plug-and-play media playback from USB flash drives.

Image: This image details the multiple input options available on the digital signage, including WiFi, LAN, HDMI, and USB, along with examples of compatible input and output devices.
4. Specifications
| Feature | Description |
|---|---|
| Brand | QIXZOCV |
| Screen Size | 43 Inches |
| Resolution | FHD 1080p (1920x1080) |
| Aspect Ratio | 16:9 |
| Screen Surface Description | Glossy |
| Operating System | Android OS |
| Portability | Equipped with 4 silent wheels and a flight case for easy mobility. |
| Installation | Supports horizontal or vertical installation. |
5. Maintenance
- Cleaning: Use a soft, lint-free cloth to clean the screen. For stubborn marks, dampen the cloth with a small amount of screen cleaner. Avoid harsh chemicals.
- Storage: When not in use, store the kiosk in its flight case in a dry, cool environment to protect it from dust and damage.
- Software Updates: Periodically check for and install software updates for the Android OS and the 'LED Art' application to ensure optimal performance and security.
- Cable Management: Ensure all cables are neatly routed and secured to prevent tripping hazards and damage.
6. Troubleshooting
- No Power: Check if the power cable is securely connected to both the kiosk and the power outlet. Ensure the power switch is in the 'ON' position.
- No Display: Verify that the correct input source (HDMI, USB, App) is selected. If using screen mirroring, ensure the adapter is correctly connected and your phone is paired.
- WiFi Connection Issues: Confirm that the WiFi antenna is securely attached. Check if the kiosk and your smartphone are connected to the same WiFi network. Restart the kiosk and your router if necessary.
- App Publishing Problems: Ensure the 'LED Art' app is updated to the latest version. Verify network connectivity between the app and the kiosk.
- USB Playback Errors: Check if the USB disk is formatted correctly (FAT32 or NTFS). Ensure media files are in supported formats and placed in the root directory.
7. Warranty and Support
For warranty information, technical support, or service inquiries, please refer to the warranty card included in your product packaging or contact QIXZOCV customer service directly. Keep your purchase receipt as proof of purchase for warranty claims.