
1. Introduction
Thank you for choosing the TOOLPORT PRIMEYARD Pergola. This 3x4 meter pavilion features a durable wood-look steel frame and a convenient retractable roof, designed to provide shade and enhance your outdoor living space. This manual provides essential information for safe assembly, operation, maintenance, and troubleshooting to ensure long-lasting enjoyment of your pergola.

Image 1.1: The TOOLPORT PRIMEYARD Pergola installed in a garden, showcasing its wood-look steel frame and retractable fabric roof.
2. Safety Information
- Read all instructions carefully before assembly and use. Failure to follow instructions may result in injury or damage to the product.
- Two-person assembly is recommended for safety and ease of installation.
- Ensure the assembly area is clear of obstructions and level.
- Anchor the pergola securely to the ground using the provided concrete anchors or suitable alternatives for your specific surface. Proper anchoring is crucial for stability, especially in windy conditions.
- Retract the shading sail during strong winds, heavy rain, or snow to prevent damage.
- Regularly inspect all components for wear, damage, or loose connections. Tighten fasteners as needed.
- Keep children and pets away from the assembly area.
3. Package Contents
Verify that all components are present and undamaged before beginning assembly. If any parts are missing or damaged, contact customer service.
- Steel frame construction (posts and beams)
- 1 solid polycarbonate panel
- 1 shading sail (retractable roof fabric)
- 8 concrete anchors
- Assembly hardware (screws, bolts, etc.)
- Instruction manual
4. Setup and Assembly
Assembly typically requires two people and takes approximately 1.5 hours. Follow the step-by-step instructions provided in the included assembly guide for detailed diagrams and specific fastening procedures.
4.1 Frame Assembly
The pergola features a stable steel construction with square profiles (approx. 80x80 mm for posts, 50x30 mm for beams). The frame components are designed for quick assembly using a screw system. Ensure all connections are tightened securely for structural integrity. Welded ends on components enhance durability.

Image 4.1: Detail of the robust steel frame joint, illustrating the secure connection points.
4.2 Anchoring
Once the frame is assembled, position the pergola in its desired location. Ensure the ground is level. Use the provided 8 concrete anchors to secure the pergola's base plates to a solid surface. If installing on a different surface (e.g., wood deck, soft ground), consult a professional for appropriate anchoring solutions.

Image 4.2: The base plate of a pergola post, showing the anchor point for secure installation.
4.3 Retractable Roof Installation
Install the shading sail onto the rail system according to the assembly instructions. The sail is made from durable polyester fabric (approx. 180 g/m²) with a PU coating, offering UV protection of 50+.
5. Operating Instructions
5.1 Extending and Retracting the Shading Sail
The shading sail operates on a rail system, allowing for easy extension and retraction. To extend the sail, gently pull it along the rails until it reaches the desired position. To retract, push the sail back along the rails. The sail can be magnetically locked in its retracted position.
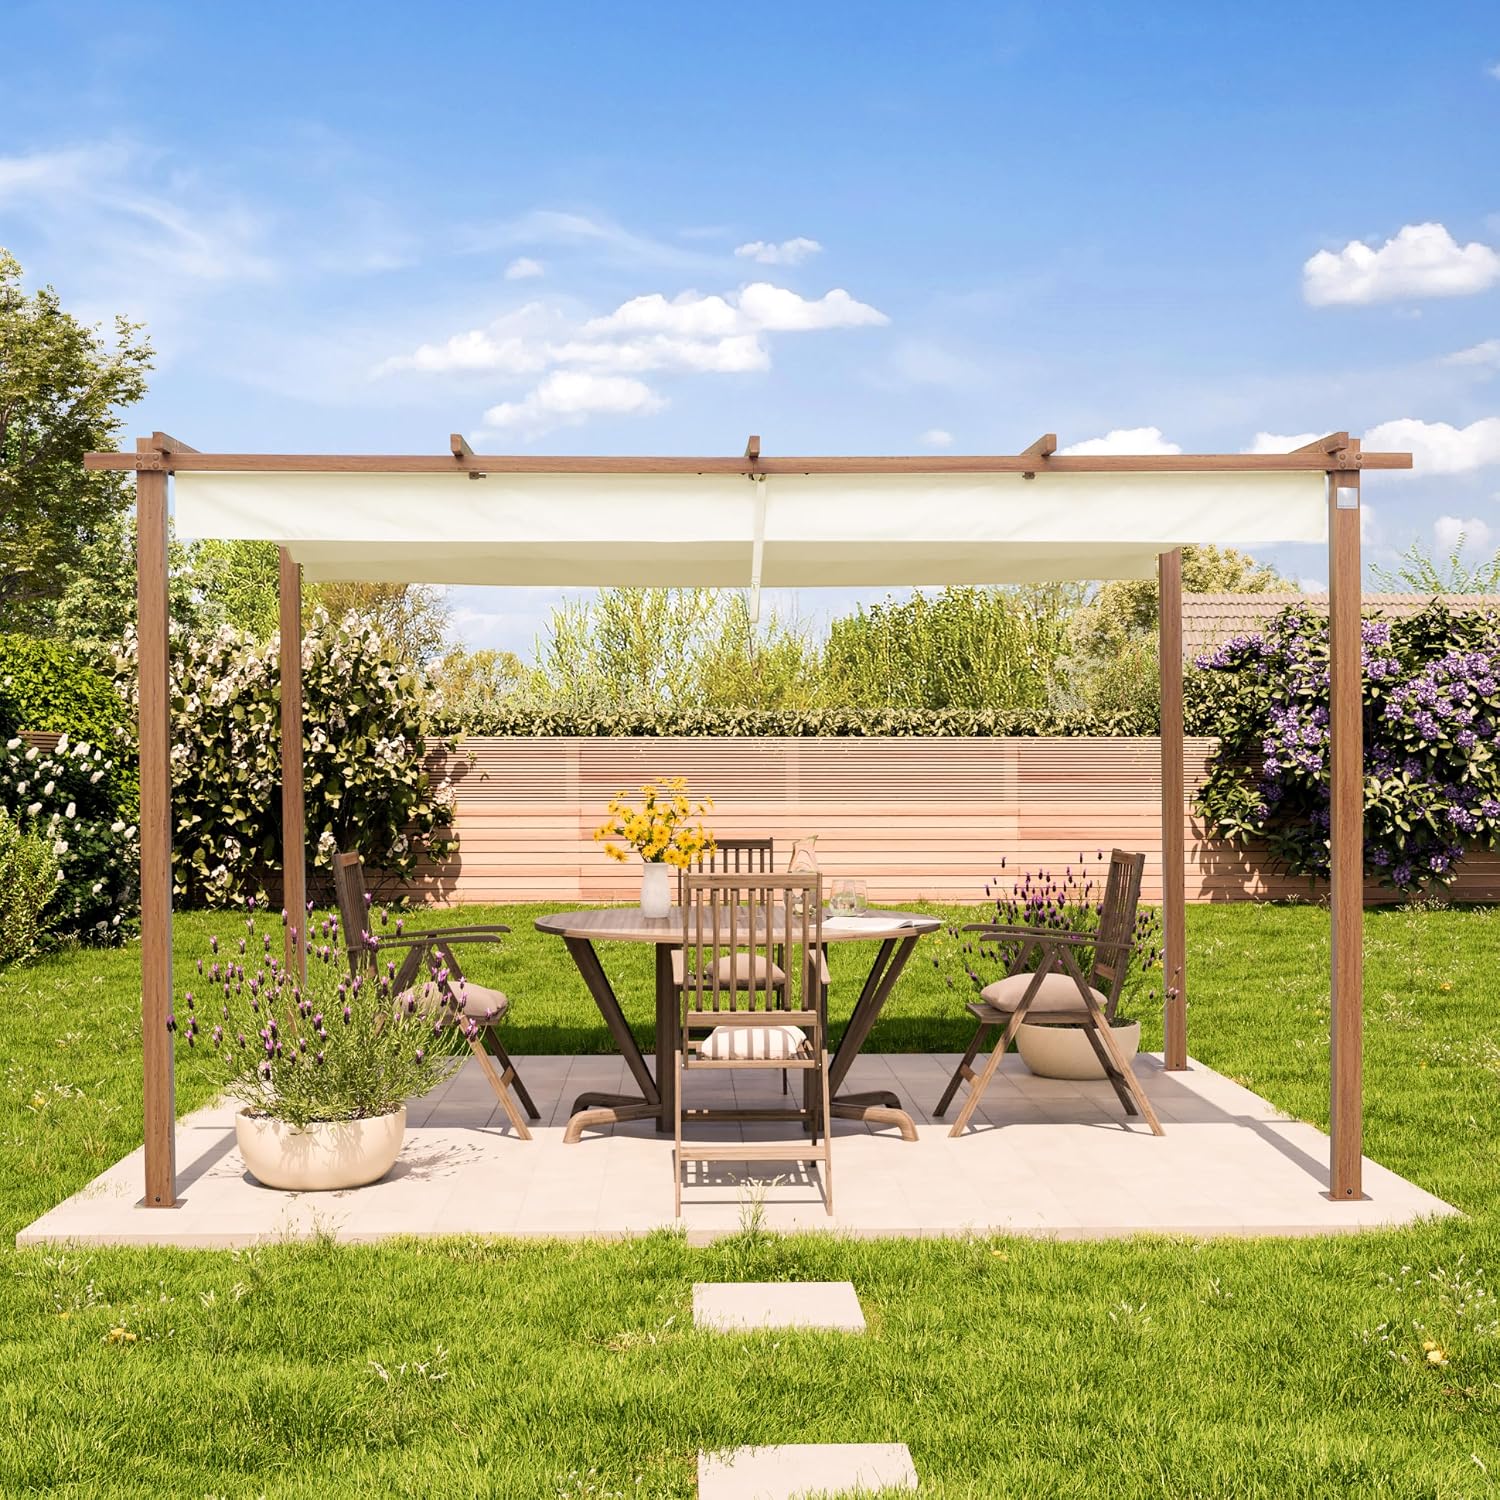
Image 5.1: The pergola with its shading sail fully extended, offering complete coverage.

Image 5.2: A detailed view of the retractable fabric roof, showing its wavy design when partially extended.

Image 5.3: The retractable fabric roof shown in its fully retracted state, secured with a tie.
5.2 Polycarbonate Panel Function
When the shading sail is retracted, a durable, translucent polycarbonate panel covers the sail. This panel protects the fabric from rain and dirt, extending its lifespan and maintaining its appearance.

Image 5.4: The pergola with its fabric roof retracted, revealing the clear polycarbonate panel designed to protect the fabric from elements.
6. Maintenance
6.1 Frame Care
- Clean the steel frame periodically with mild soap and water. Rinse thoroughly and dry to prevent water spots.
- Inspect the frame for any signs of corrosion or damage. Touch up any scratches with appropriate paint to prevent rust.
- Regularly check all bolts and screws and tighten them as necessary to maintain structural integrity.
6.2 Shading Sail Care
- Clean the fabric sail with a soft brush and mild soap solution. Do not use harsh chemicals or abrasive cleaners.
- Allow the sail to dry completely before retracting it for extended periods to prevent mildew.
- For prolonged periods of non-use or during winter months, it is recommended to remove and store the shading sail in a dry, protected area.
7. Troubleshooting
7.1 Stability Concerns
If the pergola exhibits instability or swaying, especially in windy conditions:
- Ensure all frame connections are securely tightened.
- Verify that the base plates are properly anchored to a solid, level surface. Consider additional anchoring methods if the existing ones are insufficient for your ground type or local weather conditions.
- Always retract the shading sail during strong winds.
7.2 Retractable Roof Mechanism Issues
If the shading sail does not extend or retract smoothly:
- Check the rail system for any obstructions (e.g., debris, leaves). Clean the rails if necessary.
- Ensure the fabric is properly aligned within the rails and not snagged.
- Inspect the magnetic locking mechanism for proper function.
8. Specifications
| Feature | Detail |
|---|---|
| Model Number | 400103 |
| Product Dimensions (L x W x H) | 300 x 400 x 223 cm (approx. 4L x 3W x 2.23H meters) |
| Item Weight | 67.25 Kilograms |
| Frame Material | Alloy Steel |
| Shading Sail Material | Polyester (approx. 180 g/m²) with PU coating |
| UV Protection | 50+ |
| Water Resistance Level | Impermeable (for shading sail) |
| Assembly Required | Yes |
| Manufacturer | TOOLPORT |
| Country of Origin | Germany |

Image 8.1: Dimensional diagram of the pergola, indicating its length, width, and height measurements.
9. Warranty and Support
Information regarding specific warranty terms is typically provided at the point of purchase or on the manufacturer's official website. Please retain your proof of purchase for any warranty claims.
Regarding spare parts, information is currently unavailable. For any product support, technical assistance, or inquiries about replacement parts, please contact TOOLPORT customer service directly through their official channels or the retailer from whom you purchased the product.