Introduction
This manual provides detailed instructions for the setup, operation, and maintenance of your Geevon Atomic Wall Clocks. This product includes two distinct clocks: the 8614C Digital Atomic Wall Clock with Backlight and the 230012 12-Inch Atomic Analog Wall Clock with Silver Frame. Both clocks are designed to automatically synchronize with the WWVB radio signal for accurate timekeeping.

Image: Overview of the Geevon 8614C Digital Atomic Wall Clock, the 230012 Analog Atomic Wall Clock, and the accompanying wireless outdoor sensor and power adapter.
Package Contents
Please verify that all items listed below are included in your package:
- Geevon 8614C Digital Atomic Wall Clock (1 unit)
- Geevon 230012 12-Inch Atomic Analog Wall Clock (1 unit)
- Wireless Outdoor Sensor (1 unit)
- Power Cord for Digital Clock (1 unit)
- Wall Hanging Hook (1 unit)
- Kickstand for Digital Clock (1 unit)
- Instruction Manual (this document)
- AA Battery (1 unit, likely for analog clock)
- Waterproof Dustproof Cover (1 unit, for indoor use only, likely for analog clock)

Image: Visual representation of the package contents, including the analog clock, a single AA battery, a wall hanging hook, and a waterproof dustproof cover.
Product Features
8614C Digital Atomic Wall Clock with Backlight
- Large LCD Display: 8.8-inch high-definition TN display.
- Multi-function Display: Shows time (12/24H), date, day of the week, moon phase, indoor and outdoor temperature (°C/°F).
- Temperature Monitoring: Records daily MIN & MAX temperature data and displays temperature trends. Includes a wireless outdoor sensor.
- Backlight: Features a backlight function. Permanent backlight is available when powered by the included power cord.
- Versatile Placement: Can be placed on a desk using the kickstand or mounted on a wall using the hanging holes.
- Atomic Time: Automatically synchronizes with the WWVB signal for accurate time.
- Additional Functions: Alarm, Snooze, Calendar.

Image: Detailed view of the 8614C Digital Atomic Wall Clock's display, highlighting its dimensions (8.8 inches diagonally, 1.77-inch tall digits) and various functions such as atomic time, alarm, snooze, 12/24H format, calendar, moon phase, min/max temperature, temperature trend, and Celsius/Fahrenheit options.

Image: The 8614C Digital Atomic Wall Clock demonstrating three levels of backlight brightness. A note indicates that permanent backlight is only available when the clock is plugged into mains power.
230012 12-Inch Atomic Analog Wall Clock
- Atomic Time Synchronization: Built-in receiver synchronizes with WWVB broadcasts from NIST for accurate time.
- Time Zone Selection: Offers 4 time zone options.
- Daylight Saving Time (DST): Automatically adjusts for DST with an ON/OFF option.
- Quiet Operation: Non-ticking movement.
- Easy to Read: Features large, bold digits and clear high-hardness glass.
- Easy Installation: Includes a secure wall hanging hook.

Image: The 230012 12-Inch Atomic Analog Wall Clock, showing its 12-inch diameter and 1.7-inch depth. Key features highlighted include automatic time setting, accurate time, non-ticking movement, and easy readability.

Image: A close-up view of the 230012 Analog Atomic Wall Clock, emphasizing the clear high-hardness glass and the large, bold digits for enhanced readability.
Setup
8614C Digital Atomic Wall Clock Setup
- Powering the Digital Clock:
- Insert 3 AAA batteries (not included) into the battery compartment.
- For continuous backlight, plug the included power cord into the clock and a power outlet.
- Outdoor Sensor Setup:
- Insert 2 AAA batteries (not included) into the wireless outdoor sensor.
- Place the sensor outdoors within 200 feet (60 meters) of the digital clock in an open area. Ensure it is protected from direct sunlight and precipitation for accurate readings and longevity.
- The digital clock will automatically attempt to connect with the outdoor sensor. Once connected, the outdoor temperature will display.
- Atomic Time Synchronization:
- After powering on, the digital clock will automatically begin searching for the WWVB atomic signal. This process may take several minutes or up to 24 hours depending on location and signal strength.
- Ensure the clock is placed in an area with good reception, away from large metal objects or electronic interference.
- Once synchronized, the time will be set automatically.
- Placement: Use the integrated kickstand for desk placement or the hanging holes for wall mounting.

Image: The 8614C Digital Atomic Wall Clock displaying indoor and outdoor temperatures, with an illustration of the wireless outdoor sensor's range (200FT/60M in open area). Notes indicate the display requires 3 AAA batteries and the sensor requires 2 AAA batteries (not included).
230012 Atomic Analog Wall Clock Setup
- Battery Installation: Insert 1 AA battery (included) into the battery compartment on the back of the clock.
- Atomic Time Synchronization:
- Upon battery insertion, the clock hands will automatically move to the 12 o'clock position and begin searching for the WWVB atomic signal.
- Place the clock in an area with optimal signal reception. Avoid placing it near large metal objects, electronic devices, or in basements.
- Synchronization can take several minutes to several hours. Once the signal is received, the clock will automatically set itself to the correct time for the selected time zone.
- Time Zone Selection: Refer to the small dial or buttons on the back of the clock to select your desired time zone (PST, MST, CST, EST).
- Daylight Saving Time (DST) Setting: Locate the DST switch on the back of the clock and set it to ON or OFF according to your region's DST observance.
- Mounting: Use the included wall hanging hook to securely mount the clock on a wall.

Image: The 230012 Analog Atomic Wall Clock mounted on a wall in a living room setting, with graphic elements indicating its radio-controlled (WWVB) synchronization capability.
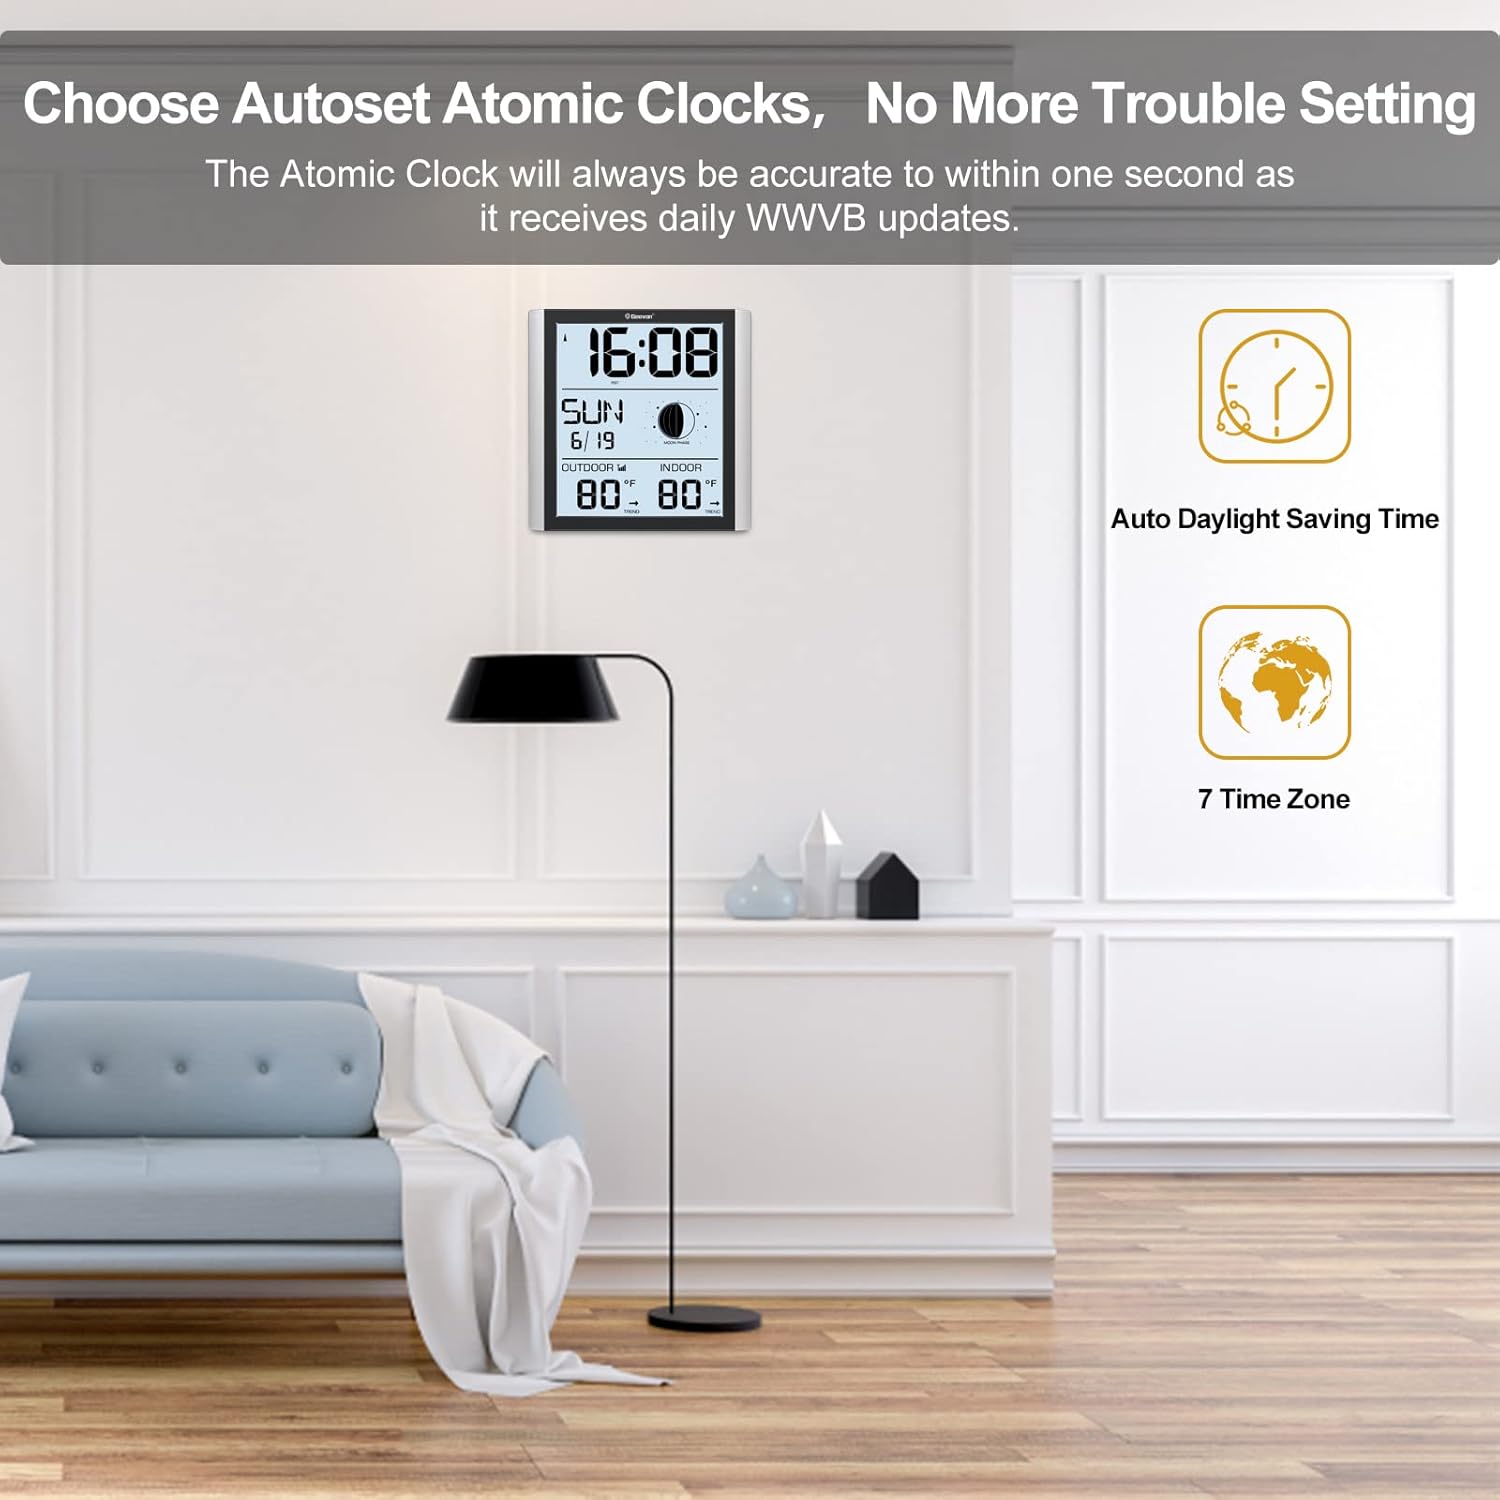
Image: The Geevon Digital Atomic Clock displayed in a modern room, accompanied by text stating "Choose Autoset Atomic Clocks, No More Trouble Setting" and icons for Auto Daylight Saving Time and 7 Time Zones. The atomic clock receives daily WWVB updates for accuracy.
Operating Instructions
8614C Digital Atomic Wall Clock
- Display Information: The large LCD screen continuously displays time, date, day of the week, moon phase, indoor temperature, and outdoor temperature.
- Temperature Units: Press the "°C/°F" button (if available) to switch between Celsius and Fahrenheit for temperature readings.
- MIN/MAX Temperature: The clock automatically records and displays the daily minimum and maximum indoor and outdoor temperatures. Consult the full instruction manual for details on how to view or reset these values.
- Backlight Control: If using battery power only, the backlight may activate briefly when a button is pressed. If powered by the AC adapter, the backlight can be set to remain on, often with adjustable brightness levels. Refer to the specific buttons on the clock for backlight control.
- Alarm and Snooze: Set alarms and utilize the snooze function as per the detailed instructions in the included manual.
230012 Atomic Analog Wall Clock
- Automatic Time Adjustment: Once synchronized with the WWVB signal, the clock will automatically maintain accurate time and adjust for Daylight Saving Time (if enabled).
- Manual Time Setting (if needed): In rare cases where atomic signal is unavailable for an extended period, a manual set button may be present on the back. Consult the full instruction manual for manual time setting procedures.
Maintenance
- Cleaning: Wipe the clock surfaces with a soft, dry cloth. Avoid abrasive cleaners or solvents.
- Battery Replacement:
- For the 8614C Digital Clock: Replace AAA batteries when the low battery indicator appears on the display.
- For the 230012 Analog Clock: Replace the AA battery annually or when the clock stops keeping accurate time.
- For the Wireless Outdoor Sensor: Replace AAA batteries when the low battery indicator appears on the digital clock's display.
- Environmental Conditions: Ensure the outdoor sensor is placed in a location protected from extreme weather conditions to prolong its lifespan. The waterproof dustproof cover for the analog clock is for indoor use only.
Troubleshooting
| Problem | Possible Cause | Solution |
|---|---|---|
| Clock not synchronizing with atomic signal. | Weak signal due to location, interference from electronics, or distance from WWVB transmitter. |
|
| Incorrect time displayed. | Failed atomic synchronization, incorrect time zone setting, or DST setting. |
|
| Outdoor temperature not displayed or inaccurate. | Outdoor sensor out of range, low sensor batteries, or interference. |
|
| Digital clock backlight not staying on. | Clock is running on battery power only. |
|
Specifications
General
- Brand: Geevon
- Special Feature: Atomic Time Synchronization (WWVB)
8614C Digital Atomic Wall Clock
- Display Type: Digital (LCD TN high definition)
- Display Size: 8.8 inches (diagonal)
- Power Source: 3 x AAA batteries (not included) or Corded Electric (power cord included)
- Included Components: Wireless outdoor sensor, Power cord, Kickstand
- Sensor Technology: Wireless
- Outdoor Sensor Range: 200FT / 60M (in open area)
- Outdoor Sensor Power: 2 x AAA batteries (not included)
- Temperature Accuracy: ±1 °C
- Color: White (bezel)
230012 12-Inch Atomic Analog Wall Clock
- Display Type: Analog
- Shape: Round
- Product Dimensions: 12 x 1.5 x 12 inches
- Power Source: 1 x AA battery (included)
- Included Components: Hook, Waterproof Dustproof Cover (Indoor Use Only)
- Color: Silver Frame
Warranty and Support
Geevon provides return and replacement services within 90 days of purchase. If you encounter any issues or have questions regarding your Geevon Atomic Wall Clocks, please contact Geevon customer support for assistance. Refer to your purchase documentation or the Geevon website for specific contact information.


