Introduction
This manual provides detailed instructions for the assembly, installation, operation, and maintenance of your Young Electric 200 LBS. Hitch Mount Ebike Rack. Designed for durability and ease of use, this rack securely transports up to two electric or mountain bikes with a combined weight of 200 lbs. Please read this manual thoroughly before use to ensure safe and proper operation.
Safety Information
- Always ensure the rack is securely attached to a 2-inch hitch receiver before loading bikes.
- Do not exceed the maximum weight capacity of 200 lbs (100 lbs per bike).
- Verify all straps, cradles, and locking mechanisms are properly engaged and tightened before driving.
- Regularly inspect the rack for any signs of wear, damage, or loose components.
- Be aware of the increased length and width of your vehicle when the rack is installed, especially when backing up or maneuvering.
- Ensure bikes do not obstruct vehicle lights or license plates. Consider purchasing additional tail lights if visibility is compromised.
- Drive cautiously, especially over rough terrain, and avoid sudden braking or sharp turns.
Package Contents
The package includes the following components:
- Bike Rack (main assembly)
- Locking Hitch Pin
- Hardware (bolts, nuts, washers)
- Instruction Manual
Note: Some parts may be pre-installed on the product for convenience. Please check the product thoroughly before contacting support for missing parts.
Specifications
| Brand | Young Electric |
| Model Number | 4147 |
| Load Capacity | 200 Pounds (90.7 kg) |
| Mounting Type | Hitch (2-inch receiver only) |
| Foldable | Yes |
| Product Dimensions (L x W x H) | 47.24 x 19.48 x 7.08 inches (120 x 49.5 x 18 cm) |
| Item Weight | 61.6 pounds (27.9 kg) |
| Material | Reinforced Steel and Aluminum |
| Max Wheelbase | 50 inches |
| Tire Compatibility | Road, Mountain, Fat Tires (up to 5 inches wide) |
Setup and Installation
The Young Electric Ebike Rack is designed for straightforward assembly. Most major components come pre-assembled. This rack is compatible only with vehicles equipped with a 2-inch hitch receiver.
1. Attaching the Rack to Your Vehicle
- Slide the hitch arm of the bike rack into your vehicle's 2-inch hitch receiver.
- Align the hitch pin holes. Insert the provided locking hitch pin through the aligned holes.
- Securely tighten the locking hitch pin. This threaded pin design helps reduce wobble during transport.
- Ensure the rack is firmly seated and does not wobble excessively.
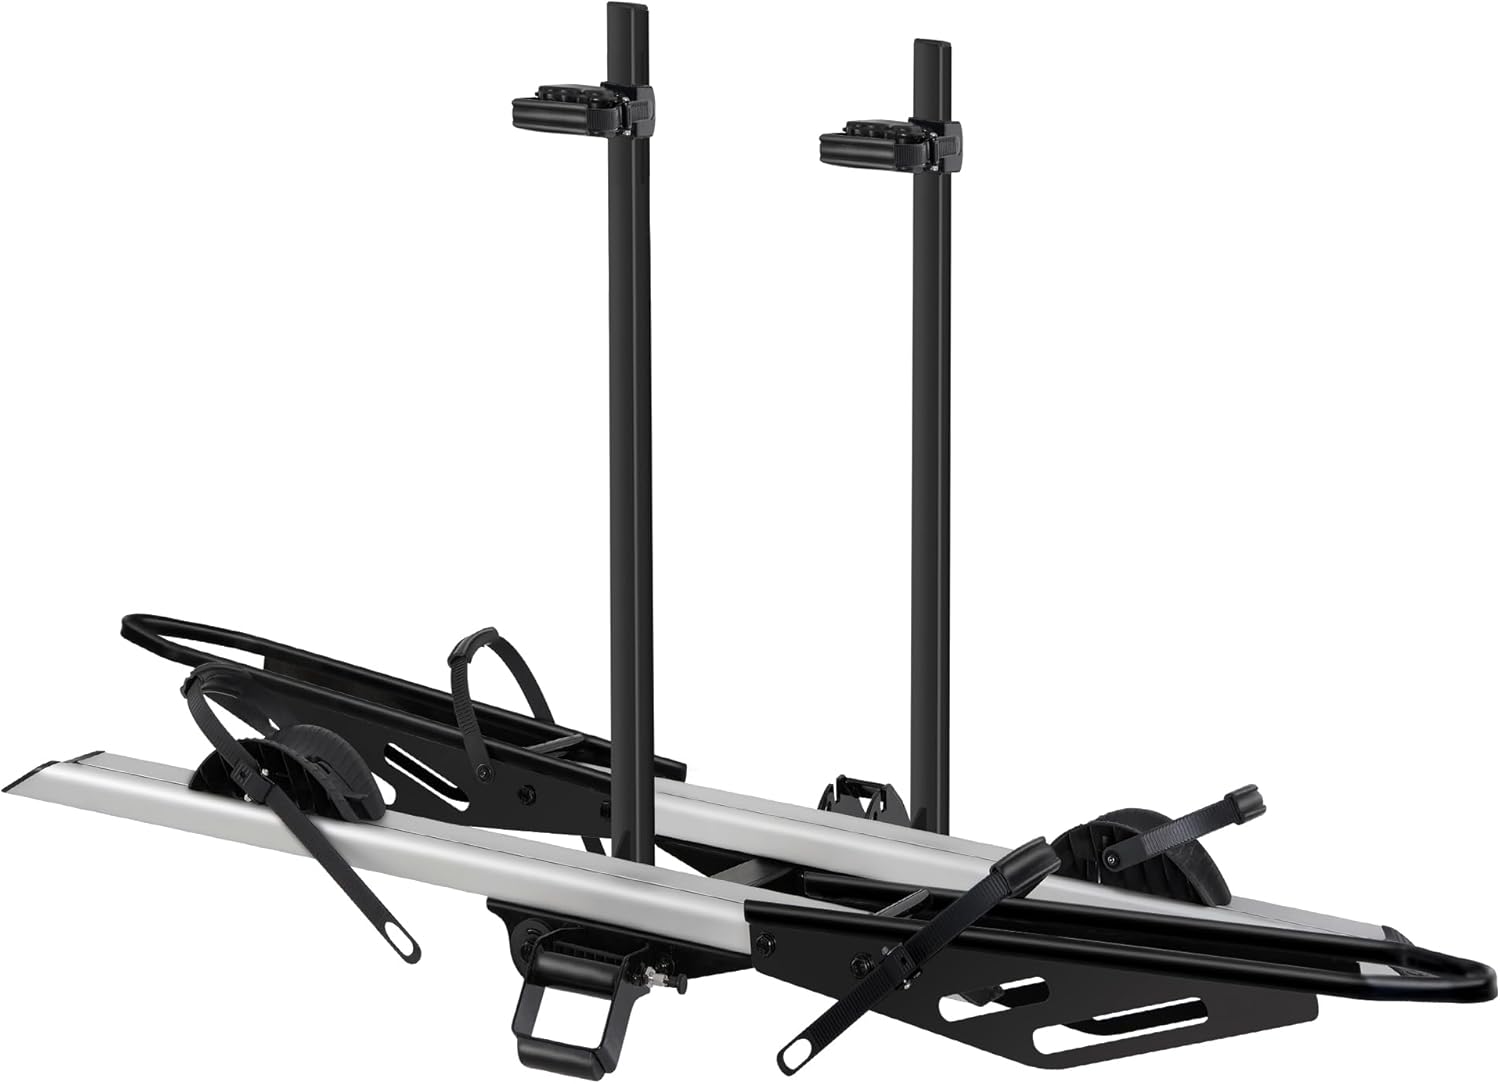
Image: The Young Electric Hitch Mount Ebike Rack, ready for installation onto a vehicle's 2-inch receiver.
2. Preparing the Rack for Bikes
- Unfold the bike trays and vertical support arms if they are in the folded position. The convenient handle device allows for one-handed folding/unfolding.
- Adjust the wheel cradles and adjustable sliders to match the wheelbase of your bikes. The rack accommodates wheelbases up to 50 inches.
- Ensure the stable-grip mega cradles are positioned correctly to support your bike tires, including fat tires up to 5 inches wide.

Image: The EZ-FOLD mechanism, demonstrating how the rack folds up for storage or when not in use, and unfolds for bike transport.

Image: Close-up view of the adjustable sliders for wheelbase customization and the stable-grip mega cradle designed for various tire sizes, including fat tires.
Operating Instructions
1. Loading Bikes
- Place the first bike onto the rack, ensuring its wheels are seated firmly in the wheel cradles.
- Secure the bike's frame using the adjustable arm bar. Position the clamp on a sturdy part of the bike frame, avoiding cables or hydraulic lines.
- Use the patent secure wheel cradles and anti-wobble straps to firmly secure both wheels. Ensure the straps are correctly looped through the designated slot and tightened. Refer to the diagram below for correct strap usage.
- Repeat the process for the second bike.
- Double-check all attachment points and straps for tightness before driving.

Image: Visual guide illustrating the correct method for securing bike wheels with the provided straps, and an example of incorrect usage.

Image: Illustration highlighting the three key security points: front wheel cradle, adjustable arm bar, and adjustable slider, ensuring bikes are held firmly.
2. Tilting Feature for Trunk Access
The rack features a tilt function, allowing you to access your vehicle's trunk or tailgate without removing the bikes. Locate the tilt release mechanism (usually a lever or pin near the hitch connection) and follow the instructions to tilt the rack downwards. Return the rack to its upright, locked position before driving.

Image: The bike rack in a tilted position, providing clear access to the vehicle's rear cargo area even with bikes loaded.
Maintenance
- Regular Cleaning: Clean the rack periodically with mild soap and water to remove dirt, road grime, and salt, especially after use in harsh weather conditions. Rinse thoroughly and dry.
- Inspect Fasteners: Before each use, check all bolts, nuts, and pins for tightness. Re-tighten any loose fasteners to prevent wobble and ensure security.
- Check Straps and Cradles: Inspect the wheel straps and frame cradles for signs of wear, cracks, or damage. Replace any worn components immediately.
- Lubrication: Apply a small amount of lubricant to moving parts, such as the folding and tilting mechanisms, to ensure smooth operation.
- Storage: When not in use, store the bike rack in a dry, protected area to prolong its lifespan.
Troubleshooting
- Issue: Rack wobbles excessively in the hitch receiver.
- Solution: Ensure the threaded hitch pin is fully inserted and tightened. The threaded design is specifically intended to minimize wobble. If wobble persists, verify your vehicle's hitch receiver is free of debris and the pin is correctly engaged.
- Issue: Bike wheels are not securely held by the straps.
- Solution: Verify that the straps are correctly threaded through the ratchet mechanism and the designated slot on the wheel cradle. Refer to the "Correct Usage" diagram in the Operating Instructions section. Ensure the strap is pulled taut and ratcheted down firmly.
- Issue: Difficulty folding or unfolding the rack.
- Solution: Check for any obstructions or debris in the folding mechanism. Apply a small amount of lubricant to the pivot points if movement is stiff. Ensure the release handle is fully engaged or disengaged as required.
Warranty and Support
For warranty information, technical support, or to inquire about replacement parts, please contact Young Electric customer service. Keep your purchase receipt and product model number (4147) handy for faster service.
You can visit the official Young Electric store for more information: Young Electric Store


