
X88 X88PRO
HY300 Pro Mini Projector User Manual
Model: X88PRO
1. Introduction
Thank you for purchasing the X88 HY300 Pro Mini Projector. This portable projector is designed to provide a versatile and immersive viewing experience, whether for home entertainment, gaming, or presentations. With its Android 11.0 operating system, Wi-Fi 6, Bluetooth 5.0, and automatic keystone correction, it offers convenience and high-quality projection.

Image: The HY300 Pro Mini Projector, showcasing its compact, cylindrical design and integrated stand.
2. Safety Information
Please read all safety instructions carefully before using this product. Failure to follow these instructions may result in electric shock, fire, or other hazards.
- Do not expose the projector to rain or moisture.
- Do not open the projector casing. Refer all servicing to qualified service personnel.
- Ensure proper ventilation around the projector to prevent overheating.
- Avoid direct eye exposure to the projector lens when the lamp is on.
- Use only the power adapter supplied with the projector.
- Keep the projector away from heat sources and direct sunlight.
3. Package Contents
Verify that all items are present in the package:
- Projector
- Remote control
- Power Cord
- User guide
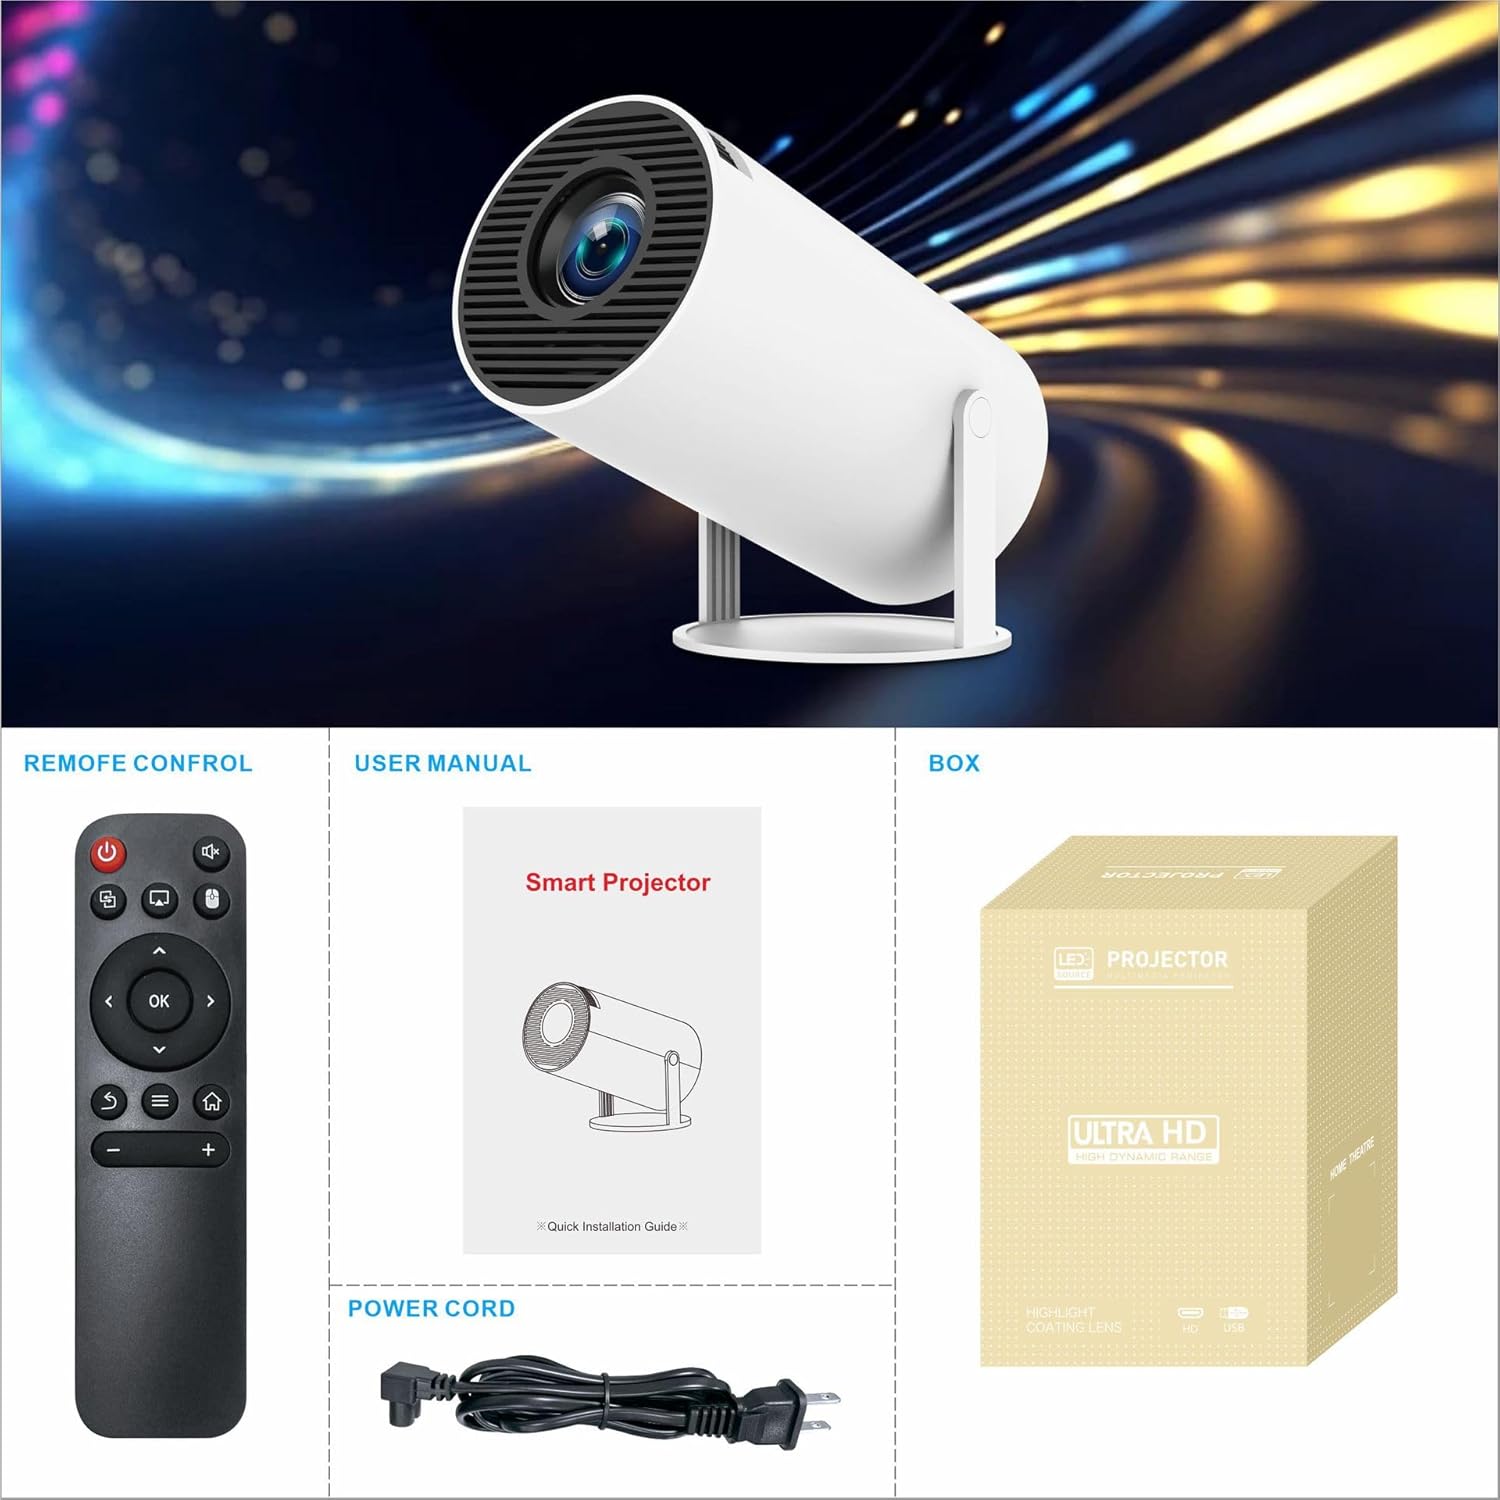
Image: The projector and its included accessories: remote control, power cord, and user manual.
4. Product Overview
The HY300 Pro Mini Projector features a compact design with essential ports for connectivity. Familiarize yourself with the components:
4.1 Front View
The front houses the projection lens and ventilation grilles.
4.2 Rear View (Ports)
The rear panel includes the following ports:
- HDMI Port: For connecting devices like laptops, gaming consoles, or TV sticks.
- USB Port: For connecting USB drives to play media files.
- Power Input: For connecting the power adapter.
4.3 Controls
The projector can be controlled via the included remote control. The remote features navigation buttons, volume control, input selection, and a dedicated mouse mode button for easier navigation within the Android OS.
5. Setup
5.1 Placement
Position the projector on a stable, flat surface. The HY300 Pro features a 180-degree rotating stand, allowing you to project onto walls, ceilings, or floors. Ensure there are no obstructions in front of the lens.

Image: The projector's ability to project at various angles, including walls and ceilings, due to its 180-degree flexible stand.
5.2 Power Connection
Connect the supplied power cord to the projector's power input port, then plug the other end into a power outlet.
5.3 Initial Power On
Press the power button on the projector or the remote control to turn on the device. The projector will boot up, displaying the Android 11.0 interface.
5.4 Focus and Keystone Correction
The projector features automatic keystone correction for vertical image alignment. After booting up, use the manual focus ring on the projector to achieve a clear image. The automatic keystone correction will adjust the image vertically; horizontal adjustment is not automatic and may require repositioning the projector.

Image: Illustration of the automatic keystone correction feature, which corrects distorted images.
6. Operating Instructions
6.1 Remote Control Navigation
Use the directional buttons on the remote to navigate the Android interface. The 'OK' button confirms selections, and the 'Back' button returns to the previous screen. Press the dedicated mouse button to switch to mouse mode for easier interaction with certain applications.
6.2 Connecting External Devices
- HDMI: Connect your laptop, game console, or streaming stick to the HDMI port. Select the HDMI input source from the projector's menu.
- USB: Insert a USB flash drive into the USB port to access local media files.
6.3 Wireless Connectivity
The projector supports dual-band Wi-Fi 6 and Bluetooth 5.0 for seamless wireless connections.
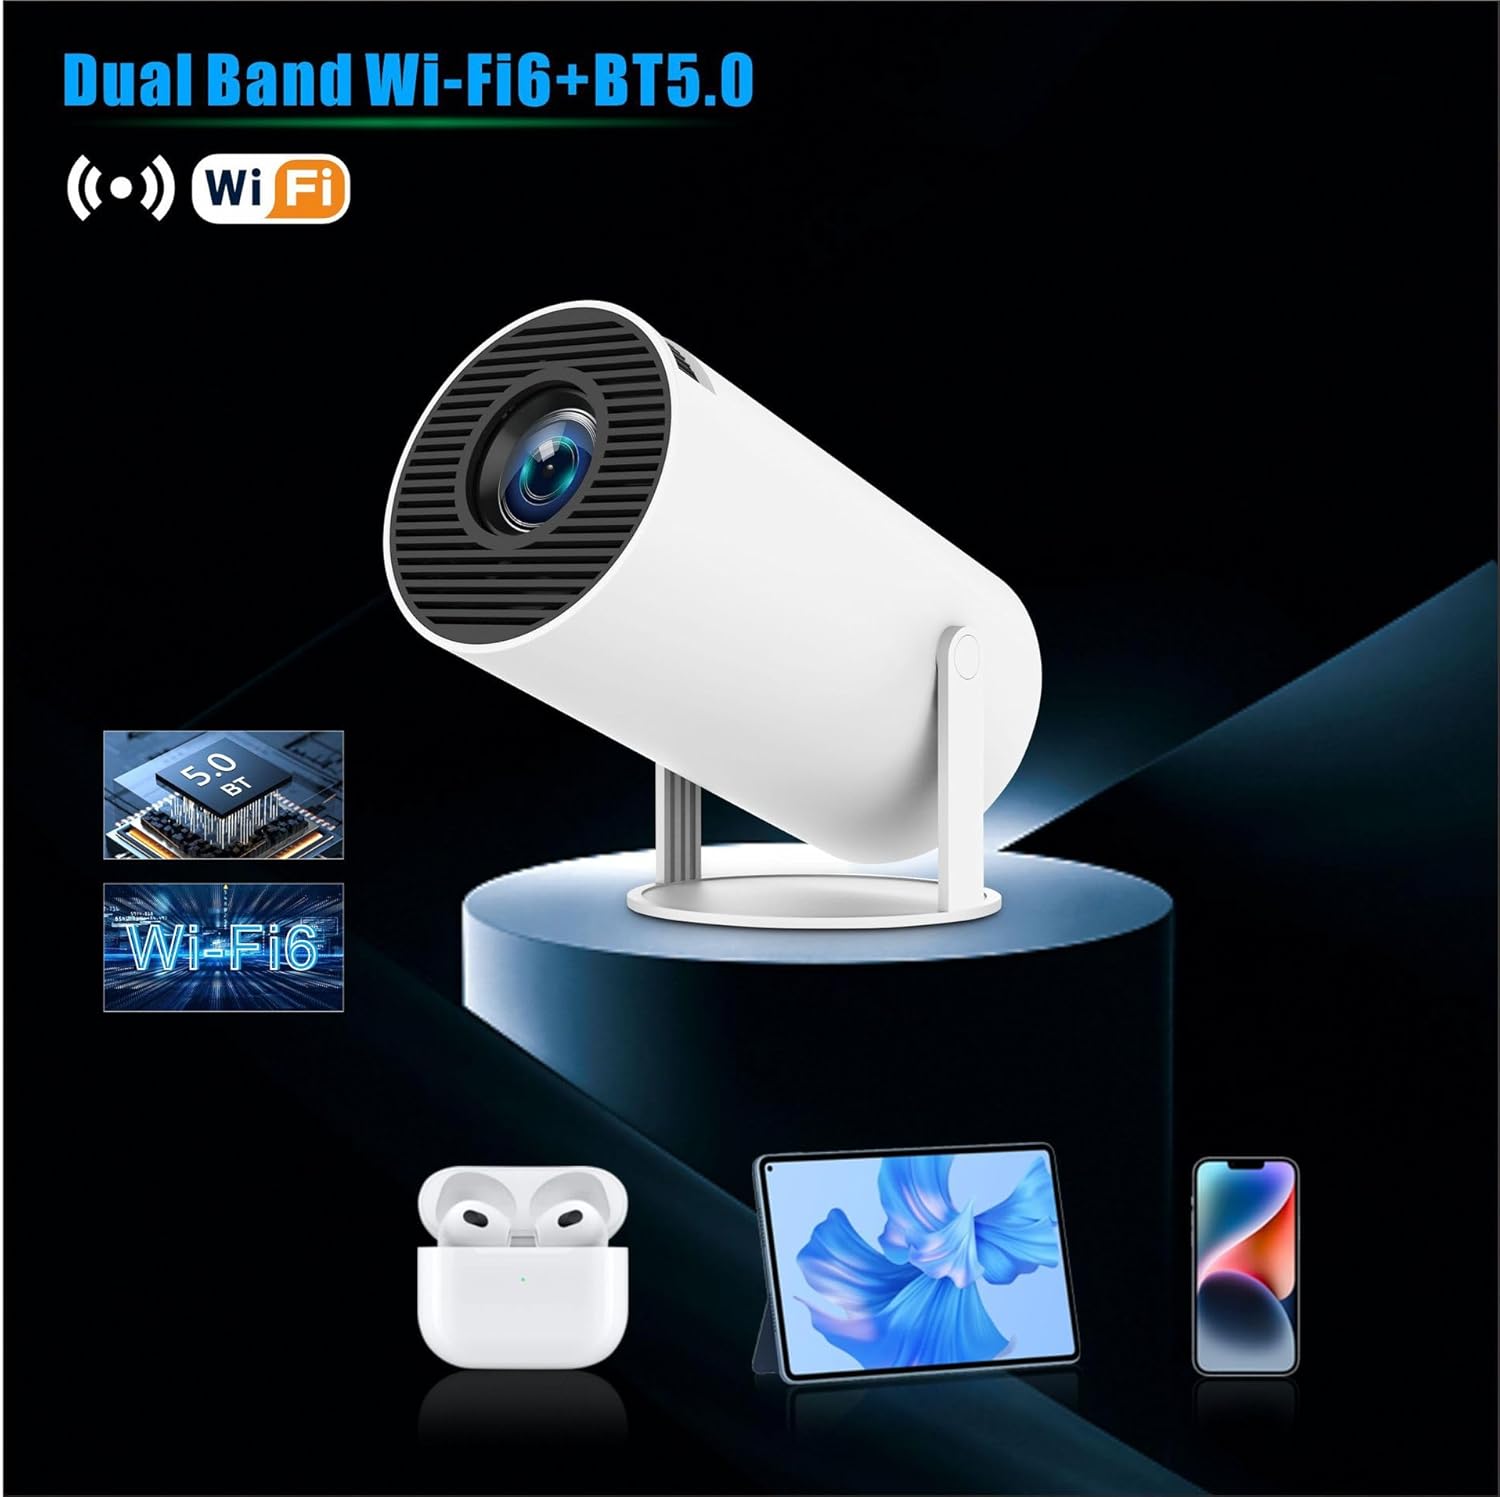
Image: The projector highlighting its Dual Band Wi-Fi 6 and Bluetooth 5.0 capabilities.
- Wi-Fi Connection: Go to Settings > Network > Wi-Fi, select your network, and enter the password.
- Bluetooth Connection: Go to Settings > Bluetooth, turn on Bluetooth, and pair with your desired audio devices like speakers or headphones.

Image: The projector connected wirelessly to external speakers, demonstrating its Wi-Fi and Bluetooth capabilities for an enhanced audio experience.
6.4 Screen Mirroring
The projector supports screen mirroring from various devices.

Image: The projector's convenient screen mirroring feature, allowing wireless connection from smartphones, tablets, and laptops.
- DLNA: Ensure your phone/tablet is on the same network as the projector. Open a video playing app, click the TV icon, and select the projector's device name.
- iOS Connect by Cables: Connect your iPhone/iPad to the projector via the original iPhone charging cable. Click "Trust" when prompted on your iPhone and enter the device password if required.
- Android Wireless Screen: Ensure your Android phone/tablet is on the same network as the projector. Open settings on your Android device, access display settings or screen mirroring, and select the projector's device name.
6.5 Android 11.0 OS and Applications
The projector runs on Android 11.0, providing access to over 4,000 applications, including popular streaming services like Netflix, YouTube, and Amazon Prime. You can download and install apps from the pre-installed app store.

Image: The projector's Android 11.0 interface, showing access to a wide range of applications for entertainment.
Note: Due to copyright protection, paid video distribution services such as Netflix, Prime Video, and Hulu cannot project directly from your smartphone via screen mirroring. Try connecting a PC/TV Box/Fire Stick with an HDMI cable for these services.
7. Maintenance
7.1 Cleaning
- Lens: Use a soft, lint-free cloth specifically designed for optical lenses. Do not use abrasive cleaners.
- Casing: Wipe the projector's exterior with a soft, dry cloth. For stubborn marks, a slightly damp cloth can be used, followed by a dry one.
- Ventilation: Ensure the ventilation openings are clear of dust and debris to maintain proper airflow and prevent overheating.
7.2 Storage
When not in use for extended periods, store the projector in a cool, dry place, away from direct sunlight and extreme temperatures. Use the original packaging or a protective case to prevent dust accumulation and physical damage.
8. Troubleshooting
If you encounter issues with your projector, refer to the following common problems and solutions:
- No Power: Ensure the power cord is securely connected to both the projector and the power outlet. Try a different outlet.
- No Image: Check the input source selection. Ensure the connected device (e.g., laptop, streaming stick) is powered on and outputting a signal.
- Blurry Image: Adjust the manual focus ring. Ensure the projector is placed at an optimal distance from the projection surface.
- Distorted Image (Vertical): The projector has automatic keystone correction. If the image is still distorted, try repositioning the projector.
- No Sound: Check the volume settings on both the projector and the connected device. Ensure external speakers (if used) are properly connected and powered on.
- Fire TV Stick Noise/Incorrect Colors: If connecting a Fire TV Stick results in noise or incorrect colors, try these resolution methods:
- For Video: Go to Settings > Screen and Sound > Screen > Dynamic Range Settings > Select 'Adaptive'.
- For Audio: Go to Settings > Screen and Sound > Audio > Surround Sound > Select 'PCM'.
- Wi-Fi Connection Issues: Ensure the Wi-Fi password is correct. Restart the projector and your Wi-Fi router.
- Loud Fan Noise: The projector is designed to operate with low noise (below 25 dB). Ensure proper ventilation and that no objects are blocking the air vents.
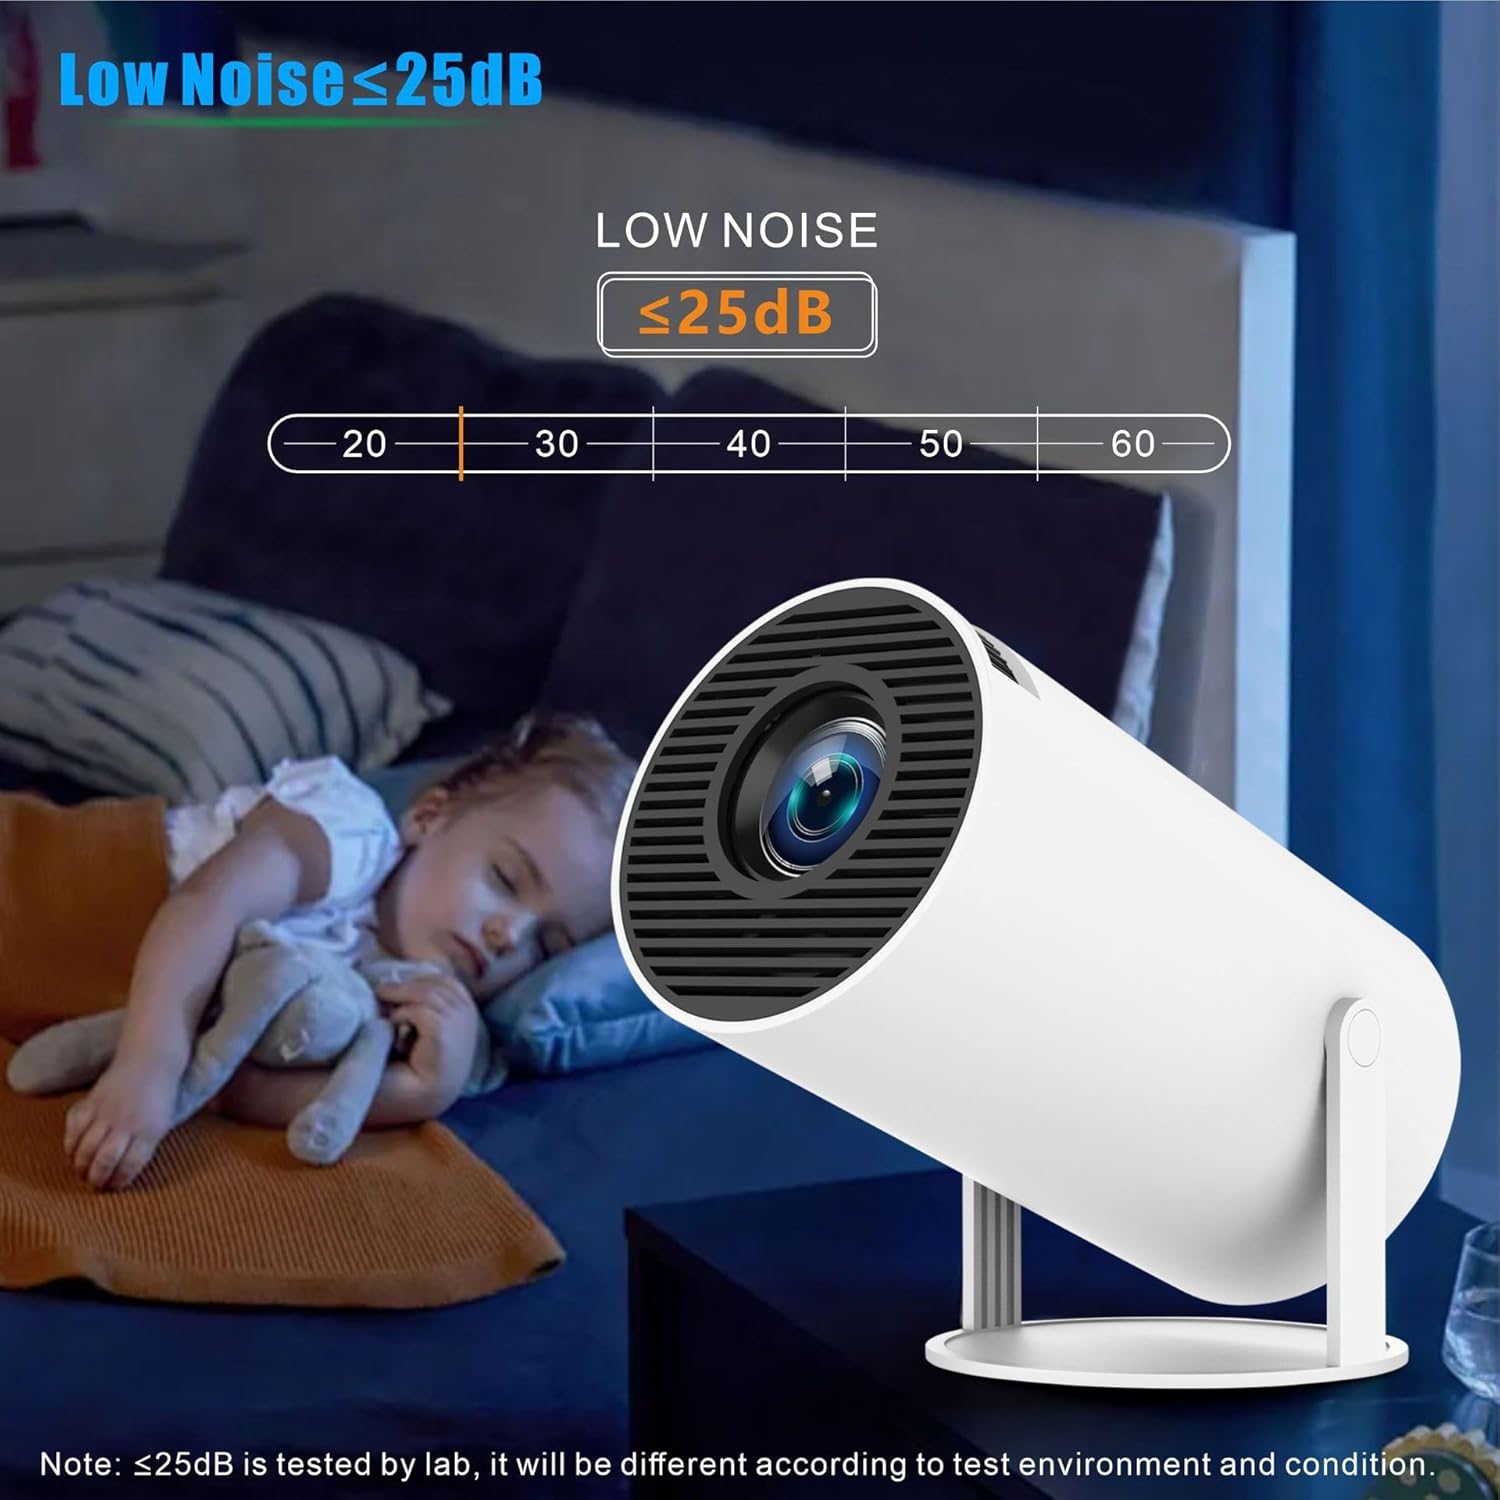
Image: The projector's low noise operation, indicating it runs quietly at less than 25dB.
9. Specifications
| Feature | Specification |
|---|---|
| Brand | X88 |
| Model Number | X88PRO |
| Item Weight | 1.1 pounds |
| Product Dimensions | 6.69 x 3.93 x 3.93 inches |
| Country of Origin | China |
| Special Features | Native 720P, Support 4K, WiFi 6, Android 11.0 OS, BT5.0 |
| Connectivity Technology | WIFI6, BT5.0, HDMI, USB |
| Display Resolution | 1280 x 720 |
| Visible Screen Diagonal | 130" / 331 cm |
10. Warranty and Support
For warranty information and technical support, please refer to the contact details provided on the product packaging or the official X88 website. Keep your purchase receipt as proof of purchase for warranty claims.
Related documentsX88PRO


Ask a question about this manual
Ask about setup, troubleshooting, compatibility, parts, safety, or missing instructions. Manuals+ will review the question and use this page’s manual context to help answer it.