1. Important Safety Information
Always read and understand all safety warnings and instructions before operating the pressure washer. Failure to follow these instructions may result in electric shock, fire, and/or serious injury.
- Wear appropriate eye protection (safety glasses) and hearing protection during operation.
- Do not direct the water stream at people, pets, electrical devices, or the unit itself.
- Ensure all connections are secure before starting the unit to prevent leaks.
- Operate the pressure washer on a stable, level surface.
- Keep children and bystanders away from the operating area.
- Always disconnect the power supply before performing any maintenance or cleaning.
- Use only manufacturer-recommended accessories and replacement parts.
2. What's in the Box
Your LawnMaster LT506-2000A Electric Pressure Washer package includes the following components:
- Main Pressure Washer Unit
- Spray Gun
- 20-foot High-Pressure Hose
- 35-foot Power Cord
- Foam Bottle
- Hub Brush
- Adjustable Nozzle Lance (with 0°, 20°, 45° settings)
- User Manual

The image above illustrates the main unit and its various accessories, including the spray gun, foam bottle, and hoses.
3. Assembly Instructions
Follow these steps to assemble your pressure washer:
- Attach the Handle: Secure the top handle to the main unit using the provided screws. Ensure it is firmly attached.
- Install Accessory Holders: Slide the accessory holders onto the designated slots on the main unit. These holders provide convenient storage for the spray gun, nozzles, and power cord.
- Connect High-Pressure Hose to Spray Gun: Insert one end of the high-pressure hose into the spray gun handle until it clicks securely into place. Pull gently to ensure it is locked.
- Connect High-Pressure Hose to Main Unit: Insert the other end of the high-pressure hose into the water outlet on the main pressure washer unit until it clicks securely.
- Attach Spray Wand to Spray Gun: Align the spray wand with the spray gun handle, push down, and twist clockwise until it locks. To remove, push down, twist counter-clockwise, and pull out.
- Connect Water Inlet: Remove the plastic cap from the water inlet on the main unit. Attach the water inlet connector, then connect your garden hose to this connector.

4. Setup
Before operating your pressure washer, ensure proper setup:
- Water Supply: Connect your garden hose to the water inlet on the pressure washer. Ensure the water supply is turned on fully.
- Power Connection: Plug the 35-foot power cord into a grounded 13 Amp electrical outlet. Ensure the outlet is suitable for outdoor use if applicable.
- Purge Air: Before turning on the power, squeeze the spray gun trigger to allow water to flow through the system and purge any air. This helps protect the pump.
5. Operating Instructions
To begin using your LawnMaster pressure washer:
- Turn On: Locate the On/Off switch on the main unit and turn it to the 'On' position. The motor will start.
- Engage Spray: Aim the spray gun at the desired cleaning surface. Squeeze the trigger to begin spraying. Release the trigger to stop the water flow.
- Adjust Nozzle: Twist the nozzle on the spray wand to select the desired spray pattern (0° for stubborn stains, 20° for decks/fences/wood, 45° for doors/windows/cars).
- Apply Detergent (Optional): If using the foam bottle, fill it with appropriate pressure washer detergent. Attach it to the spray gun. Adjust the soap output dial on the foam bottle as needed.
- Cleaning Technique: Always start spraying from a distance of at least 12 inches (30 cm) and gradually move closer to the surface until the desired cleaning effect is achieved. Avoid spraying too close, especially on delicate surfaces.
- After Use: Turn off the pressure washer unit. Squeeze the trigger to release any remaining pressure in the system. Disconnect the water supply and then the power cord.

For a visual guide on operating the pressure washer with the detergent bottle, refer to the video below:
6. Nozzle and Accessory Usage
The LT506-2000A comes with versatile accessories to tackle various cleaning tasks:
- Adjustable Nozzle Lance: This lance offers three spray patterns by twisting the nozzle:
- 0° (Pencil Jet): Provides maximum pressure for stubborn stains and concentrated cleaning. Use with caution on delicate surfaces.
- 20° (Fan Spray): Ideal for general cleaning of decks, fences, and wood surfaces.
- 45° (Wide Fan Spray): Suitable for gentle cleaning of doors, windows, and vehicles.
- Foam Bottle: Attach this bottle to the spray gun to directly spray aerated foam for car cleaning or other applications requiring detergent. The dial on top allows adjustment of soap concentration.
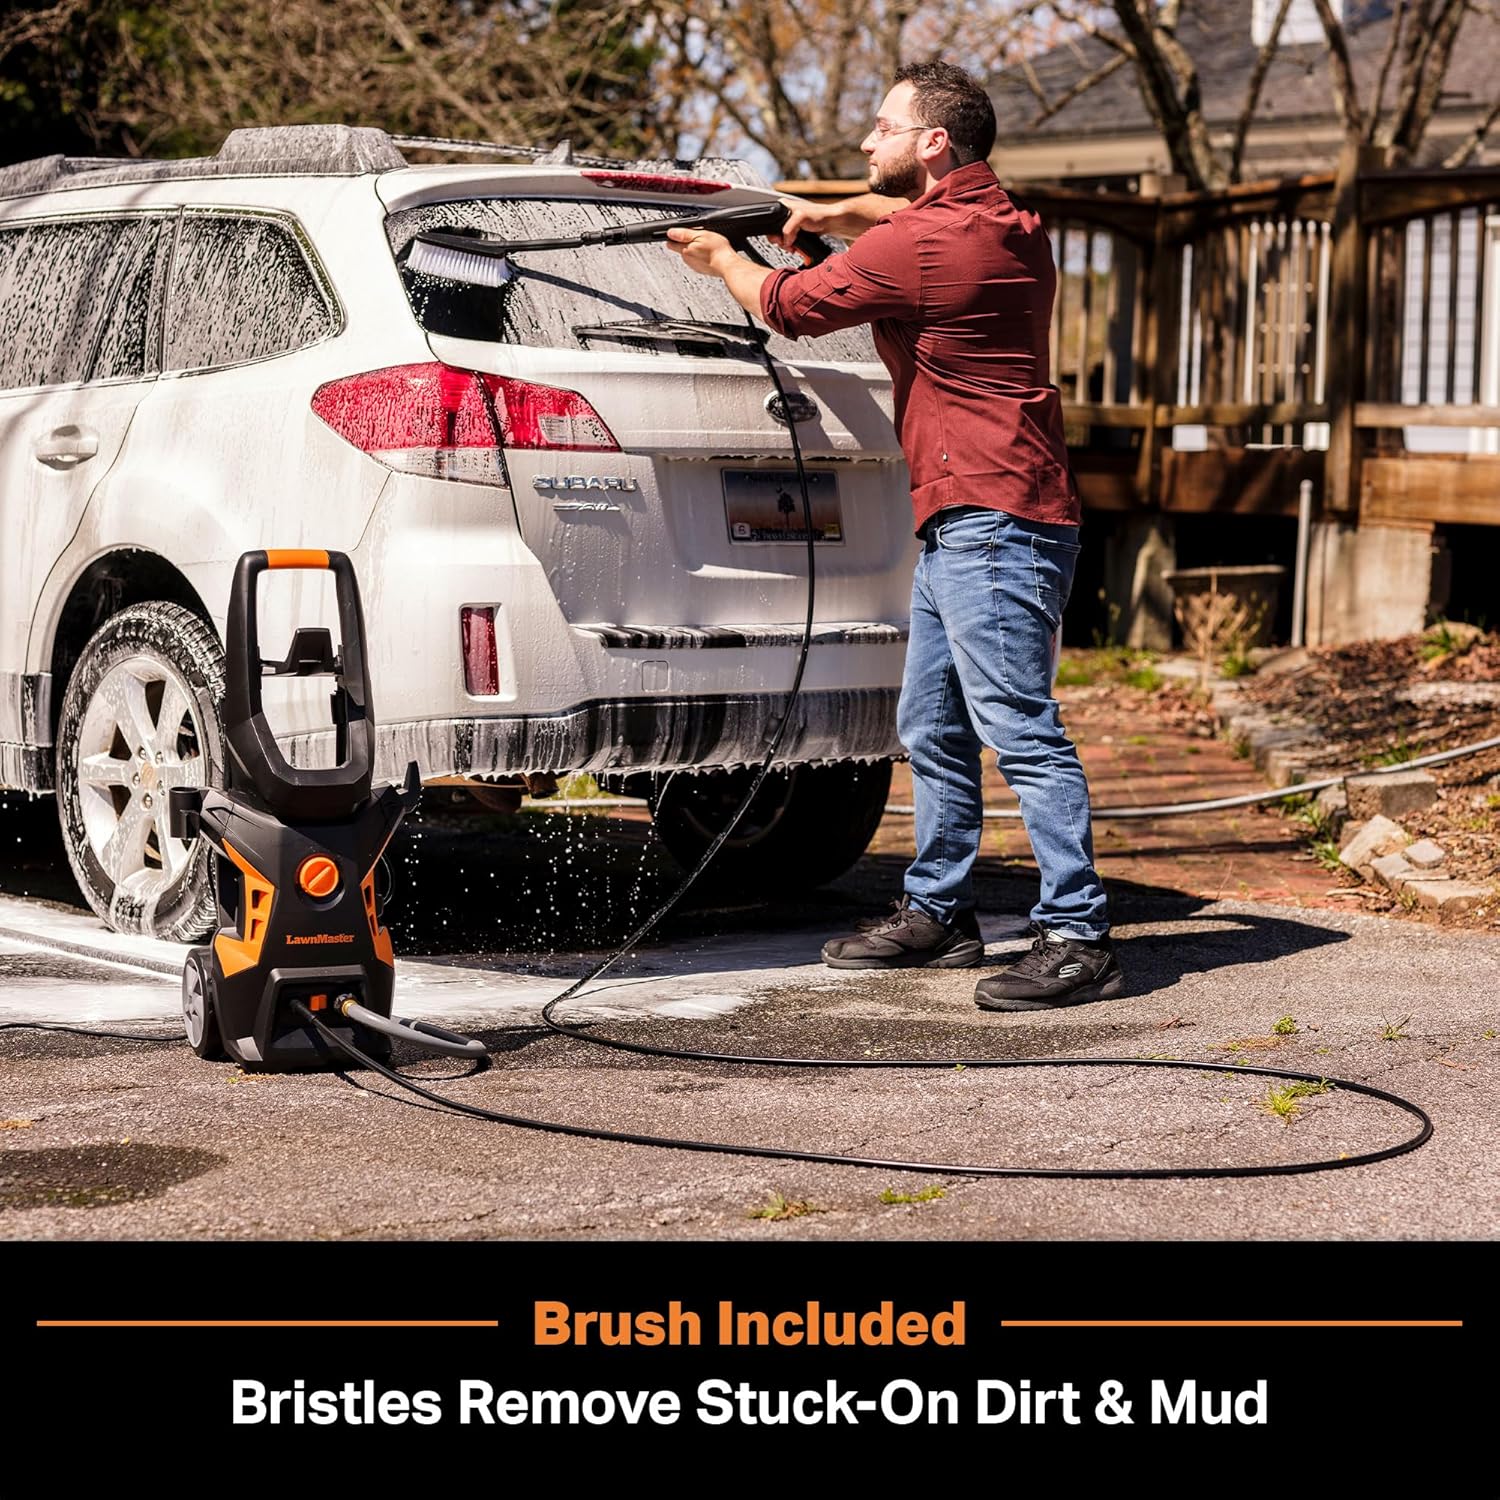
- Hub Brush: Use the included hub brush for effective cleaning of car wheels, removing brake dust and grime from intricate areas.

7. Maintenance
Regular maintenance ensures optimal performance and extends the life of your pressure washer:
- Clean Nozzles: Periodically check nozzles for clogs. Use the included nozzle cleaning tool to clear any debris.
- Inspect Hoses: Before each use, inspect the high-pressure hose and garden hose for any signs of wear, cuts, or leaks. Replace damaged hoses immediately.
- Water Inlet Filter: Clean the water inlet filter regularly to prevent debris from entering the pump.
- Storage: Store the pressure washer in a dry, frost-free environment. Drain all water from the pump and hoses before storing to prevent freezing damage.
- Cord Care: Wrap the power cord neatly around the designated hooks on the unit to prevent tangling and damage.
8. Troubleshooting
Refer to the table below for common issues and their solutions:
| Problem | Possible Cause | Solution |
|---|---|---|
| Unit does not start | No power supply; On/Off switch is off; GFCI tripped | Check power connection; Turn switch to 'On'; Reset GFCI. |
| Low pressure | Insufficient water supply; Clogged nozzle; Air in pump | Ensure full water flow; Clean nozzle; Purge air by squeezing trigger with power off. |
| Water leaks | Loose connections; Damaged O-rings/washers | Tighten all connections; Replace worn O-rings/washers. |
| Motor stops during operation | Overheating; Power surge | Allow unit to cool down; Check power supply for stability. |
9. Specifications
Key technical specifications for your LawnMaster LT506-2000A Electric Pressure Washer:
| Feature | Specification |
|---|---|
| Model Number | LT506-2000A |
| Power Source | Electric (AC) |
| Amperage | 13 Amp |
| Maximum Pressure | 2300 Max PSI |
| Maximum Flow Rate | 1.4 GPM (Gallons Per Minute) |
| Hose Length | 20 Feet |
| Power Cord Length | 35 Feet |
| Item Weight | 22.6 Pounds |
| Product Dimensions | 13.1"L x 20"W x 16.8"H |
| Certification | CSA Certified |
10. Warranty and Support
For warranty information, product registration, or technical support, please refer to the contact details provided in your product packaging or visit the official LawnMaster website.
- Warranty: Your LawnMaster pressure washer is covered by a manufacturer's warranty. Please retain your proof of purchase.
- Customer Service: For assistance, contact LawnMaster customer support.
- Online Resources: Visit the LawnMaster Store on Amazon for additional products and information.


