1. Introduction
This manual provides comprehensive instructions for the setup, operation, and maintenance of your SOVMIKU Wireless Network Video Recorder (NVR). This NVR is designed to work exclusively with SOVMIKU wireless cameras, offering advanced features such as motion detection and full-color night vision when paired with compatible cameras. Please read this manual thoroughly before using the device to ensure proper functionality and safety.

Figure 1.1: The SOVMIKU Wireless NVR unit. This device serves as the central recording hub for your SOVMIKU wireless security camera system.
2. What's in the Box
Upon opening the package, please verify that all the following items are included:
- 1 x SOVMIKU NVR (without Hard Drive)
- 1 x Power Adapter (12V2A or 12V3A output)
- 1 x USB Mouse
- 1 x HDMI Cable
- 1 x Network Cable
Note: Hard drive is not included and must be purchased separately if video recording and playback are desired.
3. Setup Guide
3.1 Power Requirements
The NVR requires a power supply with a 12V2A or 12V3A output. Using a power supply with lower amperage (e.g., 12V1A) may not provide sufficient power, especially if a hard drive is installed, leading to system instability or failure to power on.
3.2 Hard Drive Installation
This NVR does not include a pre-installed hard drive. To enable video recording and playback, an internal hard drive (up to 3TB capacity) must be installed. The NVR supports 2.5-inch hard drives.
- Unscrew and remove the top cover of the NVR unit.
- Carefully connect the SATA power and data cables from the NVR to the corresponding ports on your hard drive.
- Secure the hard drive within the NVR chassis using the provided screws (if any, typically included with the NVR or hard drive).
- Replace the top cover and secure it with screws.

Figure 3.1: Illustration of NVR connectivity and internal hard drive placement. The NVR supports a 2.5-inch hard drive for local storage.
3.3 Connecting Cameras to the NVR (Pairing)
New cameras are not automatically paired with your NVR. Follow these steps to add new SOVMIKU wireless cameras to your system:
- Connect the NVR to a monitor via HDMI and connect the USB mouse.
- Right-click on the NVR's display screen to access the main menu.
- Select "Channel Set" from the menu options.
- On the camera you wish to pair, locate and press its reset button for approximately 10 seconds. This puts the camera into pairing mode.
- On the NVR screen, click the "QuickPair" button.
- Wait for a new IP address to appear on the screen, indicating the camera has been detected.
- Click "Continue" to finalize the pairing process. If no IP address appears, click "Search again" and repeat step 4.
Note: This NVR is only compatible with SOVMIKU wireless cameras, including models B09C1G318X, B0CLJBFPQB, B0CD6Z3YBY, and B0CNVWM56L.
3.4 Network Connection
Connect the NVR to your router using the provided network cable for remote viewing and system updates.
4. Operating Instructions
4.1 Video Recording and Compression
The NVR supports H.265 video compression technology, which significantly reduces file size while maintaining video quality. This allows for more efficient storage utilization compared to older H.264 compression.

Figure 4.1: H.265 compression efficiency. This technology allows for greater video storage capacity on the same hard drive size.
4.2 Motion Detection and Night Vision
When paired with compatible SOVMIKU cameras, the NVR system supports advanced features:
- Humanoid Detection: Reduces false alarms by specifically identifying human shapes.
- Light Alarm: Compatible cameras can activate a light alarm upon detection.
- Infrared Night Vision: Provides clear black and white video in low-light conditions.
- Full Color Night Vision: Certain compatible cameras offer full-color video even in very low light.
- App Push Notifications: Receive alerts on your mobile device when motion is detected.
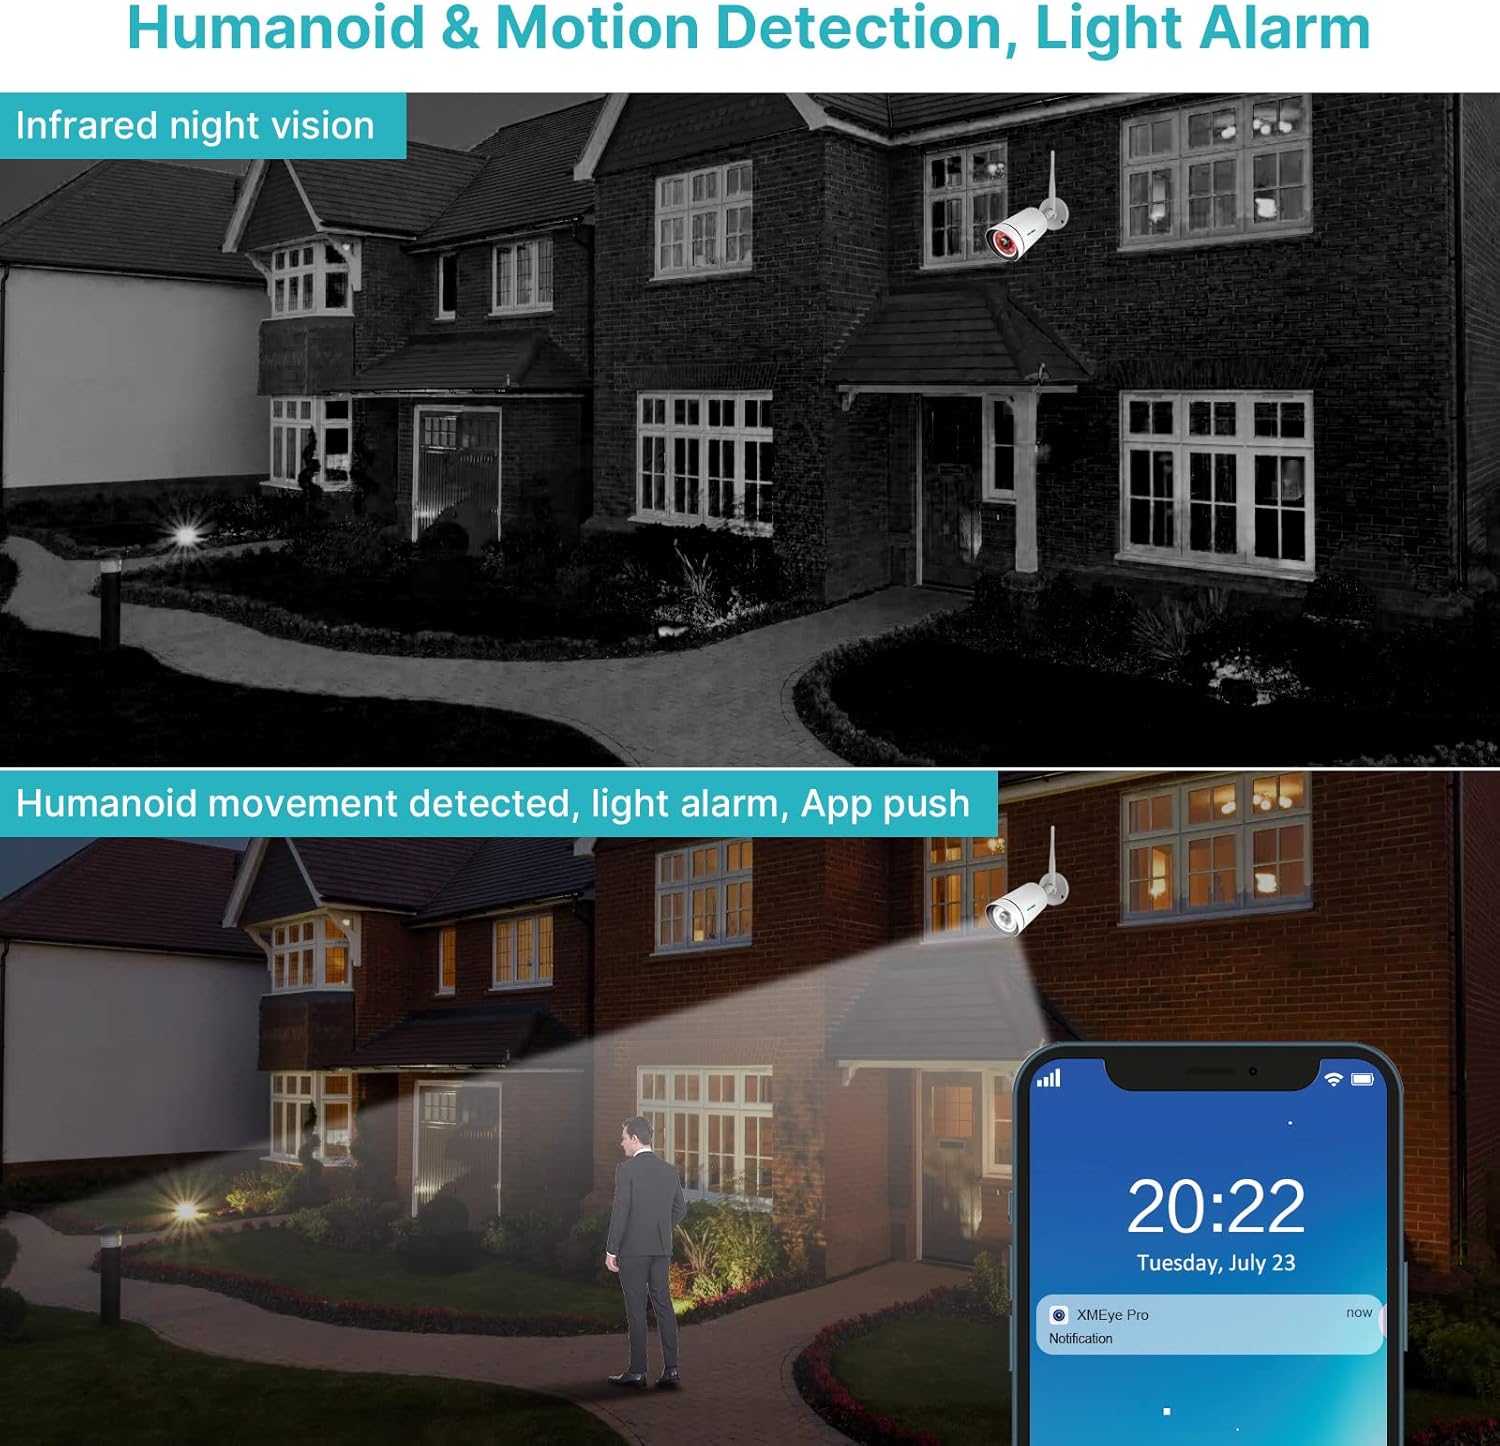
Figure 4.2: Demonstration of advanced detection features. The system can detect human shapes and trigger light alarms or app notifications.
4.3 Two-Way Audio
If your SOVMIKU cameras support two-way audio, you can communicate with individuals in the surveillance area directly through the NVR system via a connected monitor and microphone, or through the mobile application.
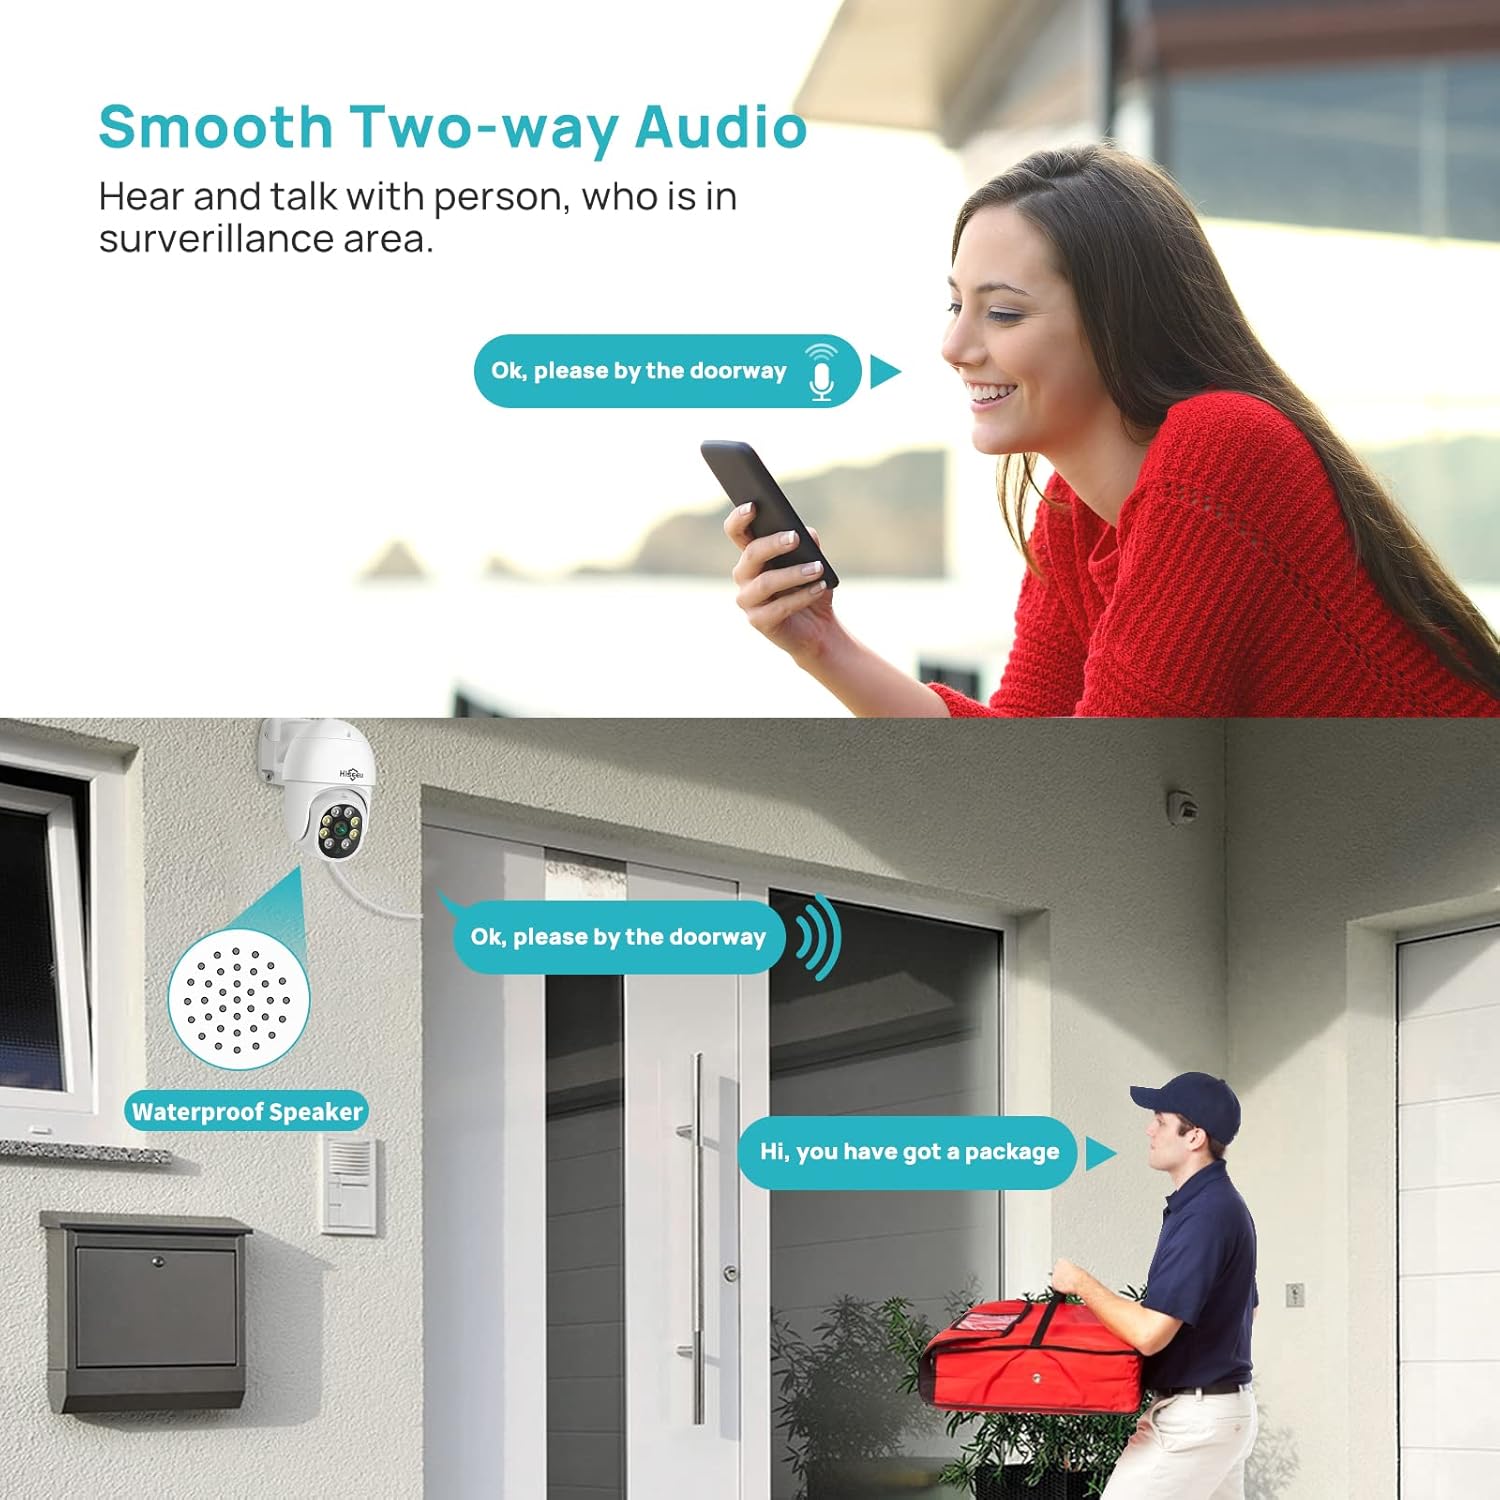
Figure 4.3: Two-way audio functionality. This feature allows for direct verbal communication through compatible cameras.
4.4 Multi-Device Support
The SOVMIKU NVR system supports viewing and management across multiple platforms, including Android, iOS, and Windows devices. This allows for flexible access to your surveillance feed from smartphones, tablets, and computers.
5. Maintenance
To ensure the longevity and optimal performance of your SOVMIKU NVR, consider the following maintenance tips:
- Keep the NVR in a cool, dry, and well-ventilated area to prevent overheating.
- Regularly check for and install firmware updates to ensure system stability and access to new features.
- Periodically clean the exterior of the NVR with a soft, dry cloth. Avoid using liquid cleaners.
- If a hard drive is installed, consider regular data backups for critical recordings.
6. Troubleshooting
| Problem | Possible Cause | Solution |
|---|---|---|
| NVR does not power on. | Incorrect power adapter used (e.g., 12V1A instead of 12V2A/3A). | Ensure you are using the correct 12V2A or 12V3A power adapter. |
| New camera not pairing with NVR. | Camera not in pairing mode; NVR not in QuickPair mode; incompatible camera. | Press camera reset button for 10s. Ensure NVR is in "QuickPair" mode. Verify camera is a SOVMIKU wireless model. |
| No video playback. | No hard drive installed or hard drive full/faulty. | Install a compatible internal hard drive (up to 3TB). Check hard drive status in NVR settings. Format or replace if necessary. |
| Remote viewing not working. | NVR not connected to network; network issues; app configuration error. | Ensure NVR is connected to your router via Ethernet. Check network connectivity. Verify app settings and NVR network configuration. |
7. Specifications
| Feature | Detail |
|---|---|
| Model Number | 491dc8dc-ac5f-44a2-9040-4a33d939dd79 |
| Compatible Cameras | SOVMIKU Wireless Cameras only (e.g., B09C1G318X, B0CLJBFPQB, B0CD6Z3YBY, B0CNVWM56L) |
| Max. Camera Resolution | Supports up to 8.0 Megapixel (8MP) cameras |
| Channels | 8-Channel Expandable |
| Hard Drive Support | Internal 2.5-inch SATA HDD, up to 3TB capacity (Hard Drive not included) |
| Video Compression | H.265 (also supports H.264) |
| Power Input | 12V2A or 12V3A DC |
| Connectivity | Ethernet (for network connection), Wireless (for camera connection) |
| Dimensions | 14.65 x 6.81 x 2.68 inches (approximate) |
| Weight | 1.3 pounds (approximate) |
8. Customer Support
For technical assistance, warranty inquiries, or further information regarding your SOVMIKU NVR, please contact SOVMIKU customer support. Refer to the product packaging or the official SOVMIKU website for the most current contact details.
You can also visit the official SOVMIKU Store on Amazon for product updates and related accessories: SOVMIKU Amazon Store.