1. Introduction
Thank you for choosing the Zapco ST-4XP-SQ-III 4-Channel Class AB 800W RMS Sound Quality Amplifier. This manual provides essential information for the proper installation, operation, and maintenance of your amplifier. Please read this manual thoroughly before attempting to install or operate the unit to ensure optimal performance and safety.
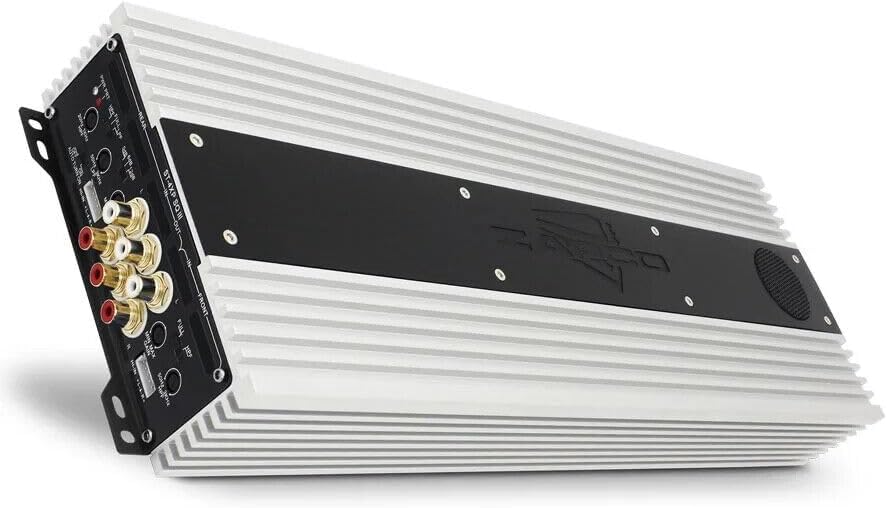
This image displays the Zapco ST-4XP-SQ-III amplifier, showcasing its sleek design and heat sink fins. The main body is silver with a black central panel featuring the Zapco logo.
2. Safety Information
Always observe the following safety precautions during installation and operation:
- Disconnect the vehicle's negative battery terminal before any wiring.
- Ensure all wiring is properly routed and secured to prevent damage or short circuits.
- Use appropriate gauge wiring for power, ground, and speaker connections as specified.
- Mount the amplifier securely in a location that allows for adequate ventilation and is protected from moisture and excessive heat.
- Do not operate the amplifier if it is damaged or malfunctioning. Refer to the troubleshooting section or contact support.
3. Product Overview
The Zapco ST-4XP-SQ-III is a high-performance 4-channel Class AB amplifier designed for superior sound quality in automotive applications. Key features include:
- 4-Channel, Full Range, Class A/B operation
- Tiffany style Panel Mount RCA connectors
- Speaker Level Inputs with Auto-on functionality
- Variable input gain control
- Variable electronic crossover (HPF/LPF)
- Variable bass boost control
- Robust new aluminum chassis for efficient heat dissipation
Control Panel Layout

This image shows the input and control panel of the Zapco ST-4XP-SQ-III amplifier. Visible controls include gain adjustments, high-pass filter (HPF), low-pass filter (LPF), bass boost, and RCA input jacks for front and rear channels. Speaker level inputs and an auto-on switch are also present.
The control panel provides access to input connections and sound tuning adjustments. This includes RCA inputs, speaker level inputs, gain controls, and crossover frequency adjustments for both front and rear channels.
Power and Speaker Output Terminals

This image details the power and speaker output terminals of the Zapco ST-4XP-SQ-III amplifier. It includes connections for Ground (GND), Remote (REM), +12V Battery (Bat), and speaker outputs for front and rear channels, with bridging options indicated.
The power and speaker output panel features robust terminals for secure connections. These include connections for the main power supply (+12V Bat), ground (GND), remote turn-on (REM), and speaker outputs for the front and rear channels, with clear markings for bridging configurations.
4. Setup and Installation
Proper installation is crucial for the performance and longevity of your amplifier. If you are unsure about any steps, consult a professional installer.
4.1 Mounting
- Choose a mounting location that is dry, well-ventilated, and away from direct sunlight or heat sources.
- Ensure sufficient space around the amplifier for air circulation.
- Secure the amplifier firmly using appropriate hardware to prevent movement during vehicle operation.
4.2 Wiring Connections
Refer to the 'Power and Speaker Output Terminals' image for visual guidance.
- Power (BAT +12V): Connect a fused power cable directly from the vehicle's positive battery terminal to the +12V terminal on the amplifier. The fuse should be located within 18 inches of the battery.
- Ground (GND): Connect a ground cable of the same gauge as the power cable to a clean, unpainted metal surface on the vehicle chassis. Ensure a solid electrical connection.
- Remote (REM): Connect a remote turn-on wire from your head unit's remote output to the REM terminal on the amplifier. This turns the amplifier on and off with your head unit. If using speaker level inputs, the amplifier features an auto-on function.
- Input Signal:
- RCA Inputs: Connect RCA cables from your head unit's pre-amp outputs to the corresponding RCA input jacks (Front IN, Rear IN) on the amplifier.
- Speaker Level Inputs: If your head unit does not have RCA outputs, connect the speaker wires from the head unit to the amplifier's speaker level input terminals. Ensure correct polarity. The amplifier's auto-on feature will activate when a signal is detected.
- Speaker Outputs: Connect your speakers to the amplifier's speaker output terminals (Front L/R, Rear L/R). Observe correct polarity (+ to + and - to -). For bridged operation, refer to the markings on the amplifier for the correct terminals.
5. Operating Instructions
Once installed, adjust the amplifier settings for optimal sound performance.
5.1 Gain Control
The variable input gain control (MIN MAX GAIN) matches the amplifier's input sensitivity to the output level of your head unit. Start with the gain set to minimum. Play a familiar track at about 75% of your head unit's maximum volume. Slowly increase the amplifier's gain until you hear slight distortion, then back off slightly. This ensures maximum clean output.
5.2 Crossover Settings
The ST-4XP-SQ-III features variable electronic crossovers for both High-Pass Filter (HPF) and Low-Pass Filter (LPF).
- HPF (High-Pass Filter): Allows frequencies above the set point to pass through. Use this for full-range speakers to prevent them from playing low bass, which can cause distortion and damage.
- LPF (Low-Pass Filter): Allows frequencies below the set point to pass through. Use this for subwoofers to ensure they only reproduce bass frequencies.
- FULL: Bypasses the crossover, allowing all frequencies to pass.
Adjust the HPF and LPF settings according to your speaker types and desired sound. Typical settings for full-range speakers might be an HPF between 80Hz-120Hz. For subwoofers, an LPF between 80Hz-100Hz is common.
5.3 Bass Boost
The variable bass boost control allows you to enhance low-frequency output. Use this feature sparingly, as excessive bass boost can lead to distortion and potential speaker damage. Adjust to taste, ensuring the sound remains clear.
5.4 Auto-on with Speaker Level Inputs
When using speaker level inputs, the amplifier can automatically detect an audio signal and power on. Ensure the 'AUTO TURN ON' switch is set to 'ON' if you wish to utilize this feature. If using a remote turn-on wire, set this switch to 'OFF'.
6. Maintenance
The Zapco ST-4XP-SQ-III amplifier requires minimal maintenance to ensure long-term performance.
- Cleaning: Periodically wipe the amplifier's exterior with a soft, dry cloth to remove dust and dirt. Do not use harsh chemicals or abrasive cleaners.
- Inspection: Regularly check all wiring connections for tightness and signs of corrosion or damage. Ensure the amplifier's mounting remains secure.
- Ventilation: Ensure that the amplifier's heat sink fins are not obstructed, allowing for proper airflow and cooling.
7. Troubleshooting
If you experience issues with your amplifier, consult the following table before contacting support.
| Problem | Possible Cause | Solution |
|---|---|---|
| No Power / Amplifier does not turn on |
|
|
| No Sound Output |
|
|
| Distorted Sound |
|
|
| Amplifier Overheating |
|
|
8. Specifications
The following are the technical specifications for the Zapco ST-4XP-SQ-III amplifier:
- Power @ 4Ω: 4 x 150 watts RMS
- Power @ 2Ω: 4 x 250 watts RMS
- Power Bridged @ 4Ω: 2 x 500W RMS
- THD @ Rated Power: < 0.1% THD
- Signal to Noise Ratio: > 95dB
- Channel Separation: >60dB
- Frequency Response: 15Hz to 30KHz ±1dB
- Input Sensitivity: 0.25v to 5v
- Net Dimensions (W x H x L): 160mm x 58mm x 450mm (6.3 x 2.28 x 17.72 inches)
- Overall Dimensions (W x H x L): 160mm x 58mm x 475mm (6.3 x 2.28 x 18.7 inches)
- Item Weight: Approximately 10 pounds
9. Warranty and Support
9.1 Warranty Information
The Zapco ST-4XP-SQ-III amplifier comes with a 1-Year Warranty from the date of purchase. This warranty covers defects in materials and workmanship under normal use. It does not cover damage caused by improper installation, accident, misuse, abuse, neglect, unauthorized modification, or normal wear and tear. Please retain your proof of purchase for warranty claims.
9.2 Customer Support
For technical assistance, warranty service, or general inquiries, please visit the official Zapco website or contact your authorized Zapco dealer. You can often find detailed FAQs, additional resources, and contact information on the manufacturer's website.
Zapco Official Website: Visit the Zapco Store on Amazon


