
1. Introduction
This manual provides essential information and step-by-step instructions for the proper installation, operation, and maintenance of your AGCUT LCD screen replacement for the Xiaomi Redmi 13C. Please read this manual thoroughly before beginning any installation procedures to ensure correct usage and to prevent damage to your device or the replacement part.
This replacement screen is compatible with Xiaomi Redmi 13C models 23100RN82L, 23106RN0DA, and 23108RN04Y. It features a 6.74-inch display with a resolution of 720x1600 pixels.
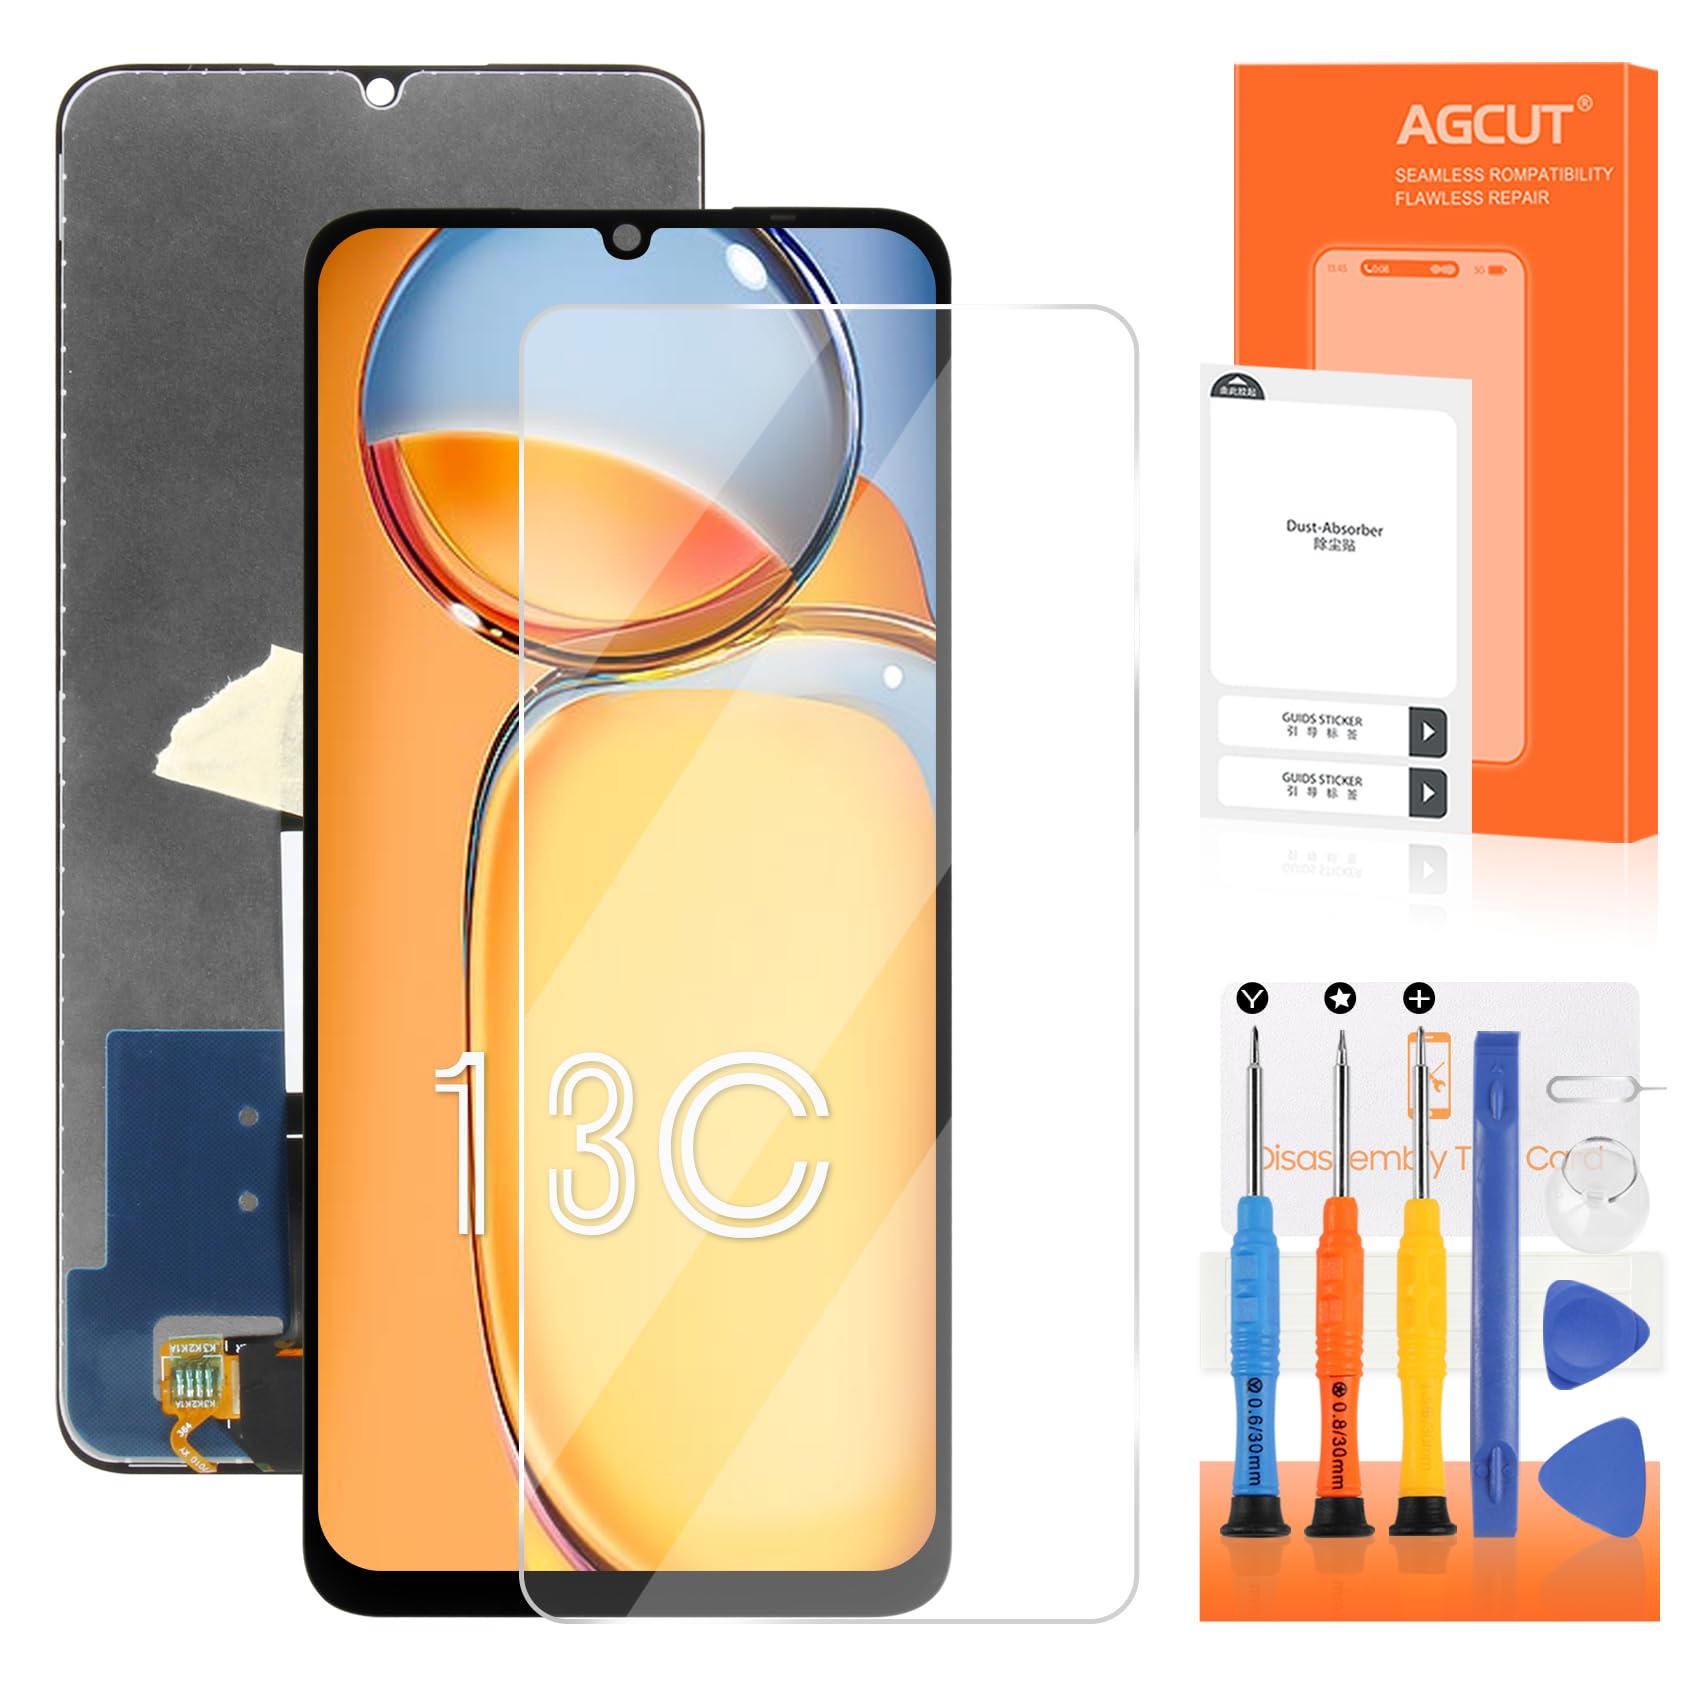
Image 1.1: Front view of the Xiaomi Redmi 13C LCD screen replacement, showing key specifications such as resolution (720x1600 pixels), size (6.74 inches), and pixel density (260 ppi).
2. Safety Information
- Power Off: Always ensure your device is completely powered off and disconnected from any power source before starting the replacement process.
- Battery Discharge: If possible, discharge the device's battery below 25% before repair to reduce the risk of fire or explosion if the battery is accidentally damaged.
- Electrostatic Discharge (ESD): Wear an anti-static wrist strap or frequently touch a grounded metal object to prevent ESD damage to sensitive electronic components.
- Handle with Care: LCD screens are fragile. Handle the replacement screen and your device's internal components with extreme care to avoid damage.
- Professional Installation: Non-professional installation is not recommended. If you are unsure about any step, seek assistance from a qualified technician.
3. Package Contents
Verify that all items listed below are present in your package:
- 1x AGCUT LCD Screen Replacement for Xiaomi Redmi 13C
- 1x Explosion-proof Box
- 1x HD Glass Screen Protector
- 1x Double-sided Adhesive Tape
- 1x Disassembly Tool Card
- 1x Set of Removal Tools (screwdrivers, pry tools, suction cup)
- Dust Removal Stickers

Image 3.1: Contents of the package, including the screen replacement, various tools, screen protector, and adhesive tape.
4. Setup and Pre-installation Checks
4.1 Tools Required
The necessary tools are included in your package. These typically include:
- Small Phillips head screwdriver
- Pentalobe screwdriver (if applicable to your phone model)
- Flathead screwdriver
- Plastic pry tools (spudgers)
- Suction cup
- Tweezers (optional, but recommended)
- Heat gun or hairdryer (to loosen adhesive)

Image 4.1: Example of the repair tools provided, including various screwdrivers, pry tools, and a suction cup.
4.2 Pre-installation Testing
Before fully installing the new screen, it is crucial to perform a test to ensure it is functioning correctly. Do not remove any protective films or labels until the screen has been tested and confirmed to be working.
- Connect the new LCD screen's flex cables to the corresponding connectors on your phone's motherboard. Do not apply adhesive or fully assemble the phone yet.
- Power on your phone.
- Test the display for any abnormalities: check for dead pixels, lines, color distortion, or backlight issues.
- Test the touch functionality across the entire screen. Ensure all areas respond accurately and smoothly.
- If any issues are detected during testing, disconnect the screen and contact customer support. Do not proceed with full installation.

Image 4.2: Visual examples of screen quality checks, including verifying for dead pixels, pixel lines, proper backlight, scratch-free surface, and responsive touch functionality.
5. Installation Instructions
The following steps provide a general guide for screen replacement. Specific details may vary by device. It is highly recommended to watch a detailed installation video for your specific Xiaomi Redmi 13C model on platforms like YouTube before proceeding.

Image 5.1: A technician performing a phone repair, demonstrating the delicate nature of the process.
- Power Off Device: Ensure the phone is completely turned off.
- Remove SIM Tray: Use the SIM ejector tool to remove the SIM card tray.
- Heat and Open Back Cover: Carefully apply heat to the edges of the phone's back cover using a heat gun or hairdryer to soften the adhesive. Use a suction cup and plastic pry tools to gently separate and remove the back cover.
- Disconnect Battery: Locate and disconnect the battery flex cable from the motherboard to prevent short circuits.
- Disconnect Old Screen: Disconnect the flex cables of the old screen from the motherboard.
- Remove Old Screen: Apply heat to the edges of the old screen to loosen its adhesive. Use a suction cup and pry tools to carefully lift and remove the damaged screen.
- Clean Frame: Thoroughly clean any remaining adhesive or glass fragments from the phone's frame.
- Connect New Screen (Test): As described in Section 4.2, connect the new screen's flex cables and perform a full test before final installation.
- Apply Adhesive: Once tested, apply the new double-sided adhesive tape around the frame where the screen will sit.
- Install New Screen: Carefully align and place the new screen onto the phone's frame, pressing gently around the edges to secure it with the adhesive.
- Reconnect Components: Reconnect the battery flex cable and any other components that were disconnected.
- Reassemble Back Cover: Reattach the back cover, ensuring it snaps into place or is secured with new adhesive if necessary.
- Reinsert SIM Tray: Insert the SIM card tray.
Important: Take your time and be gentle. For visual guidance, search for "Xiaomi Redmi 13C screen replacement" on YouTube.
6. Operating (Post-Installation Testing)
After completing the installation, perform a final comprehensive test to ensure full functionality:
- Power On: Turn on your device.
- Display Check: Verify the display for brightness, color accuracy, and absence of dead pixels or lines.
- Touch Functionality: Test the touch response across the entire screen, including multi-touch gestures.
- Brightness Adjustment: Ensure the screen brightness can be adjusted correctly.
- Proximity Sensor: Make a call and check if the screen turns off when brought close to your ear.
- Front Camera: Test the front camera to ensure it is not obstructed and functions properly.
7. Maintenance
To prolong the life and maintain the performance of your new screen:
- Screen Protector: Apply the provided HD glass screen protector immediately after installation to guard against scratches and minor impacts.
- Cleaning: Use a soft, lint-free cloth (preferably microfiber) to clean the screen. For stubborn smudges, slightly dampen the cloth with water or a screen-specific cleaning solution. Avoid harsh chemicals.
- Avoid Pressure: Do not apply excessive pressure to the screen, as this can cause damage.
- Temperature Extremes: Avoid exposing your device to extreme temperatures, which can affect screen performance and longevity.
8. Troubleshooting
If you encounter any issues after installation, refer to the following common problems and solutions:
| Problem | Possible Cause | Solution |
|---|---|---|
| Screen not turning on / Black screen | Loose flex cable connection; Damaged screen during installation; Battery not connected. | Check all flex cable connections, especially the display and digitizer cables. Ensure the battery is properly connected. Re-test the screen. |
| Touch not responding / Partial touch | Loose digitizer flex cable; Damaged digitizer; Software glitch. | Ensure the digitizer flex cable is securely connected. Restart the phone. If the issue persists, the digitizer may be faulty. |
| Display lines / Dead pixels / Color distortion | Damaged LCD flex cable; Faulty LCD panel; Pressure damage. | Check the LCD flex cable for proper connection and any visible damage. If the issue was present during pre-installation testing, the screen may be defective. |
| Screen flickering | Loose display cable; Software issue; Incompatible screen. | Verify display cable connection. Restart the device. Ensure the screen model matches your phone. |

Image 8.1: Visual representation of common screen issues such as display problems, dead screens, dust spots, and blurry photos, illustrating how a replacement screen resolves these.
9. Specifications
| Feature | Detail |
|---|---|
| Product Type | LCD Digitizer Touch Screen Assembly |
| Compatibility | Xiaomi Redmi 13C (Models: 23100RN82L, 23106RN0DA, 23108RN04Y) |
| Screen Size | 6.74 inches |
| Resolution | 720x1600 pixels |
| Color | Black |
| Manufacturer | AGCUT |
10. Warranty and Support
For warranty information or technical support, please refer to the documentation included with your purchase or contact AGCUT customer service directly. Ensure you retain your proof of purchase for any warranty claims.
If you require further assistance with installation or troubleshooting, it is recommended to consult online resources such as YouTube for detailed video guides specific to the Xiaomi Redmi 13C screen replacement.