
1. Introduction
This manual provides detailed instructions for the installation, operation, and maintenance of your ATOTO F7G1A5WE Single DIN Car Stereo Receiver. Please read this manual thoroughly before using the product to ensure proper functionality and safety.
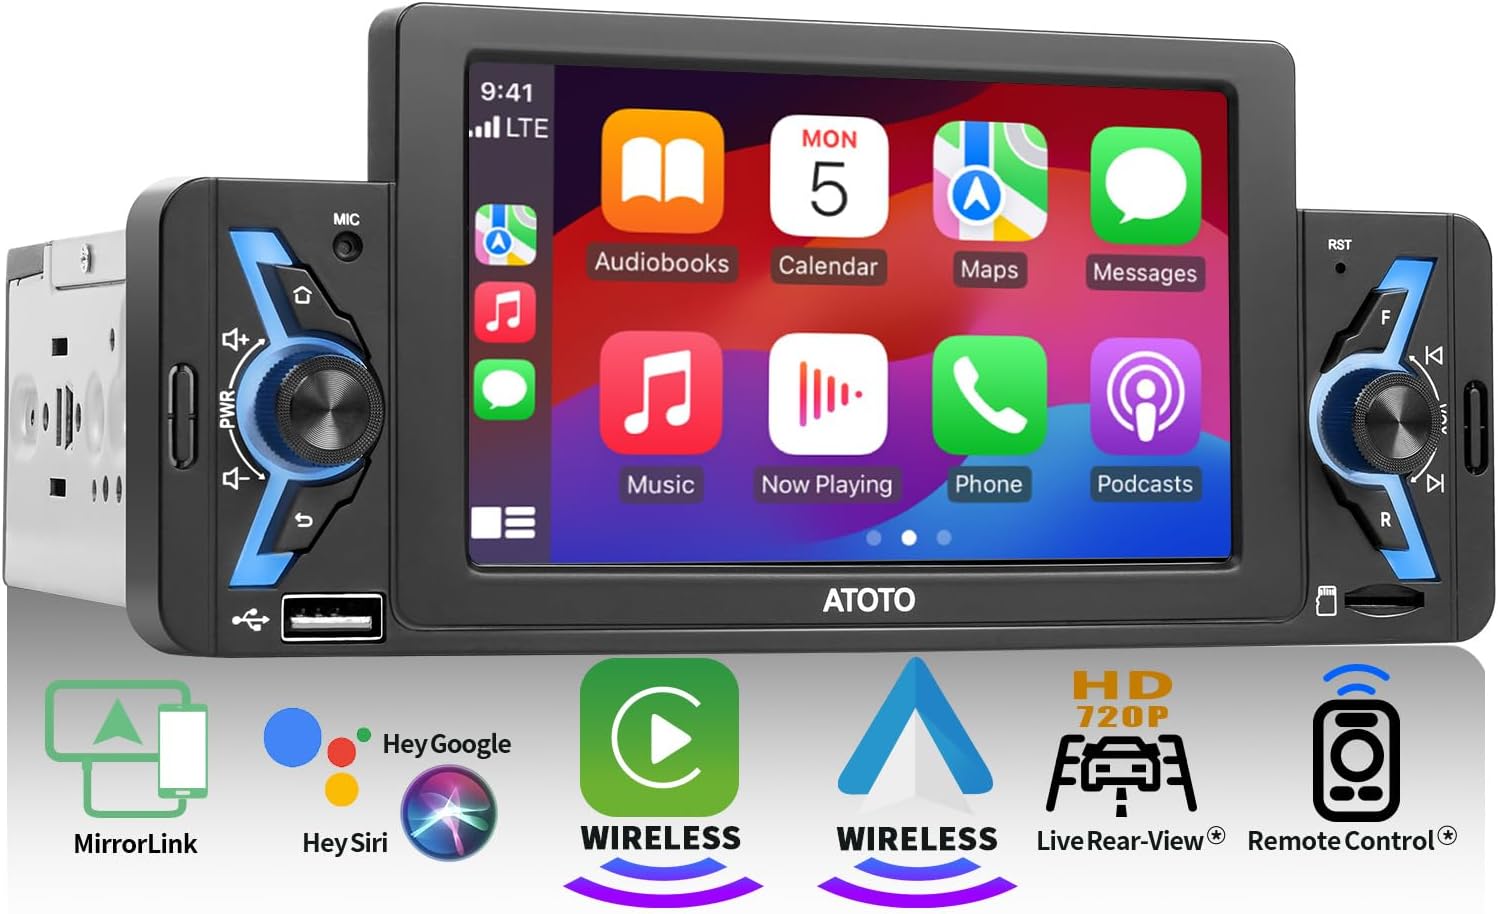
Figure 1: ATOTO F7G1A5WE Single DIN Car Stereo Receiver
2. Safety Information
Always prioritize safety when operating your vehicle. Improper installation or use of this device can lead to accidents. Ensure all connections are secure and correctly made. Do not attempt to operate the device in a way that distracts you from driving. Consult a professional for installation if you are unsure about any steps.
3. Package Contents
Verify that all items listed below are included in your package:
- 1x ATOTO F7G1A5WE Single DIN Car Stereo Receiver
- 1x Power Cable
- 1x External Microphone
- 1x Video In/Out Extension Cable
- 1x WiFi Antenna
- Brackets
- Adaptive Cage

Figure 2: Included accessories and components
4. Product Overview
The ATOTO F7G1A5WE features a compact Single DIN design with a 5-inch RGB touchscreen. It includes physical knobs for easy control and various ports for connectivity.
4.1 Front Panel Features
- 5-inch RGB Touchscreen: Enhanced with DBEF technology for improved visibility in various lighting conditions.
- Physical Knobs: For volume control and other functions.
- USB Ports: For wired connectivity and media playback.
- Microphone Input: For hands-free calling.
4.2 Rear Panel Connections
The rear panel provides essential connections for power, audio, video, and external devices.

Figure 3: Rear wiring diagram for the ATOTO F7G1A5WE
- Power Cable Connector: Connects to the vehicle's power supply.
- FM/AM Radio Antenna Input: For radio reception.
- WiFi Antenna Input: For wireless connectivity features.
- USB Ports: Two USB ports, one for wired phone link (CarPlay/Android Auto/MirrorLink) and another for external storage (up to 2TB SSD).
- MicroSD Card Slot: Supports up to 512 GB for media.
- RCA Jacks: Three RCA jacks for audio/video input/output, including subwoofer out, front camera input, and rear camera input.
- Steering Wheel Control (SWC) Jack: 3.5mm jack for third-party SWC adapters.
5. Setup and Installation
Proper installation is crucial for optimal performance. If you are not experienced with car audio installation, it is recommended to seek professional assistance.
5.1 Pre-Installation Checklist
- Ensure the vehicle's battery is disconnected before starting installation.
- Confirm compatibility with your vehicle's dashboard and wiring.
- Gather all necessary tools (screwdrivers, wire strippers, crimpers, etc.).
5.2 Wiring Connections
Refer to the wiring diagram (Figure 3) for detailed connection points. Connect the power cable, antenna, and any other necessary inputs/outputs. Ensure all connections are secure to prevent shorts or signal loss.
5.3 Mounting the Unit
Use the provided brackets and adaptive cage to securely mount the stereo receiver into your vehicle's single DIN slot. Ensure the unit is firmly in place and does not obstruct any vehicle controls or airbags.
Video 1: An overview of the ATOTO F7G1A5WE Single DIN Car Stereo, highlighting its features and connectivity options.
6. Operating Instructions
The ATOTO F7G1A5WE offers a range of features designed to enhance your driving experience.
6.1 Wireless CarPlay and Android Auto
Connect your smartphone wirelessly to access navigation, music, calls, and more directly on the stereo's display. This feature supports both voice commands and touch controls for convenience and safety.

Figure 4: Wireless CarPlay and Android Auto functionality
6.2 MirrorLink
Project your phone's screen onto the F7's display for enhanced functionality beyond CarPlay and Android Auto.
6.3 Bluetooth 5.3 Connectivity
The latest Bluetooth 5.3 ensures stable, efficient, and secure connections for hands-free calls, music streaming, and data transfer.
6.4 Audio Features
- Integrated Amplifier: Delivers up to 4x45W max and 4x24W RMS for superior sound quality.
- 10-band Equalizer: Customize your audio experience with 7 preset settings.
- FM/AM Radio: Access real-time news, music, and weather updates.
6.5 Live Rear View (LRV)
When paired with a compatible backup camera (e.g., ATOTO AC-HD02LR, sold separately), the LRV feature provides a continuous real-time view of the rear, even while driving forward, eliminating blind spots.

Figure 5: Live Rear View and Steering Wheel Control options
6.6 Steering Wheel Control (SWC)
The F7 includes a dedicated 3.5mm jack for compatibility with third-party SWC adapters, allowing you to retain your OEM steering wheel controls. Alternatively, the ATOTO AC-44F5 remote control (sold separately) can be used.
6.7 Backlight Customization
Choose from seven vibrant backlight colors to personalize your vehicle's interior and reduce driver fatigue.

Figure 6: DBEF screen clarity and customizable backlights
7. Maintenance
To ensure the longevity and optimal performance of your ATOTO F7G1A5WE, follow these maintenance guidelines:
- Cleaning: Use a soft, dry cloth to clean the screen and exterior. Avoid abrasive cleaners or solvents.
- Temperature: Avoid exposing the unit to extreme temperatures, both hot and cold.
- Software Updates: Periodically check the ATOTO official website for firmware updates to ensure the latest features and bug fixes.
- Cable Management: Ensure all cables are properly routed and secured to prevent damage or interference.
8. Troubleshooting
If you encounter issues with your ATOTO F7G1A5WE, refer to the following common troubleshooting steps:
- No Power: Check all power connections and the vehicle's fuse box. Ensure the ignition is on.
- No Sound: Verify speaker connections, volume levels, and audio source selection. Check equalizer settings.
- CarPlay/Android Auto Not Connecting: Ensure Wi-Fi and Bluetooth are enabled on your phone. Check the