Introduction
Thank you for purchasing the RAF Garment Steamer R.3037. This manual provides essential information for the safe and efficient operation, maintenance, and troubleshooting of your new appliance. Please read these instructions carefully before use and retain them for future reference.
Important Safety Instructions
To reduce the risk of fire, electric shock, or injury, always follow basic safety precautions when using electrical appliances. This includes:
- Read all instructions before using the garment steamer.
- Use the appliance only for its intended purpose as described in this manual.
- Do not immerse the steamer in water or other liquids.
- Always unplug the steamer from the electrical outlet when filling with water, emptying, or when not in use.
- Do not operate the steamer with a damaged cord or plug, or if the appliance has been dropped or damaged.
- Keep the steam hose and nozzle away from children and pets.
- Never direct steam at people or animals. Steam is hot and can cause burns.
- Use caution when handling hot parts, hot water, or steam.
- Do not use extension cords unless absolutely necessary. If an extension cord is used, it must be rated for the appliance's power.
- Store the appliance indoors in a cool, dry place when not in use.
Product Components
Familiarize yourself with the parts of your RAF Garment Steamer R.3037:
- Main Steamer Unit (Base)
- Water Tank
- Steam Hose
- Steam Nozzle
- Adjustable Support Pole
- Garment Hanger Attachment
- Power Cord and Plug
- Power Switch/Dial
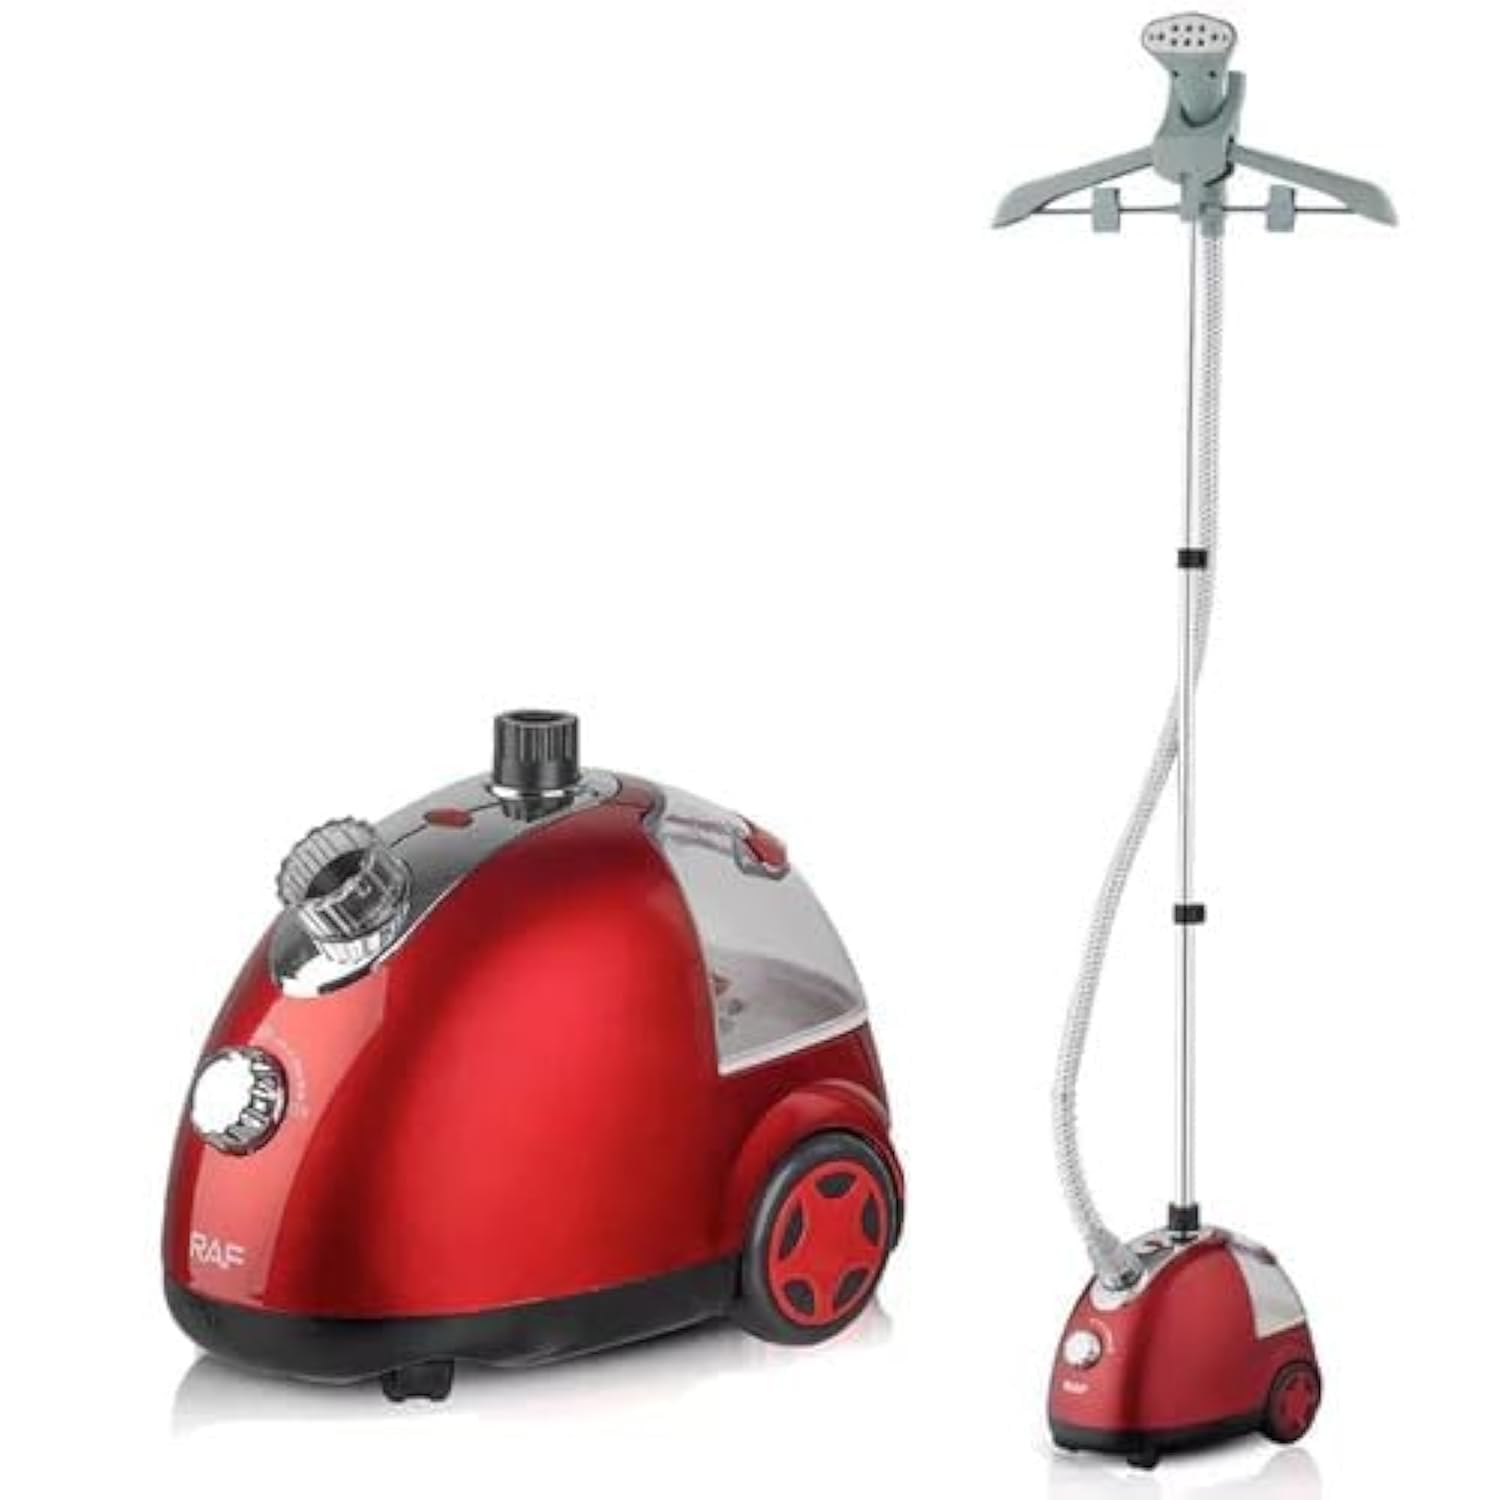
Image: Overview of the RAF Garment Steamer R.3037, showing the main unit, adjustable pole, and garment hanger.
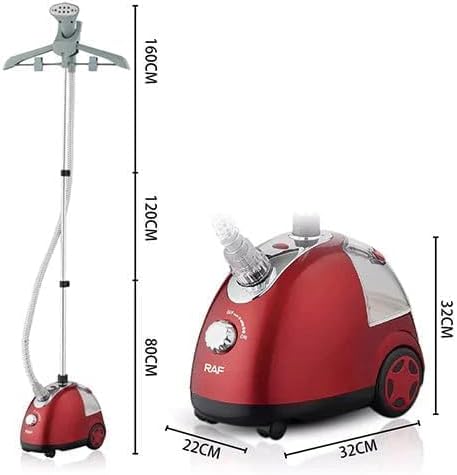
Image: Detailed view of the steamer unit and stand, illustrating key components and approximate dimensions.
Setup Guide
Follow these steps to assemble and prepare your garment steamer for first use:
- Unpack: Carefully remove all components from the packaging. Retain packaging for storage or future transport.
- Assemble Pole: Insert the adjustable support pole into the designated slot on the main steamer unit. Ensure it is securely locked in place.
- Attach Hanger: Slide the garment hanger attachment onto the top of the adjustable pole.
- Connect Hose: Securely attach the steam hose to the steam outlet on the main unit. Ensure a tight connection to prevent steam leakage.
- Fill Water Tank: Remove the water tank from the main unit. Open the cap and fill with distilled or demineralized water up to the MAX fill line. Do not overfill. Replace the cap and reinsert the water tank into the main unit, ensuring it clicks into place.
- Position Steamer: Place the steamer on a flat, stable surface. Ensure the power cord can reach an electrical outlet without being stretched.
Operating Instructions
Once assembled and filled, your garment steamer is ready for use:
- Plug In: Plug the power cord into a grounded 220V, 50Hz electrical outlet.
- Power On: Turn the power switch or dial to the "ON" position. The indicator light will illuminate, signaling that the steamer is heating up.
- Preheat: Allow the steamer to preheat for approximately 45-60 seconds, or until steam begins to emit steadily from the nozzle.
- Prepare Garment: Hang the garment you wish to steam on the provided hanger. Gently pull the fabric taut with one hand.
- Steam Garment: Hold the steam nozzle a few inches away from the fabric. Move the nozzle slowly up and down the garment, allowing the steam to penetrate the fibers and release wrinkles. For stubborn wrinkles, you may gently press the nozzle against the fabric.
- Refill Water (if needed): If the water tank runs dry, the steamer will stop producing steam. Turn off the steamer, unplug it, and allow it to cool for a few minutes before refilling the water tank.
- Finish Steaming: Once you have finished steaming, turn the power switch or dial to the "OFF" position and unplug the steamer from the outlet.
Tips for Best Results:
- Always test on an inconspicuous area of the fabric first.
- For delicate fabrics, hold the nozzle further away.
- Steam from the inside of the garment for a smoother finish on certain materials.
Maintenance and Care
Proper maintenance ensures the longevity and optimal performance of your steamer:
- Empty Water Tank: After each use, allow the steamer to cool completely. Remove the water tank and empty any remaining water. This prevents mineral buildup.
- Clean Exterior: Wipe the exterior of the steamer unit and nozzle with a soft, damp cloth. Do not use abrasive cleaners.
- Descaling (Monthly): To prevent mineral buildup, especially if using tap water, descale the steamer monthly. Mix equal parts white vinegar and water, fill the tank, and run the steamer until half the solution is used. Turn off, unplug, let cool, then empty and rinse thoroughly with fresh water. Repeat with fresh water to flush out any vinegar residue.
- Storage: Store the steamer in a cool, dry place. Ensure the hose is not kinked or bent sharply during storage.
Troubleshooting
Refer to the table below for common issues and their solutions:
| Problem | Possible Cause | Solution |
|---|---|---|
| No steam or very little steam. | Water tank empty; Steamer not heated sufficiently; Mineral buildup. | Refill water tank; Allow more time to preheat; Descale the steamer. |
| Water leaking from nozzle. | Overfilled water tank; Condensation in hose; Hose not securely attached. | Do not overfill water tank; Hold hose upright to drain condensation; Re-attach hose securely. |
| Steamer not turning on. | Not plugged in; Power outlet not working; Faulty power cord/plug. | Ensure plug is fully inserted; Test outlet with another appliance; Contact customer support if cord/plug is damaged. |
| Garment still wrinkled after steaming. | Not enough steam; Steaming too quickly; Fabric type. | Ensure full steam output; Move nozzle slower; Some fabrics require more passes or different techniques. |
Technical Specifications
| Feature | Detail |
|---|---|
| Brand | RAF |
| Model Number | R.3037 |
| Power | 1700 Watts |
| Voltage | 220 Volts |
| Frequency | 50 Hz |
| Color | Red |
| Special Features | Lightweight, Efficient Wrinkle Removal |
| Item Weight | 600 grams |
| Shipping Dimensions | 39.7 x 32 x 24.9 cm |
Warranty and Support
This product comes with a standard manufacturer's warranty. Please refer to the warranty card included in your product packaging for specific terms and conditions. For technical support, service, or replacement parts, please contact your retailer or the RAF customer service department.
Keep your purchase receipt as proof of purchase for warranty claims.


