
Introduction
Thank you for choosing the Morvat Programmable Outdoor Garden Hose Sprinkler Timer. This device is designed to automate your garden watering, ensuring efficient irrigation and water conservation. Please read this manual carefully before installation and operation to ensure proper use and longevity of your timer.
Package Contents
- Morvat Programmable Outdoor Garden Hose Sprinkler Timer (Model: MOR-HT-1-A)
- Instruction Manual
- 2 Hose Washers with Screens
- 2 Standard Hose Washers
- Teflon Tape
Product Overview
The Morvat Sprinkler Timer features a large LCD screen for clear display of settings and an intuitive dial for easy programming. It is constructed from durable, weatherproof materials (IP54 rated) to withstand outdoor conditions.
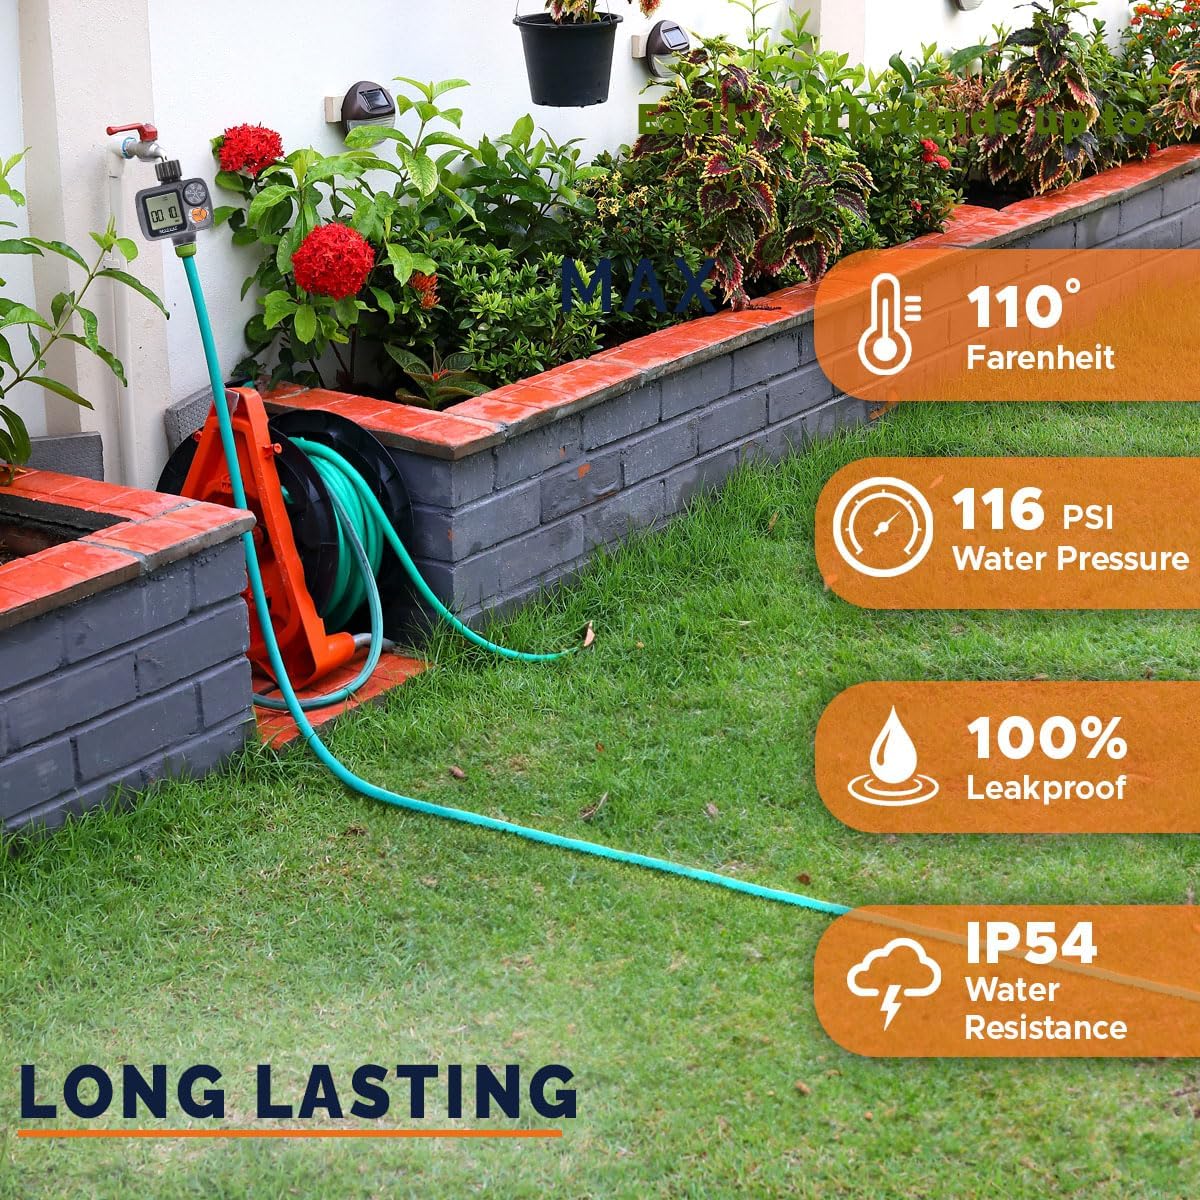
Figure 1: Front view of the Morvat Sprinkler Timer highlighting its features including the large LCD screen and easy-turn dial.

Figure 2: Back view of the timer, showing the battery compartment cover and the Morvat logo.

Figure 3: Product dimensions, indicating a height of 6.5 inches and a width of 4.3 inches, with standard hose threading.
Setup
1. Battery Installation
- Locate the battery compartment on the back of the timer (refer to Figure 2).
- Squeeze the two clips on each side of the battery pack and pull it out.
- Insert two (2) AA alkaline batteries, ensuring correct polarity (+/-).
- Reinsert the battery pack firmly until it clicks into place. Ensure good contact to retain settings.
2. Physical Connection
- Ensure the faucet is turned off.
- Apply Teflon tape to the faucet threads for a leak-free seal.
- Insert one of the provided hose washers (preferably with a screen filter) into the timer's inlet (top connection).
- Screw the timer onto your outdoor faucet by hand until snug. Do not overtighten.
- Attach your garden hose to the timer's outlet (bottom connection), ensuring a washer is in place.
- Before first use or after periods of non-use, manually cycle the timer to ensure the internal valve seats properly.
- Slowly turn on the faucet. Check for leaks.

Figure 4: The timer installed on an outdoor faucet, ready for operation.
Operating Instructions
The timer features a large dial and simple buttons for programming. Rotate the dial to select a setting, then use the '+' and '-' buttons to adjust values, and 'OK' to confirm.
1. Setting Current Time
- Turn the dial to 'SET CLOCK'.
- Use the '+' and '-' buttons to set the current hour (AM/PM). Press 'OK' to confirm.
- Use the '+' and '-' buttons to set the current minute. Press 'OK' to confirm.
2. Programming Watering Schedule
- Turn the dial to 'START TIME'. Use '+' and '-' to set the desired start time for watering. Press 'OK'.
- Turn the dial to 'HOW LONG'. Use '+' and '-' to set the watering duration from 1 minute to 4 hours. Press 'OK'.
- Turn the dial to 'HOW OFTEN'. Use '+' and '-' to set the watering frequency: every 1-12 hours or every 1-7 days. Press 'OK'.
- Turn the dial to 'ON' to activate the programmed schedule. The display will show the current time and the next scheduled watering cycle.
3. Rain Delay Mode
The rain delay feature allows you to pause your watering schedule to conserve water during rainy periods.
- With the dial set to 'ON', press the 'DELAY' button.
- Use the '+' or '-' buttons to select a delay period of 24, 48, or 72 hours.
- Press 'OK' to confirm the rain delay. The timer will resume its schedule automatically after the selected delay period.
- To cancel rain delay, press 'DELAY' again and set the delay to '0' or turn the dial to 'OFF' and then back to 'ON'.
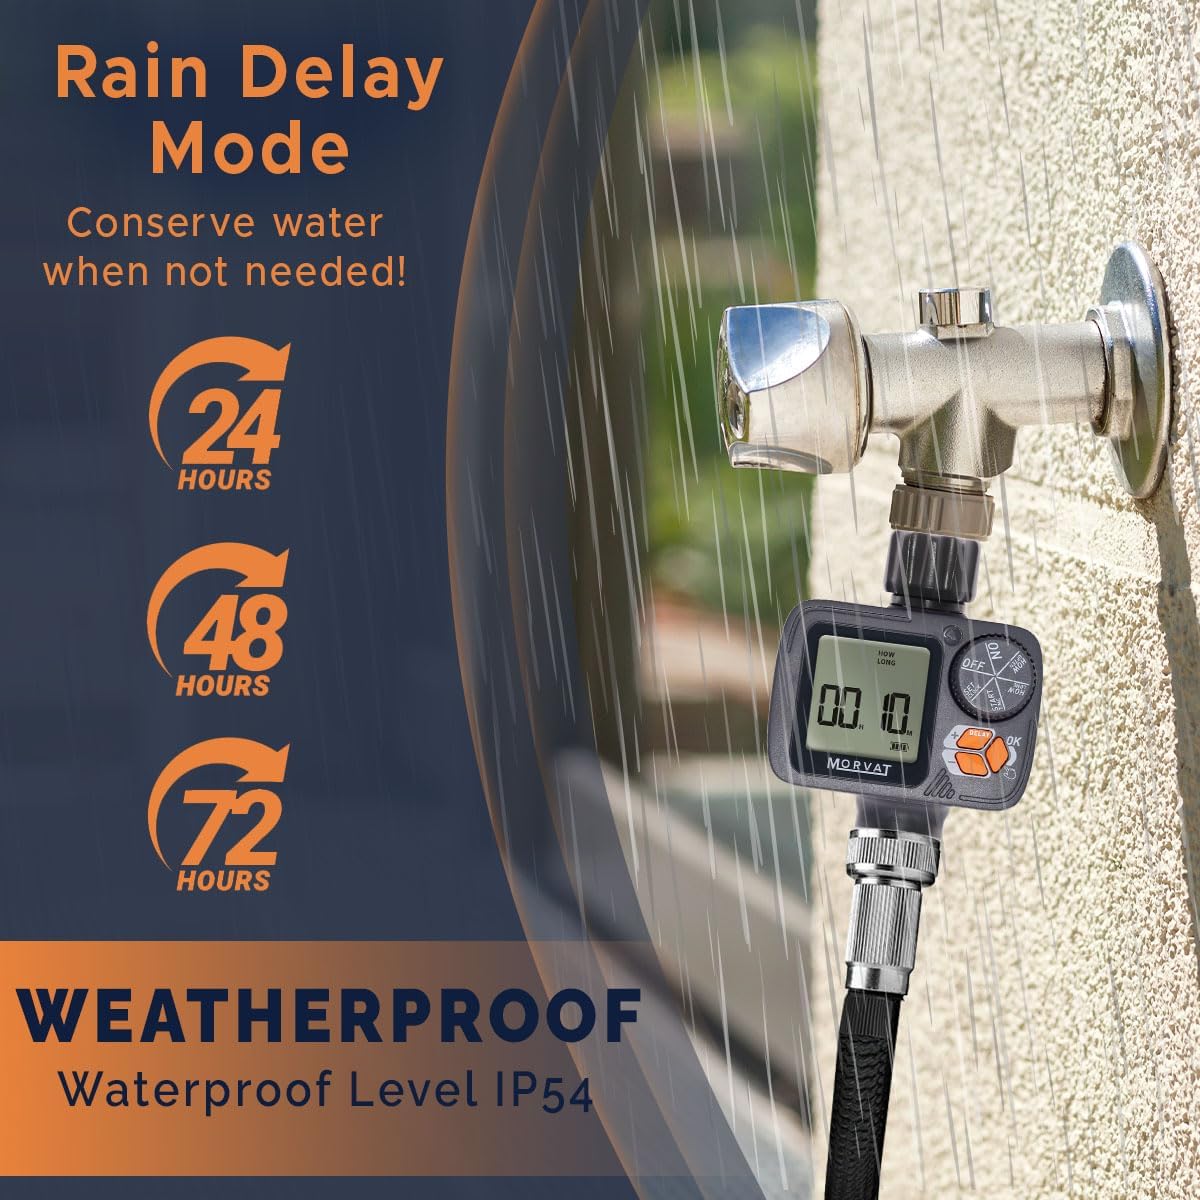
Figure 5: Rain Delay feature, allowing temporary suspension of watering for 24, 48, or 72 hours.
4. Manual Mode
Manual mode allows for instant, unscheduled watering without affecting your programmed schedule.
- With the dial set to 'ON', press the 'MANUAL' button (often combined with 'OK' or a dedicated button).
- Use the '+' and '-' buttons to set the desired manual watering duration.
- Press 'OK' to start manual watering. The timer will run for the set duration and then return to its programmed schedule.
5. Turning Off the Timer
To stop all watering, turn the dial to 'OFF'. This will halt both programmed and manual watering cycles.
Maintenance
- Cleaning: Periodically check and clean the filter washer at the inlet to prevent debris from entering the timer and affecting water flow.
- Battery Replacement: Replace batteries when the low battery indicator appears on the LCD screen. Old batteries should be disposed of according to local regulations.
- Winter Storage: Before freezing temperatures, disconnect the timer from the faucet and hose. Remove batteries. Store the timer indoors in a dry, frost-free location to prevent damage.
Troubleshooting
| Problem | Possible Cause | Solution |
|---|---|---|
| No water flow | Faucet off; Low battery; Clogged filter; Incorrect programming | Turn on faucet; Replace batteries; Clean filter; Check program settings |
| Water leaks from connections | Loose connection; Missing/damaged washer; Insufficient Teflon tape | Tighten connections; Replace washers; Reapply Teflon tape |
| Timer not watering at scheduled time | Timer set to 'OFF'; Incorrect start time/frequency; Rain delay active; Low battery | Turn dial to 'ON'; Verify program settings; Check rain delay status; Replace batteries |
| Display is blank or dim | Dead or low batteries | Replace batteries with new AA alkaline batteries. |
Specifications
- Model: MOR-HT-1-A
- Material: Metal, Plastic
- Color: Gray
- Dimensions (H x W x D): 6.5" x 4.3" x 2"
- Item Weight: 15.52 ounces
- Water Pressure Range: Up to 116 PSI burst strength
- Watering Duration: 1 minute to 4 hours
- Watering Frequency: Every 1-12 hours or every 1-7 days
- Rain Delay Options: 24, 48, 72 hours
- Power Source: 2 x AA Alkaline Batteries (not included)
- Weatherproof Rating: IP54
- Thread Type: 3/4" USA Standard NH Threading
Warranty and Support
This Morvat Programmable Outdoor Garden Hose Sprinkler Timer comes with a 1-Year Manufacturer Warranty.
For technical support, warranty claims, or any questions regarding your product, please contact Morvat customer service through the retailer's platform or visit the official Morvat website for contact information.

