
Aigostar Aigostar Toaster 2 Slice and Electric Kettle
Contents
Aigostar Toaster 2 Slice and Electric Kettle User Manual
Model: Aigostar Toaster 2 Slice and Electric Kettle
Product Overview
This manual provides detailed instructions for the safe and efficient operation, maintenance, and troubleshooting of your Aigostar Toaster 2 Slice and Aigostar 1.7L Electric Kettle. Please read this manual thoroughly before first use and retain it for future reference.
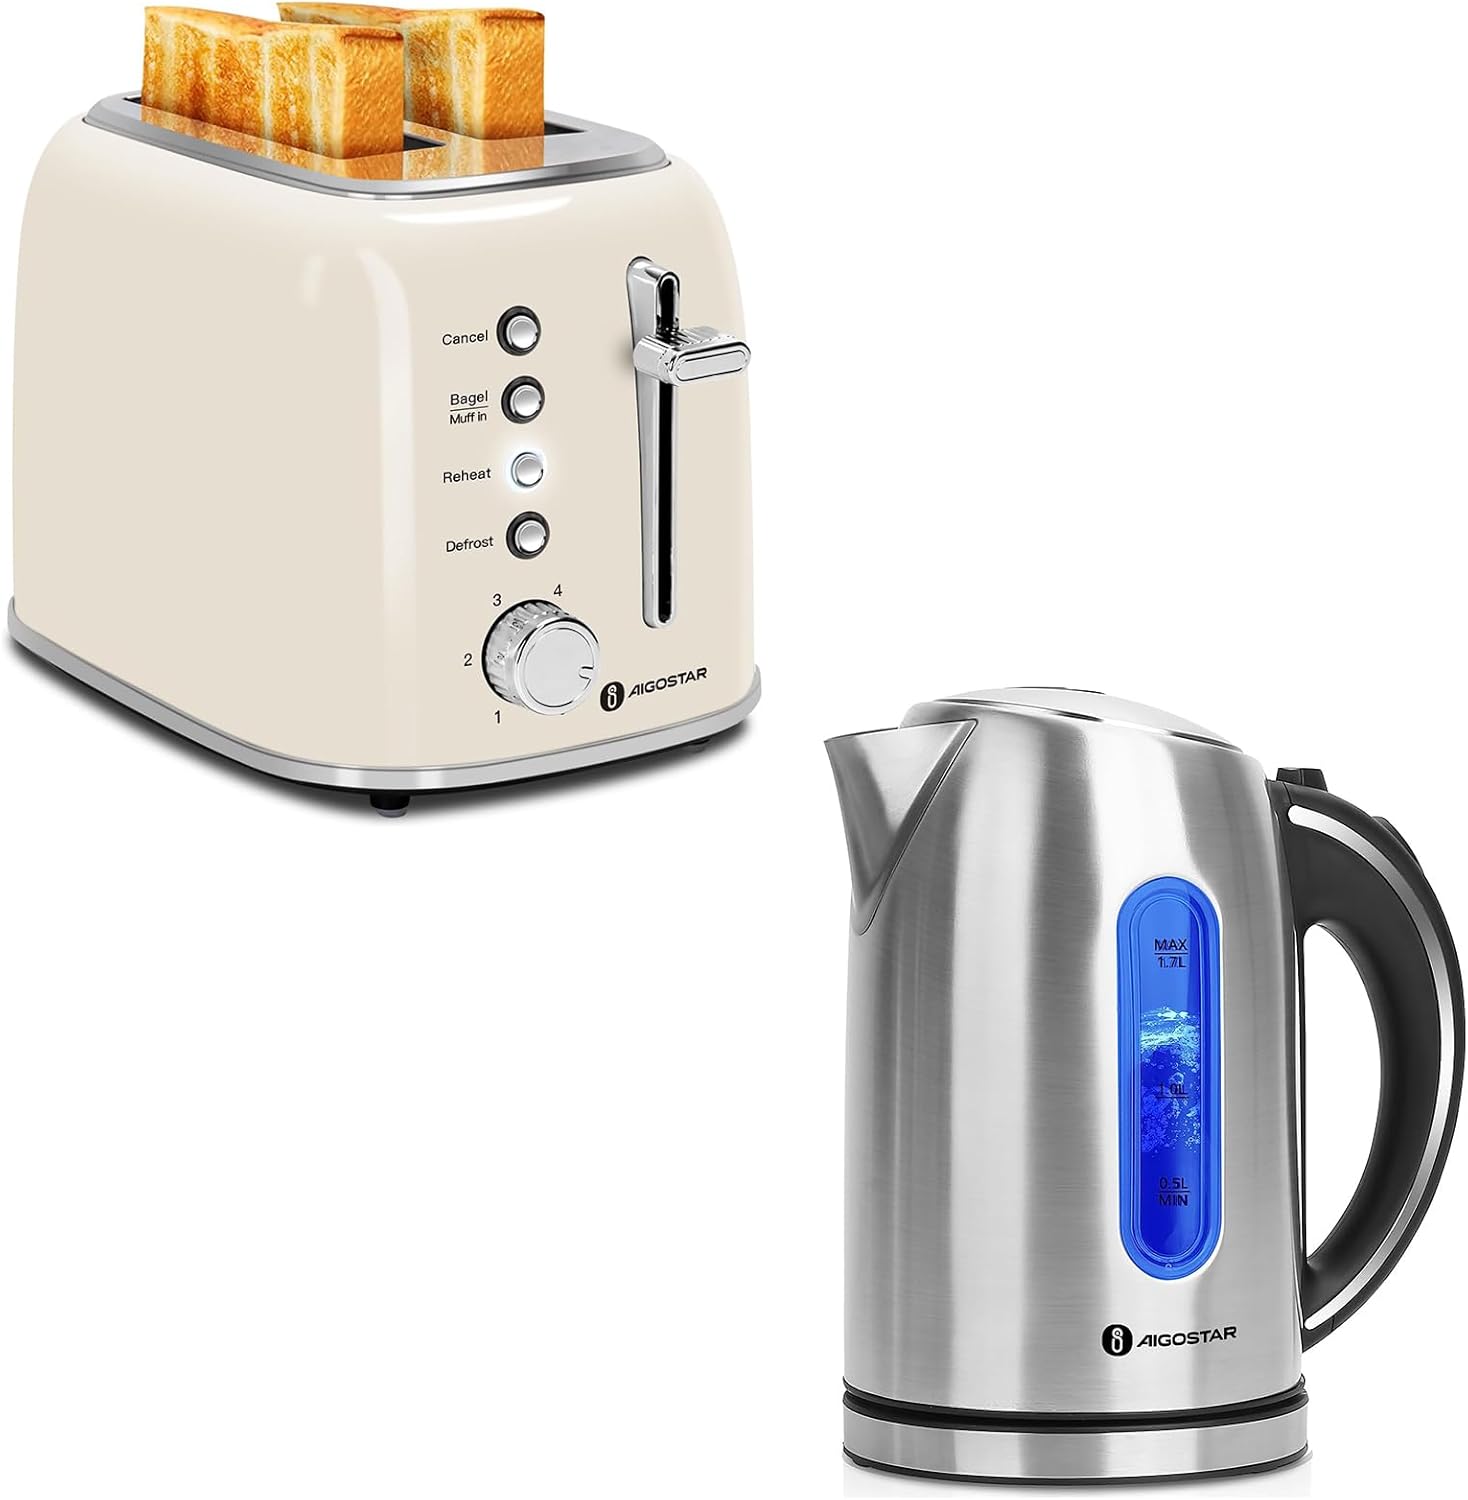
Figure 1: Aigostar Toaster and Electric Kettle combination.
This image displays both the Aigostar 2-slice toaster and the 1.7L electric kettle. The toaster is cream-colored with chrome accents, featuring two wide slots and control buttons on the front. The kettle is made of stainless steel with a black handle and a clear water level indicator with blue LED illumination.
Aigostar 2-Slice Toaster Components
- Extra-Wide Slots: Accommodates various bread types, bagels, and muffins.
- Browning Control Dial: Adjustable settings from 1 to 6 for desired toast shade.
- Function Buttons:
- Cancel: Stops the toasting cycle immediately.
- Bagel/Muffin: Toasts the cut side of bagels or muffins while warming the other side.
- Reheat: Warms previously toasted bread without further browning.
- Defrost: Thaws and toasts frozen bread.
- High-Lift Lever: Lifts smaller items higher for safe removal.
- Removable Crumb Tray: Collects crumbs for easy cleaning.

Figure 2: Toaster Function Buttons.
This image highlights the four function buttons on the toaster: Cancel, Bagel/Muffin, Reheat, and Defrost, along with the browning control dial (1-6) and the toast lever.

Figure 3: High-Lift Lever in Use.
This image shows a hand raising the high-lift lever on the toaster, demonstrating how it elevates smaller toasted items for easier and safer retrieval.
Aigostar 1.7L Electric Kettle Components
- 1.7 Liter Capacity: Ideal for multiple servings.
- LED Illumination: Blue LED light indicates when the kettle is heating.
- Water Level Window: Clear markings for minimum (0.5L) and maximum (1.7L) fill levels.
- One-Touch Lid Release: For easy filling.
- 360° Rotational Base: Cordless pouring for convenience.
- Concealed Heating Element: For safety and easy cleaning.
- Detachable Mesh Filter: Located in the spout to prevent limescale from entering your cup.
- Safety Features: Auto-shutoff and boil-dry protection.
- BPA-Free & Food Grade 304 Stainless Steel: Ensures safe and clean water.
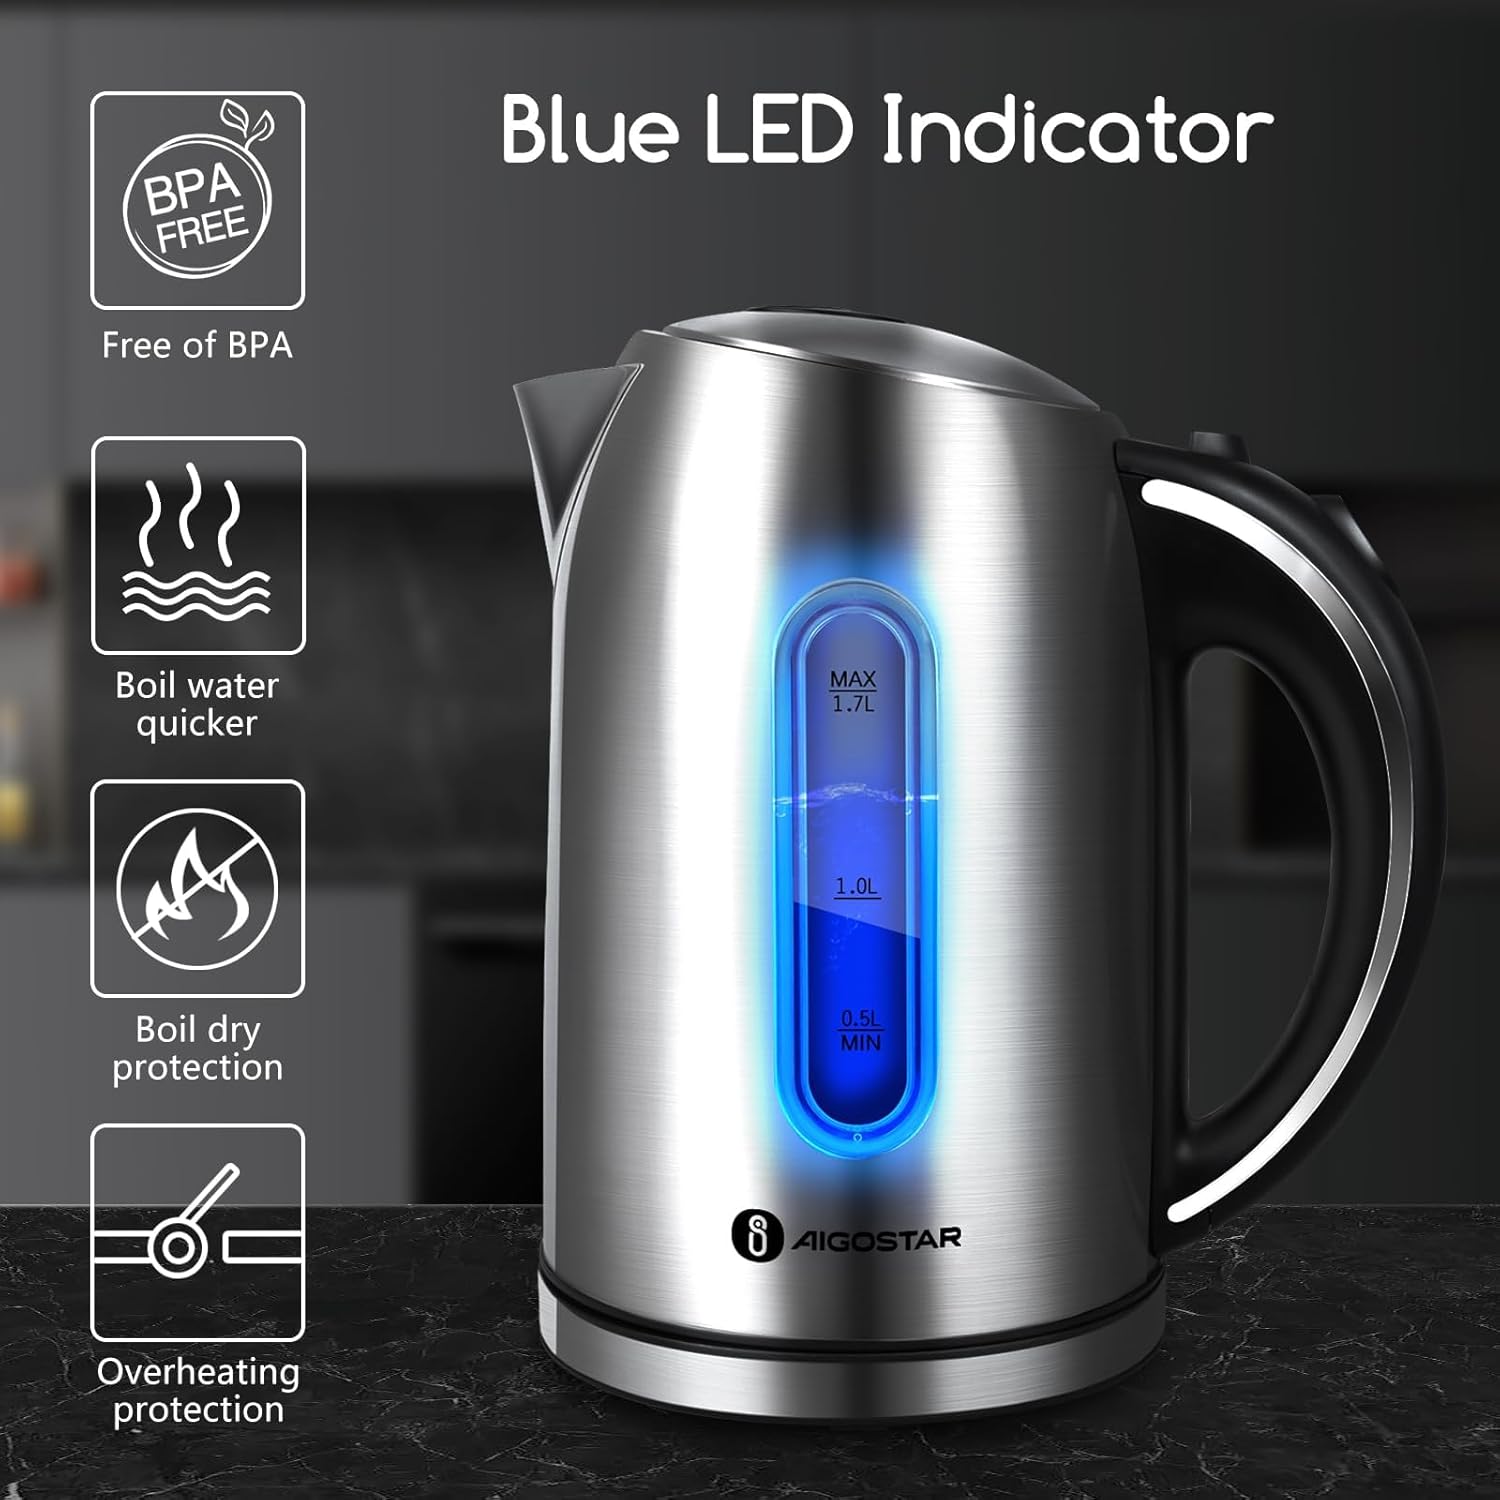
Figure 4: Kettle with Blue LED Indicator.
This image shows the stainless steel electric kettle with its blue LED illumination active, indicating that the water is heating. Icons for BPA-free, boil water quicker, boil dry protection, and overheating protection are also visible.

Figure 5: Kettle Detailed Features.
This composite image details various features of the electric kettle: the one-touch lid, the 360° rotating base, the concealed cord storage underneath the base, the clear water level window with LED indicator, and the detachable mesh filter in the spout.
Setup and First Use
General Setup
- Unpacking: Carefully remove both the toaster and the electric kettle from their packaging. Retain packaging for future storage or transport if needed.
- Placement: Place both appliances on a stable, flat, heat-resistant surface, away from flammable materials, curtains, or walls. Ensure adequate ventilation around the appliances.
- Power Connection: Ensure the power cord is fully uncoiled. Plug the appliances into a grounded electrical outlet with the correct voltage (120V AC for US models).
First Use - Toaster
- Before first use, operate the toaster without bread on the highest browning setting (6) for a few cycles. This will burn off any manufacturing residues and eliminate initial odors. Ensure the area is well-ventilated.
- Allow the toaster to cool down completely before proceeding.
First Use - Electric Kettle
- Before first use, fill the kettle with clean water to the MAX line.
- Boil the water. Once boiled, discard the water.
- Repeat this process 2-3 times to clean the interior and remove any manufacturing odors.
Operating Instructions
Operating the Toaster
- Insert Bread: Place one slice of bread, bagel, or muffin into each toasting slot. Ensure items are not too thick to prevent jamming.
- Select Browning Level: Turn the browning control dial to your desired setting from 1 (lightest) to 6 (darkest).

Figure 6: Browning Level Guide.
This chart illustrates the six browning levels, from level 1 (lightest) to level 6 (darkest), for both regular toast and bagels, providing a visual guide for desired crispness and color.
- Lower Lever: Press the toast lever down until it locks into place. The toaster will begin toasting.
- Use Function Buttons (Optional):
- Press Cancel at any time to stop the toasting cycle.
- Press Bagel/Muffin for bagels (toasts cut side, warms other).
- Press Reheat to warm already toasted items.
- Press Defrost for frozen bread.
- Retrieve Toast: Once the cycle is complete, the toast will automatically pop up. Use the high-lift lever to raise smaller items for easier removal.
Operating the Electric Kettle
- Fill Kettle: Press the one-touch lid release button to open the lid. Fill the kettle with fresh, cold water. Do not fill below the MIN (0.5L) mark or above the MAX (1.7L) mark.
- Close Lid: Close the lid firmly until it clicks into place.
- Place on Base: Place the kettle securely on its 360° rotational power base.
- Switch On: Press the ON/OFF switch down. The blue LED illumination will light up, indicating the kettle is heating.
- Boiling: The kettle will rapidly boil water (typically 3-7 minutes for a full pot).

Figure 7: Fast Boil Feature.
This graphic illustrates the rapid boiling process within the electric kettle, showing water bubbling and steam rising, with an overlay indicating a 3-7 minute boiling time for 1.7 liters.
- Auto-Shutoff: Once the water has boiled, the kettle will automatically switch off, and the LED light will extinguish.
- Pour Water: Carefully lift the kettle from its base and pour the hot water. Be cautious of steam.
Maintenance and Cleaning
Always unplug both appliances from the power outlet and allow them to cool completely before cleaning.
Toaster Cleaning
- Crumb Tray: Pull out the removable crumb tray located at the bottom of the toaster. Discard crumbs. Wipe the tray with a damp cloth and dry thoroughly before reinserting.

Figure 8: Easy Clean Crumb Tray.
This image shows the toaster with its crumb tray partially pulled out, demonstrating the ease of access for cleaning. The 1.6-inch wide slots are also visible.
- Exterior: Wipe the exterior of the toaster with a soft, damp cloth. Do not use abrasive cleaners or scouring pads. Do not immerse the toaster in water or any other liquid.
- Interior: Do not attempt to clean the interior of the toaster with any utensils or objects.
Electric Kettle Cleaning
- Exterior: Wipe the exterior of the kettle with a soft, damp cloth. Do not use abrasive cleaners.
- Interior (Descaling): Over time, mineral deposits (limescale) may build up inside the kettle.
- Fill the kettle with a mixture of equal parts white vinegar and water.
- Let it stand for at least 30 minutes, or boil the mixture for heavily scaled kettles.
- Empty the kettle and rinse thoroughly several times with fresh water.
- For stubborn deposits, a non-abrasive descaling solution designed for kettles can be used following the product's instructions.
- Mesh Filter: The detachable mesh filter in the spout can be removed and rinsed under running water to clean any limescale or debris. Ensure it is securely reinserted before use.
Troubleshooting
Before contacting customer support, please refer to the following troubleshooting guide for common issues.
Toaster Troubleshooting
| Problem | Possible Cause | Solution |
|---|---|---|
| Toaster does not turn on. | Not plugged in; power outage; faulty outlet. | Ensure plug is fully inserted. Check household fuse/circuit breaker. Try a different outlet. |
| Bread is stuck. | Item too large; crumb build-up. | Unplug toaster. Carefully remove bread using non-metallic tongs. Clean crumb tray. |
| Toast is too light/dark. | Incorrect browning setting. | Adjust browning control dial to a higher (darker) or lower (lighter) setting. |
| Smoke coming from toaster. | Food stuck inside; excessive crumbs; burning residue. | Immediately press Cancel and unplug. Allow to cool. Clean crumb tray. Remove any visible food particles. |
Electric Kettle Troubleshooting
| Problem | Possible Cause | Solution |
|---|---|---|
| Kettle does not heat. | Not plugged in; not properly seated on base; switch not engaged; boil-dry protection activated. | Ensure plug is fully inserted. Re-seat kettle firmly on base. Press switch down fully. If boil-dry activated, allow to cool before refilling. |
| Kettle switches off before boiling. | Excessive limescale build-up; faulty sensor. | Descale the kettle thoroughly. If problem persists, contact support. |
| Water tastes strange or has particles. | New kettle residue; limescale. | Perform first-use cleaning steps again. Descale the kettle. Ensure mesh filter is clean. |
| Lid does not close properly. | Debris in hinge; misalignment. | Check for and remove any obstructions. Gently adjust lid if misaligned. |
Specifications
| Feature | Detail |
|---|---|
| Brand | Aigostar |
| Model Style | Aigostar Toaster 2 Slice and Electric Kettle |
| Toaster Slots | 2 Extra-Wide Slots (1.6 inch) |
| Toaster Browning Settings | 6 Levels |
| Toaster Programs | 3 (Defrost, Reheat, Bagel) + Cancel |
| Kettle Capacity | 1.7 Liters |
| Wattage | 1100 watts (for kettle, typical for toaster too) |
| Special Features | LED Indicator (Kettle), High-Lift Lever (Toaster), Removable Crumb Tray (Toaster), Auto-Shutoff & Boil-Dry Protection (Kettle), BPA-Free (Kettle) |
| ASIN | B0CZ92R29Q |
| Date First Available | March 28, 2024 |
Important Safety Information
Please read and follow all safety instructions to prevent electric shock, fire, or injury.
- Do not touch hot surfaces. Always use handles or knobs.
- To protect against electrical hazards, do not immerse cords, plugs, or appliances in water or other liquids.
- Close supervision is necessary when any appliance is used by or near children.
- Unplug from outlet when not in use and before cleaning. Allow to cool before putting on or taking off parts, and before cleaning the appliance.
- Do not operate any appliance with a damaged cord or plug, or after the appliance malfunctions or has been damaged in any manner.
- The use of accessory attachments not recommended by the appliance manufacturer may cause injuries.
- Do not use outdoors.
- Do not let cord hang over edge of table or counter, or touch hot surfaces.
- Do not place on or near a hot gas or electric burner, or in a heated oven.
- Extreme caution must be used when moving an appliance containing hot oil or other hot liquids.
- Always attach plug to appliance first, then plug cord into the wall outlet. To disconnect, turn any control to "off", then remove plug from wall outlet.
- Do not use appliance for other than intended use.
- Oversized foods, metal foil packages, or utensils must not be inserted in a toaster as they may create a fire or risk of electric shock.
- A fire may occur if toasters are covered or touching flammable material, including curtains, drapes, walls, and the like, when in operation.
- Do not attempt to dislodge food when toaster is plugged in.
- Do not operate the kettle without water.
- Ensure the lid is securely closed before operating the kettle.
Warranty and Support
Aigostar products are designed and manufactured to the highest quality standards. For information regarding warranty coverage, please refer to the warranty card included with your product or visit the official Aigostar website.
For technical support, troubleshooting assistance beyond this manual, or to inquire about replacement parts, please contact Aigostar customer service. You can often find contact information on the manufacturer's website or through the retailer where you purchased the product.
You may also visit the Aigostar Store on Amazon for more information and product updates.
Ask a question about this manual
Ask about setup, troubleshooting, compatibility, parts, safety, or missing instructions. Manuals+ will review the question and use this page’s manual context to help answer it.