1. Introduction
This manual provides essential information for the safe and efficient operation of your PowMr 100A MPPT Solar Charge Controller. Please read this manual thoroughly before installation and use. This controller is designed for 12V/24V/36V/48V DC systems and is compatible with various battery types, including sealed lead-acid, flooded, gel, and deep cycle lithium batteries.
Key features include:
- High Efficiency: 100% MPPT technology with maximum efficiency ≥98.1% and PV utilization ≥99%.
- Automatic Voltage Detection: Automatically detects 12V/24V/36V/48V system voltages.
- Parallel Support: Supports up to 12 units in parallel for expanded system capacity.
- Battery Compatibility: Works with sealed lead-acid, flooded, gel, NiCd, and lithium batteries.
- Comprehensive Protection: Features multiple protection functions and a troubleshooting display.
- 3-Stage Charging: Utilizes Boost Charge, Float Charge, and MPP Tracking Return for optimal battery health.
- Temperature Sensor: Includes a plug-and-play temperature sensor for accurate charging.
2. Safety Instructions
Always observe the following safety precautions to prevent personal injury and damage to the equipment:
- Read all instructions before installation and operation.
- Ensure all wiring is correctly polarized and securely connected.
- Use appropriate circuit breakers for all lines (battery and solar array).
- Do not attempt to disassemble or repair the controller yourself. Contact qualified personnel for service.
- Install the controller in a well-ventilated area, away from flammable materials and direct sunlight.
- Wear appropriate personal protective equipment (PPE) during installation, including eye protection and insulated gloves.
- Ensure the battery voltage is sufficient for the controller to detect the system voltage upon initial connection.
3. Product Overview
The PowMr 100A MPPT Solar Charge Controller is a robust device designed to efficiently manage power flow from your solar panels to your battery bank. It features an LCD display for monitoring system parameters and user-friendly buttons for configuration.
3.1 Dimensions

Figure 1: PowMr 100A MPPT Solar Charge Controller with dimensions of 12.40 x 7.6 x 3.14 inches (315mm x 195mm x 80mm).
3.2 Multi-Protection Functions
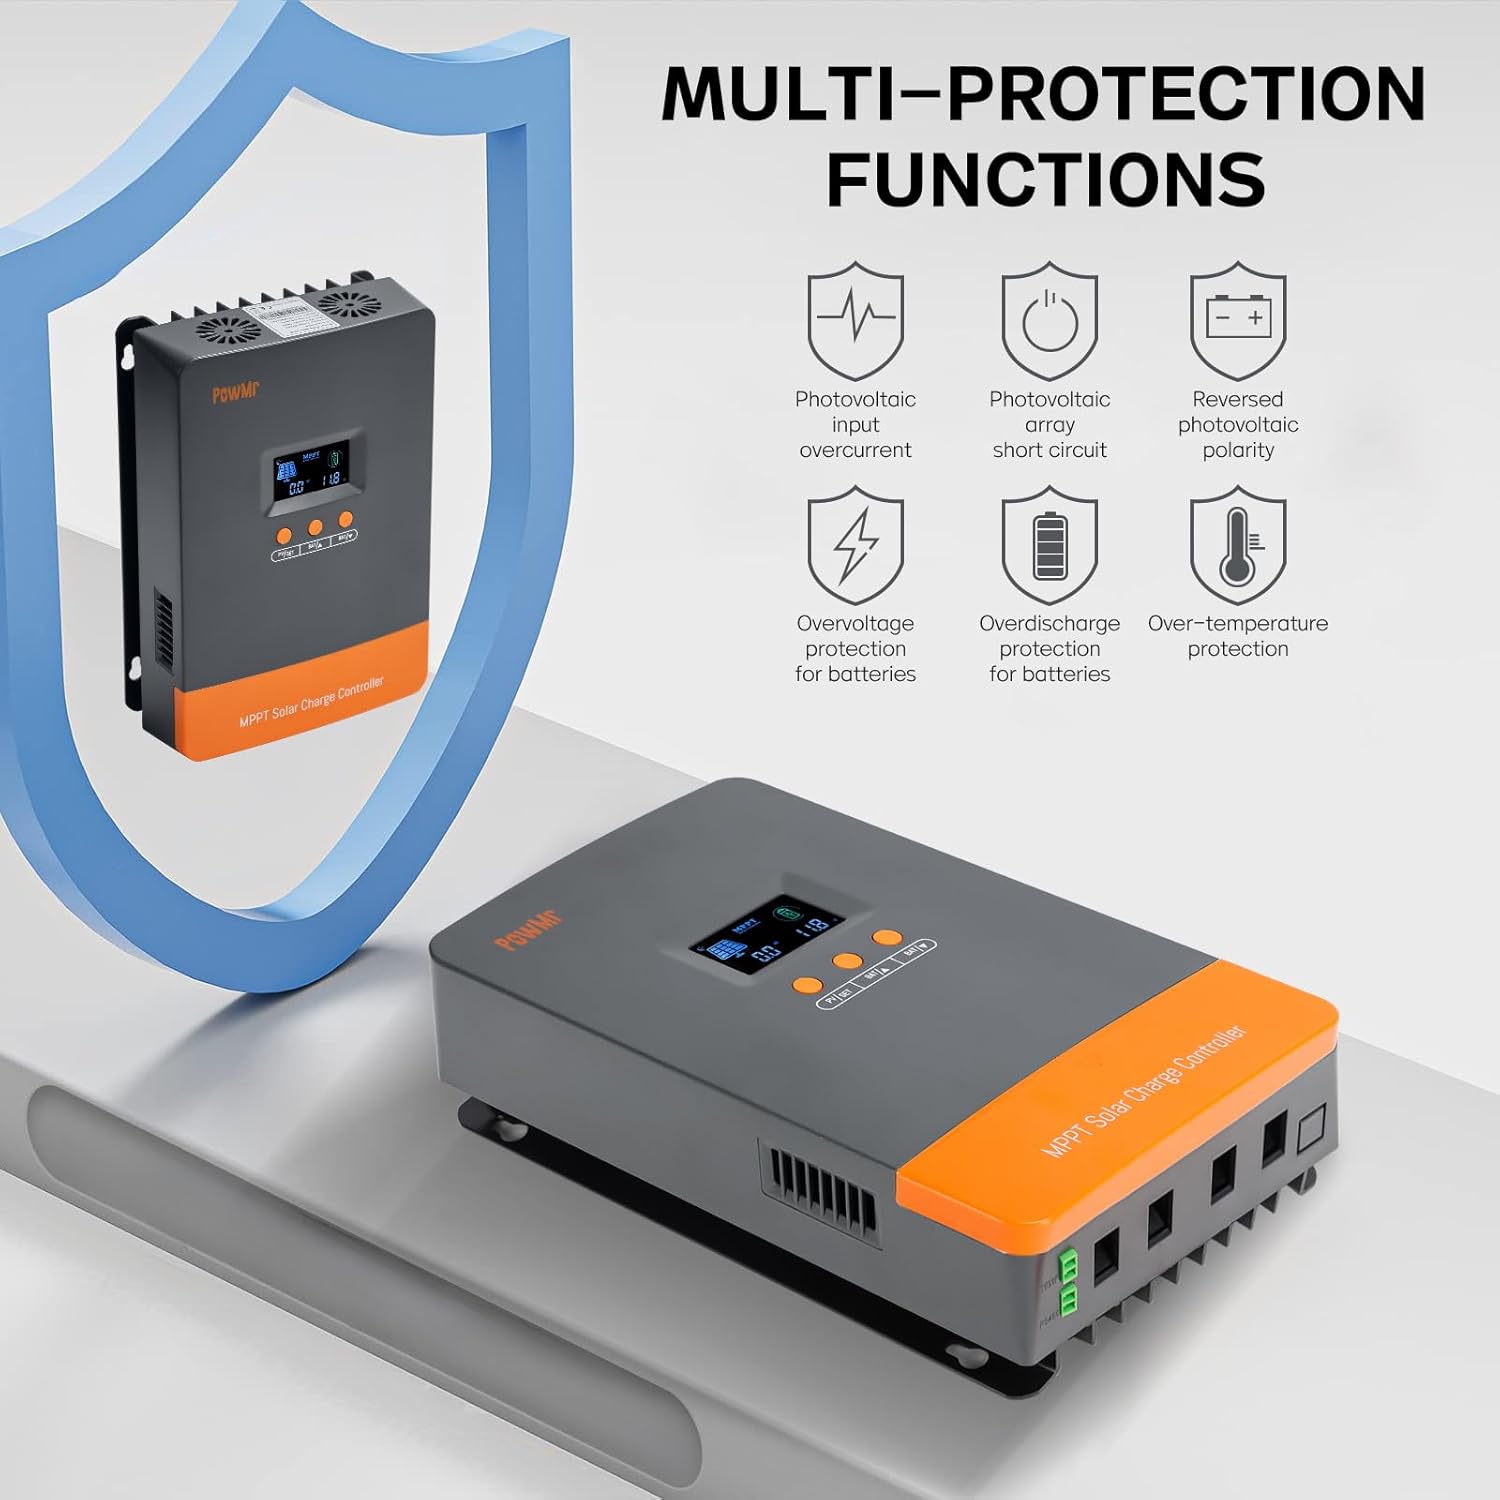
Figure 2: The controller incorporates multiple protection features including photovoltaic input overcurrent, photovoltaic array short circuit, reversed photovoltaic polarity, overvoltage protection for batteries, overdischarge protection for batteries, and over-temperature protection.
3.3 Efficient Charging

Figure 3: The controller achieves high tracking efficiency up to 99% and peak conversion efficiency up to 98% through its smart 3-stage charging process: Bulk Charge, Absorption Charge, and Float Charge.
3.4 Applicable Battery Types

Figure 4: The controller is compatible with 12V/24V/36V/48V batteries, including Lithium (LiFePO4), Gel, AGM, Flooded Lead-Acid (FLD), and Sealed Lead-Acid (SLA) types.
4. Specifications
| Feature | Detail |
|---|---|
| Model Number | POW-M100-PRO |
| Brand | PowMr |
| Voltage | 12V/24V/36V/48V (DC) Auto Detection |
| Max. PV Open-Circuit Voltage | 160V |
| Max. Input Power (12V System) | 1200W |
| Max. Input Power (24V System) | 2400W |
| Max. Input Power (36V System) | 3600W |
| Max. Input Power (48V System) | 4800W |
| Display Type | LCD |
| Item Weight | 7.09 pounds |
| Package Dimensions | 14.33 x 10.08 x 4.88 inches |
| Included Components | 100 amp Solar Charge Controller |
| Color | Orange |
5. Setup and Installation
Follow these steps for proper installation of your solar charge controller. Ensure all power sources are disconnected before beginning any wiring.
5.1 Mounting the Controller
Mount the controller on a wall using screws. Ensure there is ample space around the controller for heat dissipation, especially if installing multiple units.
Video 1: This video demonstrates the physical mounting of the PowMr 100A Solar Charge Controller on a wall and the initial wiring steps for battery and solar panel connections.
5.2 Wiring Connections
Connect the battery and solar array cables to the controller. Always connect the battery first, then the solar array. Ensure appropriate circuit breakers are installed for each line.
- Connect the positive and negative battery cables to the controller's battery terminals.
- Connect the positive and negative PV input cables from your solar array to the controller's PV terminals.
- Install the port cover after all connections are made.
5.3 Initial Power-On
Power on the system by closing the battery circuit breaker first. Then, close the solar circuit breaker. The controller's LCD display will illuminate.
5.4 Parallel Connection (Optional)
If you are using multiple controllers in parallel, follow these steps:

Figure 5: Schematic illustrating how multiple PowMr MPPT Solar Charge Controllers can be connected in parallel to a single battery bank, with each controller managing its own solar array.
- Assemble the parallel communication cable as shown in the video.
- Connect the parallel communication cable between the controllers.
- Set the parallel code on each controller. The device with the smallest code becomes the main controller.
- After setup, define the battery type on the main controller, and the slave controllers will automatically synchronize their configurations.
Video 2: This video provides a detailed guide on how to connect multiple PowMr 100A Solar Charge Controllers in parallel, including assembling the communication cable and setting the parallel codes.
5.5 Solar Connection Diagram

Figure 6: A comprehensive diagram illustrating the connection of the MPPT controller to solar panels, battery bank, inverter, and electrical loads.
6. Operating Instructions
The LCD display provides real-time information about your system, including PV voltage, output power, battery voltage, charging current, working mode, and temperature. Use the buttons below the display to navigate and adjust settings.
6.1 Display Navigation
The buttons allow you to cycle through various display screens to monitor system status. Long press the PV/SET button to enter the setup program.
6.2 Battery Type Setting
The controller automatically detects 12V/24V/36V/48V system voltages. For sealed lead-acid, vented gel, and similar batteries, no parameter adjustment is typically needed. However, for lithium batteries, you must properly adjust parameters according to the actual voltage of the battery, as lithium battery voltages can vary significantly (e.g., a 12V lithium battery might be 11.1V or 14.8V).
6.3 3-Stage Charging Process
The controller employs a 3-stage charging process to ensure efficient and safe battery charging, prolonging battery lifespan:
- Boost Charge: Rapidly charges the battery to its maximum capacity.
- Float Charge: Maintains the battery at a full state of charge by providing a small, constant voltage.
- MPP Tracking Return: Continuously adjusts to find the maximum power point of the solar array to optimize charging efficiency.
7. Maintenance
Regular maintenance ensures the longevity and optimal performance of your solar charge controller:
- Periodically inspect all wiring connections for tightness and corrosion.
- Keep the controller clean and free from dust and debris. Use a dry cloth for cleaning.
- Ensure adequate ventilation around the controller to prevent overheating.
- Check the LCD display for any error codes or unusual readings.
- Verify that the temperature sensor is properly connected and functioning.
8. Troubleshooting
The LCD display includes a troubleshooting function that helps users identify system faults and modify parameters. Refer to the display for specific error codes and consult the full product manual for detailed troubleshooting steps.
Common issues and initial checks:
- No Display: Check battery connections and ensure the battery circuit breaker is closed.
- No Charging: Verify solar panel connections, ensure the solar circuit breaker is closed, and check for sufficient sunlight.
- Incorrect Battery Voltage: Confirm the battery type setting is correct, especially for lithium batteries.
- Overheating: Ensure proper ventilation and that the controller is not exposed to direct sunlight or excessive ambient temperatures.
9. Warranty and Support
For warranty information, technical support, or service inquiries, please refer to the warranty card included with your product or contact PowMr customer service directly. Keep your purchase receipt as proof of purchase for warranty claims.


