
1. Introduction
This manual provides detailed instructions for the installation and maintenance of the LG 4900W1A001B Microwave Oven Vent Damper. This component is a genuine Original Equipment Manufacturer (OEM) part designed to ensure proper ventilation and operation of your LG microwave oven. It is crucial to follow all instructions carefully to ensure safe and effective replacement.
The vent damper plays a critical role in directing exhaust air from the microwave, preventing cooking odors and steam from recirculating into your kitchen. A properly functioning damper helps maintain the efficiency and longevity of your appliance.
2. Safety Information
WARNING: Before attempting any installation or repair, always unplug the microwave oven from its power source to prevent electric shock. Failure to do so can result in serious injury or death.
- Wear work gloves to protect your hands from sharp edges and potential hazards during the installation process.
- Ensure the work area is well-lit and clear of obstructions.
- If you are unsure about any step of the installation, it is recommended to consult a qualified appliance technician.
- Confirm compatibility of this part (model 4900W1A001B) with your specific LG microwave oven model before proceeding with installation.
- Keep children and pets away from the work area.
3. Setup and Installation
This section outlines the general steps for replacing the vent damper. Specific procedures may vary slightly depending on your microwave model. Refer to your microwave's service manual for detailed instructions if available.
Tools Required:
- Screwdriver (Phillips and/or flathead, as needed)
- Work gloves
Installation Steps:
- Disconnect Power: Unplug the microwave oven from the electrical outlet. This is a critical safety step.
- Access the Damper: Depending on your microwave model, you may need to remove the top grille, control panel, or the entire outer casing to access the vent damper assembly. Consult your microwave's specific service manual for precise access instructions.
- Locate the Old Damper: Identify the existing vent damper. It is typically located near the exhaust fan or ducting.
- Remove the Old Damper: Carefully detach the old damper. This may involve unscrewing it, unhooking clips, or gently prying it out. Note its orientation for correct installation of the new part.
- Install the New Damper: Position the new LG 4900W1A001B vent damper in the same orientation as the old one. Secure it in place using the original screws or clips. Ensure it moves freely and is not obstructed.
- Reassemble the Microwave: Reattach any removed panels, grilles, or casings. Ensure all screws are tightened securely.
- Restore Power: Plug the microwave oven back into the electrical outlet.
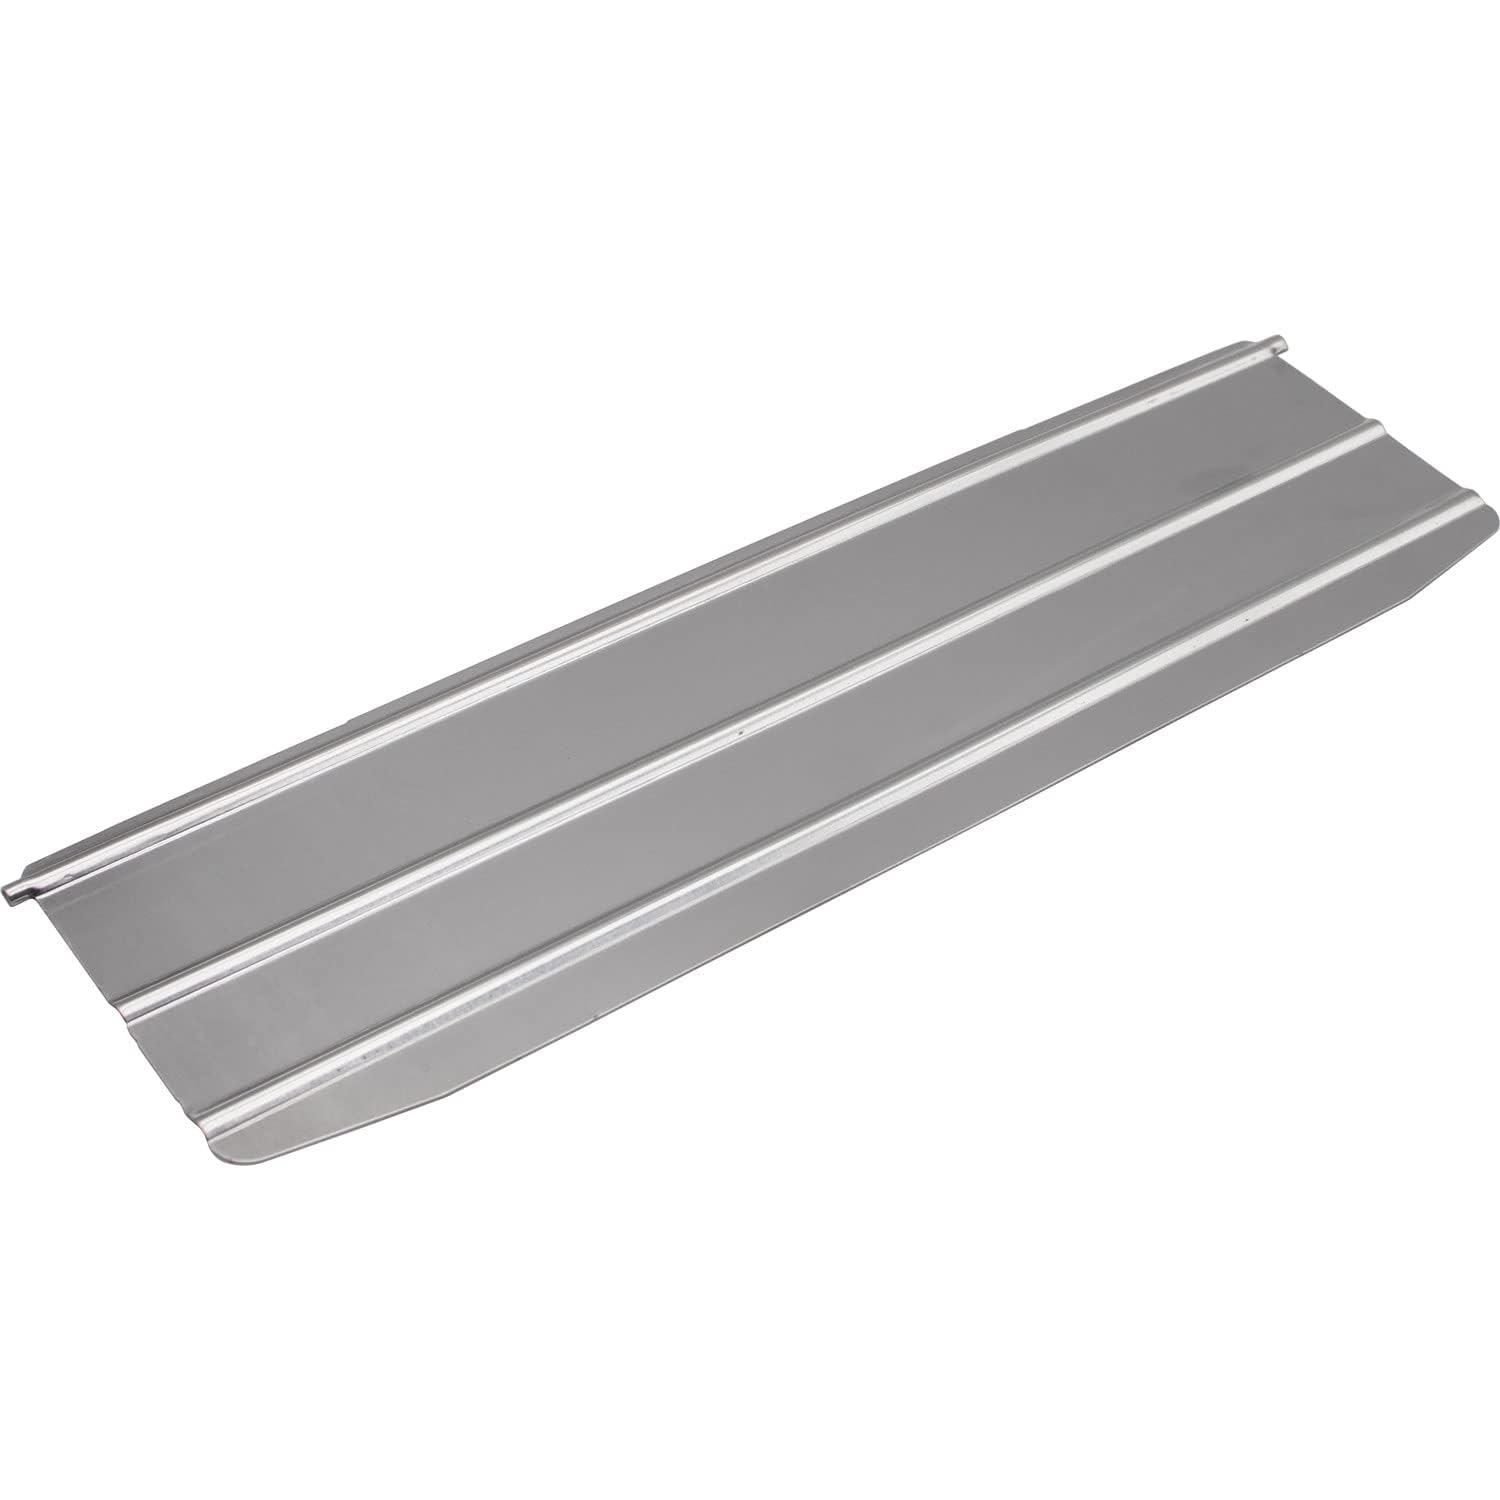
Image 1: The LG 4900W1A001B Microwave Oven Vent Damper. This image shows the genuine OEM replacement part, which is essential for proper microwave ventilation.
4. Operating After Installation
After successful installation of the 4900W1A001B vent damper, your microwave oven's ventilation system should function correctly. Test the exhaust fan to ensure air is being drawn out and expelled properly. You should notice improved air circulation and odor removal during cooking.
If you experience any unusual noises or a lack of airflow, re-check the installation steps to ensure the damper is correctly seated and not obstructed.
5. Maintenance
The LG 4900W1A001B vent damper is designed for durability and typically requires minimal maintenance. However, regular inspection of your microwave's ventilation system can help ensure optimal performance:
- Clean Filters: Regularly clean or replace your microwave's grease filters, as clogged filters can impede airflow and put strain on the ventilation system, including the damper.
- Inspect Damper Movement: Periodically, if accessible, check that the damper flap can open and close freely without obstruction. Dust or debris can sometimes accumulate and hinder its movement.
- Check for Blockages: Ensure that the external vent ducting is clear of any blockages (e.g., bird nests, debris) that could restrict airflow.
6. Troubleshooting
If you encounter issues after replacing the vent damper, consider the following:
| Problem | Possible Cause | Solution |
|---|---|---|
| Poor ventilation / Odors lingering | Damper not opening fully; Blocked exhaust duct; Clogged grease filters. | Verify damper installation and free movement. Check and clear exhaust duct. Clean or replace grease filters. |
| Unusual noise from vent area | Damper flap vibrating; Loose components; Obstruction. | Ensure damper is securely installed. Check for any loose screws or parts. Remove any debris obstructing the damper. |
| No airflow from exhaust fan | Fan motor issue; Complete duct blockage; Damper stuck closed. | Check if the fan motor is operating. Inspect the entire exhaust duct for severe blockages. Ensure the damper is not stuck. If the fan motor is faulty, it may require professional service. |
If troubleshooting steps do not resolve the issue, it is recommended to contact a qualified appliance repair technician.
7. Specifications
- Part Number: 4900W1A001B
- Type: Microwave Oven Vent Damper
- Compatibility: Designed for specific LG microwave oven models (confirm with your appliance's model number)
- Manufacturer: Generic (OEM part for LG)
- Dimensions: Approximately 1 x 1 x 1 inches (Product dimensions may vary slightly)
- Color: Silver
8. Warranty and Support
As a genuine OEM part, the 4900W1A001B vent damper is manufactured to high standards. For specific warranty information regarding this replacement part, please refer to the terms provided by the seller or the original appliance manufacturer (LG).
For technical support or further assistance, please contact the retailer from whom the part was purchased or an authorized LG service center.