
Introduction
Thank you for choosing the Gree 4-in-1 Air Cooler and Purifier. This appliance is designed to provide a comfortable indoor environment by offering cooling, heating, humidifying, and air purifying functions. Please read this manual thoroughly before operation to ensure proper use, maintenance, and safety.
Safety Instructions
- Always connect the unit to a grounded power outlet with the correct voltage (220-240V, 60Hz).
- Do not operate the unit with a damaged power cord or plug. Contact qualified service personnel for repairs.
- Keep the unit away from water and other liquids to prevent electric shock.
- Ensure the unit is placed on a stable, level surface to prevent tipping.
- Do not insert objects into the air vents.
- Unplug the unit before cleaning, refilling water, or performing any maintenance.
- This appliance is not intended for use by persons with reduced physical, sensory, or mental capabilities, or lack of experience and knowledge, unless they have been given supervision or instruction.
- Keep children and pets away from the unit during operation.
Package Contents
Verify that all items are present in the package:
- Gree 4-in-1 Air Cooler and Purifier Unit (Model KSWD-04S66RDG)
- Remote Control
- Instruction Manual
Product Overview
Familiarize yourself with the components of your Gree 4-in-1 Air Cooler and Purifier.
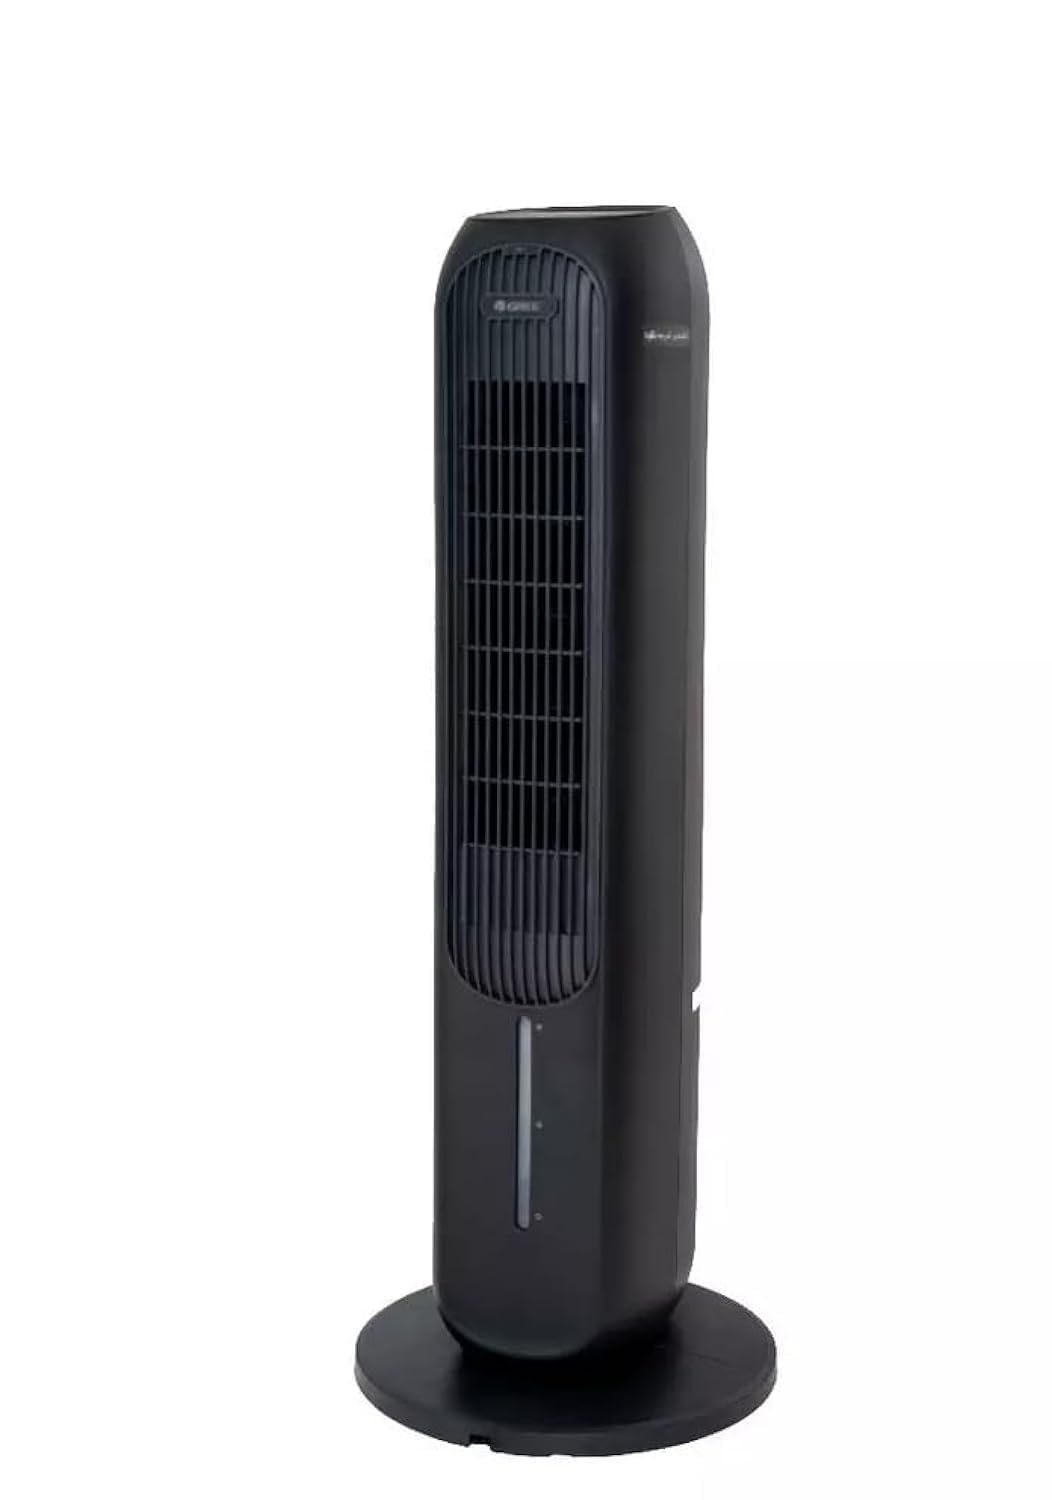
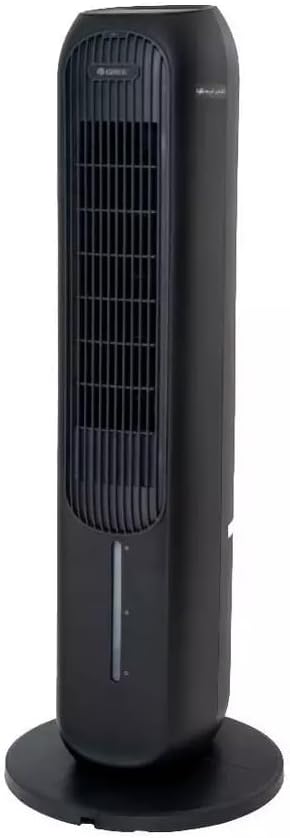
Main Components:
- Control Panel: Located on the top of the unit for manual operation.
- Air Outlet: Where treated air is discharged.
- Water Tank: Removable tank for filling water for cooling and humidifying functions.
- Dust Filter: Located at the rear, designed to filter airborne particles.
- Remote Control Receiver: For operating the unit with the remote.
- Power Cord: For connecting to an electrical outlet.
Setup
- Unpacking: Carefully remove the unit from its packaging. Retain packaging materials for future storage or transport.
- Placement: Place the air cooler on a firm, level surface. Ensure there is at least 20 cm of clear space around the unit for proper airflow. Do not block the air inlet or outlet.
- Water Tank Filling (for Cooling/Humidifying):
- Pull out the water tank from the bottom rear of the unit.
- Fill the tank with clean tap water. Do not exceed the 'MAX' fill line.
- For enhanced cooling, you may add ice packs (not included) to the water tank.
- Carefully slide the water tank back into the unit until it clicks into place.
- Power Connection: Plug the power cord into a suitable 220-240V, 60Hz electrical outlet.
Operating Instructions
The unit can be operated using the control panel on top or the remote control.
Control Panel / Remote Control Functions:
- Power Button: Press to turn the unit ON or OFF.
- Speed Button: Cycles through 3 fan speeds: Low, Medium, High.
- Mode Button: Selects operating modes: Cooling, Heating, Humidifying, Purifying.
- Swing Button: Activates or deactivates the oscillation function for wider air distribution.
- Timer Button: Sets the operating timer (e.g., 1-12 hours).
- Anion/Purify Button: Activates the air purifying function (if applicable).
Operating Modes:
- Cooling Mode: Uses water evaporation to cool the air. Ensure the water tank is filled.
- Heating Mode: Provides warm air. Do not block the air outlet during heating.
- Humidifying Mode: Adds moisture to the air. Ensure the water tank is filled.
- Purifying Mode: Activates the air filter and anion function to clean the air.
Maintenance
Regular maintenance ensures optimal performance and extends the lifespan of your unit.
Cleaning the Dust Filter:
- Unplug the unit from the power outlet.
- Locate the dust filter cover at the rear of the unit and remove it.
- Gently remove the dust filter.
- Clean the filter with a soft brush or vacuum cleaner. For heavy dust, rinse with water and mild detergent. Ensure it is completely dry before reinserting.
- Reinstall the dust filter and secure the cover.
Cleaning the Water Tank:
- Unplug the unit.
- Remove the water tank and empty any remaining water.
- Clean the tank with a soft cloth and mild detergent. Rinse thoroughly to remove all soap residue.
- Allow the tank to air dry completely before reinserting.
Exterior Cleaning:
- Wipe the exterior of the unit with a soft, damp cloth.
- Do not use abrasive cleaners or solvents.
Storage:
- If storing the unit for an extended period, ensure the water tank is empty and clean, and the dust filter is clean and dry.
- Store the unit in a cool, dry place, preferably in its original packaging.
Troubleshooting
Before contacting customer support, please refer to the following troubleshooting guide for common issues.
| Problem | Possible Cause | Solution |
|---|---|---|
| Unit does not turn on | No power supply; Power cord not properly plugged in; Power outlet malfunction. | Check power cord connection; Try a different outlet; Check circuit breaker. |
| Weak airflow | Dust filter clogged; Air inlet/outlet blocked. | Clean the dust filter; Ensure no obstructions around the unit. |
| No cooling/humidifying effect | Water tank empty; Cooling/Humidifying mode not selected. | Fill the water tank; Select the appropriate mode. |
| Unusual noise | Unit not on a level surface; Foreign object inside. | Place on a stable, level surface; Unplug and check for obstructions. |
Specifications
| Feature | Detail |
|---|---|
| Model Number | KSWD-04S66RDG |
| Functions | Cooling, Heating, Humidifying, Purifying |
| Color | Black |
| Control Type | Remote Control |
| Fan Speeds | 3 |
| Power Supply | 220-240V, 60Hz |
| Wattage | 45 Watts |
| Dimensions (D x W x H) | 29 x 29 x 103 cm |
| Item Weight | 30 kg |
| Material | Plastic |
| Special Feature | Dust Filter |
| Installation Type | Freestanding |
| Operating Mode | Automatic |
Warranty and Support
This Gree 4-in-1 Air Cooler and Purifier (Model KSWD-04S66RDG) comes with a two-year agent warranty covering manufacturing defects and malfunctions under normal use. Please retain your purchase receipt as proof of purchase for warranty claims.
For Technical Support or Warranty Claims:
Please contact your local authorized Gree service center or the retailer from whom you purchased the product. Refer to your warranty card or the retailer's information for specific contact details.


