1. Introduction
The Fockety Mini 3-Key Programmable Mechanical Keyboard is a versatile input device designed for enhanced productivity and gaming. It features fully programmable keys, a customizable rotary knob, and dual-mode connectivity (wired USB and 2.4G wireless). Its compact design saves desk space, making it suitable for various applications including office work, gaming, music control, and industrial use.
2. Product Overview
This mini keyboard offers three programmable keys and one rotary knob, allowing for complex shortcuts and custom functions. It supports both wired USB and 2.4G wireless connections for flexible use. The keys are hot-swappable, enabling easy customization of switches and keycaps.
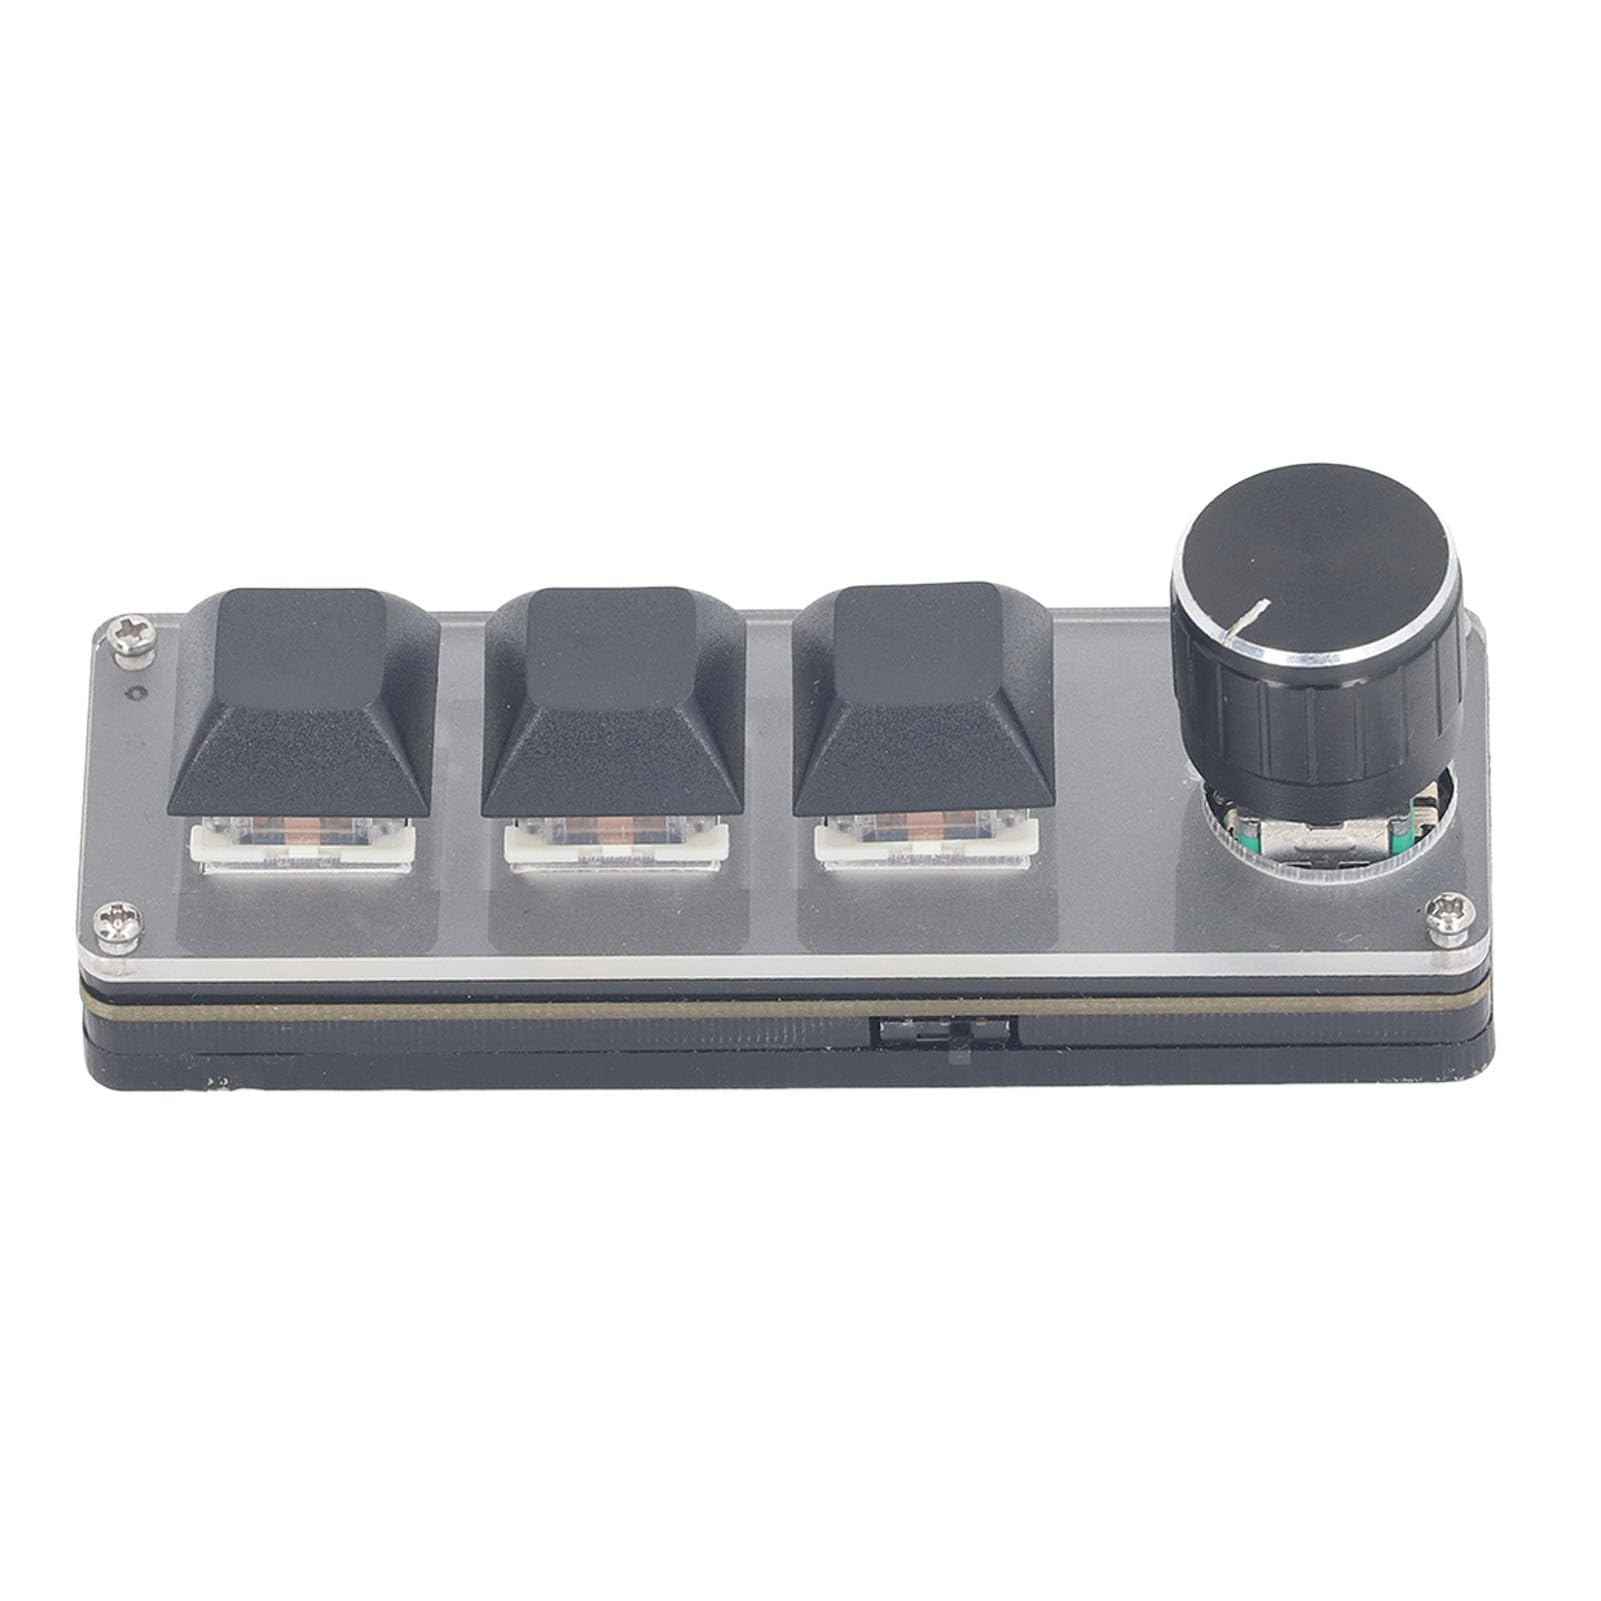
Image: The Fockety Mini 3-Key Programmable Mechanical Keyboard, showcasing its compact design with a rotary knob and three keys.
3. What's in the Box
- 1 x 3-Key Keyboard
- 1 x USB Cable
- 1 x Wireless Module
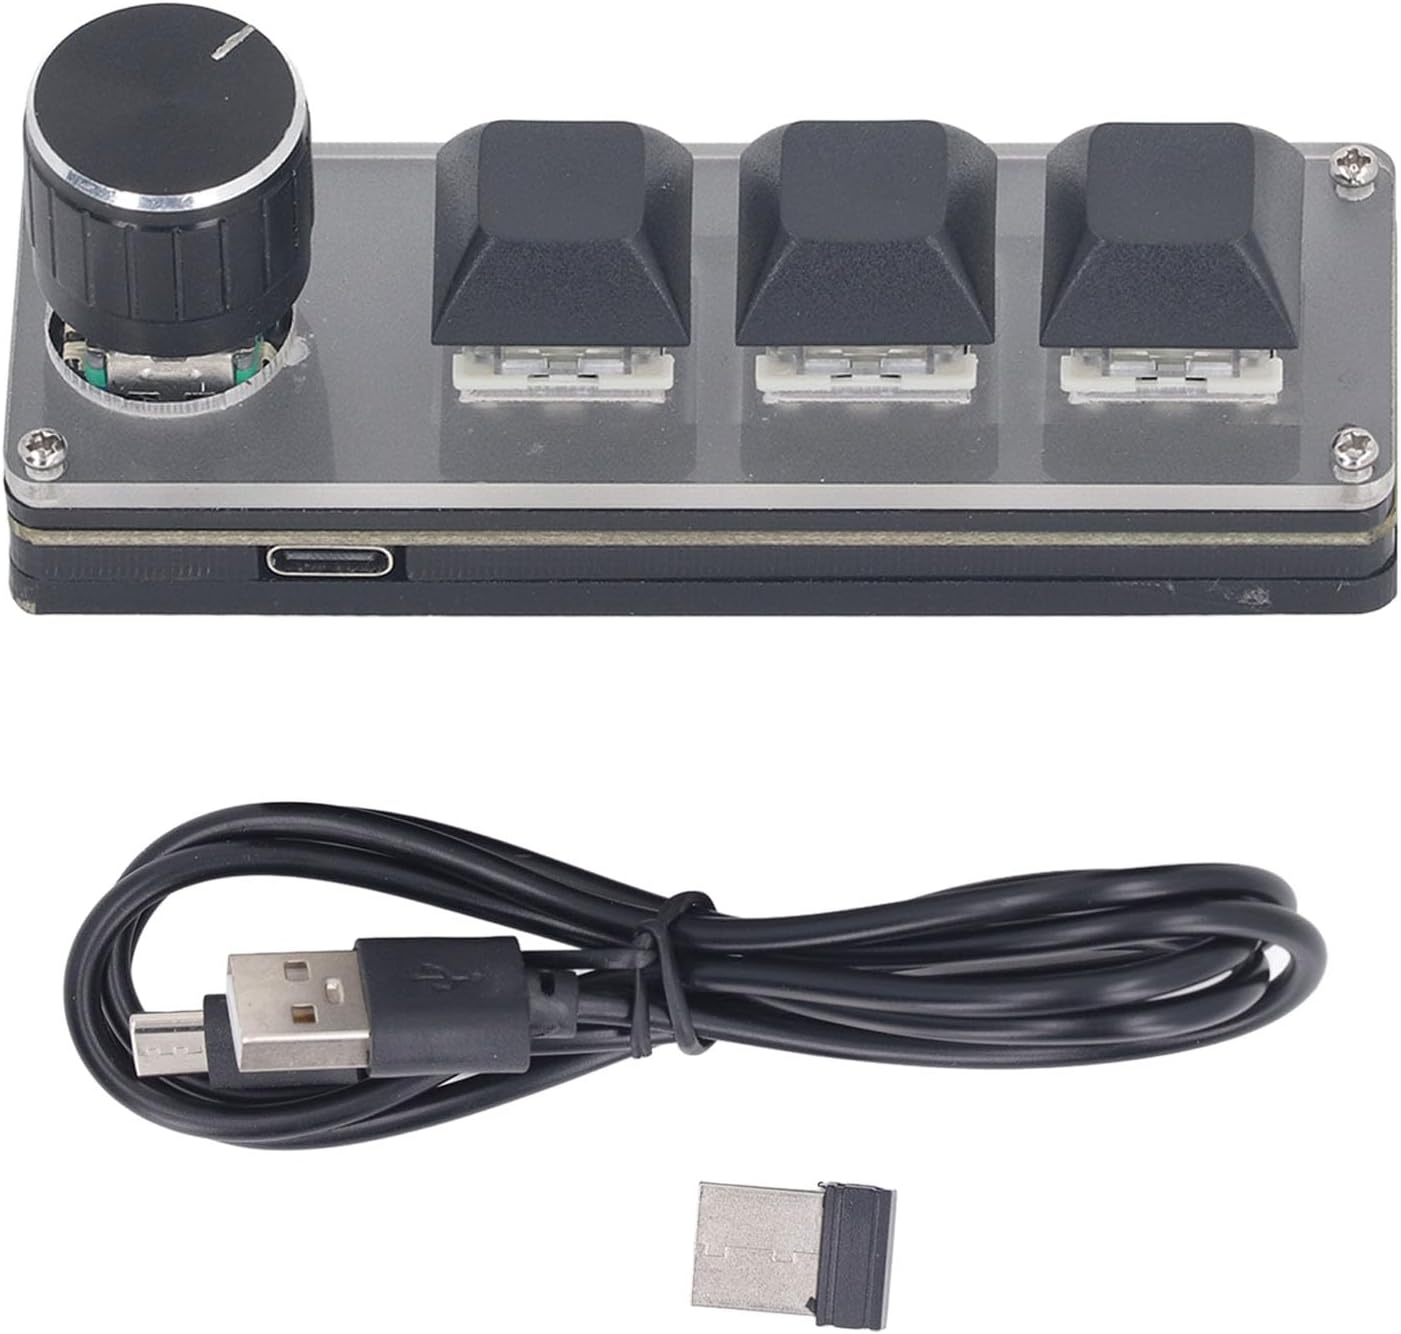
Image: The Fockety Mini 3-Key Programmable Mechanical Keyboard, USB cable, and wireless module as included in the package.
4. Setup
4.1 Initial Connection
Connect the keyboard to your computer using the provided USB cable. The device should be recognized automatically. For advanced customization, you will need to download and install the dedicated configuration software from the official Fockety website.
4.2 Keycap and Switch Customization
The keyboard features hot-swappable switches, allowing you to easily change keycaps and switches to suit your preference. Use the provided keycap puller to remove existing keycaps and switches.
Video: This video demonstrates how to remove and replace keycaps and switches on the mini programmable keyboard, highlighting its hot-swappable feature.
5. Operating Instructions
5.1 General Key and Knob Functions
All three keys operate independently and can be pressed individually. The rotary knob can be turned left, right, or pressed to activate custom functions such as volume control or scrolling.
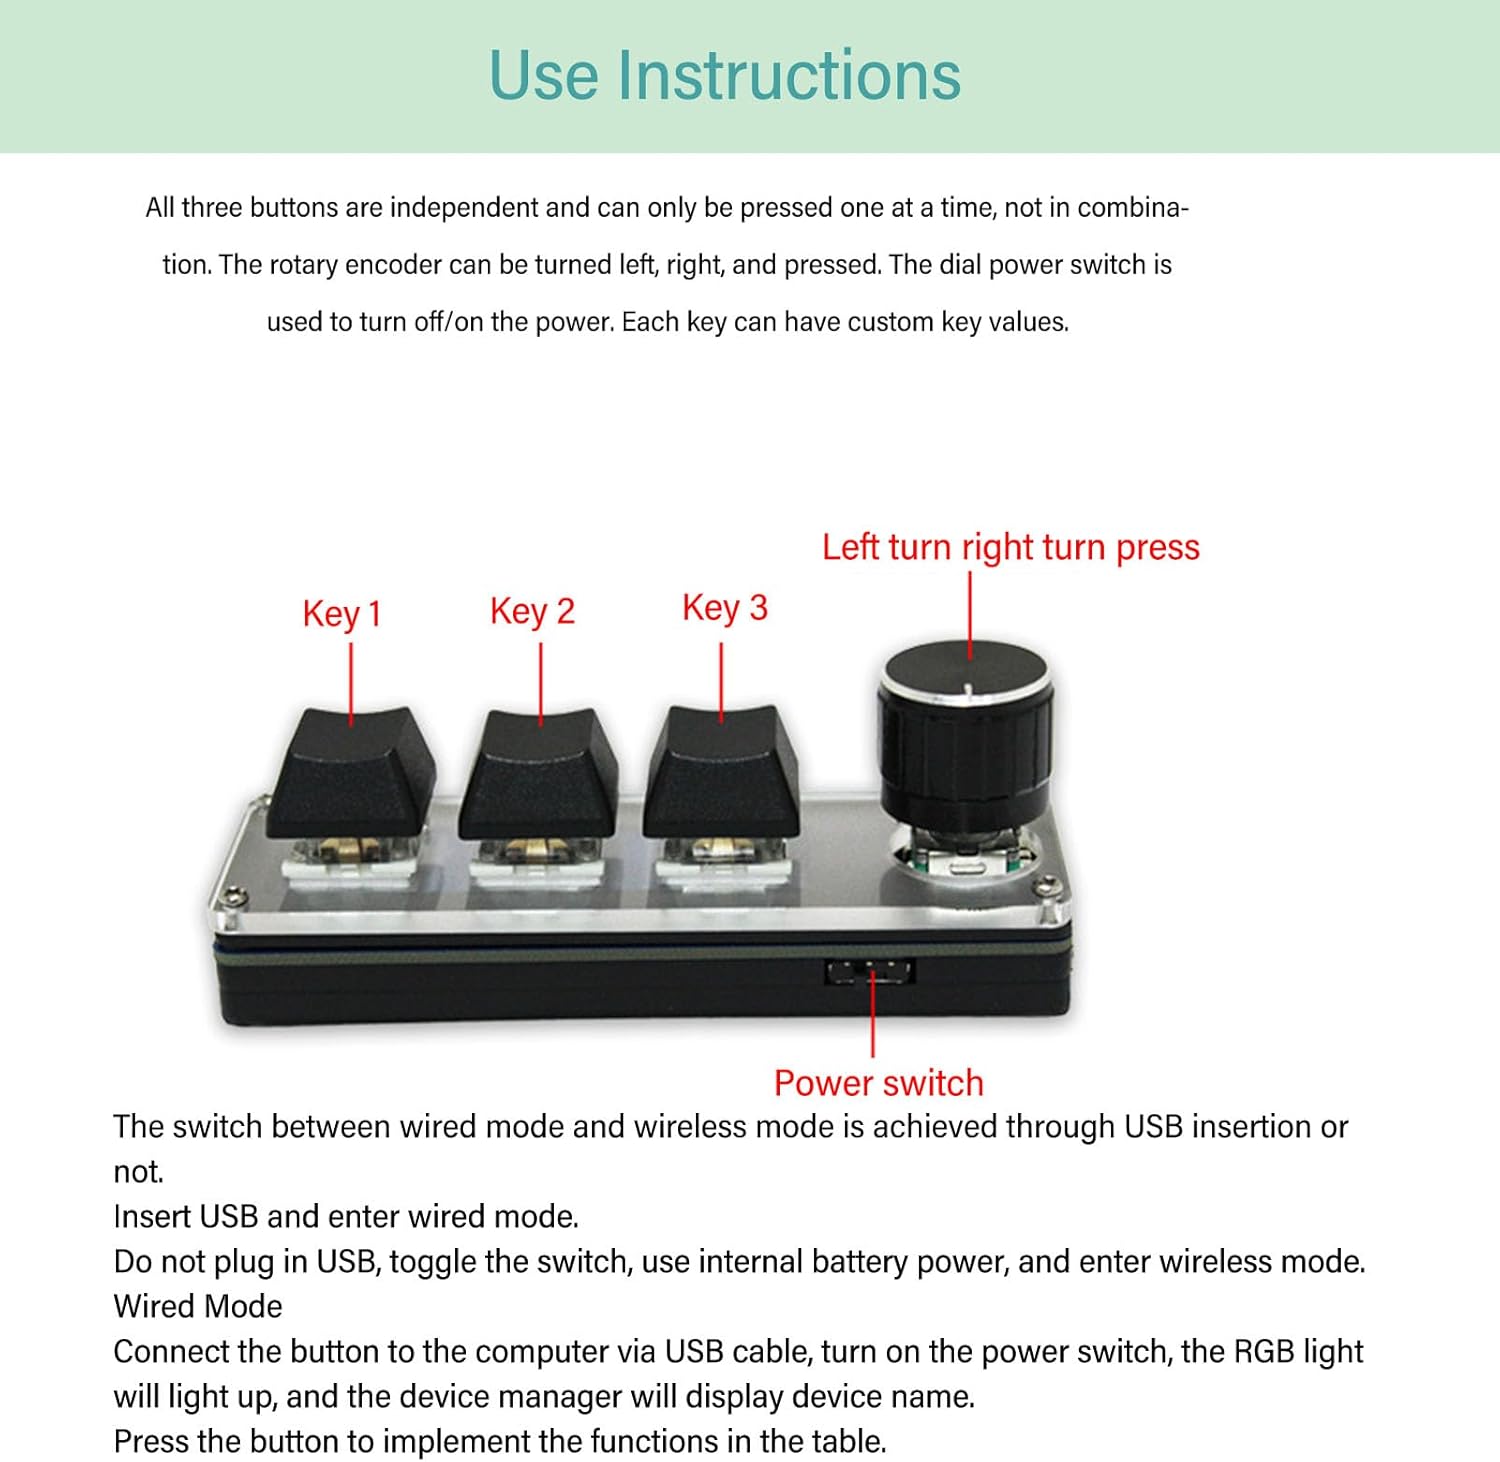
Image: A detailed view of the keyboard's keys and rotary knob, illustrating their basic functions.
5.2 Dual Mode Operation (Wired/Wireless)
The keyboard supports both wired USB and 2.4G wireless connections. The mode is switched via a power switch located on the device.
- Wired Mode: Simply insert the USB cable into the keyboard and your computer. The keyboard will automatically operate in wired mode.
- Wireless Mode: To use wireless mode, unplug the USB cable, then toggle the power switch. The internal battery will power the device.

Image: Visual representation of the keyboard's dual-mode capability, supporting both USB and 2.4G wireless connections.
5.2.1 Wireless Pairing Process
- Initial Pairing: After inserting the wireless receiver into your computer, a blue light on the receiver will remain on, indicating it's in pairing mode. Turn on the keyboard's power switch. The blue light on the receiver will then turn off, signifying a successful connection.
- Re-Pairing: If re-pairing is needed, reset both the keyboard's keys and the receiver separately. Insert the receiver, open the configuration software, and press the reset button within the software. The blue light on the receiver will remain on. Connect the keyboard via USB, open the configuration software, and press the reset button for the keyboard. Once complete, disconnect the USB cable and proceed with the wireless pairing as described in step 1.
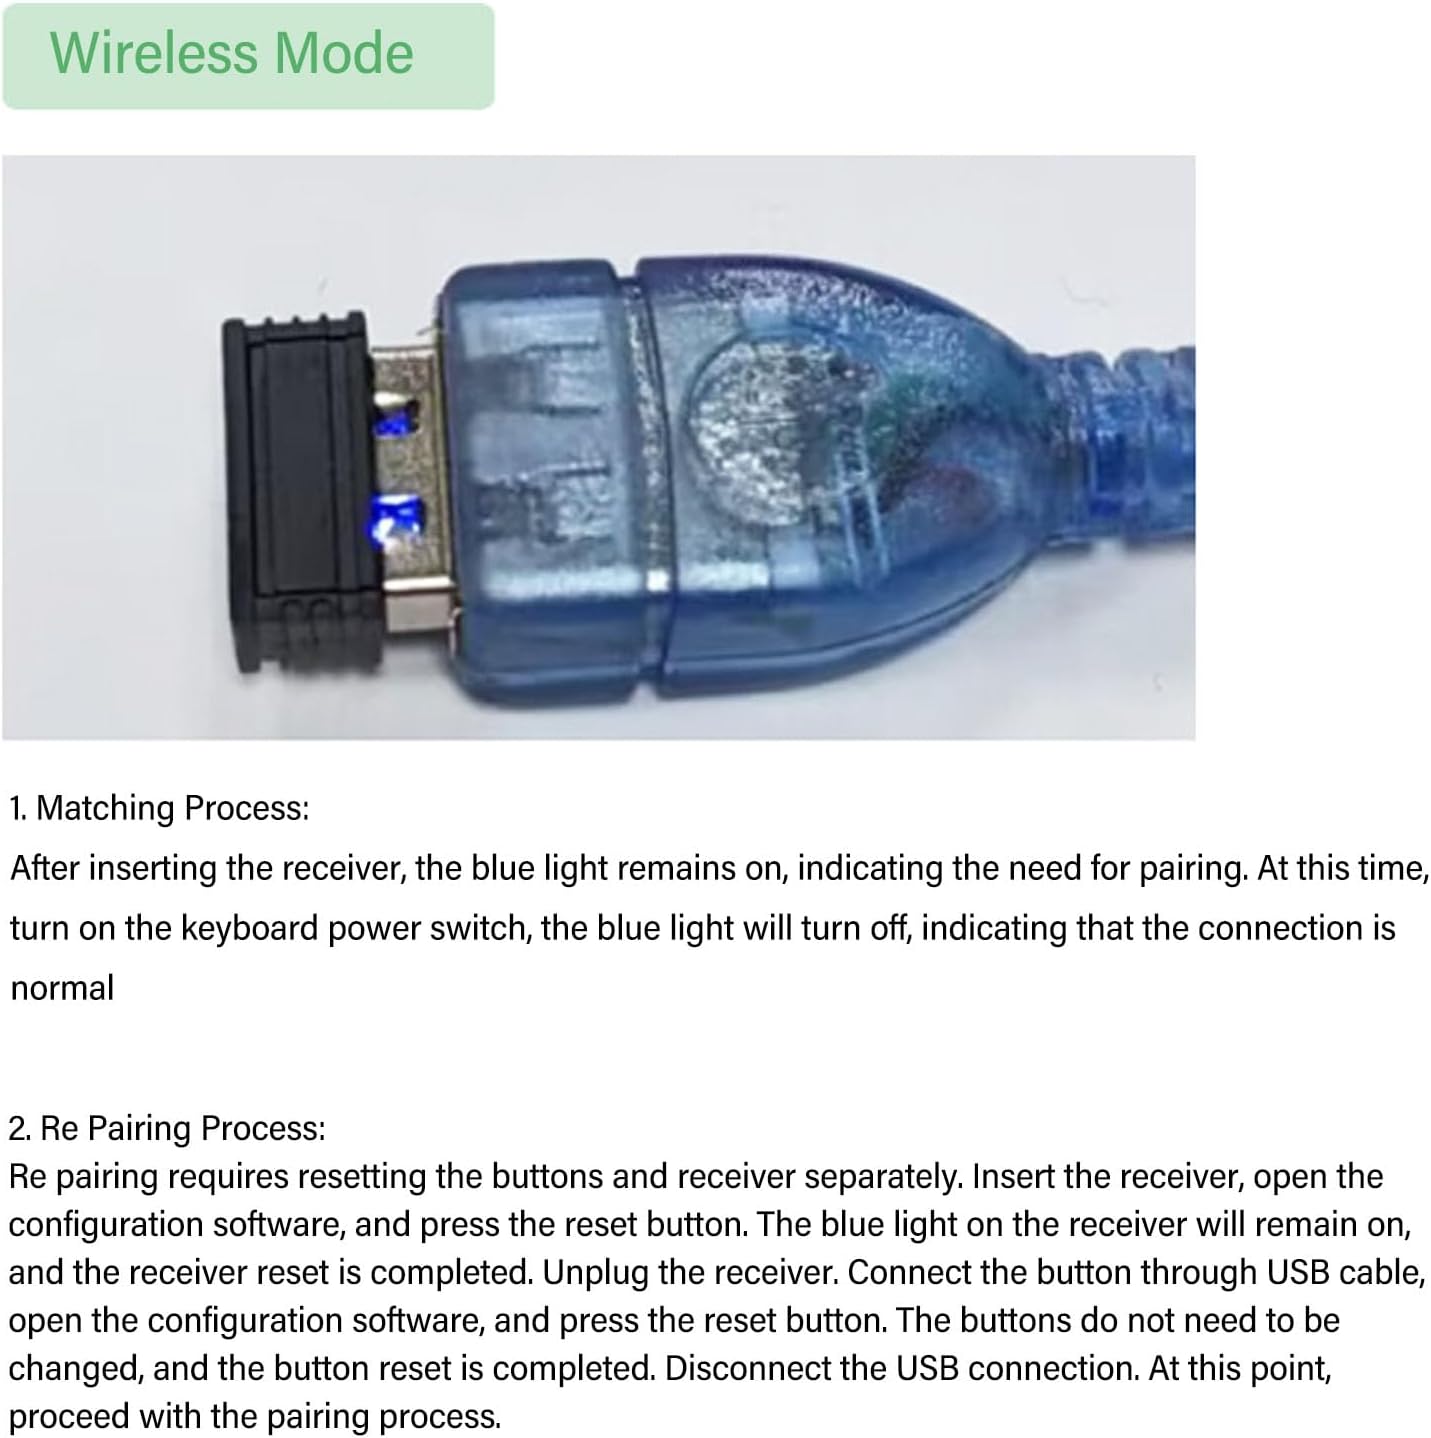
Image: The 2.4G wireless receiver, used for establishing a wireless connection with the keyboard.
5.3 Custom Key Value Assignment
To assign custom functions to keys:
- Open the key value editing software.
- Select the desired key on the virtual keyboard layout.
- Choose the application scenario or function from the available options.
- Enter the specific key value or macro.
- Click 'Download' to save the configuration to the keyboard.
For example, you can program a button to output a specific letter or a complex shortcut.

Image: The software interface for custom key value assignment, demonstrating how to program keys.
5.4 Scene Switching Function
The keyboard supports multiple scenes (layers) for different sets of key assignments:
- Press all three keys simultaneously for 3 seconds to enter scene switching mode.
- The keyboard's lights will change from off to a single illuminated light, indicating the current scene.
- Rotate the knob to cycle through scenes 1, 2, and 3. Each scene can have unique key assignments.
- After selecting your desired scene, press the three keys simultaneously again for 3 seconds to exit scene switching mode.
5.5 Light Off Function
To conserve battery life, you can turn off the keyboard's lighting:
- Press the encoder button (rotary knob) for 3 seconds to toggle the light on or off.
Video: This video demonstrates the Fockety Mini 3-Key Keyboard in action, showing how to use its programmable keys for macros and the rotary knob for volume control.
6. Customization Software
The Fockety Mini 3-Key Programmable Mechanical Keyboard utilizes dedicated software for comprehensive customization. This software allows you to:
- Assign multimedia controls (Play/Pause, Stop, Volume Up/Down, Previous/Next Track, Mute).
- Program common shortcuts (Copy, Paste, Save, Undo).
- Configure system functions (Switch Application, Windows Settings, Task View, Close Window, Switch Screen, Open Menu, Search, Operating Center, Zoom In/Out, New/Previous/Next Desktop, Show/Hide Desktop, Maximize/Minimize Window).
- Create and assign complex macros.
- Manage multiple programmable layers to support different applications and workflows.
Download the latest version of the software from the official Fockety support website.
Video: This video demonstrates the customization software interface, showing how to assign multimedia, shortcut, and system functions to keys on a similar programmable keyboard.
Video: A detailed walkthrough of the customization software, demonstrating how to program keys for various functions and switch between different layers on a programmable keyboard.
7. Specifications
| Feature | Description |
|---|---|
| Brand | Fockety |
| Model Number | Fockety1qm87er60g |
| Connectivity Technology | Wired USB, 2.4G Wireless |
| Keyboard Description | Programmable, Gaming |
| Compatible Devices | PC, Laptop, Game Console |
| Special Features | Programmable keys, Customizable rotary knob, Dual mode, Space-saving design, Hot-swappable |
| Material | Plastic (ABS) |
| Dimensions (Approx.) | Length: 98mm (3.86in), Key Height: 33mm (1.30in), Base Height: 13mm (0.51in) |

Image: Dimensions of the Fockety Mini 3-Key Programmable Mechanical Keyboard.
8. Troubleshooting
- Keyboard not recognized: Ensure the USB cable is securely connected or the wireless module is properly inserted and paired. Try a different USB port or restart your computer.
- Keys not responding: Verify that the keyboard is powered on (if in wireless mode) and correctly paired/connected. Check key assignments in the customization software.
- Custom functions not working: Ensure the configuration software has successfully downloaded the settings to the keyboard. Check if you are in the correct scene/layer for the desired functions.
- Wireless connection issues: Ensure the wireless module is within range and free from interference. Re-attempt the pairing process as described in section 5.2.1.
9. Warranty and Support
For warranty information, technical support, or further assistance, please refer to the official Fockety website or contact their customer service. Keep your purchase receipt for warranty claims.