
Introduction
This manual provides detailed instructions for the installation, operation, and maintenance of your Newday 52-inch Ceiling Fan. This modern ceiling fan features a quiet DC motor, integrated dimmable LED lighting with adjustable color temperatures, and a convenient remote control. It is designed for both indoor and outdoor use, offering reversible airflow for year-round comfort.
Safety Information
- Always disconnect power at the circuit breaker before installation or servicing.
- Ensure all electrical connections comply with local codes and ordinances.
- Mount the fan to a ceiling joist or support structure capable of holding at least 35 lbs (15.9 kg).
- Do not bend the blade holders during installation or cleaning.
- Keep children away from the fan during operation.
Package Contents
Verify that all components are present before beginning installation:
- Ceiling Fan unit
- Mounting Hardware
- Remote Control
- LED Light Kit
- Fan Blades (3)
- Down Rods (various sizes, if applicable)

Image: The Newday 52-inch ceiling fan, remote control, and reversible fan blades showing both white and wood grain sides.
Specifications
| Feature | Specification |
|---|---|
| Brand | Newday |
| Model Name | DY1235-3B/52 (ND-52-1235) |
| Size | 52 inches |
| Product Dimensions | 52"D x 52"W x 13.2"H |
| Color | White |
| Number of Blades | 3 |
| Motor Type | DC Motor |
| Fan Speeds | 6 (with Natural Wind Mode) |
| Airflow | Up to 5600 CFM |
| Light Kit | Dimmable LED, 3 Color Temperatures (3000K, 4000K, 6500K) |
| Control Method | Remote Control |
| Timer | 1/3/6 Hour Options |
| Indoor/Outdoor Usage | Indoor, Outdoor |
| Installation Type | Down Rod Mount & Angled (up to 15°) |
| Power Source | DC |
| Voltage | 110 Volts |
| Wattage | 24 watts |
| Item Weight | 12.1 Pounds |
| Batteries for Remote | 2 AAA batteries required (not included) |

Image: Diagram showing the dimensions of the 52-inch ceiling fan, including a 13.2-inch height and 5-inch downrod.
Installation
The Newday 52-inch ceiling fan is designed for straightforward installation. Most parts are pre-assembled to simplify the process. A step-by-step video guide is available to assist you.
Pre-Installation Checklist
- Ensure power is OFF at the circuit breaker.
- Gather all necessary tools (screwdriver, wire strippers, ladder, etc.).
- Confirm your ceiling can support the fan's weight (minimum 35 lbs).
Mounting
The fan supports both standard downrod mount and angled ceiling installations (up to 15 degrees). Follow the detailed instructions provided in the packaging for secure mounting.
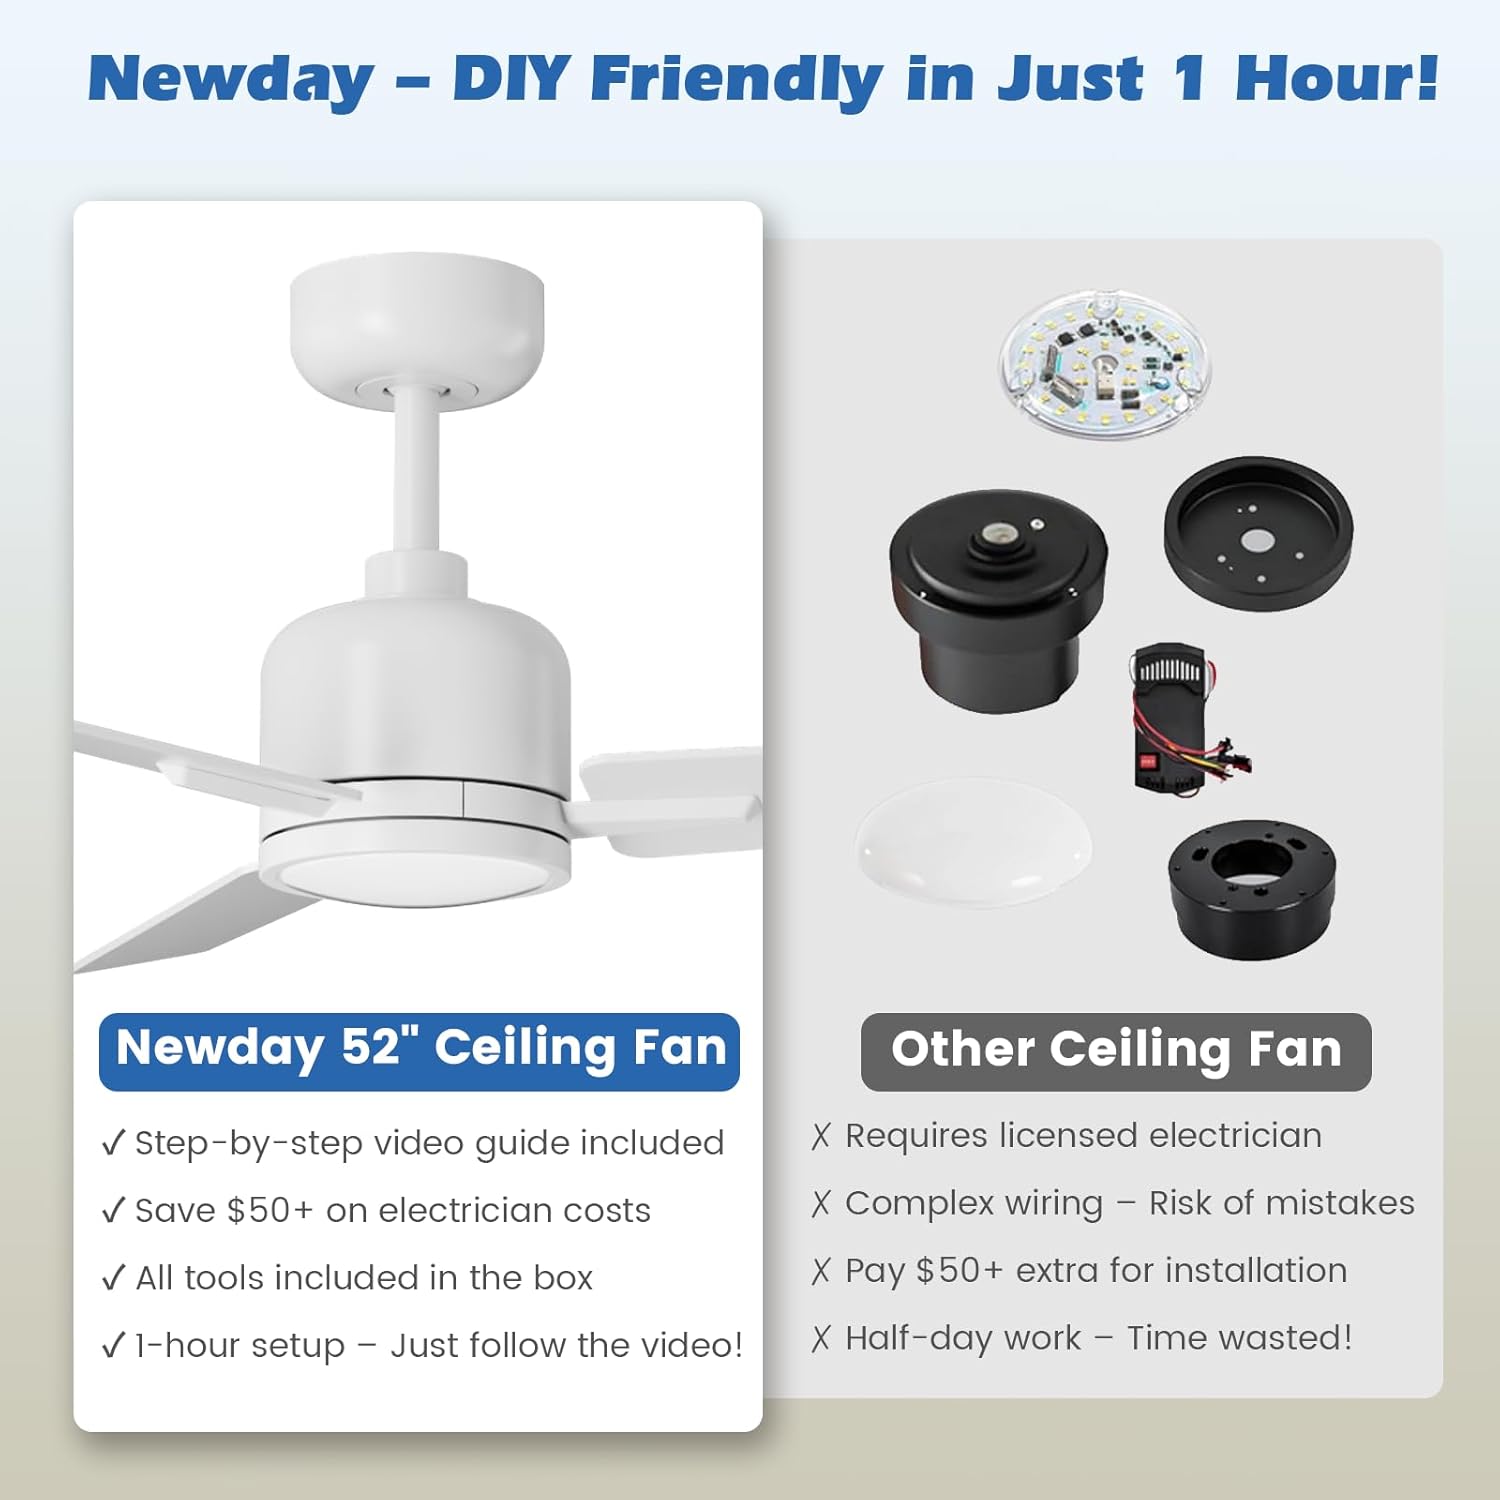
Image: Components of the Newday 52-inch ceiling fan, highlighting its simplified installation compared to other fans.
Wiring
Connect the fan's wiring to your household electrical system according to the provided wiring diagram. If you are unsure, consult a qualified electrician.
Blade Attachment
The fan blades are reversible, offering a classic white finish on one side and a natural wood grain on the other. Choose the side that best suits your decor before attaching them to the motor housing.

Image: Close-up of the reversible fan blades, showing both the white and natural wood grain options.
Installation Video
For a visual guide, please refer to the installation video provided by the seller:
Video: A detailed installation guide for the Newday 52-inch ceiling fan, demonstrating each step of the setup process.
Operating Instructions
Your Newday ceiling fan is operated using the included remote control. Ensure 2 AAA batteries are installed correctly.

Image: The remote control for the Newday ceiling fan, showing buttons for fan speed, light control, timer, and directional airflow.
Fan Speed Control
- Press buttons 1 through 6 to select desired fan speed (1 being the lowest, 6 being the highest).
- Sleep Mode: Press the moon icon button to activate sleep mode. This mode simulates natural wind by cycling through speeds 1, 2, and 3 every 20 seconds, providing a gentle and quiet airflow.

Image: Visual representation of the Newday ceiling fan's six wind speeds, categorized for sleeping, entertainment, and fitness.
Light Control
- Press LIGHT ON to turn the light on, and LIGHT OFF to turn it off.
- Color Temperature Adjustment: Long press the WW button for Warm White (3000K), NW for Natural White (4000K), or DW for Cool White (6500K).
- Brightness Adjustment: Use the + and - buttons to adjust the brightness from 20% to 100%.

Image: Illustration of the Newday ceiling fan's dimmable LED light, showing Warm White (3000K), Natural White (4000K), and Cool White (6500K) settings.
Memory Function
The fan's light has a memory function. To set a preferred color temperature and brightness:
- Turn the light on and select your desired color temperature and brightness.
- Leave the light on for at least 10 seconds.
- Turn off the light.
- Wait for at least 10 seconds before turning it back on.
The light will restore to your last selected settings. Note: If you turn the light on again within 10 seconds of turning it off, the color temperature will switch.

Image: Visual guide explaining how to use the light memory function, emphasizing the 10-second wait period.
Reversible Airflow (Summer/Winter Mode)
The DC motor allows for reversible blade rotation, optimizing air circulation for different seasons:
- Summer Mode (Forward): Blades rotate counter-clockwise, pushing air downward to create a cooling breeze.
- Winter Mode (Reverse): Blades rotate clockwise, drawing air upward to circulate warm air evenly throughout the room.

Image: Diagram illustrating the reversible airflow feature, showing downward airflow for cooling in summer and upward airflow for circulating warm air in winter.
Timer Function
Set the fan to automatically turn off after a specified period:
- Press 1H for 1 hour.
- Press 3H for 3 hours.
- Press 6H for 6 hours.
This feature is useful for energy saving and convenience, especially during sleep.
Maintenance
Cleaning
- Always turn off the power before cleaning.
- Wipe the fan blades and motor housing with a soft, damp cloth. Do not use abrasive cleaners or solvents.
- Regularly check for dust accumulation on the blades and motor to ensure optimal performance.
General Care
- Periodically check all connections and screws to ensure they are secure.
- The LED light kit is designed for long-term use and typically does not require replacement.
Troubleshooting
If you encounter issues with your Newday ceiling fan, refer to the following common solutions:
| Problem | Possible Cause | Solution |
|---|---|---|
| Fan does not start | No power, loose wiring, remote control issues. | Check circuit breaker. Ensure all wiring is secure. Replace remote batteries. Re-pair remote if necessary (refer to remote pairing instructions in full manual). |
| Light does not work | Loose connection, LED kit malfunction, power issue. | Check wiring to the light kit. Ensure power is supplied. If the LED light board is damaged or lost, contact customer service for a replacement. |
| Fan wobbles | Loose blades, unbalanced blades, improper mounting. | Ensure all blade screws are tightened. Use the included balancing kit if necessary. Verify the mounting bracket is securely installed. |
| Remote not responding | Dead batteries, remote not paired. | Replace AAA batteries. Refer to the full manual for remote pairing instructions. |
| Noise during operation | Loose screws, motor issue, blades hitting an obstruction. | Tighten all screws. Ensure no obstructions are near the blades. The DC motor is designed for quiet operation; if noise persists, contact support. |
Warranty and Support
Newday offers a comprehensive warranty and dedicated customer support for your ceiling fan.
- Warranty: The entire ceiling fan unit is covered by a 2-year warranty. The DC motor is covered by a 10-year warranty.
- Customer Service: For any questions or issues during use, including installation problems or replacement parts (e.g., LED light board, remote control), please contact our 24/7 customer service team. You can find product support through your order details on Amazon.

Image: Graphic detailing the 2-year warranty for the fan and 10-year warranty for the motor, along with customer support information.