
1. Introduction
This manual provides comprehensive instructions for the proper installation, testing, and care of your AGCUT 10.1-inch touch screen digitizer replacement for the Maxwest Astro 10R tablet (model MX-A10R1WW). Adhering to these guidelines will help ensure a successful replacement and optimal performance of your device.
2. Product Overview
The AGCUT screen replacement is designed to restore the display and touch functionality of your Maxwest Astro 10R tablet. It includes the 10.1-inch touch screen digitizer and necessary repair tools for installation.

Figure 2.1: AGCUT 10.1-inch screen replacement for Maxwest Astro 10R, shown with included repair tools.
3. Package Contents
Please verify that all items listed below are present in your package:
- 1x AGCUT 10.1-inch Touch Screen Digitizer Replacement for Maxwest Astro 10R (MX-A10R1WW)
- 1x Set of Repair Tools (screwdrivers, prying tools, suction cup, adhesive)

Figure 3.1: The comprehensive set of repair tools provided with the screen replacement.
4. Important Safety Information and Precautions
Professional Installation Recommended: The removal and installation of a screen replacement for the Maxwest Astro 10R requires specialized equipment to safely separate the touch screen and the LCD screen. If you are not a professional maintenance technician, lack experience in screen installation, or do not possess professional maintenance equipment, it is strongly recommended to seek assistance from a local repair shop. Professional installation helps prevent unnecessary damage to your device and ensures proper functionality.
Model Verification: Before beginning any installation, carefully verify your tablet's model number to ensure compatibility. This replacement is specifically for the Maxwest Astro 10R, model MX-A10R1WW.

Figure 4.1: Locate the model number (MX-A10R1WW) on your device or its original packaging to confirm compatibility.
- Power Off Device: Always power off your tablet completely before starting any repair work.
- Disconnect Battery: If possible, disconnect the battery to prevent short circuits during the repair process.
- Handle with Care: The screen digitizer is fragile. Handle it by the edges and avoid applying pressure to the center.
- Static Electricity: Take precautions against static electricity, which can damage electronic components. Use an anti-static wrist strap if available.
5. Installation Guide (Setup)
This section outlines the general steps for replacing the touch screen digitizer. Due to the complexity, professional installation is highly recommended.
- Preparation: Ensure your workspace is clean, well-lit, and free of static. Gather all tools.
- Remove Back Cover: Carefully open the tablet's back cover using appropriate prying tools.
- Disconnect Battery: Locate and disconnect the battery connector from the motherboard.
- Disconnect Old Screen: Carefully disconnect the flex cables connecting the old screen digitizer to the motherboard.
- Remove Old Screen: Gently heat the edges of the old screen to soften the adhesive. Use a suction cup and prying tools to carefully lift and remove the damaged screen.
- Clean Frame: Thoroughly clean any residual adhesive from the tablet's frame.
- Test New Screen (Pre-installation): Before fully adhering the new screen, connect its flex cables to the motherboard and reconnect the battery. Power on the tablet to test display and touch functionality. Do not remove protective films or adhesive backing until testing is complete and successful.
- Install New Screen: If the test is successful, disconnect the battery, remove the protective films from the new screen's adhesive, and carefully align and press the new screen into the tablet frame. Ensure a secure fit.
- Reconnect Components: Reconnect all flex cables and the battery.
- Reassemble: Secure the back cover and power on your tablet.

Figure 5.1: A technician performing internal tablet repair, demonstrating the delicate nature of the process.

Figure 5.2: This image illustrates various screen issues that the replacement digitizer can resolve, alongside the new screen.
6. Testing (Operating)
After installation, perform thorough testing to ensure the new screen functions correctly:
- Display Check: Power on the tablet and check for any dead pixels (black, red, blue, or other colored dots), pixel lines, or uneven backlighting.
- Touch Functionality: Test the touch response across the entire screen. Ensure there are no unresponsive areas or ghost touches.
- Brightness and Resolution: Verify that the screen displays with appropriate brightness and resolution.
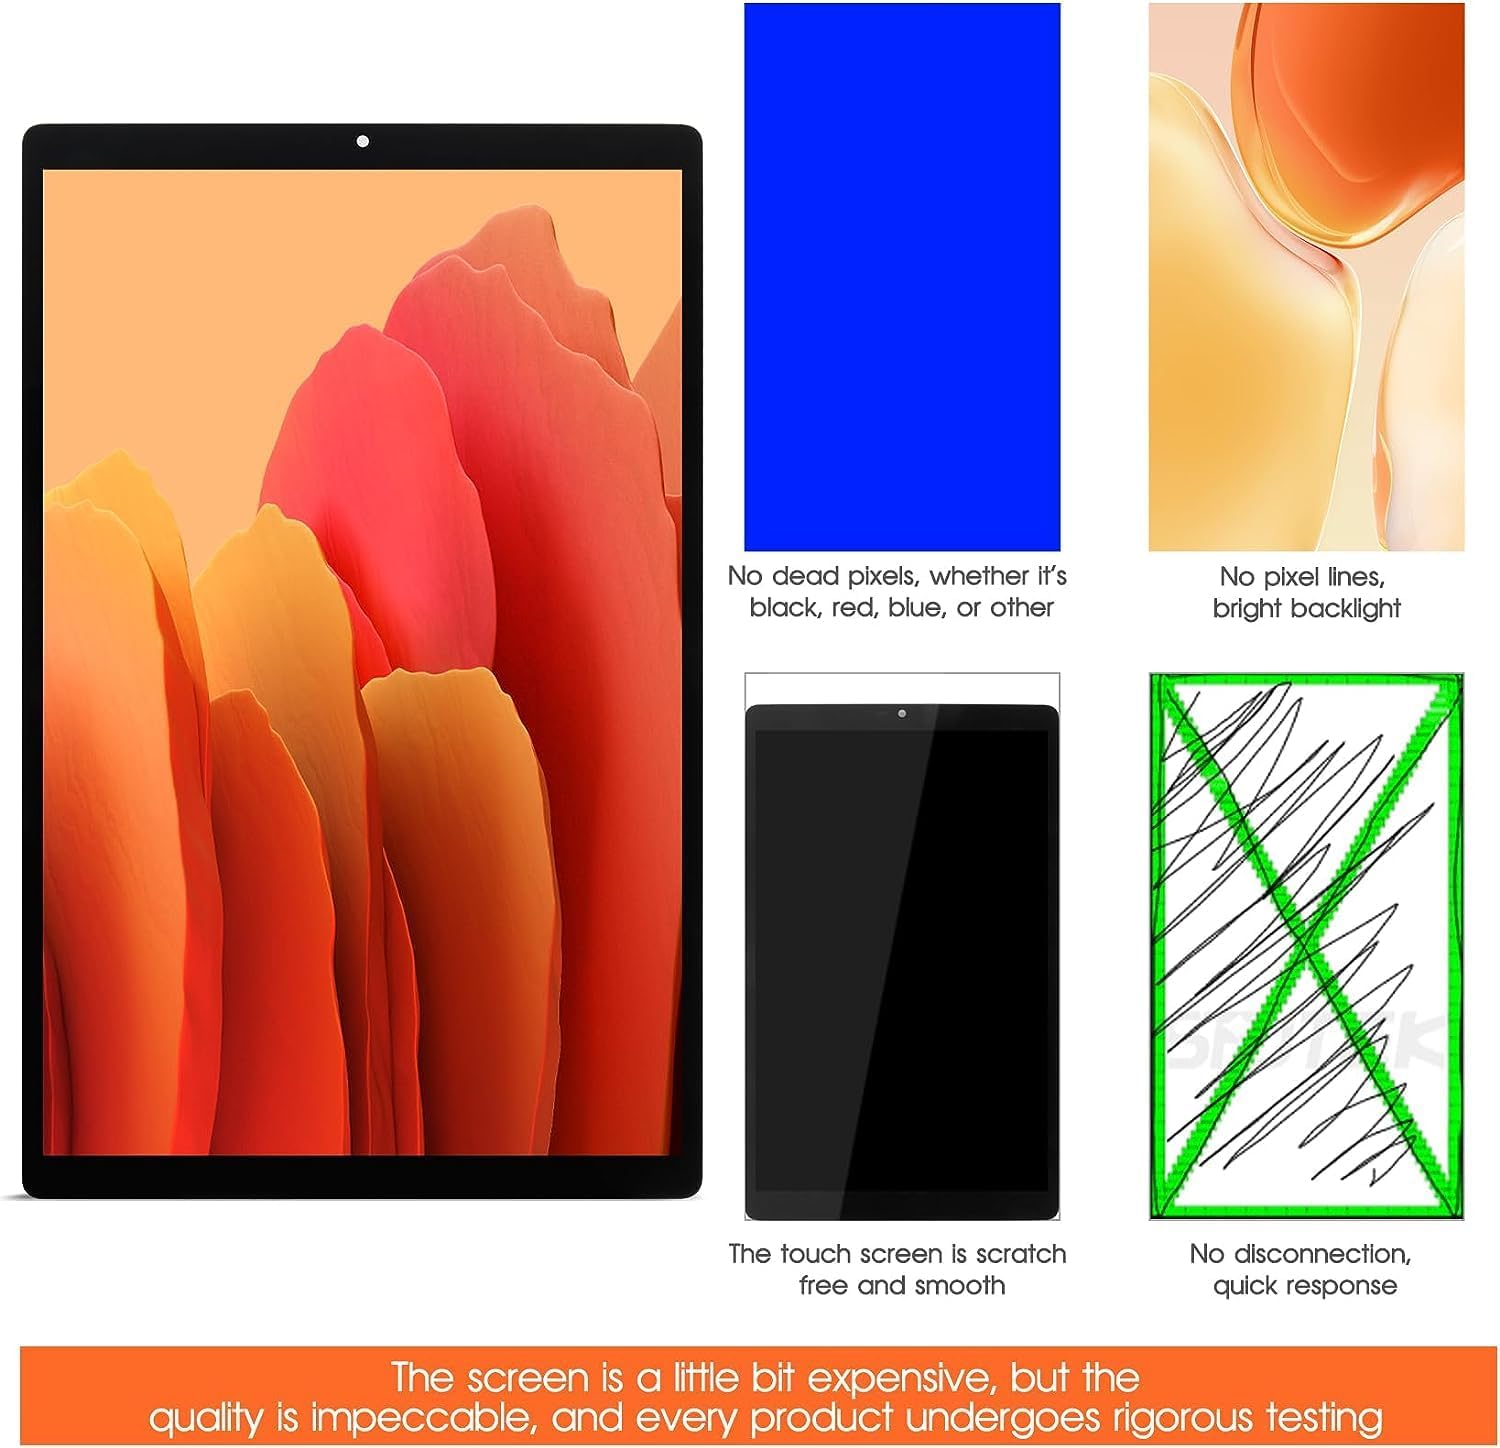
Figure 6.1: Visual guide for checking screen quality, including dead pixels, pixel lines, and touch disconnection.
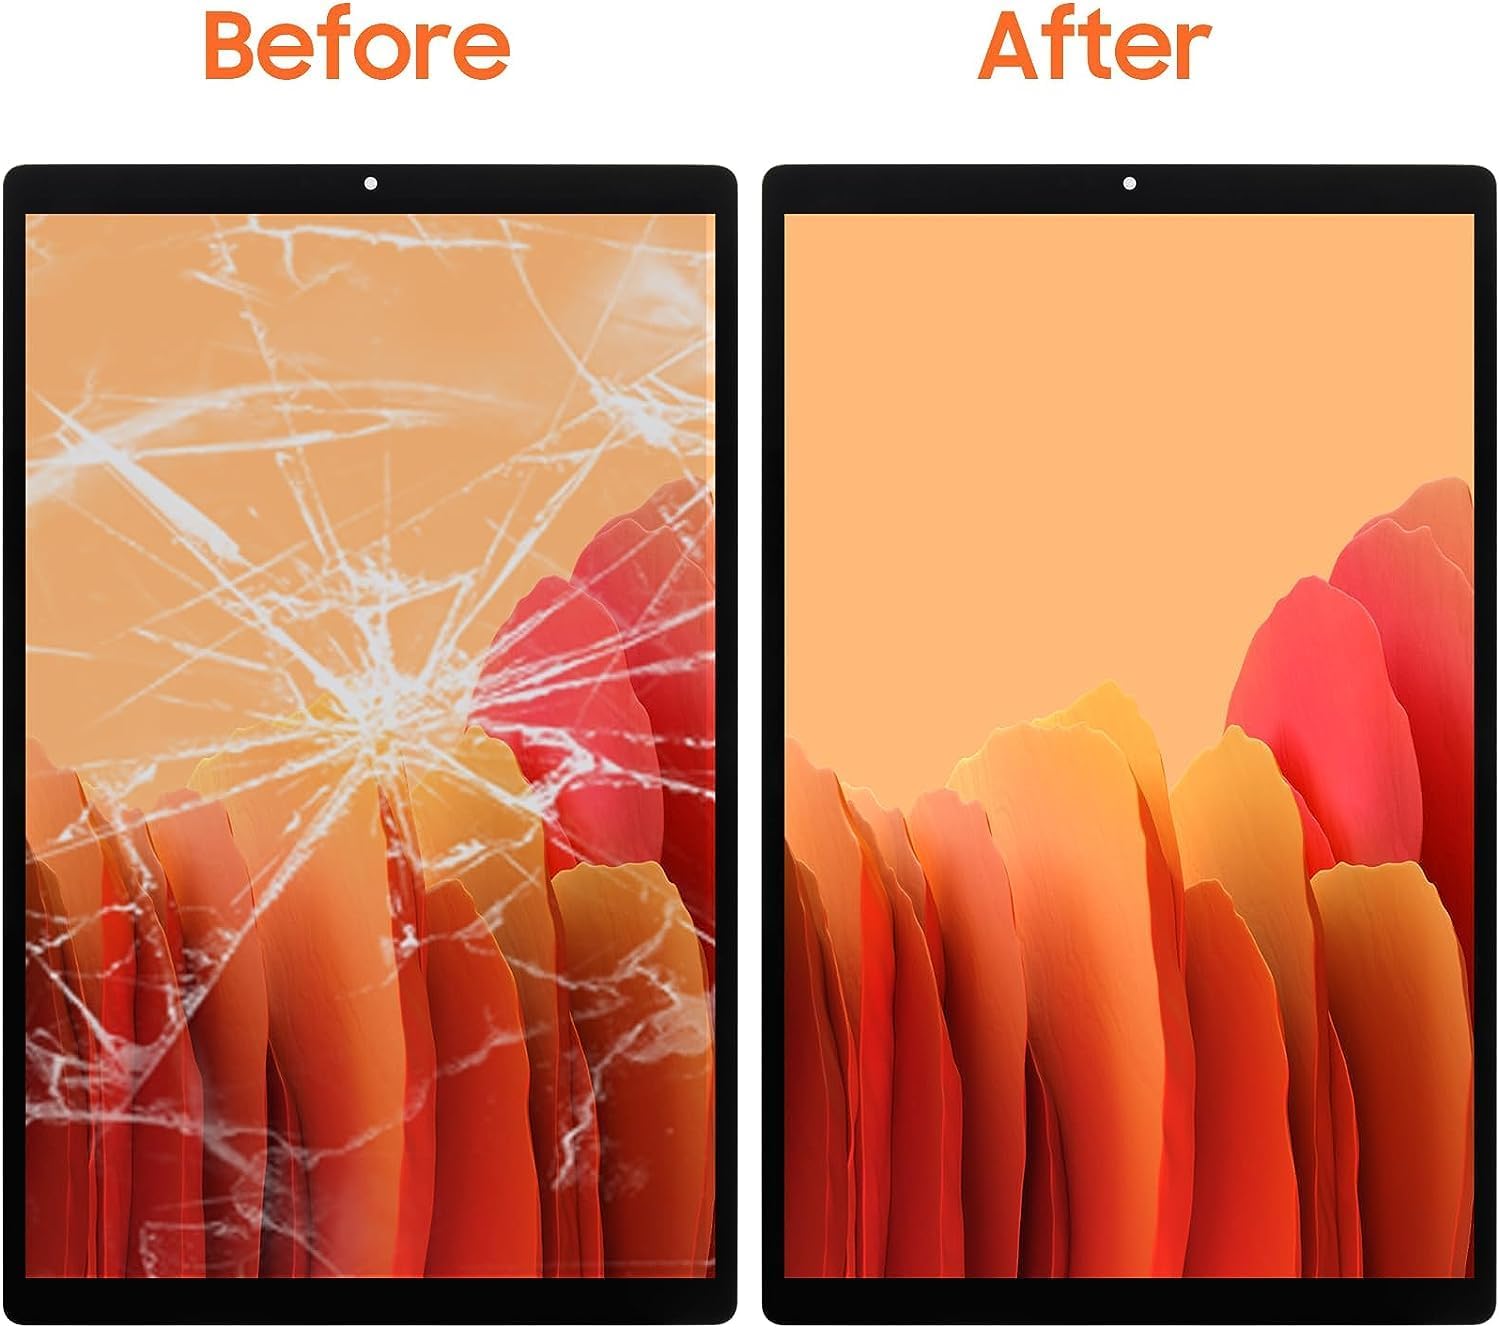
Figure 6.2: A visual comparison showing a tablet with a broken screen versus the same tablet with a newly installed, functional screen.
7. Maintenance
To prolong the life and maintain the clarity of your new screen:
- Cleaning: Use a soft, lint-free cloth specifically designed for electronics to clean the screen. Avoid harsh chemicals or abrasive materials.
- Protection: Consider using a screen protector and a protective case for your tablet to guard against scratches and impacts.
- Avoid Pressure: Do not place heavy objects on the tablet or apply excessive pressure to the screen.
8. Troubleshooting
If you encounter issues after installation, consider the following:
- No Display/Touch: Re-check all flex cable connections to ensure they are securely seated. A loose connection is a common cause.
- Partial Touch Response: This could indicate a faulty connection or a damaged digitizer. Re-check connections.
- Display Anomalies (lines, spots): If these were not present during the pre-installation test, re-check connections. If they persist, the screen itself may be defective.
- Tablet Not Powering On: Ensure the battery is properly connected and charged.
If troubleshooting steps do not resolve the issue, please refer to the Warranty and Support section for assistance.
9. Specifications
- Product Type: Touch Screen Digitizer Replacement
- Brand: AGCUT
- Compatible Model: Maxwest Astro 10R
- Model Number: MX-A10R1WW
- Screen Size: 10.1 inches
- Color: Black
10. Warranty and Support
AGCUT provides a 6-month after-sale service for this product. Additionally, we offer a lifetime exchange for non-human damage, ensuring your purchase is risk-free. Each touch screen digitizer replacement undergoes 100% inspection by a professional QC team before delivery.
If you encounter any issues with the product, we strongly recommend contacting us for technical support and satisfactory solutions. Our customer service team is available to assist you with product-related concerns.
For support, please refer to the contact information provided with your purchase or on the AGCUT official website.