
Introduction
This manual provides detailed instructions for the setup, operation, and maintenance of your KIWITATA Wireless USB Controller. Please read this manual thoroughly before use to ensure optimal performance and longevity of your device.
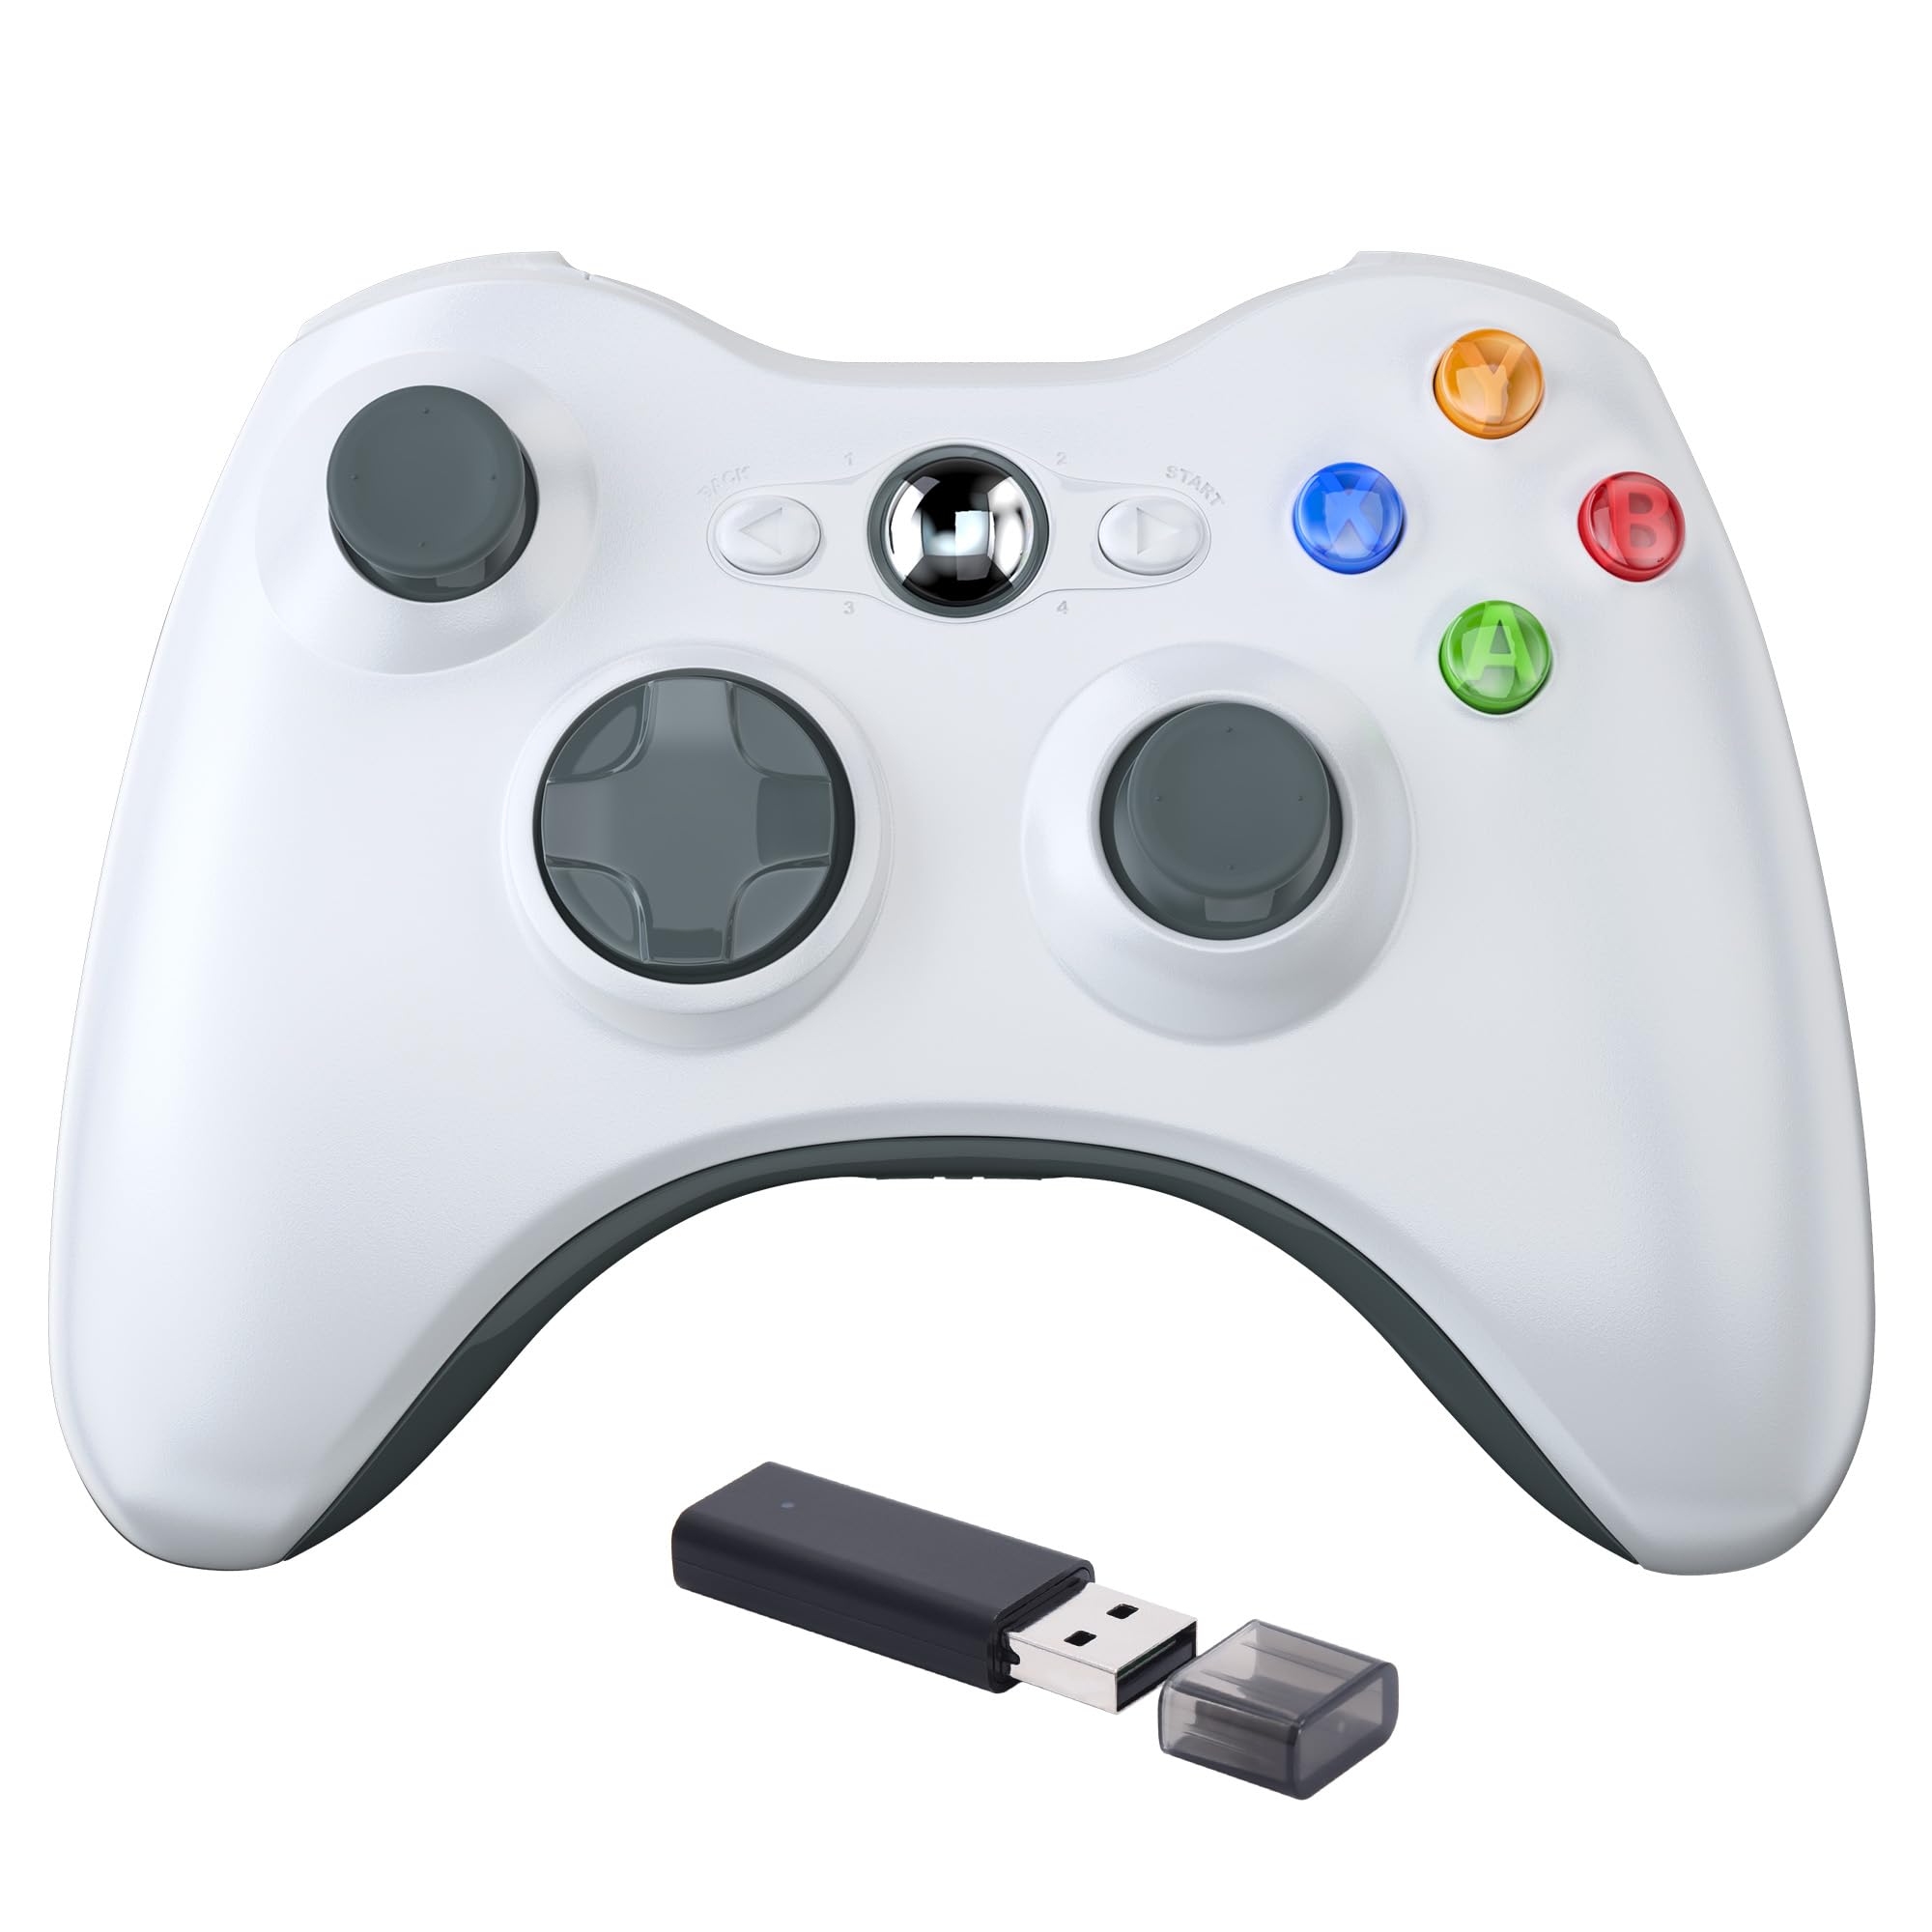
Image: The KIWITATA Wireless USB Controller displayed alongside an Xbox 360 console and a laptop, illustrating its compatibility.
Product Overview
Familiarize yourself with the controller's layout and functions.
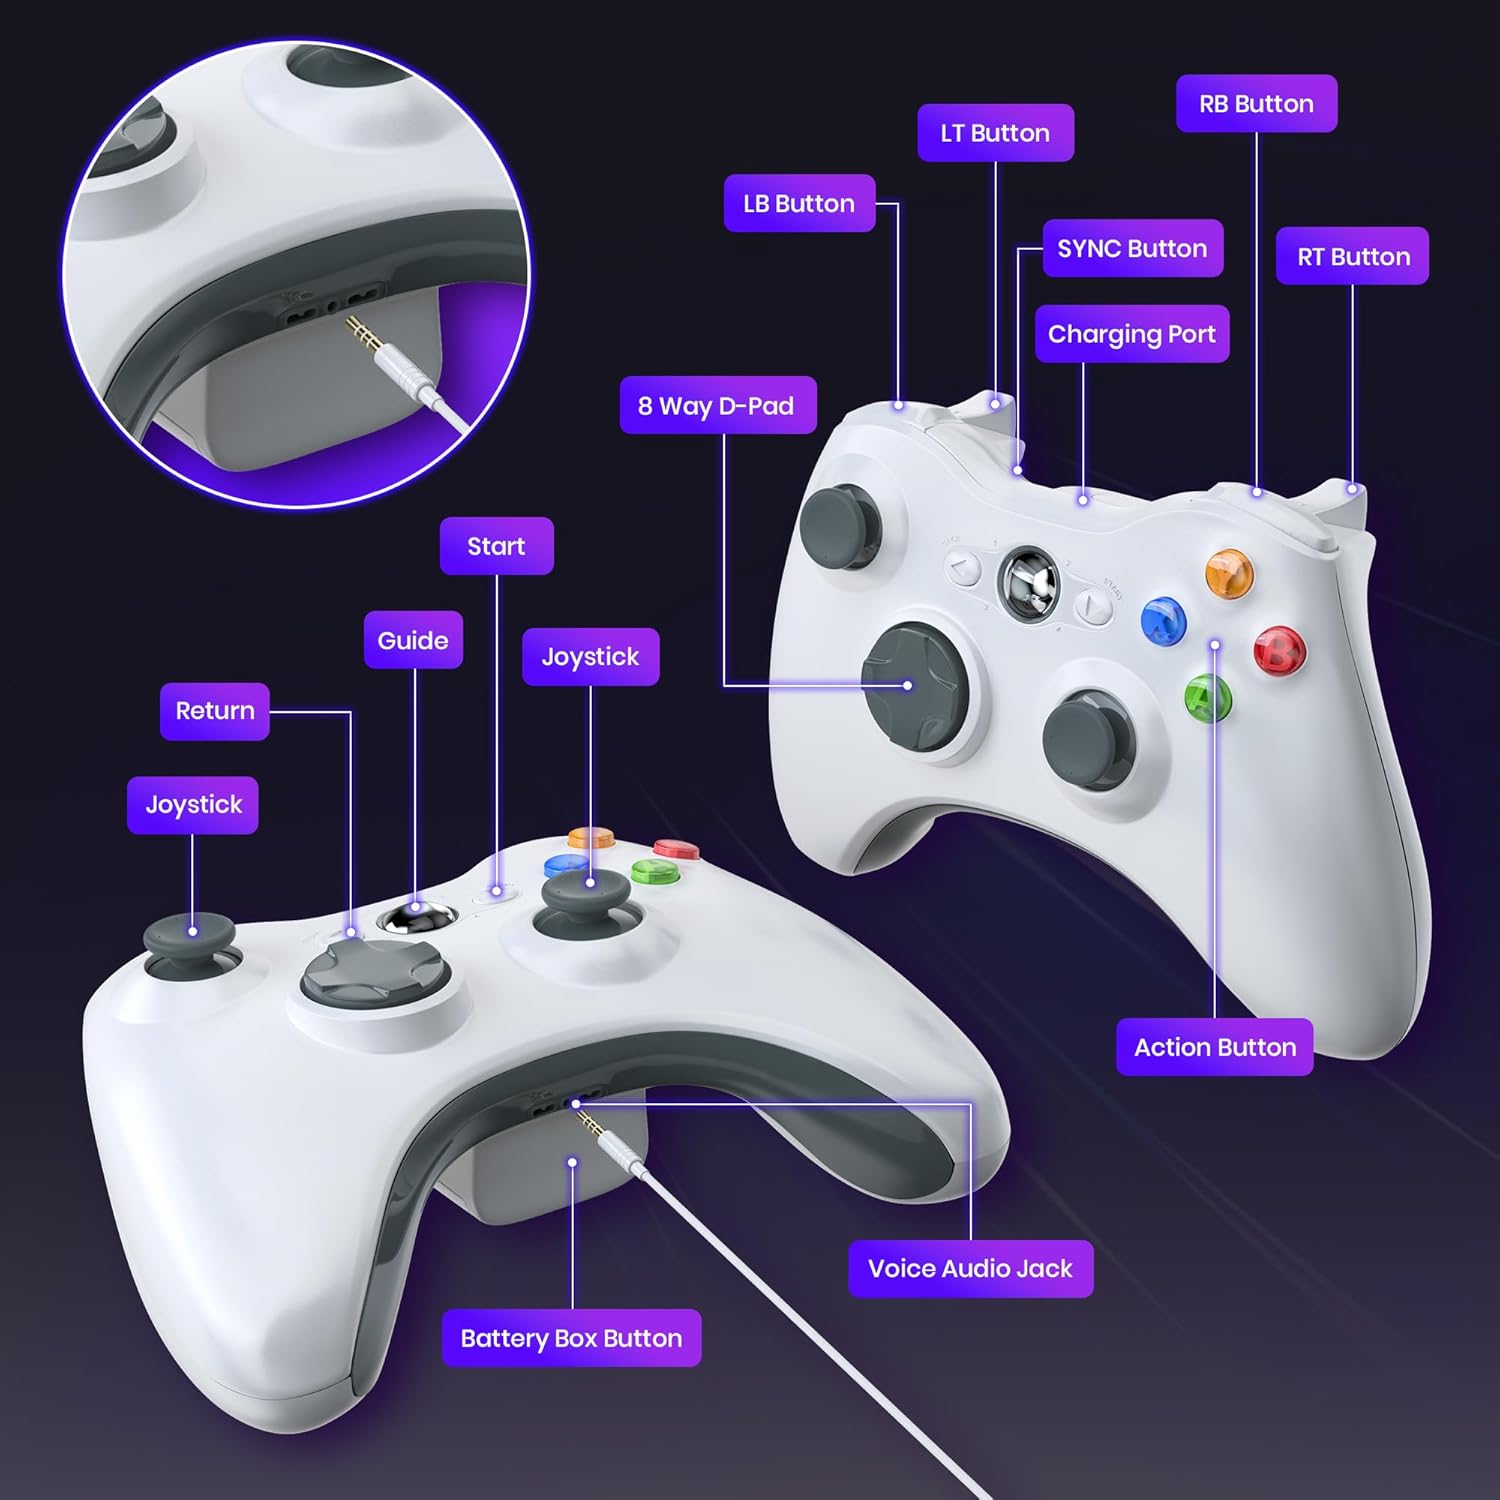
Image: Detailed diagram showing the layout of the KIWITATA Wireless USB Controller, including the LB/RB buttons, LT/RT triggers, SYNC button, Charging Port, 8-Way D-Pad, Start button, Guide button, Joysticks, Return button, Action Buttons (A, B, X, Y), Voice Audio Jack, and Battery Box Button.
- LB/RB Buttons: Left and Right Bumper buttons.
- LT/RT Triggers: Left and Right Analog Triggers.
- SYNC Button: Used for pairing the controller with your console or PC.
- Charging Port: For connecting a charging cable (if using a rechargeable battery pack, not included).
- 8-Way D-Pad: Directional Pad for precise directional input.
- Start Button: Initiates game or menu functions.
- Guide Button: Accesses the Xbox Guide or system menus.
- Joysticks: Left and Right analog sticks for movement and camera control.
- Return Button: Navigates back in menus.
- Action Buttons (A, B, X, Y): Primary action buttons.
- Voice Audio Jack: 3.5mm port for connecting a headset.
- Battery Box Button: Releases the battery compartment cover.

Image: A detailed view highlighting the internal mechanism of the 3D high-precision joystick, designed for seamless 360-degree control and accuracy.

Image: An internal view of the controller's E-Sport grade trigger, emphasizing its design for responsive and precise input during gameplay.
Setup
1. Battery Installation
The controller requires two AA batteries or a compatible rechargeable battery pack (not included).
- Locate the battery compartment on the back of the controller.
- Press the Battery Box Button to release and remove the battery cover.
- Insert two AA batteries, ensuring correct polarity (+/-).
- Replace the battery cover until it clicks securely into place.
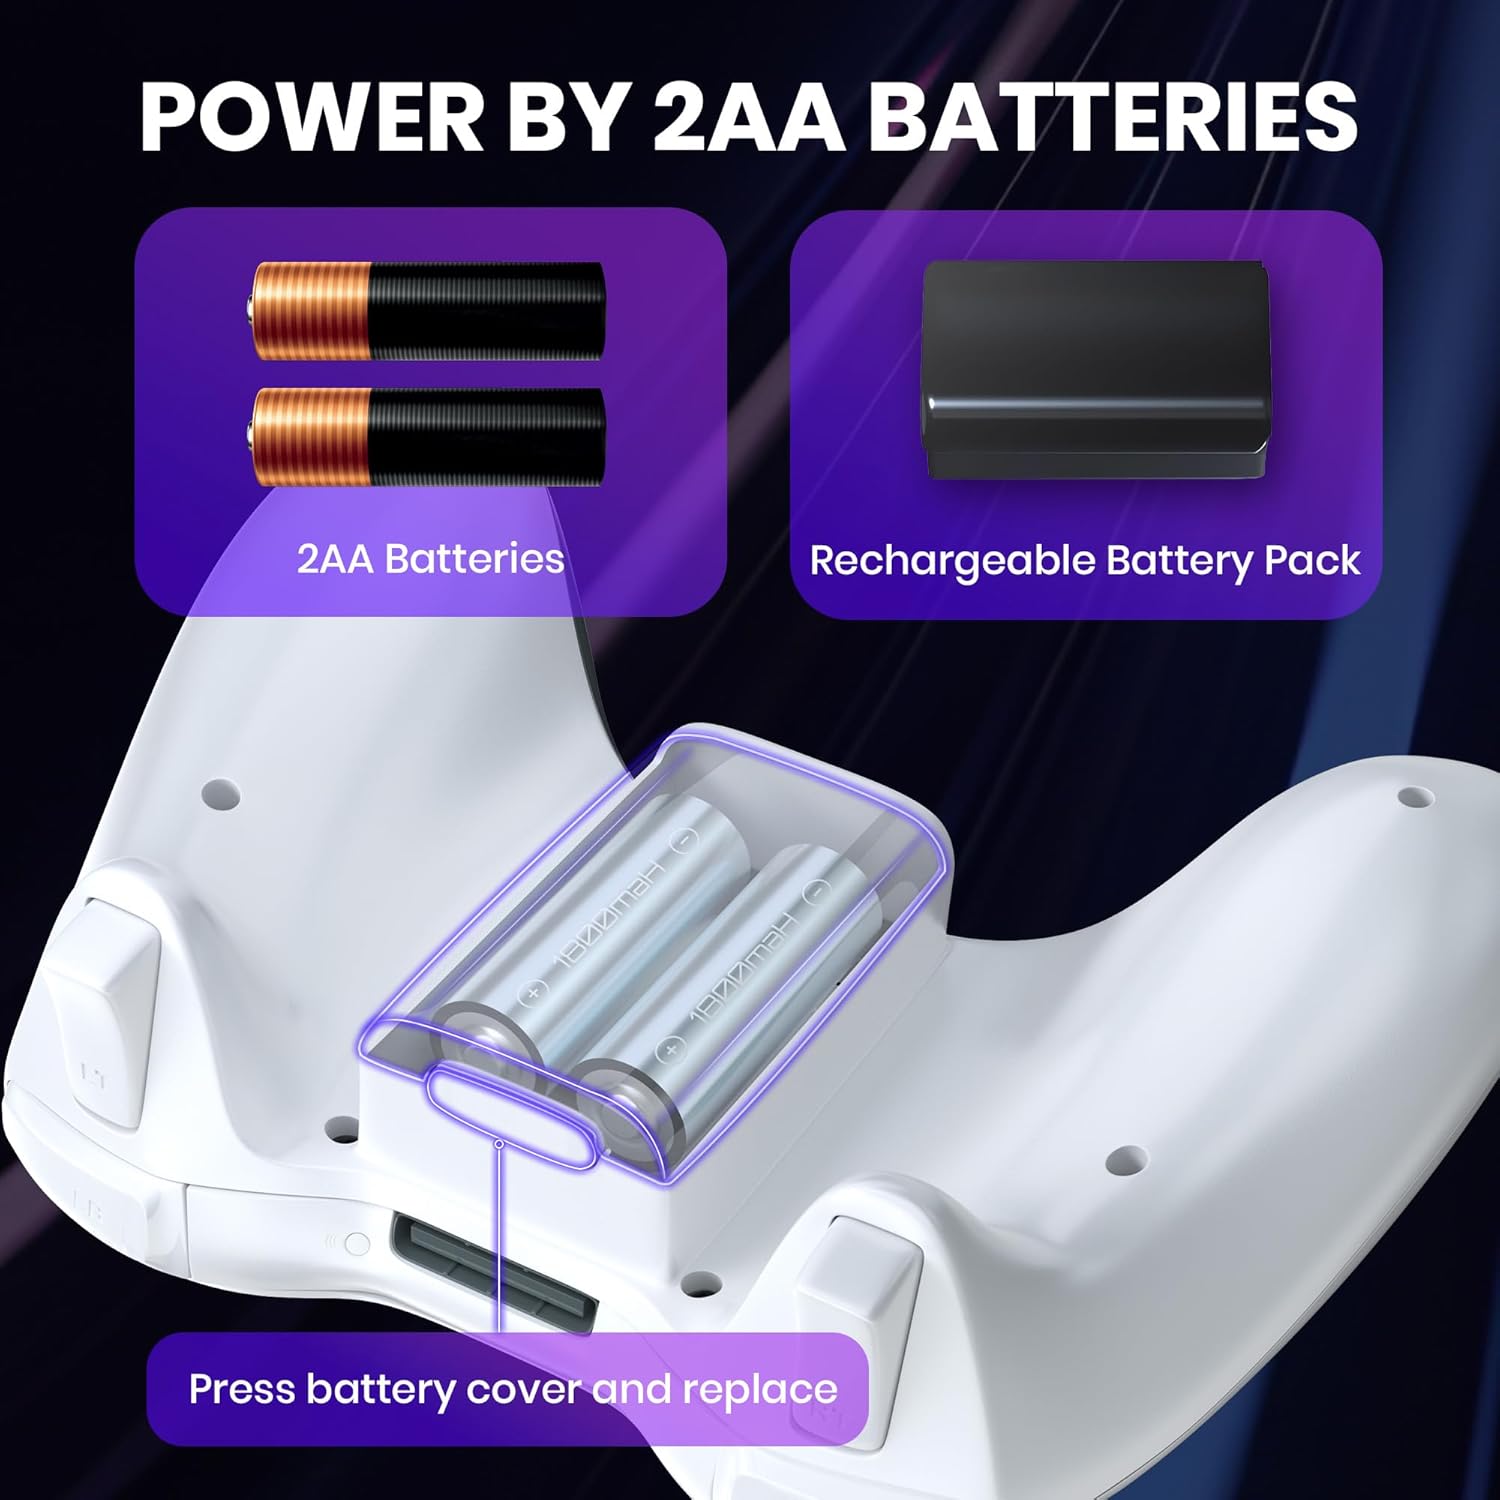
Image: Illustration demonstrating the installation of two AA batteries into the controller's battery compartment. It also shows an optional rechargeable battery pack.
2. Connecting to Xbox 360 / Xbox 360 Slim
To connect your wireless controller to an Xbox 360 or Xbox 360 Slim console:
- Insert the included USB dongle into an available USB port on your Xbox 360 console. It is recommended to use a rear USB port if available.
- Turn on your Xbox 360 console.
- Press and hold the Guide button (center button with Xbox logo) on the controller until it powers on.
- Press the SYNC button on the controller (located near the charging port). The lights around the Guide button will flash.
- Within 20 seconds, press the sync button on your Xbox 360 console. This button is usually located near the memory unit slots or on the front panel.
- The lights on both the controller and the console will spin and then settle on one quadrant, indicating a successful connection.

Image: Visual representation of the controller's wide compatibility, showing it can be used with Xbox 360, Xbox 360 Slim, and Windows 7/8/10/11 PCs.
3. Connecting to PC (Windows 7/8/10/11)
To connect your wireless controller to a Windows PC:
- Insert the included USB dongle into an available USB port on your PC.
- The PC should automatically detect and install the necessary drivers. No additional software installation is typically required.
- Press and hold the Guide button (center button with Xbox logo) on the controller until it powers on.
- Press the SYNC button on the controller. The lights around the Guide button will flash.
- The controller will automatically pair with the USB dongle. The lights will settle on one quadrant when connected.
- If the controller does not connect automatically, ensure your PC's operating system is updated and try a different USB port.
Operating Instructions
1. Power On/Off
- To Power On: Press and hold the Guide button until the controller powers on.
- To Power Off: Press and hold the Guide button for 3-5 seconds until the controller powers off. The controller will also power off automatically after a period of inactivity to conserve battery life.
2. Vibration Function
The controller features dual vibration motors with three levels of intensity (weak, moderate, strong) to enhance gaming immersion. This function is automatically enabled when supported by the game.

Image: An X-ray view of the controller highlighting the internal vibration motors, demonstrating the dual action feedback feature for realistic game experiences.
3. Using the Voice Audio Jack
A 3.5mm voice audio jack is integrated into the controller, allowing you to connect a compatible headset for in-game audio and voice communication.
- Plug your headset into the Voice Audio Jack on the bottom of the controller.
- Volume control for audio and voice can typically be adjusted via the D-pad or in-game settings, depending on the game and system.
4. Wireless Range
The 2.4 GHz wireless connection provides a stable signal with an operating range of up to 30 feet (approximately 9 meters), offering flexibility in your gaming setup.

Image: A gamer using the wireless controller, with text indicating a 2.4GHz wireless connection and a range of 30 feet.
Maintenance
- Keep the controller clean by wiping it with a dry, soft cloth. Avoid using harsh chemicals or abrasive materials.
- Store the controller in a dry place away from extreme temperatures and direct sunlight.
- Remove batteries if the controller will not be used for an extended period to prevent leakage.
- Avoid dropping the controller or subjecting it to strong impacts.
Troubleshooting
| Problem | Possible Solution |
|---|---|
| Controller does not power on. |
|
| Controller does not connect or frequently disconnects. |
|
| Buttons or joysticks are unresponsive. |
|
| No vibration feedback. |
|
Specifications
- Connectivity: 2.4 GHz Wireless (via USB dongle)
- Compatibility: Xbox 360, Xbox 360 Slim, PC (Windows 7/8/10/11)
- Wireless Range: Up to 30 feet (9 meters)
- Power Source: 2 x AA Batteries (not included) or compatible rechargeable battery pack (not included)
- Feedback: Dual Vibration Motors (3 levels: weak, moderate, strong)
- Audio: 3.5mm Voice Audio Jack
- Dimensions: Approximately 6.3 x 4.8 x 2.64 inches
- Weight: Approximately 9.6 ounces (without batteries)
Warranty and Support
For warranty information and technical support, please refer to the manufacturer's official website or contact their customer service directly. Keep your purchase receipt for warranty claims.