
Introduction
Thank you for choosing the DayPlus 1/2" Cordless Impact Wrench. This powerful and versatile tool is designed for various fastening and loosening tasks, offering high torque, variable speed control, and cordless convenience. Please read this manual carefully before operating the tool to ensure safe and efficient use. Keep this manual for future reference.
Safety Instructions
Always follow basic safety precautions when using electric tools to reduce the risk of fire, electric shock, and personal injury.
- Work Area Safety: Keep your work area clean and well-lit. Cluttered or dark areas invite accidents. Do not operate power tools in explosive atmospheres, such as in the presence of flammable liquids, gases, or dust.
- Electrical Safety: Avoid body contact with earthed or grounded surfaces such as pipes, radiators, ranges, and refrigerators. Do not expose power tools to rain or wet conditions.
- Personal Safety: Always wear eye protection. Use hearing protection when operating the tool for extended periods. Dress properly; do not wear loose clothing or jewelry. Keep hair, clothing, and gloves away from moving parts.
- Tool Use and Care: Do not force the power tool. Use the correct power tool for your application. Disconnect the battery pack from the power tool before making any adjustments, changing accessories, or storing power tools.
- Battery Pack Use and Care: Recharge only with the charger specified by the manufacturer. Do not use battery packs with any other power tools. When the battery pack is not in use, keep it away from other metal objects.
Product Components
Familiarize yourself with the various parts of your DayPlus Cordless Impact Wrench:

Image Description: An annotated diagram of the DayPlus Cordless Impact Wrench, highlighting its key components. These include the Sleeve, All Aluminum Handpiece, Scattered Lighting (LED), Stepless Speed Regulation Button, Brushless Motor, Heat Dissipation Vent, Forward and Reverse Switch, Soft Rubber Coated Handle, Mode Adjustment and Power Quantity Display, Battery Removal Button, and Large Capacity Battery.
Specifications
The following table outlines the technical specifications of your impact wrench:
| Feature | Specification |
|---|---|
| Output Shaft | 1/2" Square Drive |
| Rated Torque | 420 Nm |
| Speed | 0-3200 rpm |
| Impact Frequency | 0-4400 IPM |
| Battery Type | Li-ion |
| Battery Capacity | 6000 mAh (18V) |
| Working Time (approx.) | 1 hour |
| Charging Time (approx.) | 1.5 - 2 hours |
| Material | Acrylonitrile Butadiene Styrene (ABS) |
Package Contents
Upon unpacking, ensure all items listed below are present:
- 1 x DayPlus Cordless Impact Wrench
- 1 x 6000 mAh Lithium-ion Battery
- 1 x Fast Charger
- 1 x User Manual
- 4 x Sockets (14 mm, 17 mm, 19 mm, 22 mm)
- 12 x Drill Bits
- 1 x Carrying Bag
Setup
1. Battery Charging and Installation
- Charging the Battery: Connect the fast charger to a power outlet. Insert the 6000 mAh lithium-ion battery into the charger. The indicator light on the charger will show the charging status. A full charge typically takes 1.5 to 2 hours. Do not overcharge the battery.
- Installing the Battery: Align the battery pack with the base of the impact wrench. Slide the battery into place until it clicks securely. To remove, press the battery removal button and slide the battery out.
2. Accessory Attachment (Sockets/Drill Bits)
- Ensure the tool is off and the battery is removed before attaching or removing accessories.
- For sockets, simply push the desired 1/2" square drive socket onto the output shaft until it locks into place.
- For drill bits, use an appropriate adapter (not included, but compatible with 1/2" square drive) to secure the drill bit.
- Always ensure accessories are firmly attached before operation.
Operating Instructions
1. Power On/Off and Variable Speed Control
The tool is activated by pressing the stepless speed regulation trigger. The speed is variable and controlled by the amount of pressure applied to the trigger.
- Press hard and rotate fast: Applying more pressure to the trigger increases the rotation speed.
- Slow speed by gently pressing: Light pressure on the trigger results in slower rotation.
- Let go will automatically stop: Releasing the trigger will stop the tool.
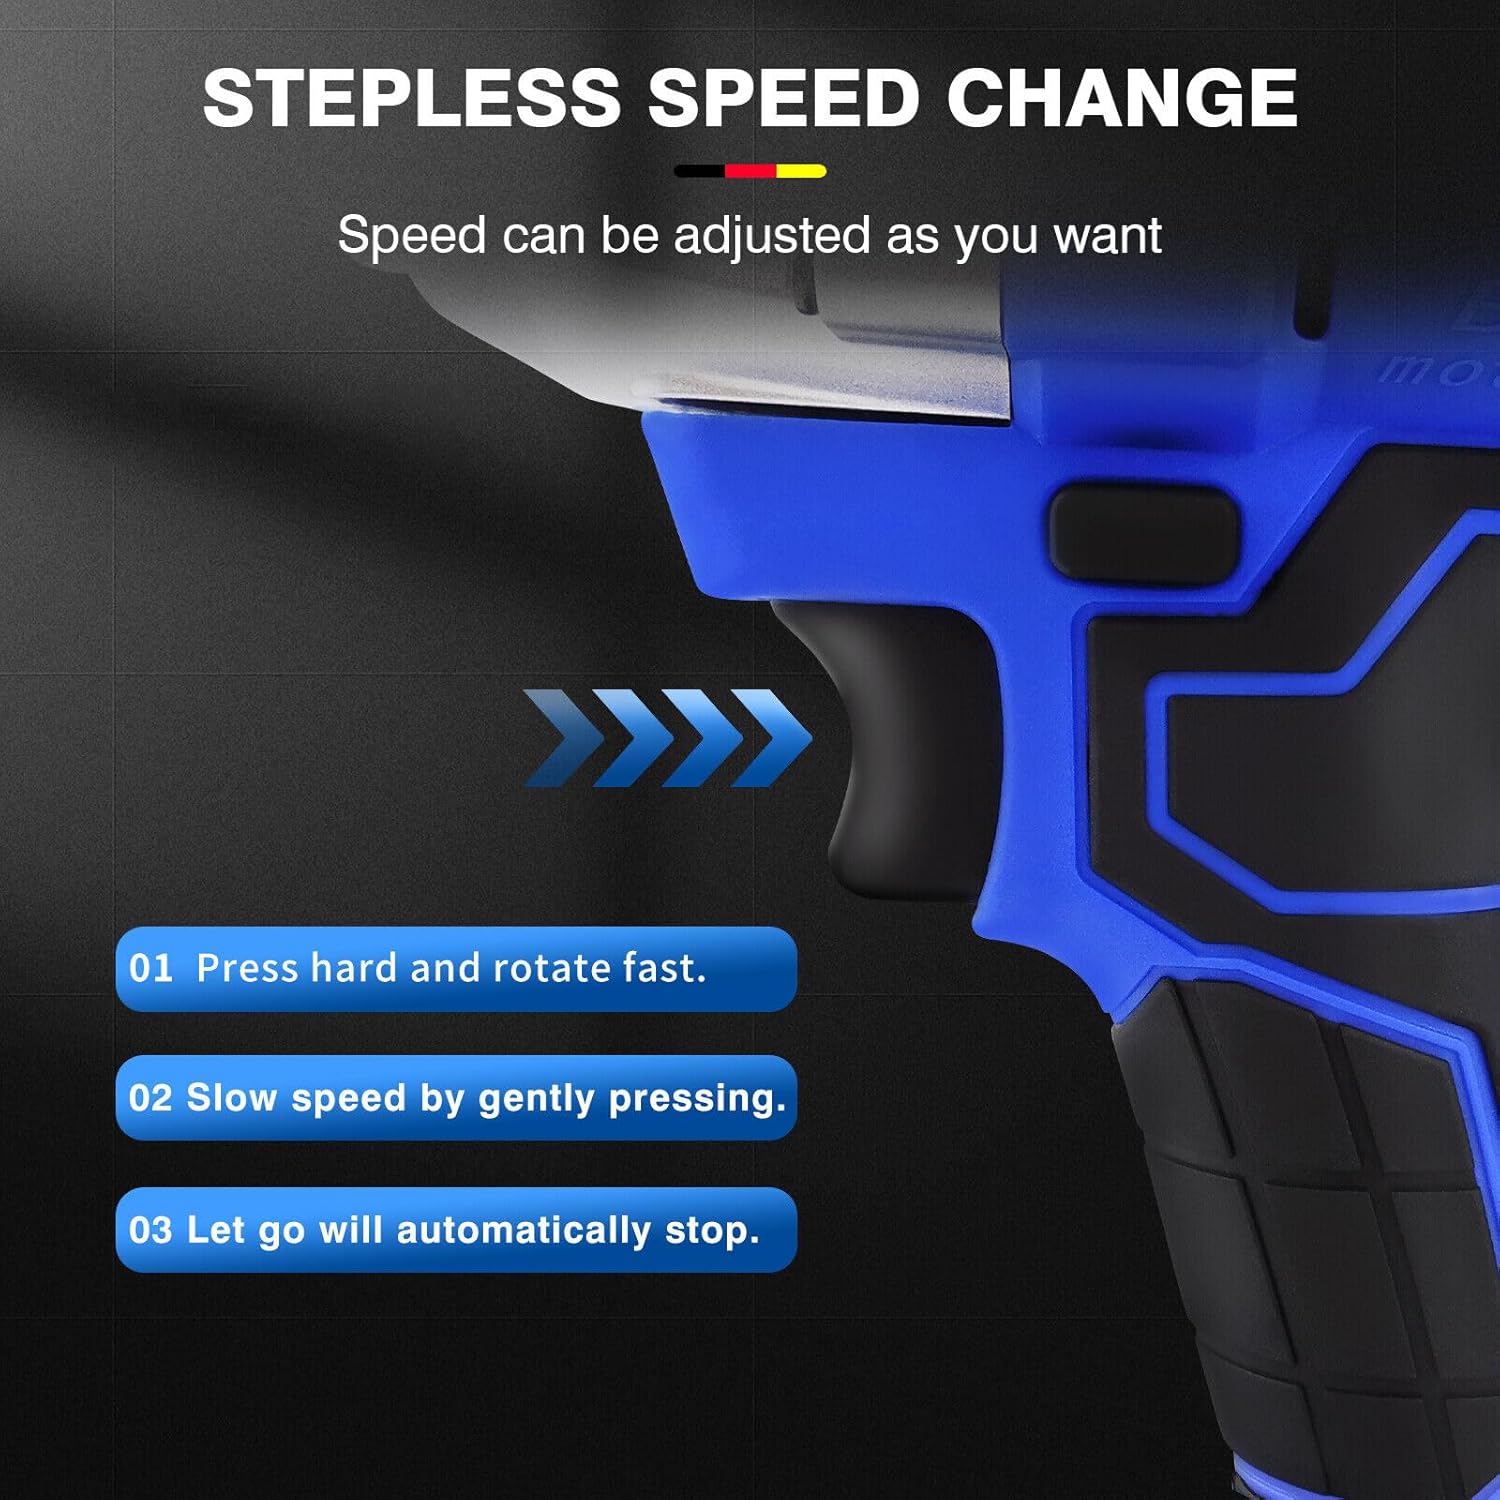
Image Description: A close-up view of the impact wrench's trigger, illustrating the stepless speed change mechanism. Text indicates that pressing hard results in fast rotation, gentle pressing results in slow speed, and releasing the trigger stops the tool automatically.
2. Forward/Reverse Rotation
The forward/reverse switch allows you to change the direction of rotation for tightening or loosening fasteners.

Image Description: A top-down view of the impact wrench's head, showing the forward and reverse switch. Arrows indicate the direction for the 'Reverse button' (for removing screws) and the 'Forward button' (for screwing).
- To select forward rotation (for screwing/tightening), push the switch to the left.
- To select reverse rotation (for removing screws/loosening), push the switch to the right.
- Ensure the switch is fully engaged in either direction before operating the tool.
3. Mode Adjustment and Power Display
The tool features a mode adjustment and real-time power quantity display for enhanced control and monitoring.

Image Description: A close-up of the impact wrench's base, showing the 'Mode Adjustment and Power Quantity Display'. This display provides real-time power information and allows for gear adjustment.
- The display shows the current power level of the battery.
- Use the mode adjustment button to cycle through different torque settings (e.g., MIN TORQUE, MAX TORQUE) as needed for your application.
4. LED Work Light
The integrated LED light illuminates the work area, making it suitable for use in dimly lit conditions.

Image Description: The DayPlus impact wrench in operation, with its integrated LED light brightly illuminating a dark work area, demonstrating its utility for night work or in poorly lit spaces.
- The LED light activates automatically when the trigger is pressed.
- This feature allows for one-hand operation in dark corners without needing an additional flashlight.
5. General Usage Tips
- Always select the appropriate socket or drill bit for the fastener size.
- Apply steady pressure to the tool and fastener.
- For loosening stubborn fasteners, use the maximum torque setting.
- Do not release the trigger until the fastener is completely loosened or installed to prevent damage.
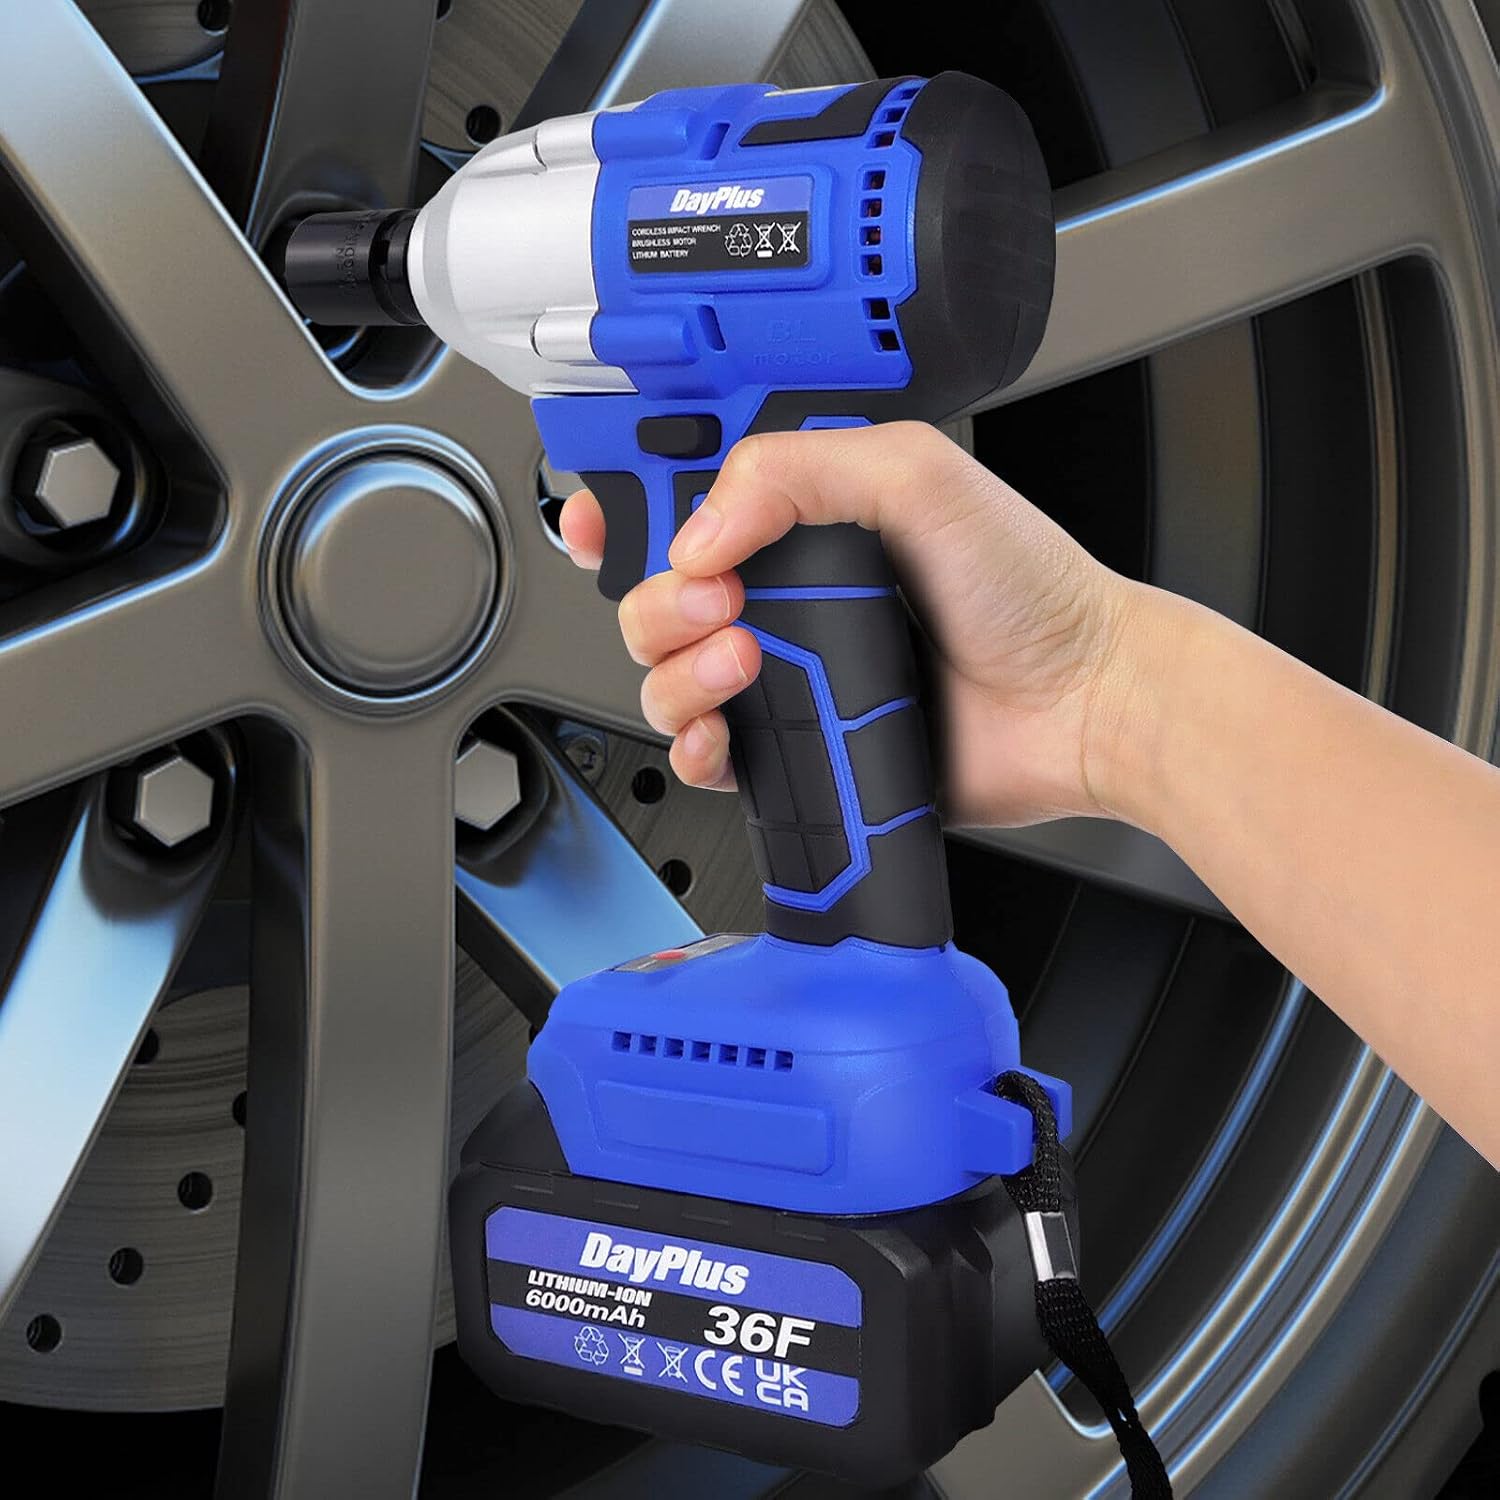
Image Description: A person is shown using the DayPlus Cordless Impact Wrench to loosen a lug nut on a car wheel, demonstrating a common application for the tool.
Maintenance
1. Cleaning
- Regularly clean the tool's exterior with a soft, damp cloth. Do not use harsh chemicals or abrasive cleaners.
- Keep the ventilation openings clear of dust and debris to ensure proper airflow.
2. Battery Care
- Store batteries in a cool, dry place away from direct sunlight and extreme temperatures.
- Do not store batteries in a discharged state for extended periods. Recharge them periodically if not in use.
3. Heat Dissipation
The tool is designed with an effective air outlet system to prevent overheating during continuous operation.

Image Description: A detailed view of the impact wrench's air outlet design, showing arrows indicating airflow for effective heat dissipation. This design helps prevent the machine from overheating during continuous use.
- Ensure the air vents are not blocked during operation to allow for proper cooling.
- If the tool feels excessively hot, allow it to cool down before continuing use.
4. Storage
- Store the impact wrench and its accessories in the provided carrying bag in a dry, secure location, out of reach of children.
- Remove the battery from the tool before long-term storage.
Troubleshooting
If you encounter issues with your impact wrench, refer to the following common problems and solutions:
| Problem | Possible Cause | Solution |
|---|---|---|
| Tool does not start | Battery not charged or improperly installed. | Ensure battery is fully charged and securely clicked into place. |
| Reduced power/torque | Low battery charge. Incorrect mode selected. | Recharge battery. Check mode adjustment and select a higher torque setting if needed. |
| Tool stops during operation | Overload protection activated. Battery depleted. | Reduce load. Allow tool to cool. Recharge or replace battery. |
| Abnormal noise or vibration | Loose accessory. Internal damage. | Check if the socket/bit is securely attached. If noise persists, discontinue use and contact customer support. |
Warranty and Support
DayPlus products are manufactured to high-quality standards. For information regarding warranty coverage, technical support, or replacement parts, please refer to the warranty card included with your purchase or contact your retailer. Please have your product model number (Akku Schlagschrauber) and purchase date available when contacting support.