
1. Introduction
This manual provides essential information for the safe and efficient operation, maintenance, and troubleshooting of your DayPlus 18V Cordless Impact Wrench. Please read these instructions carefully before using the tool and retain them for future reference.
The DayPlus Cordless Impact Wrench is designed for tightening and loosening nuts, bolts, and screws, offering high torque and versatility for various applications, including automotive work and construction projects.
2. Safety Instructions
WARNING: Read all safety warnings, instructions, illustrations, and specifications provided with this power tool. Failure to follow all instructions listed below may result in electric shock, fire, and/or serious injury.
- Work Area Safety: Keep your work area clean and well-lit. Cluttered or dark areas invite accidents. Do not operate power tools in explosive atmospheres, such as in the presence of flammable liquids, gases, or dust.
- Electrical Safety: Avoid body contact with earthed or grounded surfaces such as pipes, radiators, ranges, and refrigerators. There is an increased risk of electric shock if your body is earthed or grounded.
- Personal Safety: Always wear eye protection. Use appropriate safety equipment such as dust masks, non-skid safety shoes, hard hats, or hearing protection when necessary. Dress properly. Do not wear loose clothing or jewelry. Keep your hair and clothing away from moving parts.
- Tool Use and Care: Do not force the power tool. Use the correct power tool for your application. It will do the job better and safer at the rate for which it was designed. Disconnect the battery pack from the power tool before making any adjustments, changing accessories, or storing power tools.
- Battery Pack Use and Care: Recharge only with the charger specified by the manufacturer. A charger that is suitable for one type of battery pack may create a risk of fire when used with another battery pack. Use power tools only with specifically designated battery packs.
3. Product Components
Familiarize yourself with the parts of your DayPlus Cordless Impact Wrench for proper operation and maintenance.

Image 3.1: Overview of the DayPlus Cordless Impact Wrench components. Key parts include the sleeve, brushless motor, heat dissipation vent, forward and reverse switch, stepless speed regulation button, soft rubber coated handle, mode adjustment and power quantity display, battery removal button, and large capacity battery.
- Sleeve: The attachment point for sockets and other accessories.
- Brushless Motor: Provides efficient power and longer tool life.
- Heat Dissipation Vent: Ensures proper cooling during operation.
- Forward and Reverse Switch: Controls the direction of rotation.
- Stepless Speed Regulation Button: Allows for variable speed control based on trigger pressure.
- Soft Rubber Coated Handle: Provides a comfortable and secure grip.
- Mode Adjustment and Power Quantity Display: Shows current power level and allows selection of operating modes.
- Battery Removal Button: Releases the battery pack from the tool.
- Large Capacity Battery: Provides power to the tool.
4. Specifications
| Feature | Specification |
|---|---|
| Output Shaft | 1/2" Square Drive |
| Rated Torque | 420 Nm |
| No-load Speed | 0-3200 rpm |
| Battery Type | Li-ion 6000 mAh (18V) |
| Charging Time | 1.5 - 2 hours for full charge |
| Impact Frequency | 0-4400 IPM |
| Included Sockets | 14 mm, 17 mm, 19 mm, 22 mm |
| Material | Acrylonitrile Butadiene Styrene (ABS) |
| Color | Blue |
5. Setup
5.1. Battery Charging
- Ensure the battery pack is securely inserted into the charger.
- Plug the charger into a standard power outlet.
- Allow 1.5 to 2 hours for a full charge. The charger's indicator light will typically change color or turn off when charging is complete.
- Once charged, disconnect the charger from the power outlet and remove the battery pack.
Note: Always use the original DayPlus charger provided with the tool. Do not attempt to charge damaged batteries.
5.2. Attaching/Removing Battery Pack
- To Attach: Align the battery pack with the base of the impact wrench and slide it in until it clicks securely into place.
- To Remove: Press the battery removal button (refer to Image 3.1) and slide the battery pack out.
5.3. Attaching Sockets and Accessories
- Ensure the tool is switched off and the battery is removed before attaching or removing accessories.
- Align the square drive of the socket with the 1/2" square drive shaft of the impact wrench.
- Push the socket firmly onto the shaft until it locks into place.
- To remove, pull the socket off the shaft. Some sockets may require a slight twist or a release pin mechanism if present.
6. Operating Instructions
6.1. Powering On/Off and Speed Control
The tool is powered on by pressing the trigger switch. The speed of the impact wrench is controlled by the pressure applied to the trigger. Pressing gently results in lower speed, while pressing harder increases the speed up to the maximum 3200 rpm.
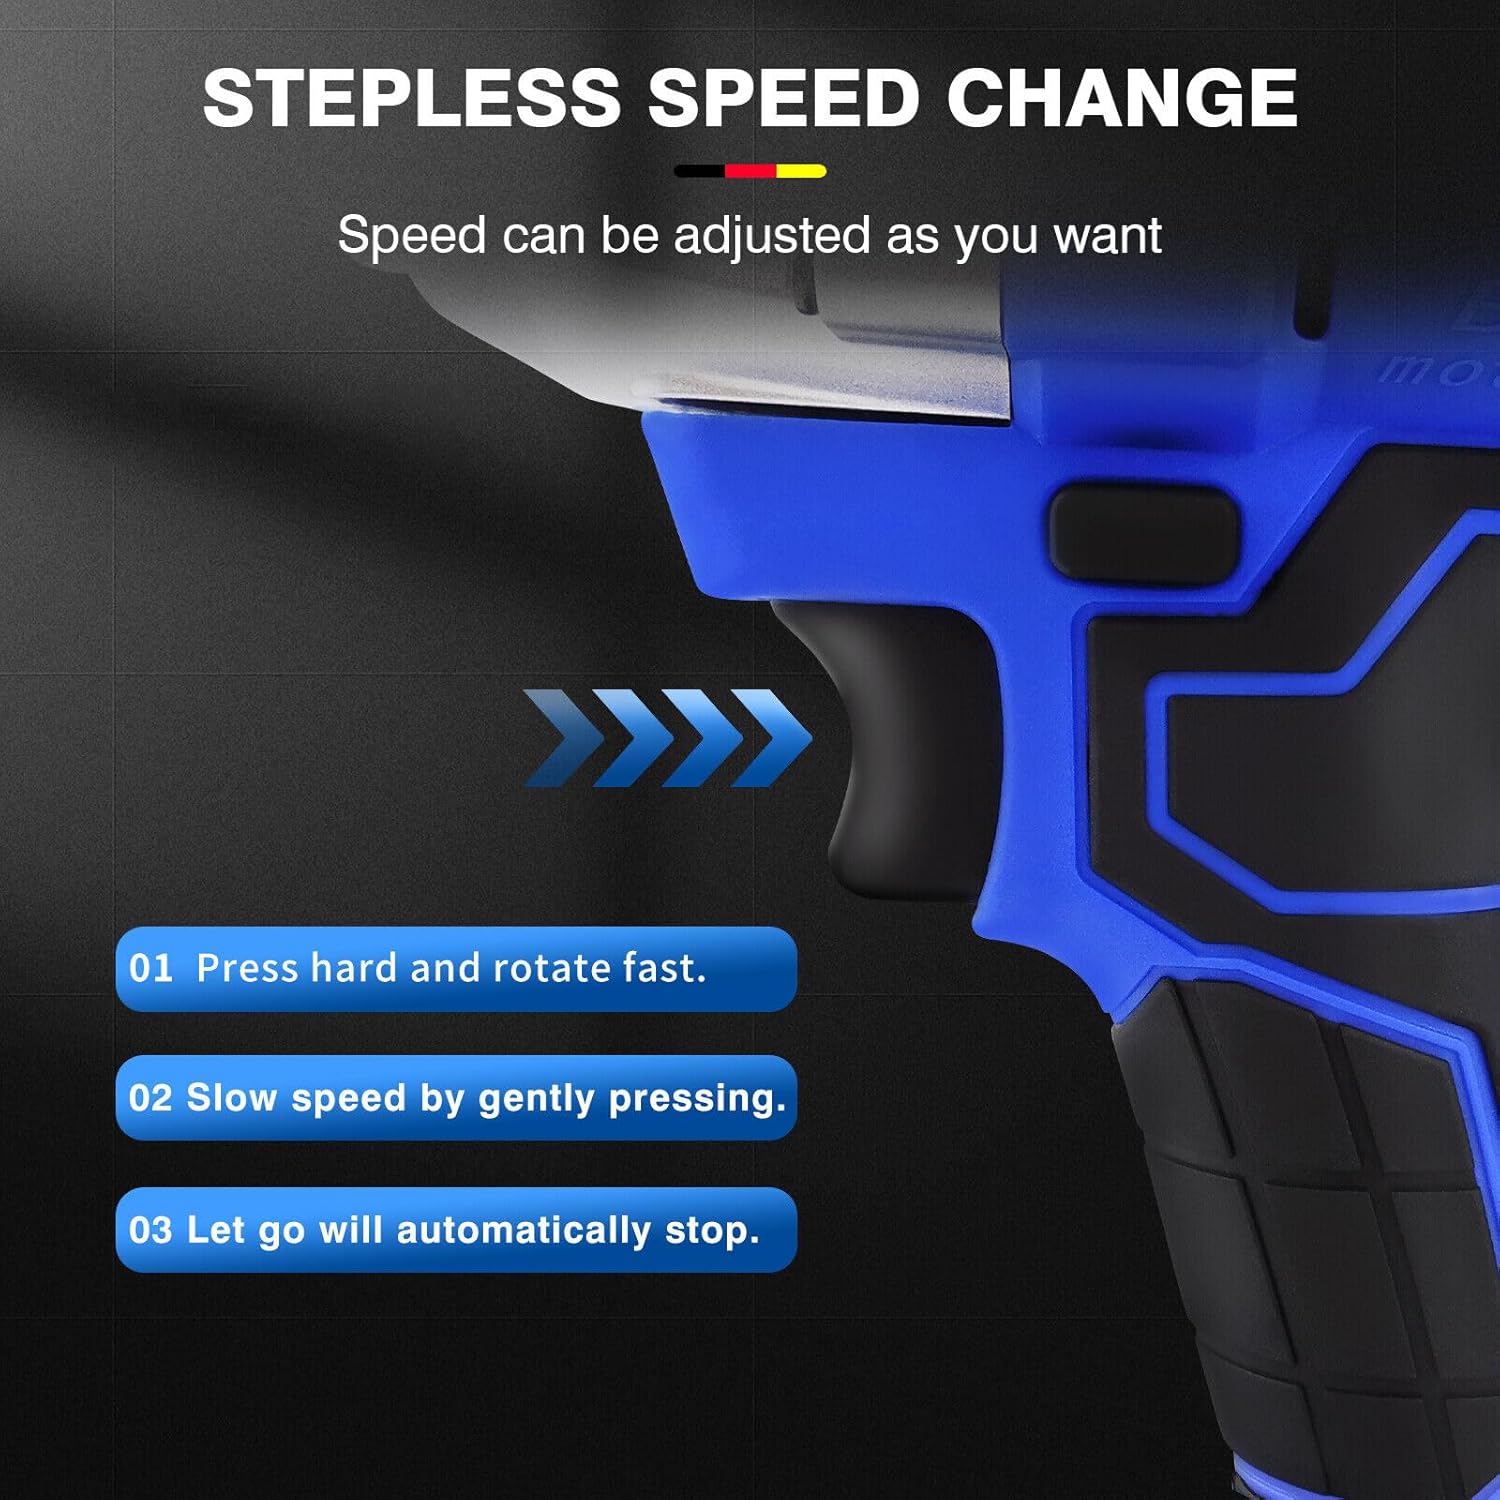
Image 6.1: Illustration of the stepless speed change. Pressing hard rotates fast, pressing gently slows speed, and releasing the trigger stops the tool.
- Press hard: For fast rotation and maximum torque.
- Press gently: For slower speed and controlled operation.
- Let go: The tool will automatically stop.
6.2. Forward and Reverse Switch
The forward/reverse switch controls the direction of rotation, allowing for both tightening and loosening applications.

Image 6.2: The forward button is used for screwing (tightening), and the reverse button is used for removing screws (loosening).
- Forward Button: Push the switch to the left for clockwise rotation (tightening).
- Reverse Button: Push the switch to the right for counter-clockwise rotation (loosening).
- Ensure the switch is in the central (locked) position when not in use to prevent accidental starting.
6.3. Mode Adjustment and Power Display
The tool features a display for real-time power indication and mode adjustment.

Image 6.3: Close-up of the mode adjustment and power quantity display. This allows users to monitor battery life and select appropriate torque settings.
- The display shows the remaining battery charge, allowing you to plan your work effectively.
- Use the mode adjustment button (if present, typically integrated with the display) to select between different torque settings or operating modes for various tasks.
6.4. Integrated Work Light
The impact wrench is equipped with a scattering light feature to illuminate the work area, especially useful in low-light conditions.

Image 6.4: The integrated work light provides illumination for dark corners, enabling one-hand operation without an additional flashlight.
- The light typically activates when the trigger is pressed and remains on for a short period after release.
- This feature enhances visibility and safety during operation in dimly lit environments.
6.5. Versatile Applications (Drill/Wrench)
The DayPlus impact wrench can be adapted for various tasks, functioning as both an electric drill and an electric wrench with appropriate accessories.
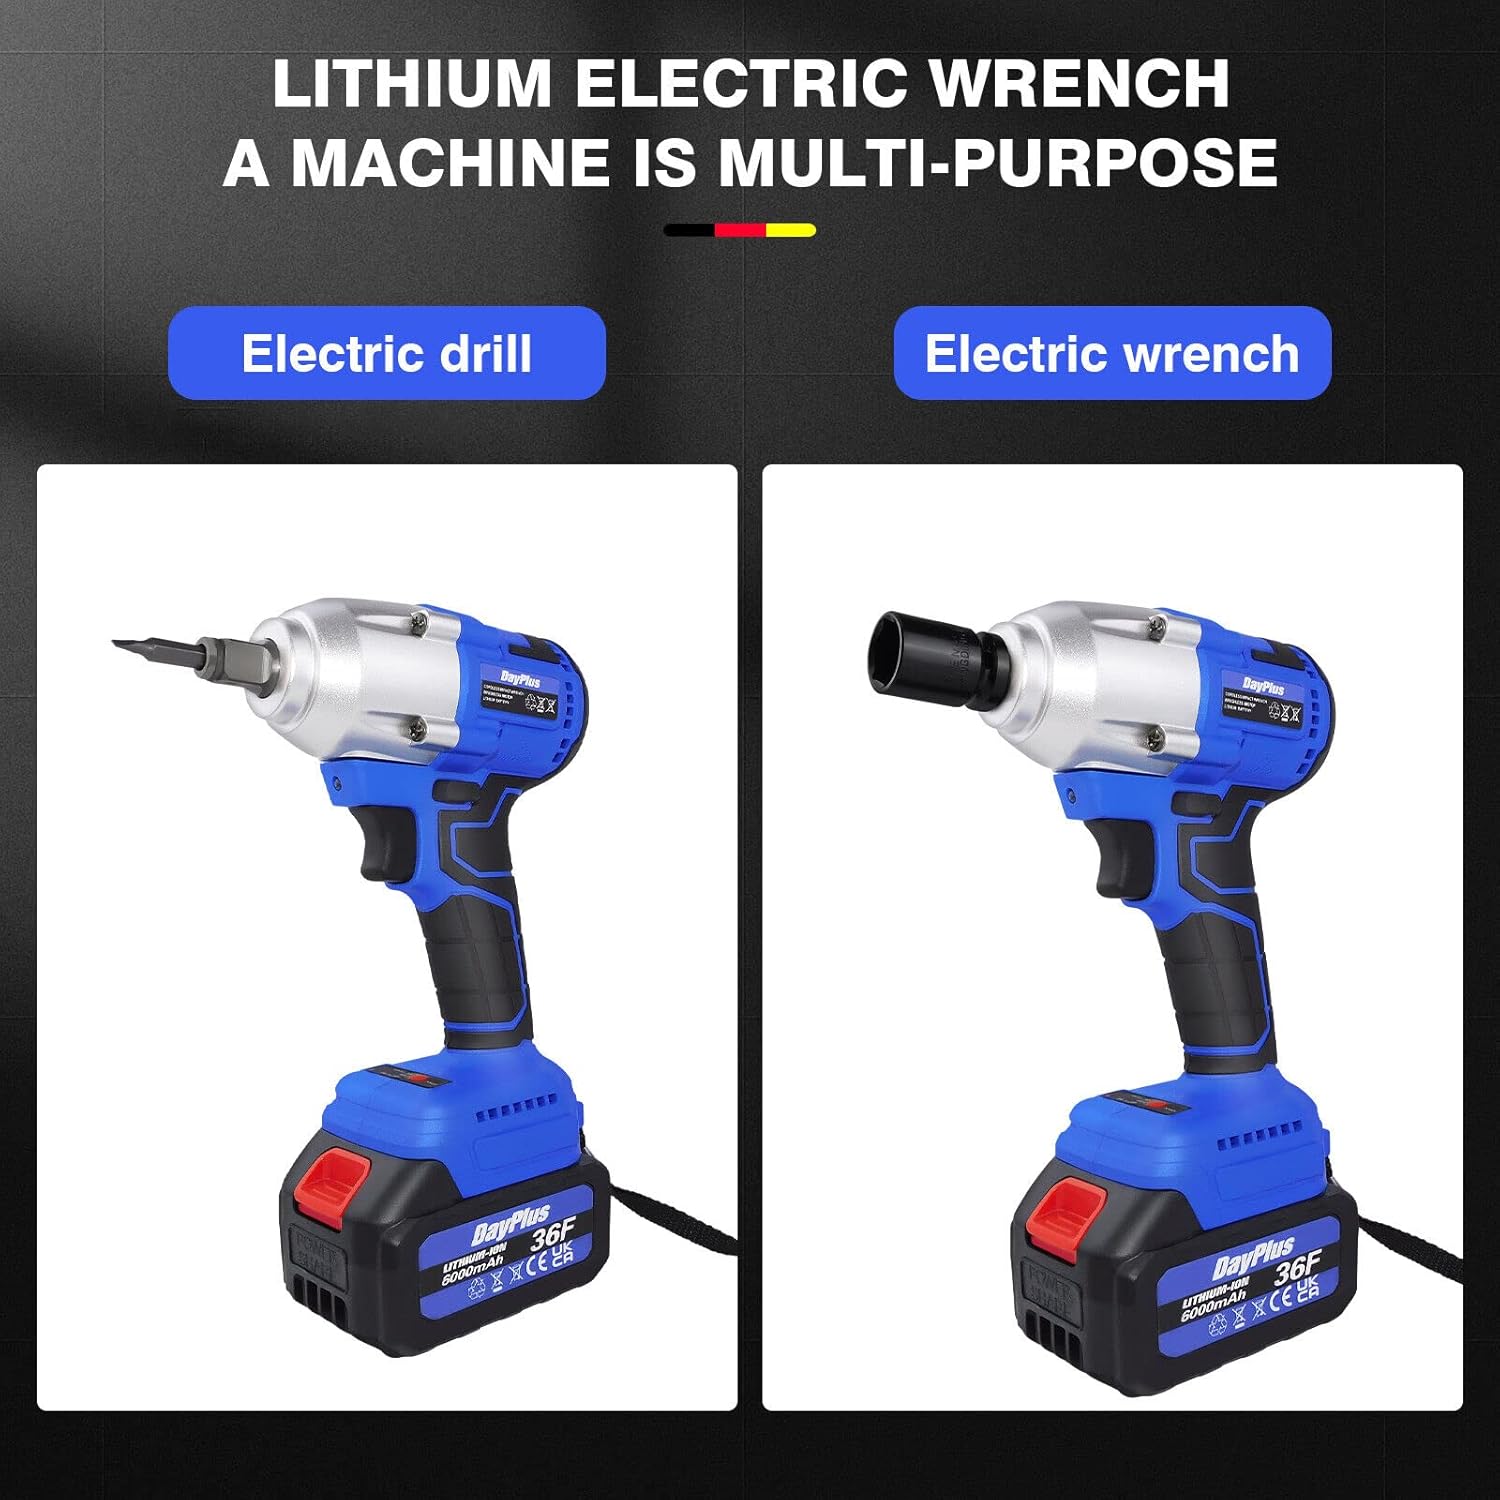
Image 6.5: The tool's versatility allows it to be used as an electric drill with a drill bit adapter or as an electric wrench with sockets.
- Electric Wrench: Use with square drive sockets for tightening and loosening nuts and bolts.
- Electric Drill: Attach a drill chuck adapter (sold separately) and drill bits for drilling applications.
7. Maintenance
Regular maintenance ensures the longevity and optimal performance of your impact wrench.
- Cleaning: Keep the tool's ventilation openings clean to prevent overheating. Use a soft, damp cloth to clean the housing. Do not use solvents or abrasive cleaners.
- Heat Dissipation Vents: Regularly check and clear the heat dissipation vents to ensure effective cooling during continuous operation.
- Battery Care: Store batteries in a cool, dry place away from direct sunlight. Do not store fully discharged batteries for extended periods.
- Storage: When not in use, store the impact wrench and its accessories in a dry, secure location out of reach of children.
- Inspection: Periodically inspect the tool for any signs of damage, loose screws, or worn parts. Do not use a damaged tool.

Image 7.1: The air outlet design facilitates effective heat dissipation, crucial for continuous work without overheating the machine.
8. Troubleshooting
| Problem | Possible Cause | Solution |
|---|---|---|
| Tool does not start | Battery not charged or improperly inserted. Forward/reverse switch in central (locked) position. | Charge battery fully and ensure it is securely inserted. Move the forward/reverse switch to either forward or reverse position. |
| Reduced power or speed | Low battery charge. Overload protection activated. | Recharge the battery. Reduce the load on the tool; allow it to cool down if it has been used continuously. |
| Excessive heat during operation | Blocked ventilation vents. Continuous heavy use. | Clean ventilation vents. Allow the tool to cool down periodically during heavy use. |
| Socket not attaching securely | Incorrect socket size. Debris on the square drive. | Ensure the socket is 1/2" square drive. Clean the square drive and the socket. |
9. Warranty and Support
DayPlus products are manufactured to high-quality standards. For information regarding warranty coverage, please refer to the warranty card included with your purchase or contact DayPlus customer support.
For technical assistance, spare parts, or service, please contact your retailer or the DayPlus customer service department. Keep your purchase receipt as proof of purchase.