
1. Introduction
This manual provides detailed instructions for the Koiiko Wireless Gaming Controller, Model Z01. Please read this manual carefully before use to ensure proper operation and to maximize your gaming experience. Keep this manual for future reference.

Figure 1: Koiiko Wireless Gaming Controller Z01 (White)
2. Product Overview
2.1 Key Features
- Multi-Platform Compatibility: Supports iOS (iPhone, iPad), Android, PC, Nintendo Switch, PS3, PS4, and cloud gaming services.
- Hall Effect Triggers and Rockers: Provides precise and durable input for enhanced control.
- Programmable Back Buttons (M1, M2): Customize controls for advanced gameplay.
- 6-Axis Gyroscope: Offers motion control capabilities (supported on PC/PS3/PS4/Switch).
- Turbo Function: Enables rapid-fire input for selected buttons.
- RGB Lighting: Customizable 7-color RGB breathing light on joysticks and buttons.
- Built-in 600mAh Battery: Provides approximately 10-15 hours of continuous use.
2.2 Controller Layout

Figure 2: Controller Dimensions and Key Components
The controller features standard gaming buttons including A, B, X, Y, D-pad, two analog joysticks, shoulder buttons (L1, R1), triggers (L2, R2), and two programmable back buttons (M1, M2). It also includes a Home button, Turbo button, and a dedicated light adjustment button.
3. Setup and Connection
The Koiiko Z01 controller supports various connection modes for different platforms. Ensure the controller is charged before initial use.
3.1 Charging the Controller
Connect the included USB-C cable to the controller's charging port and the other end to a USB power source (e.g., computer, USB wall adapter). The charging indicator will show the charging status. A full charge takes approximately 2 hours and provides 10-15 hours of gameplay.
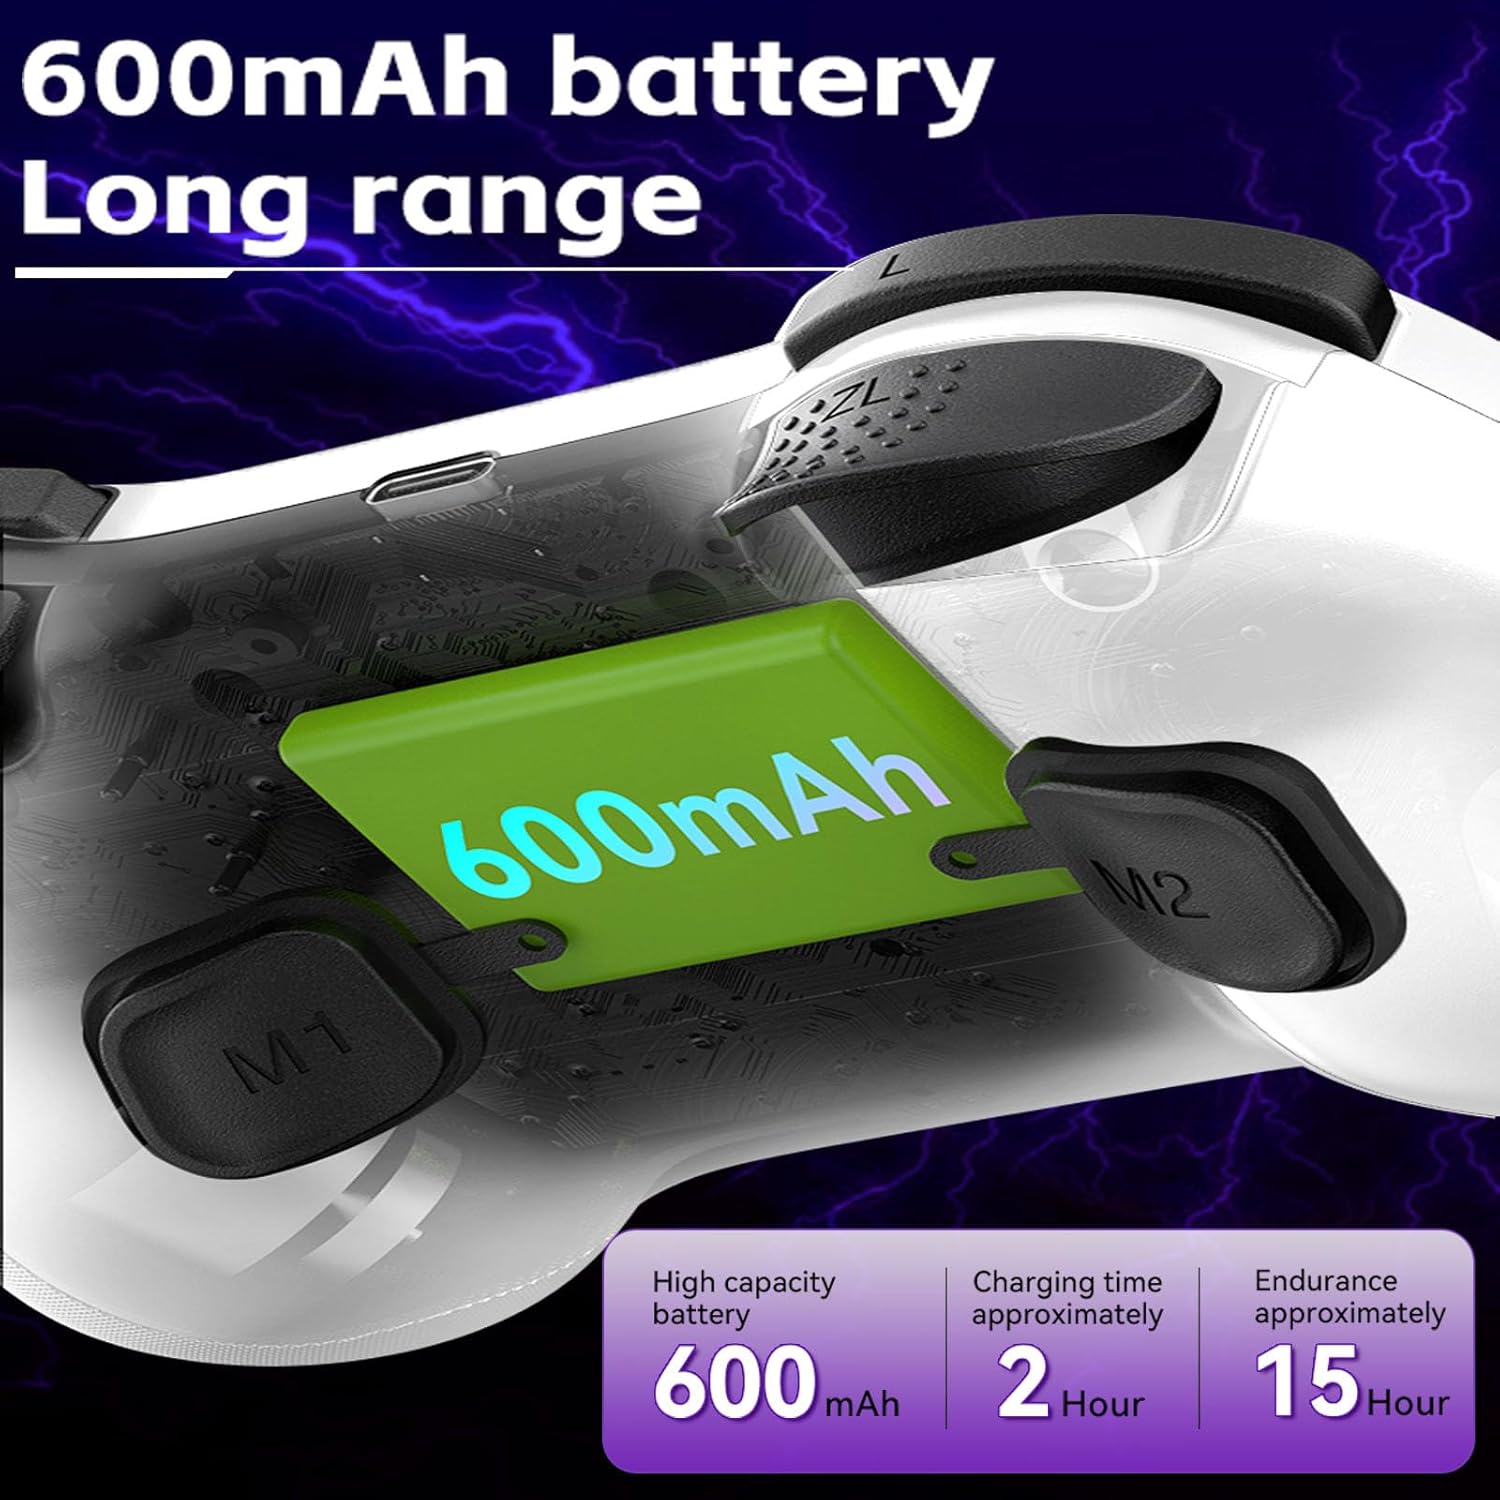
Figure 3: Battery Information
3.2 Pairing with Devices
To pair the controller, press and hold specific button combinations depending on your target device. The controller uses Bluetooth for wireless connection.
- PC (Windows): Press and hold the HOME button until the indicator light flashes. On your PC, go to Bluetooth settings and select "Koiiko Controller" to pair.
- Nintendo Switch: From the Switch HOME Menu, select "Controllers" > "Change Grip/Order". Press and hold the HOME button on the controller until the indicator light flashes. The Switch will detect and pair the controller.
- Android Devices: Press and hold the HOME button until the indicator light flashes. On your Android device, go to Bluetooth settings and select "Koiiko Controller" to pair.
- iOS Devices (iPhone/iPad): Press and hold the HOME button until the indicator light flashes. On your iOS device, go to Bluetooth settings and select "Koiiko Controller" to pair.
- PS3/PS4: Connect the controller to the console using the USB-C cable. Once recognized, you can disconnect the cable for wireless play.
Note: Specific button combinations for pairing may vary. Refer to the quick start guide included in the package for precise instructions if needed.

Figure 4: PC Connection Guideline

Figure 5: Apple Device Connection Guideline

Figure 6: Android Device Connection Guideline

Figure 7: Nintendo Switch Connection Guideline

Figure 8: PlayStation Connection Guideline
4. Operating Instructions
4.1 ABXY Key-Value Interchange
The controller supports switching between Nintendo Switch and Xbox button layouts. To interchange the ABXY key values, press and hold the X + B + HOME keys simultaneously. This allows you to switch between the N-Switch layout and Xbox layout without physically removing buttons.

Figure 9: ABXY Key-Value Interchange
4.2 Programmable Back Buttons (M1, M2)
The M1 and M2 buttons on the back of the controller can be programmed to perform specific actions or sequences of actions. This allows for customized gameplay and quick execution of complex commands. Refer to the detailed programming instructions in the included quick start guide for specific steps.

Figure 10: Programmable Back Buttons and Turbo Function
4.3 Turbo Function
The Turbo function allows a button to be pressed repeatedly as long as it is held down. To activate Turbo for a button, press the TURBO button simultaneously with the desired action button. To deactivate, repeat the process.
4.4 RGB Lighting Control
The controller features customizable RGB lighting on the joysticks and buttons. Use the dedicated light adjustment button to cycle through 7 colors and 5 RGB light modes. Press the button to select your preferred lighting effect.
4.5 Hall Effect Joysticks and Triggers
The Z01 controller is equipped with Hall Effect 3D joysticks and triggers. This technology uses magnetic sensors instead of physical contacts, reducing wear and tear, eliminating drift, and providing precise, smooth control and enhanced durability.
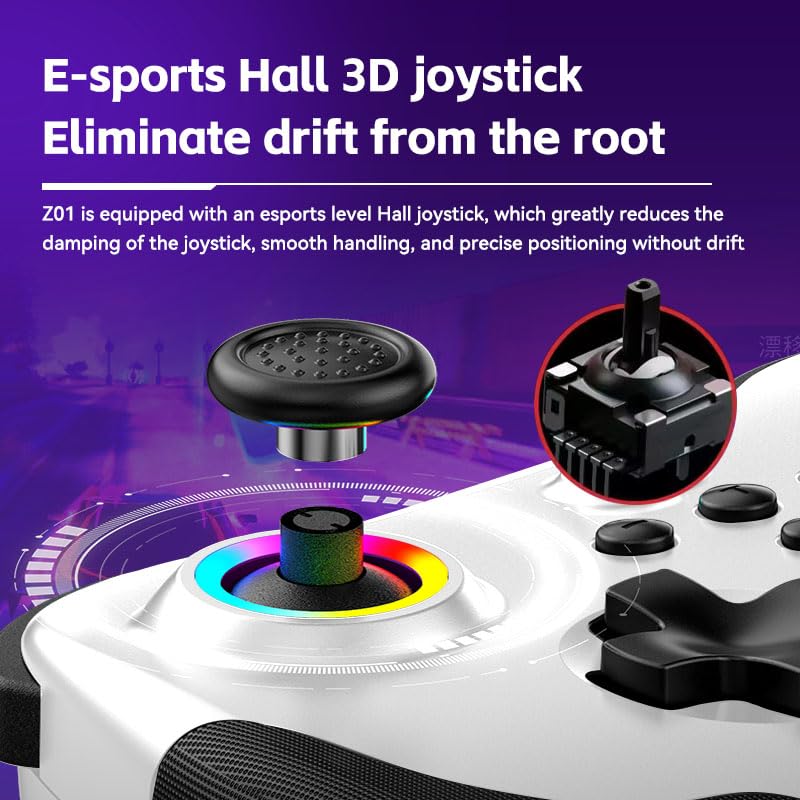
Figure 11: Hall Effect 3D Joystick
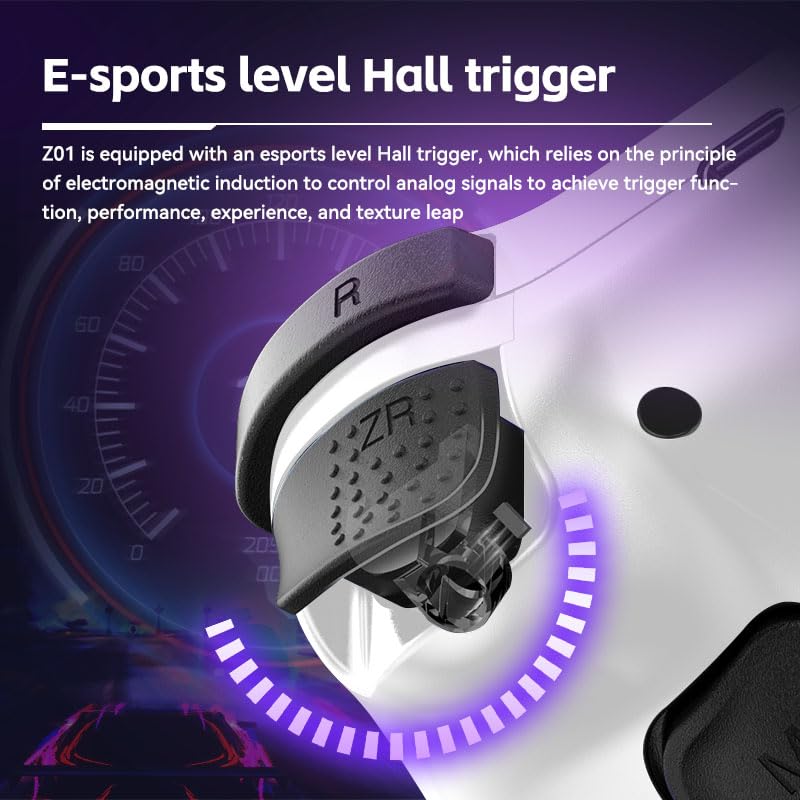
Figure 12: Hall Effect Trigger
5. Maintenance
- Cleaning: Use a soft, dry cloth to clean the controller. Do not use harsh chemicals or abrasive materials.
- Storage: Store the controller in a cool, dry place away from direct sunlight and extreme temperatures.
- Battery Care: To prolong battery life, avoid fully discharging the controller frequently. Charge it regularly, even if not in use for extended periods.
- Avoid Drops: Protect the controller from drops and impacts, which can damage internal components.
6. Troubleshooting
- Controller not turning on:
Ensure the controller is charged. Connect it to a power source using the USB-C cable and allow it to charge for at least 15 minutes before attempting to turn it on again.
- Unable to pair with device:
- Ensure the controller is in the correct pairing mode for your device (refer to Section 3.2).
- Make sure Bluetooth is enabled on your device.
- Delete any previous pairings of the controller from your device's Bluetooth list and attempt to pair again.
- Restart both the controller and your device.
- Buttons or joysticks not responding:
- Ensure the controller is properly connected to your device.
- Check if the controller's battery is low.
- Test the controller on another device if possible to isolate the issue.
- Perform a factory reset if available (refer to the quick start guide for instructions).
- Input lag or disconnection:
- Ensure there are no obstructions between the controller and the device.
- Move closer to the device to reduce interference.
- Disconnect other Bluetooth devices that might be causing interference.
- Ensure the controller is fully charged.
7. Specifications
| Model | Z01 |
| Connectivity | Bluetooth |
| Bluetooth Transmission Distance | ≤ 8 meters |
| Battery Capacity | 600mAh Lithium Battery |
| Charging Time | Approximately 2 hours |
| Duration of Use | >10 hours (up to 15 hours) |
| Working Voltage | DC 3.7V |
| Working Current | < 35mA |
| Dimensions | 143mm x 90mm x 49mm (approximate) |
| Weight | 12.8 ounces (approximate) |
8. Warranty and Support
8.1 Warranty Information
Koiiko products are covered by a limited warranty against manufacturing defects. Please refer to the warranty card included with your product or visit the official Koiiko website for detailed warranty terms and conditions. Keep your proof of purchase for warranty claims.
8.2 Customer Support
For technical assistance, troubleshooting, or any questions regarding your Koiiko Wireless Gaming Controller Z01, please contact our customer support team. Contact information can be found in the product packaging or on the official Koiiko website.
Package includes: Game controller x 1, USB cable x 1, User manual x 1.
Manufacturer: ShenZhen ShanWan Technology Co., Ltd.
