
Introduction
The Woowind BP188 Electric Tire Inflator is a versatile and portable air compressor designed for various inflation needs. This manual provides detailed instructions for setup, operation, and maintenance to ensure optimal performance and longevity of your device. With features like multiple inflation modes, auto shut-off, and a digital display, the BP188 offers convenience and precision for keeping your tires and inflatables at the correct pressure.
Setup
Unboxing and Components
Upon opening the package, ensure all components are present. The standard packing list includes:
- 1x Woowind BP188 Tire Inflator
- 1x Flexible Hose with Adapters (Presta, Schrader, Dunlop)
- 1x Ball Needle
- 1x Swimming Ring Nozzle
- 1x USB-C Charging Cable
- 1x Carrying Bag
- 1x User Manual


Charging the Device
Before first use, fully charge the BP188 pump using the provided USB-C charging cable. Connect the USB-C end to the pump's charging port and the USB-A end to a compatible power source (e.g., wall adapter, computer USB port).

Attaching the Hose and Adapters
Screw the flexible hose securely into the top port of the inflator. Select the appropriate valve adapter (Schrader, Presta, Dunlop, ball needle, or swimming ring nozzle) for your item and attach it to the other end of the flexible hose.


Operating Instructions
Powering On and Display
To power on the device, long-press the central power button for 3 seconds. The digital display will illuminate, showing the current pressure (if connected to an item) and the target pressure. The display also indicates the battery level and the selected inflation mode.

Selecting Inflation Mode
Press the 'Mode' button (usually the bottom button on the control wheel) to cycle through the preset inflation modes: Bike, Motorcycle, Sports Ball, and Customization. The customization mode allows you to set pressure for car tires or other items.

Setting Target Pressure
Use the '+' and '-' buttons on the control wheel to adjust the target pressure to your desired PSI. The pump will automatically stop once this pressure is reached.
Starting and Stopping Inflation
Once the hose is securely attached and the target pressure is set, short-press the central power button to begin inflation. The pump will automatically shut off when the target pressure is achieved. To manually stop inflation at any time, short-press the power button again.
Note: No official seller videos demonstrating operation were available in the provided data.
Using the LED Light
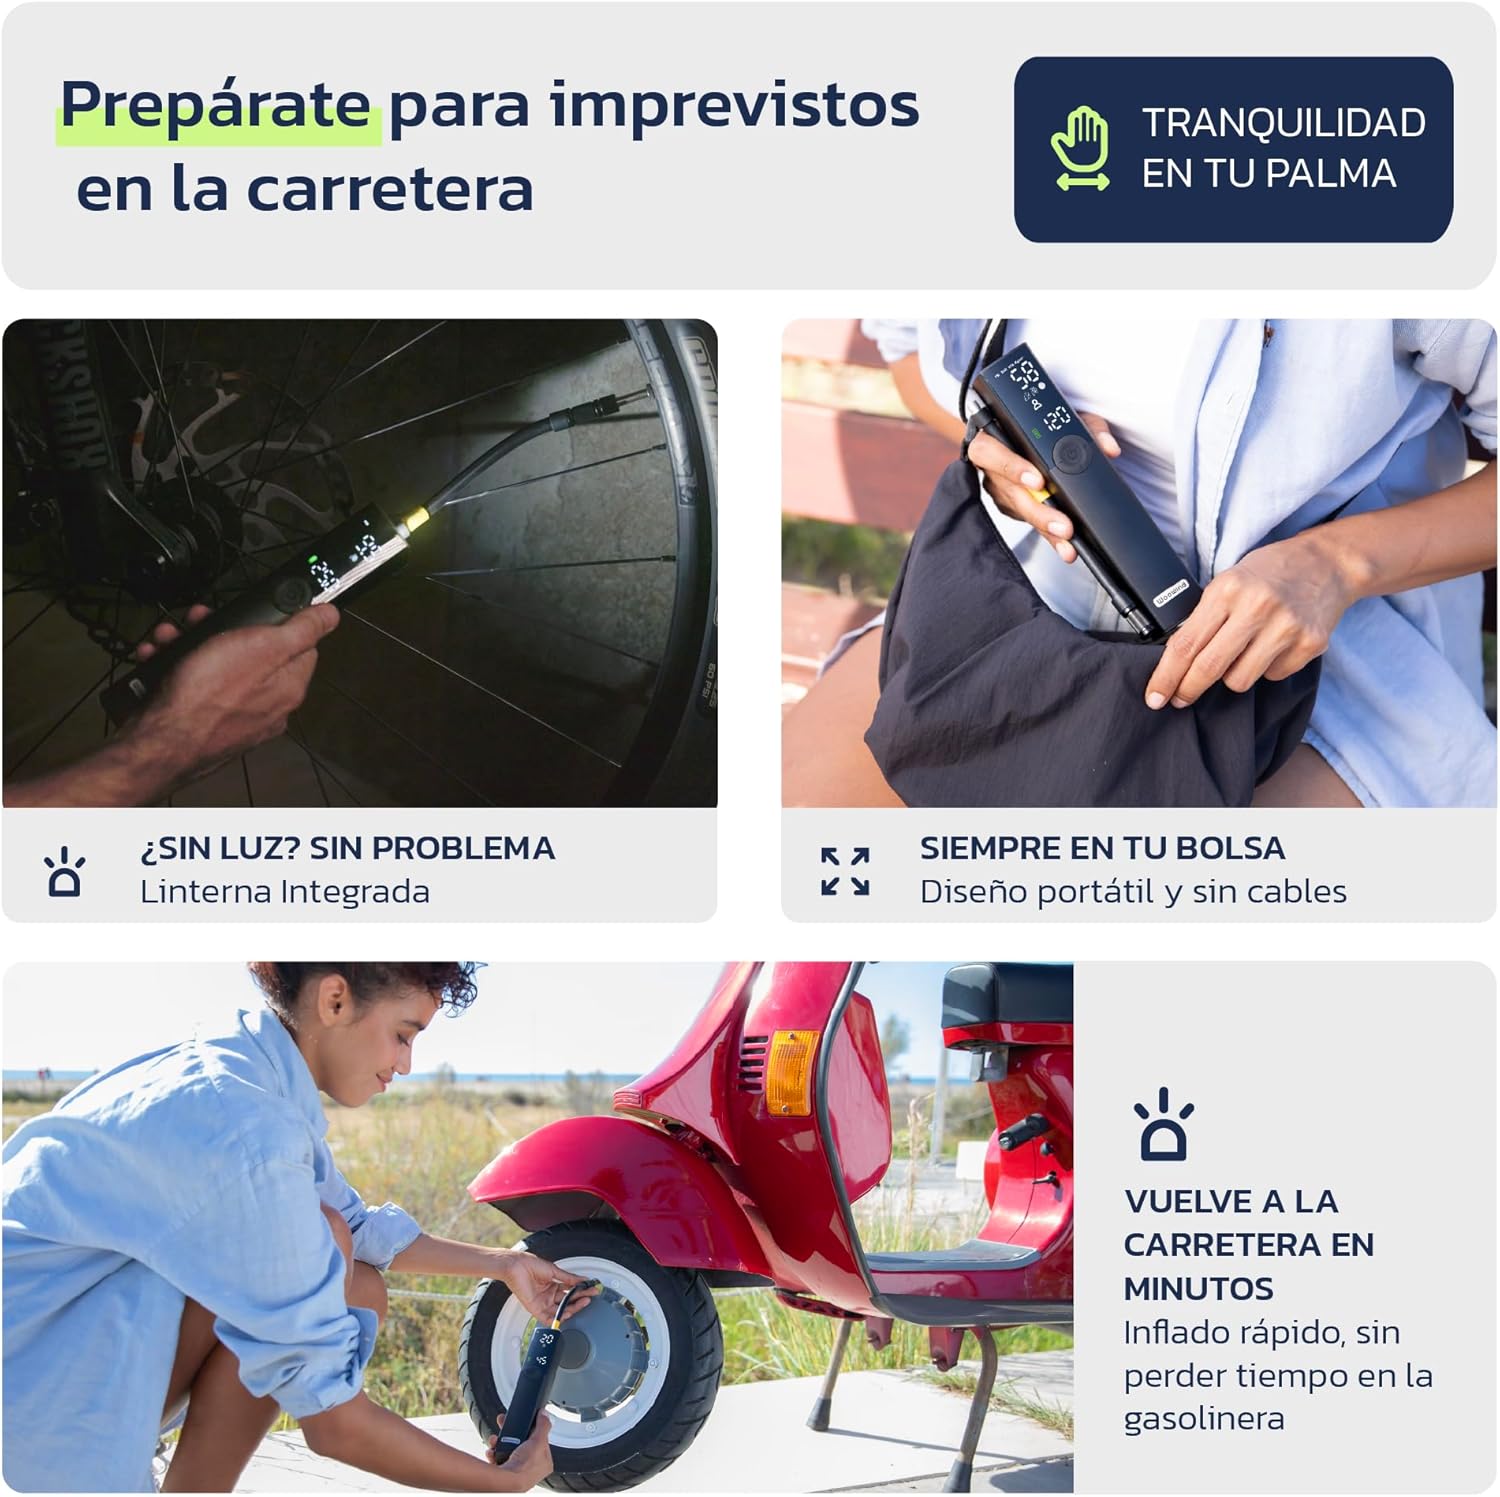
The BP188 includes an integrated LED light for convenience in low-light conditions. Long-press the top button on the control wheel for 2 seconds to turn the light on or off.
Maintenance
Cleaning
Wipe the exterior of the pump with a soft, damp cloth. Do not use harsh chemicals or abrasive materials. Ensure the air intake vents are clear of debris.
Storage
Store the pump and its accessories in the provided carrying bag in a cool, dry place. The BP188 has a long standby time of up to 6 months after a full charge, making it ready when you need it.

Battery Care
To prolong battery life, avoid completely draining the battery frequently. Recharge the device when the battery indicator is low, even if not in immediate use, especially before long storage periods.
Troubleshooting
| Issue | Possible Cause | Solution |
|---|---|---|
| Device does not turn on | Low battery; Incorrect power-on procedure | Charge the device; Long-press the power button for 3 seconds |
| Pump does not inflate | Hose not securely attached; Adapter not properly connected; Target pressure already reached | Ensure hose is screwed in tightly; Check adapter connection; Verify current pressure on display |
| Inaccurate pressure reading | Loose hose or adapter connection | Tighten all connections between pump, hose, and valve |
Specifications
- Color: Black-120PSI
- Brand: Woowind
- Material: Aluminum
- Item Weight: 450 Grams
- Product Dimensions: 1.57"L x 1.57"W x 7.49"H
- Power Source: Battery Powered
- Air Flow Capacity: 20 LPM
- Maximum Pressure: 120 Pound per Square Inch
- Operation Mode: Automatic
- Model Name: Bp188 Black
- Model Year: 2022
Warranty
The Woowind BP188 Electric Tire Inflator comes with a 2-year warranty from the date of purchase. Please retain your proof of purchase for warranty claims.
Support
For further assistance, product inquiries, or warranty support, please visit the official Woowind Store on Amazon: Woowind Store.


