
Introduction
This manual provides detailed instructions for the assembly, operation, maintenance, and troubleshooting of your DOESLAG Solar Pathway Lights. Please read this manual thoroughly before installation and use to ensure optimal performance and longevity of your product.
Product Overview
The DOESLAG Solar Pathway Lights are designed to illuminate and enhance your outdoor spaces. Featuring durable construction and efficient solar technology, these lights provide warm, ambient lighting without the need for external wiring.
- Glass Outdoor Solar Lights: Upgraded design to decorate and illuminate garden pathways.
- Quality Clear Glass and Vintage Bulb: Emits beautiful warm, ambient 3000K white light with 360-degree illumination.
- Auto ON/Off & Energy Saving: Automatically turns on at dusk and off at dawn, converting sunlight into energy efficiently.
- Super Easy to Install: No wiring required; simply use the included ground stakes.
- Durable & Waterproof: Made with quality materials, designed to withstand various weather conditions.

Image: DOESLAG Solar Pathway Lights enhancing the beauty of a garden, yard, and walkway.
What's in the Box
Each package contains the following components:
- 6 x Solar Pathway Lights
- Batteries (included and pre-installed)
- Bulb (integrated LED)
- Light kit (includes ground stakes and extension poles)
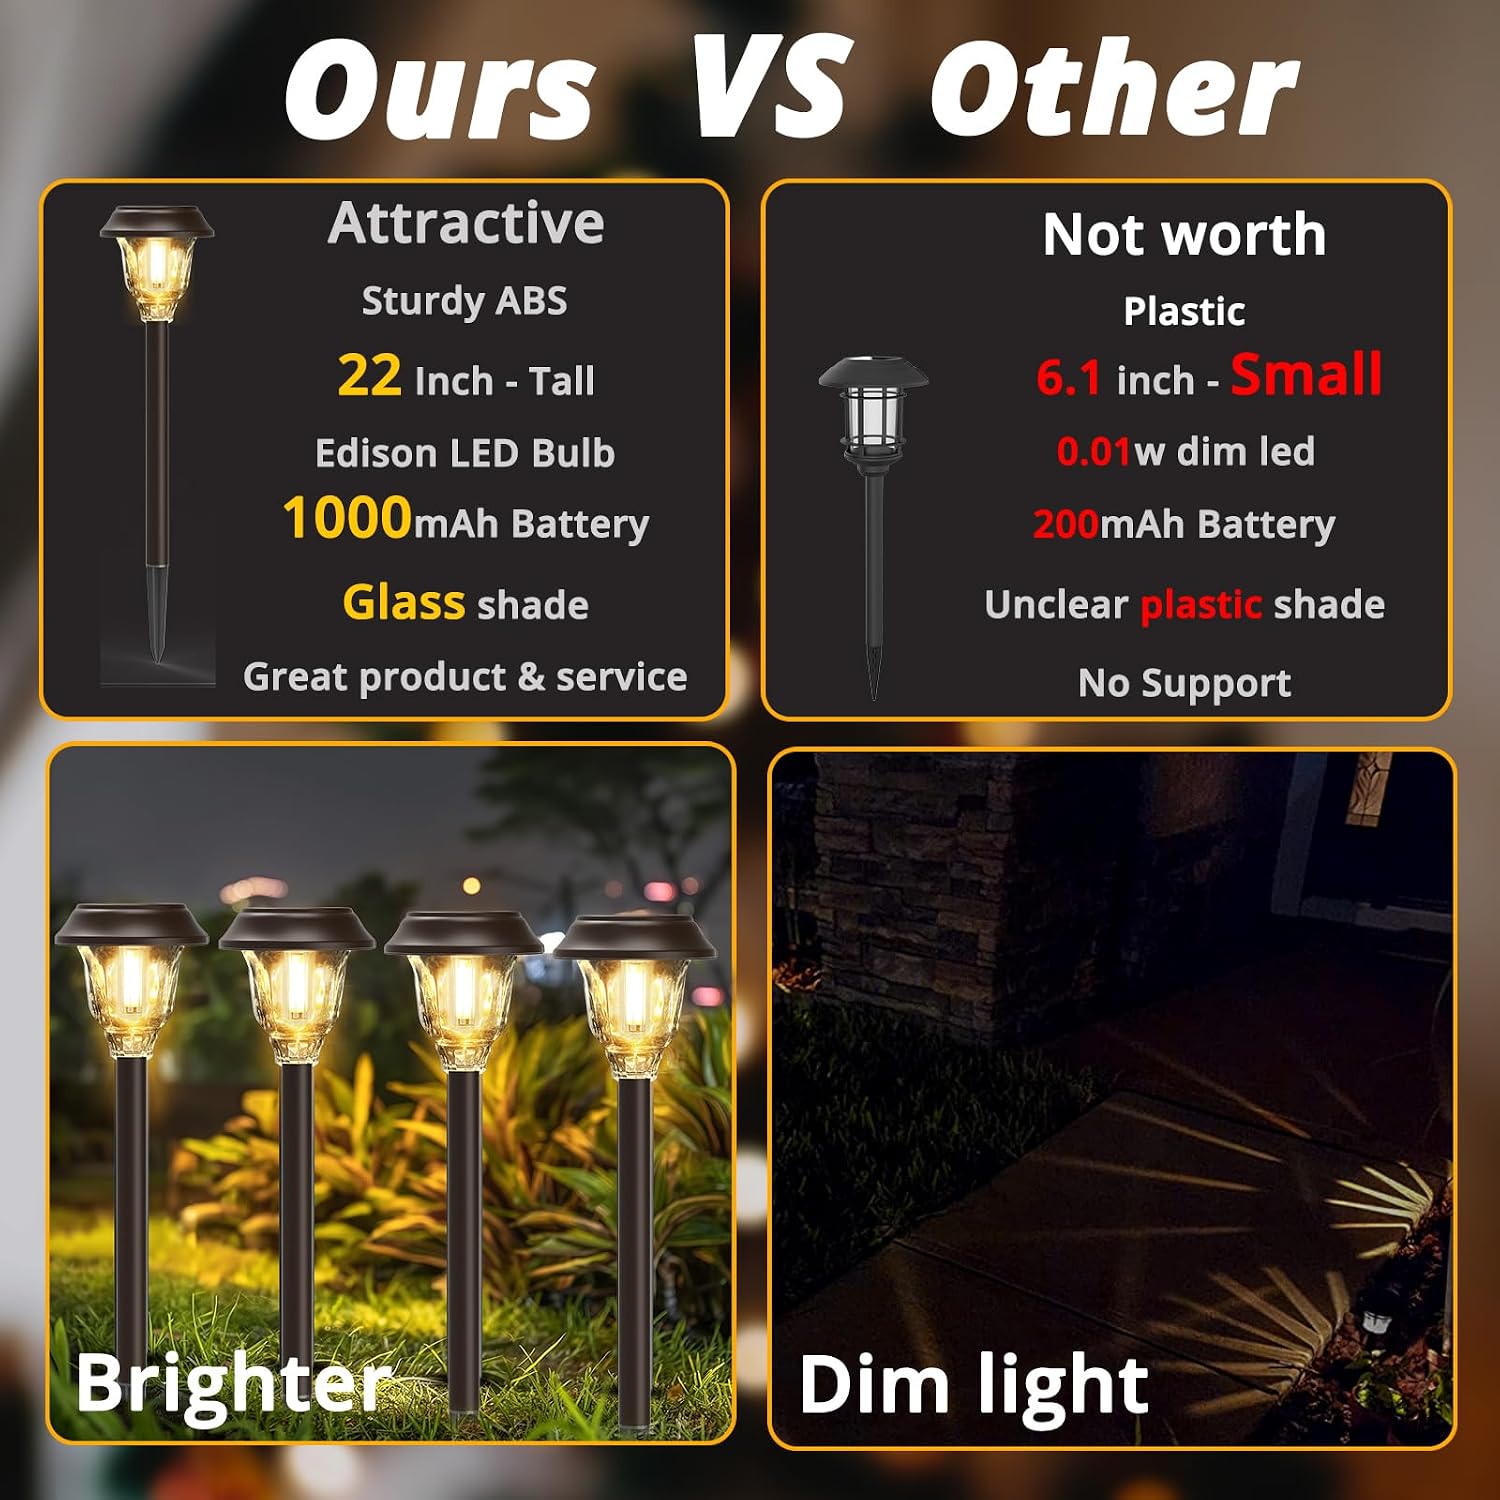
Image: All components of the solar pathway lights laid out for assembly.
Setup Instructions
Follow these steps to assemble and install your solar pathway lights:
- Unpack Components: Carefully remove all parts from the packaging. Ensure all 6 light heads, extension poles, and ground stakes are present.
- Activate the Light:
- Gently twist and remove the glass lampshade from the solar panel top.
- Locate the ON/OFF switch on the underside of the solar panel unit. Slide the switch to the "ON" position.
- Reattach the glass lampshade by twisting it back onto the solar panel top.
Video: Demonstrates how to assemble the solar light components and activate the ON/OFF switch.
- Assemble the Pole:
- Connect the extension pole to the bottom of the light head.
- Attach the ground stake to the other end of the extension pole. Ensure all connections are secure.
- Placement:
- Choose a location that receives direct sunlight for at least 6-8 hours daily to ensure full battery charge. Avoid shaded areas.
- Gently push the assembled light into the ground using the ground stake. Do not force it into hard soil; loosen the soil first if necessary.

Image: Illustration of solar lights charging in direct sunlight and automatically turning on at night.
Operating Instructions
Your DOESLAG Solar Pathway Lights are designed for automatic operation:
- Automatic On/Off: Once activated and fully charged, the lights will automatically turn on at dusk and turn off at dawn.
- Solar Charging: The integrated solar panel charges the internal battery during daylight hours. A full charge typically takes 6-8 hours of direct sunlight.
- Illumination Duration: When fully charged, the lights can provide illumination for 8-12 hours.
Video: Shows the solar lights automatically turning on at dusk and illuminating a pathway.
Maintenance
To ensure your solar lights continue to function effectively, follow these maintenance guidelines:
- Cleaning the Solar Panel: Regularly wipe the solar panel with a soft, damp cloth to remove dust, dirt, and debris. A clean panel ensures efficient charging.
- Battery Replacement: The included batteries are rechargeable. If the lights' performance diminishes significantly over time, the batteries may need replacement. Refer to the battery compartment for specific battery type (typically Ni-MH AA rechargeable batteries).
- Seasonal Care: In areas with heavy snow or prolonged periods of low sunlight, consider storing the lights indoors to protect them and prolong battery life.
- Waterproof Design: The lights are designed to be waterproof (Water Resistance Level: Waterproof) and can withstand rain and snow. However, avoid submerging them in water.

Image: A solar pathway light demonstrating its weatherproof design in rainy conditions.
Troubleshooting
If your solar lights are not functioning as expected, try the following solutions:
- Light Does Not Turn On:
- Ensure the ON/OFF switch is in the "ON" position.
- Verify the light is placed in a location that receives sufficient direct sunlight for charging (6-8 hours).
- Check if the solar panel is clean and free from obstructions.
- Allow the light to charge for at least one full day in direct sunlight before expecting it to illuminate at night.
- Light Is Dim or Short-Lived:
- The battery may not be fully charged. Ensure the light receives adequate direct sunlight.
- The battery may be old and require replacement.
- Environmental factors such as cloudy weather or short winter days can affect charging efficiency.
- Water Inside the Lampshade:
- Ensure the glass lampshade is securely twisted onto the solar panel unit.
- While waterproof, extreme conditions or improper assembly can sometimes lead to moisture ingress. If this occurs, disassemble, dry thoroughly, and reassemble carefully.
Specifications
| Feature | Detail |
|---|---|
| Brand | DOESLAG |
| Model Number | ZC63ABRT6 |
| Color | Brown |
| Material | Acrylonitrile Butadiene Styrene, Glass, Stainless Steel |
| Style | Modern, Vintage |
| Light Fixture Form | Path |
| Indoor/Outdoor Usage | Outdoor |
| Power Source | Solar Powered |
| Light Source | LED |
| Number of Light Sources | 6 |
| Light Color | 3000K Warm White |
| Brightness | 20 Lumen |
| Water Resistance Level | Waterproof |
| Item Dimensions (L x W x H) | 5.2"L x 5.2"W x 21"H |
| Installation Type | Ground Stake |
| Required Assembly | Yes |
Warranty and Support
For warranty information or technical support, please refer to the product packaging or contact DOESLAG customer service directly. Keep your purchase receipt for warranty claims.