1. Introduction
This manual provides detailed instructions for the installation, maintenance, and troubleshooting of the TSPFJX Rear A Arm with Motor Set. This spare part is specifically designed for compatibility with SJRC F5, F5S, F5S PRO, F5S PRO+, and F5S PRO Plus RC Quadcopters. Please read this manual thoroughly before attempting any installation or repair to ensure proper function and safety.
2. Safety Information
No specific safety information is provided for this individual spare part. However, when working with RC quadcopters and their components, always observe general safety precautions:
- Ensure the quadcopter's power is disconnected before handling any components.
- Use appropriate tools for installation and removal.
- Keep small parts away from children.
- Refer to your quadcopter's main user manual for comprehensive safety guidelines.
3. Package Contents
The TSPFJX Rear A Arm with Motor Set package typically includes:
- 1 x Rear A Arm with integrated motor and propellers
Note: Contents may vary slightly. Please check your package upon receipt.
4. Compatibility
This Rear A Arm with Motor Set is compatible with the following SJRC RC Quadcopter models:
- SJRC F5S PRO
- SJRC F5S PRO+
- SJRC F5S PRO Plus
It is also generally compatible with SJRC F5 and F5S models, but always verify the specific part number or visual match before installation.
5. Setup and Installation
Replacing a drone arm requires careful attention. Follow these steps for proper installation:
5.1. Preparation
- Power Off: Ensure your SJRC quadcopter is completely powered off and the battery is removed.
- Gather Tools: You will typically need a small Phillips head screwdriver and possibly tweezers.
- Workspace: Work on a clean, well-lit surface to prevent loss of small screws.
5.2. Removing the Damaged Arm
- Locate Screws: Carefully identify and remove all screws securing the drone's upper and lower shell, particularly those around the damaged arm.
- Open Casing: Gently separate the drone's casing to expose the internal components. Be mindful of any connected wires.
- Disconnect Motor Wires: Locate the motor wires connected to the flight controller or ESC board for the damaged arm. Carefully desolder or unplug these wires. Note their original connection points (e.g., color coding).
- Remove Arm Screws: Unscrew any remaining screws that secure the damaged arm to the drone's frame.
- Remove Arm: Carefully detach the damaged arm from the drone.
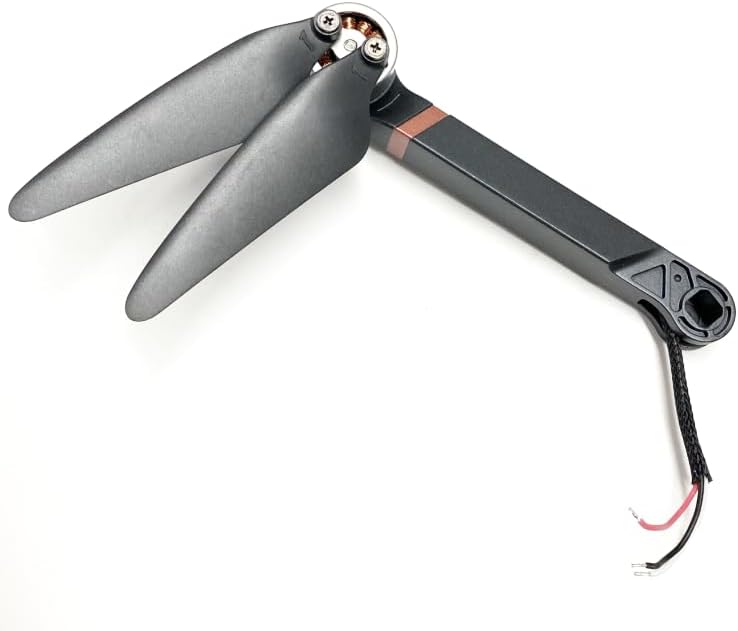
Figure 1: The TSPFJX Rear A Arm with integrated motor and propellers. This image shows the complete assembly ready for installation, highlighting the motor, propeller blades, and wiring.
5.3. Installing the New Arm
- Position New Arm: Place the new TSPFJX Rear A Arm into the correct position on the drone's frame.
- Secure Arm: Fasten the arm to the frame using the appropriate screws. Do not overtighten.
- Connect Motor Wires: Carefully connect the motor wires from the new arm to the corresponding points on the flight controller or ESC board. Ensure correct polarity if soldering. If it's a plug-and-play connection, ensure it's seated firmly.
- Close Casing: Gently reassemble the drone's casing, ensuring all wires are tucked away and not pinched.
- Secure Casing: Replace all screws to secure the drone's upper and lower shells.

Figure 2: A folded view of the TSPFJX Rear A Arm, showing the compact design and the wiring harness extending from the base. This perspective helps in understanding the arm's articulation.
5.4. Post-Installation Check
- Visual Inspection: Double-check all connections and ensure no wires are loose or exposed.
- Propeller Check: Ensure propellers are securely attached and can spin freely without obstruction.
- Functionality Test: Reinsert the battery and perform a low-power test flight or motor spin test in a safe environment to confirm proper operation.
6. Operating Considerations
As a spare part, the Rear A Arm itself does not have operational controls. Its function is integrated into the drone's flight system. After installation, ensure the drone's flight characteristics are normal. If any unusual behavior is observed, immediately land the drone and re-check the installation steps.
7. Maintenance
Proper maintenance extends the life of your drone components:
- Regular Inspection: Periodically inspect the arm and propellers for any signs of damage, cracks, or loose screws.
- Cleaning: Keep the motor and propeller area free from dust, dirt, and debris. Use a soft brush or compressed air for cleaning.
- Propeller Replacement: Replace propellers if they are chipped, bent, or show signs of wear, as damaged propellers can affect flight stability and motor efficiency.
- Storage: Store the drone in a clean, dry environment when not in use.
8. Troubleshooting
If you encounter issues after replacing the arm, consider the following:
- Motor Not Spinning:
- Check motor wire connections for looseness or incorrect polarity.
- Ensure the motor is not obstructed by debris.
- Verify the motor is correctly seated in the arm.
- Drone Unstable/Drifting:
- Confirm the correct arm (front/rear, left/right) was installed in the correct position.
- Check for any loose screws on the arm or frame.
- Inspect propellers for damage or incorrect installation.
- Recalibrate the drone's gyroscope/accelerometer if applicable (refer to your drone's main manual).
- Unusual Noise:
- Check for foreign objects in the motor or propeller area.
- Ensure propellers are not loose or rubbing against the arm.
If problems persist, consult the main user manual for your SJRC quadcopter or contact TSPFJX customer support.
9. Specifications
| Product Name | Rear A Arm with Motor Set |
| Brand | TSPFJX |
| Compatibility | SJRC F5S PRO, F5S PRO+, F5S PRO Plus (and generally F5, F5S) |
| Product Dimensions | 4 x 2 x 1 inches (approximate, for the arm itself) |
| ASIN | B0CYC89RGL |
| Manufacturer | TSPFJX |
10. Warranty and Support
Specific warranty information for this spare part is not provided in the product details. For warranty claims or technical support, please contact the seller or manufacturer directly. Keep your purchase receipt as proof of purchase.
For general inquiries or further assistance, you may refer to the official SJRC website or the user manual that came with your original quadcopter.


