1. Introduction
This manual provides detailed instructions for the safe and effective use of your SUNHAIXIA 4-in-1 Laser Rangefinder and Tape Measure. This versatile device combines a laser distance meter, a traditional tape measure, and a cross laser for various measurement and alignment tasks. Please read this manual thoroughly before operating the device and retain it for future reference.
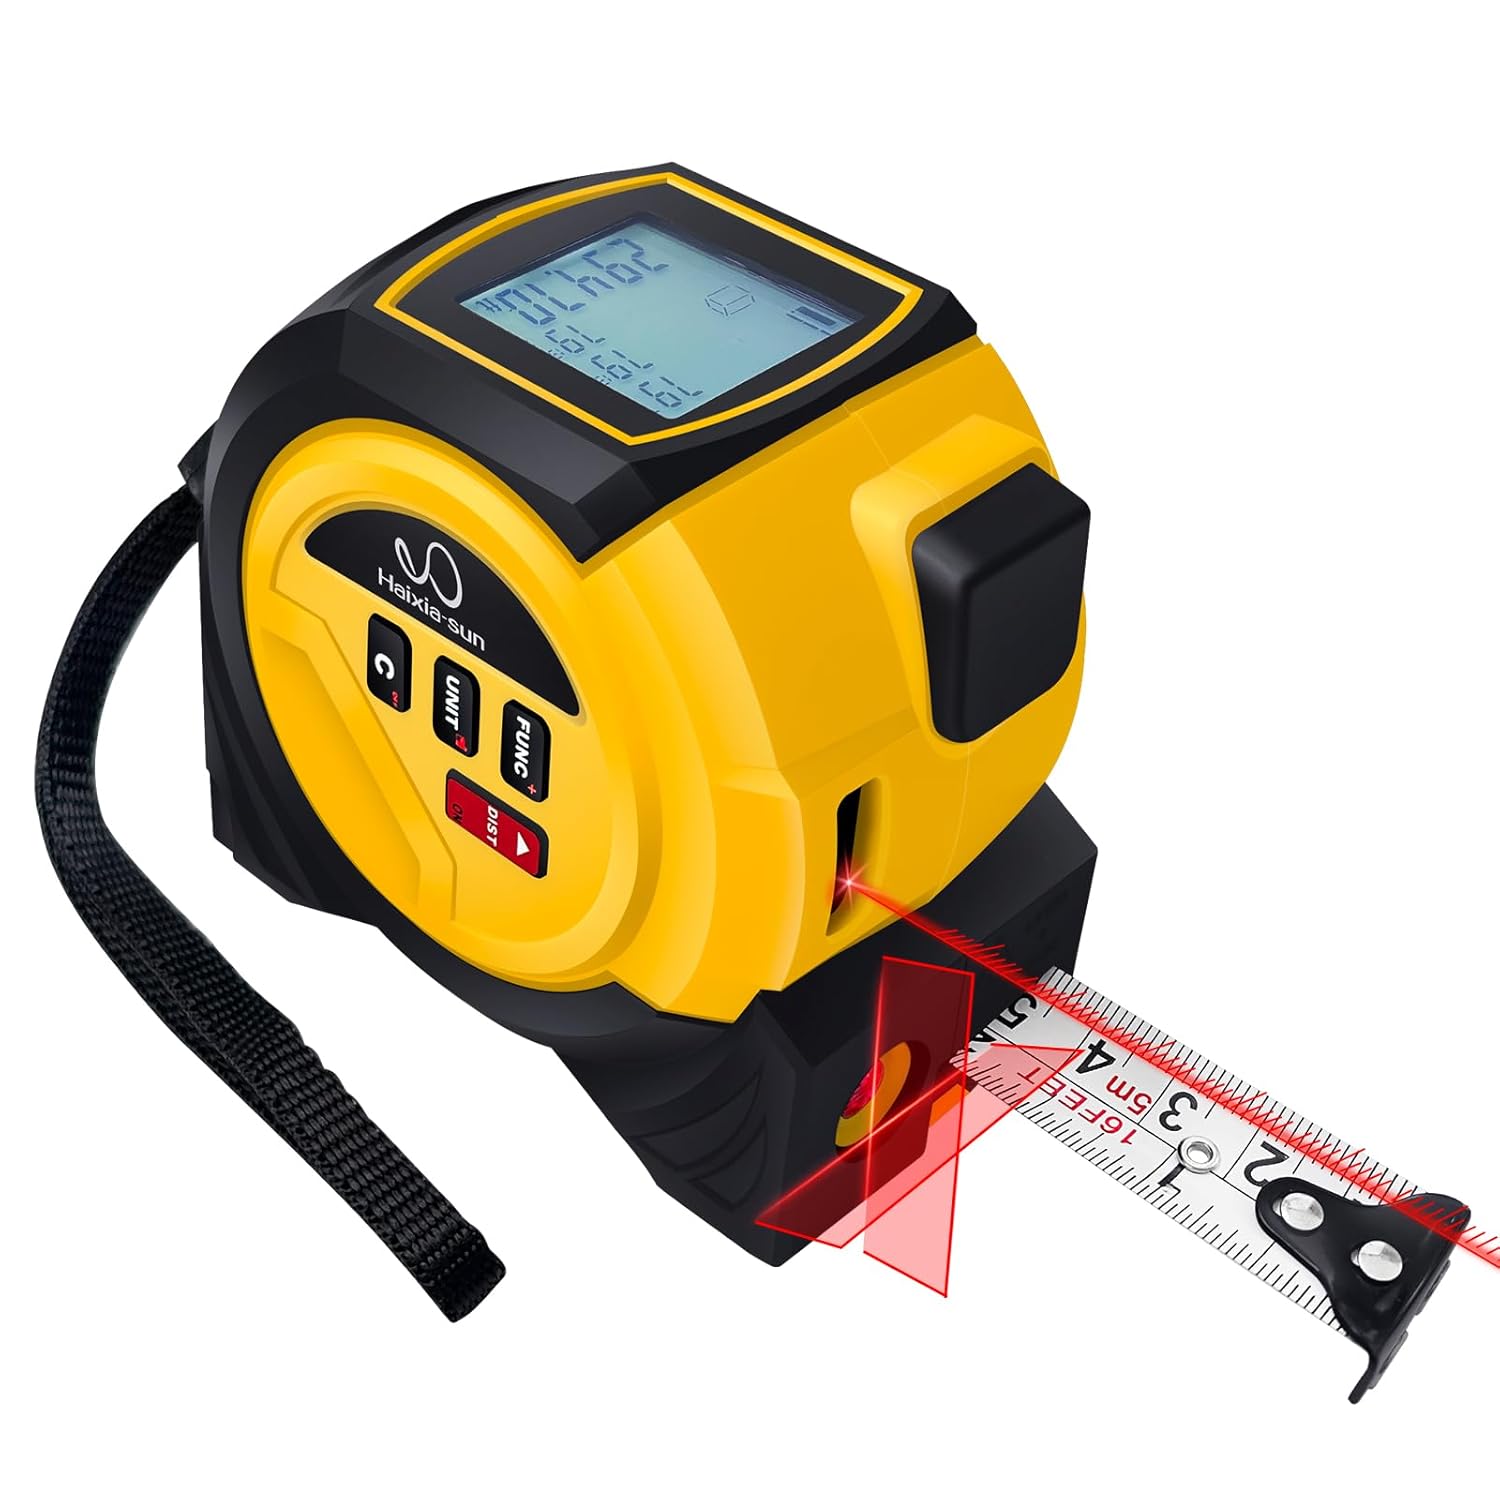
This image displays the SUNHAIXIA 4-in-1 Laser Rangefinder and Tape Measure in its primary configuration, showing the digital display, control buttons, the extended physical tape measure, and the active laser beam projecting from the device.
2. Safety Information
WARNING: Laser Radiation
- This device emits Class 2 laser radiation. Do not stare into the laser beam.
- Avoid direct eye exposure to the laser beam.
- Do not aim the laser at people or animals.
- Do not disassemble or modify the device. Unauthorized modifications can result in hazardous laser radiation exposure.
- Keep the device out of reach of children.
- Use only as described in this manual.
Always ensure a safe working environment. Be aware of your surroundings when using the laser functions.
3. Product Overview
3.1 Components and Controls

This diagram labels the key parts of the device, including the display screen, ranging laser, tape shrink button, sling, power off button, unit change button, tape measure, reticle laser, measurement function button, and the convenient waist belt buckle.
3.2 Key Features
- 4-in-1 Functionality: Combines laser distance measurement, traditional tape measure, cross laser, and area/volume calculation.
- Measurement Modes: Single distance, continuous measurement, area, volume, Pythagorean theorem.
- Digital Display: Large, backlit LCD for clear readings.
- Data Storage: Internal memory for up to 20 measurements.
- Durable Design: Robust ABS housing with non-slip rubber coating for enhanced grip and fall protection.
- Automatic Shut-off: Extends battery life by automatically turning off the laser after 30 seconds and the device after 2 minutes of inactivity.
- Unit Conversion: Easily switch between meters (m), feet (ft), and inches (in).
4. Setup
4.1 Battery Installation
- Locate the battery compartment cover on the back of the device.
- Slide or unclip the cover to open it.
- Insert two (2) AAA batteries, ensuring correct polarity (+/-).
- Close the battery compartment cover securely.
4.2 Initial Power On
Press and hold the DIST button for two seconds to power on the device. The LCD display will illuminate.
5. Operating Instructions
5.1 Power On/Off
- Power On: Press and hold the DIST button for approximately 2 seconds.
- Power Off: Press and hold the C/OFF button for approximately 2 seconds. The device will also automatically shut off after 2 minutes of inactivity.
5.2 Changing Measurement Units
Press the UNIT button repeatedly to cycle through the available measurement units: meters (m), feet (ft), and inches (in).
5.3 Laser Distance Measurement
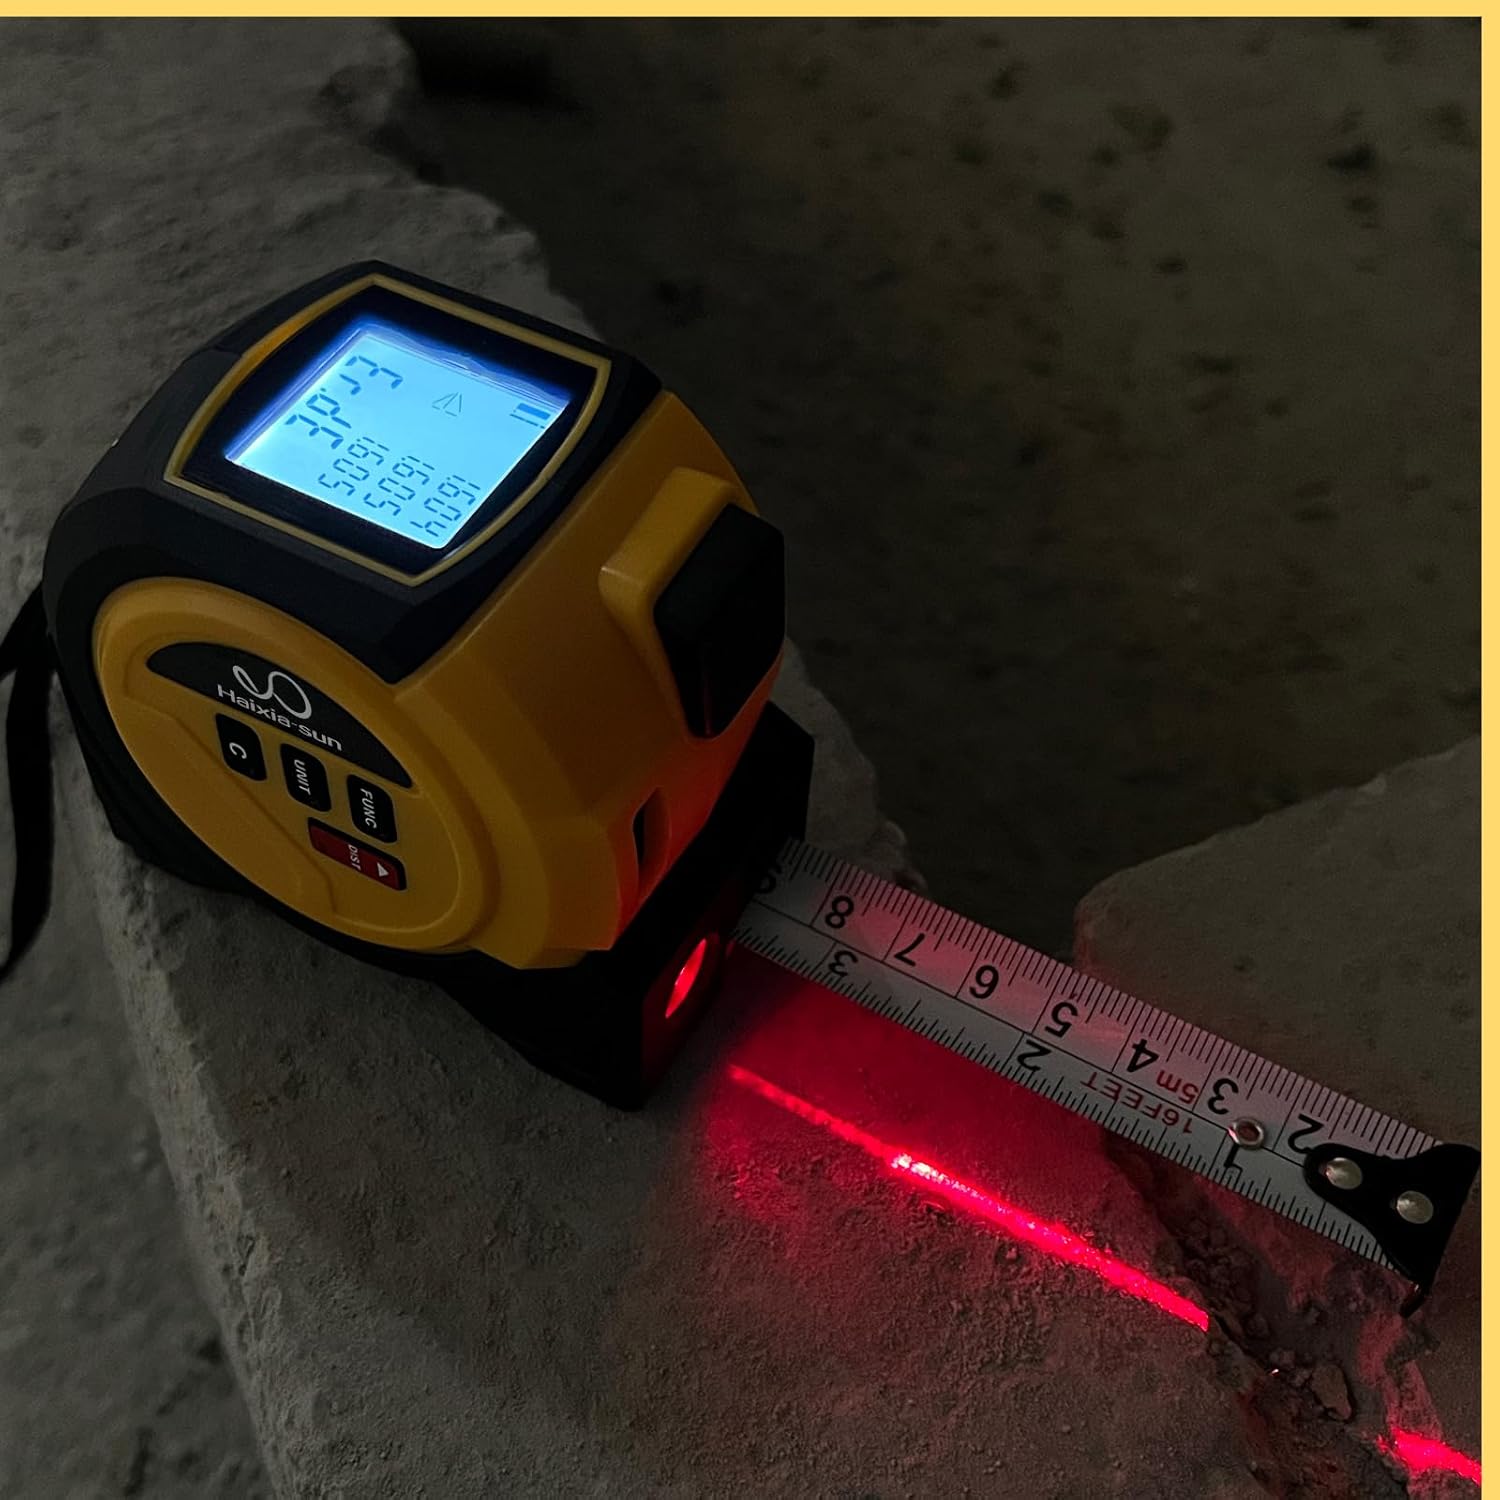
The device is shown in use, projecting a red laser beam to measure a distance, with the digital display showing measurement readings.
- Single Measurement: Press the DIST button once. The laser will activate. Aim the laser at the target and press DIST again to take the measurement. The result will be displayed.
- Continuous Measurement (Tracking): Press and hold the DIST button until the measurement starts. The device will continuously measure and display the distance as you move it. Press DIST again to stop continuous measurement and hold the last measured value.
5.4 Tape Measure Usage
Pull out the physical tape measure from the side of the device. The tape features an automatic lock mechanism to hold it in place. To retract the tape, press the tape shrink button located on the top of the device.
5.5 Area and Volume Measurement
- Press the FUNC button until the area or volume icon appears on the display.
- Follow the on-screen prompts to measure the required dimensions (e.g., length, width for area; length, width, height for volume) using the laser.
- The device will automatically calculate and display the area or volume.
5.6 Pythagorean Theorem Measurement
- Press the FUNC button until the Pythagorean theorem icon appears.
- Measure the required sides as indicated by the flashing segments on the display.
- The device will calculate the unknown side.
5.7 Cross Laser Function

The device is shown projecting a red cross laser pattern onto a surface, illustrating its capability for horizontal and vertical alignment tasks.
To activate the cross laser, press the FUNC button until the cross laser icon is displayed. The device will project horizontal and vertical laser lines for alignment purposes.
5.8 Data Memory
The device can store up to 20 measurement records. To view stored data, press the FUNC button until the memory icon appears, then use the arrow buttons (if available, or cycle through FUNC) to navigate through the records.
5.9 Reference Point Adjustment
The device can measure from its front edge or its rear edge. Press the UNIT button (or a dedicated reference button if present) to toggle between these reference points. An icon on the display will indicate the current reference point.
6. Maintenance
6.1 Cleaning
- Wipe the device with a soft, damp cloth. Do not use abrasive cleaners or solvents.
- Clean the laser lens carefully with a soft, lint-free cloth to ensure accurate measurements.
6.2 Storage
When not in use, store the device in a dry, cool place, away from direct sunlight and extreme temperatures. If storing for extended periods, remove the batteries to prevent leakage.
6.3 Battery Replacement
Replace batteries when the low battery indicator appears on the display. Follow the battery installation steps in Section 4.1.
7. Troubleshooting
- Device does not power on: Check battery installation and ensure batteries are not depleted. Replace if necessary.
- Inaccurate measurements: Ensure the laser lens is clean. Verify the correct reference point (front/rear) is selected. Ensure the target surface is suitable for laser reflection.
- Display is dim or blank: Replace batteries.
- Tape measure does not retract smoothly: Check for any obstructions in the tape slot.
If problems persist, contact customer support.
8. Specifications

This image provides a detailed overview of the device's dimensions, weight, measurement units, operating and storage temperatures, laser measuring range and accuracy, laser type, and battery requirements.
| Feature | Specification |
|---|---|
| Model Number | 705794666509 |
| Dimensions (approx.) | 8 cm (H) x 4.5 cm (W) x 8.7 cm (D) / 3.2 in (H) x 1.8 in (W) x 3.5 in (D) |
| Weight (approx.) | 320 g |
| Measurement Units | m / ft / in |
| Laser Measuring Range | 0.03 m - 40 m (general conditions), 0.03 m - 60 m (unfavorable conditions) |
| Measurement Accuracy | ±3 mm/m (general conditions), ±3 mm/m (unfavorable conditions) |
| Laser Type | 620-670 nm, <1 mW, Class 2 |
| Operating Temperature | -10°C to 40°C |
| Storage Temperature | -20°C to 60°C |
| Battery Type | 2 x AAA batteries |
| Case Material | ABS with Rubber coating |
| Tape Lock Type | Automatic |
9. Warranty and Support
9.1 Warranty Information
This product is covered by a standard manufacturer's warranty against defects in materials and workmanship. Please refer to your purchase documentation for specific warranty terms and duration. Keep your proof of purchase for warranty claims.
9.2 Customer Support
For technical assistance, troubleshooting, or warranty inquiries, please contact your retailer or the manufacturer's customer service. Contact information can typically be found on the product packaging or the brand's official website.