
1. Introduction
Thank you for choosing the TEMOLA TN09 Portable Tire Inflator. This device is a versatile, cordless air compressor designed for convenient inflation of various items, including car tires, bicycle tires, and sports balls. It features a powerful motor, an LED display, and multiple safety functions. Please read this manual thoroughly before operation to ensure safe and efficient use of your device.
2. Product Overview and What's Included
The TEMOLA TN09 comes with a comprehensive set of accessories to meet diverse inflation needs. Familiarize yourself with all components before use.

Image: The TEMOLA TN09 Portable Tire Inflator and its complete set of accessories, including various nozzles, charging cables, and a storage bag.
Package Contents:
- 1. Air Inflator (Main Unit)
- 2. Air Tube
- 3. Air Nozzle Cones (for inflatables like swimming rings)
- 4. Needle Valve (for sports balls)
- 5. Presta to Schrader Adapter (for bicycle tires)
- 6. Safety Hammer (integrated feature)
- 7. User Manual (this document)
- 8. Type-C Charging Cable
- 9. Storage Bag
- 10. 12V Car Power Supply Cable
3. Specifications
Below are the technical specifications for the TEMOLA TN09 Portable Tire Inflator:
| Feature | Specification |
|---|---|
| Manufacturer | TEMOLA |
| Model Number | TN09 |
| Package Dimensions | 16.8 x 11.1 x 10.7 cm |
| Weight | 740 grams |
| Battery Type | 1 Lithium-ion (included) |
| Power Source | Cordless (Battery) / Wired (12V Car Power Supply Cable) |
| Voltage | 12 Volts |
| Noise Level | 65 Decibels |
| Special Features | LED Light, Portable, Cordless, Power Bank Function, Emergency Escape Hammer |
| UPC | 797417731640 |
4. Safety Information
To prevent injury or damage to the device, please observe the following safety precautions:
- Always read the entire user manual before operating the inflator.
- Keep the device out of reach of children.
- Do not leave the inflator unattended while in operation.
- Ensure the correct pressure setting for the item being inflated to avoid over-inflation, which can cause bursting and serious injury.
- Do not operate the inflator in wet conditions or near flammable liquids or gases.
- If the device makes unusual noises or becomes excessively hot, turn it off immediately and allow it to cool.
- Use only the provided accessories and charging cables.
- The emergency escape hammer is for emergency use only. Do not misuse.
5. Setup
5.1 Charging the Inflator
Before first use, fully charge the TEMOLA TN09. The device supports dual charging methods:
- USB-C Charging: Connect the provided Type-C charging cable to the inflator's charging port and a suitable USB power adapter (not included) or a computer USB port.
- 12V Car Power Supply: Use the provided 12V car power supply cable to charge the inflator from your vehicle's cigarette lighter socket. This also allows for wired operation if the internal battery is low.
The LED display will indicate the battery level during charging. A full charge ensures optimal cordless performance.

Image: The TEMOLA TN09 inflator connected via USB-C cable, illustrating its charging capability and power bank function.
5.2 Attaching the Air Tube and Nozzle
Select the appropriate nozzle for the item you wish to inflate:
- Car/Motorcycle/Schrader Valve: Screw the air tube directly onto the valve stem.
- Bicycle (Presta Valve): Attach the Presta to Schrader adapter to the Presta valve, then screw the air tube onto the adapter.
- Sports Balls: Insert the needle valve into the air tube's end, then insert the needle into the ball's inflation port.
- Inflatables (Swimming Rings, etc.): Attach the appropriate air nozzle cone to the air tube's end, then insert it into the inflatable's valve.

Image: A visual guide to the various accessories included with the TEMOLA TN09, demonstrating their use for different inflation types.
6. Operating Instructions
6.1 Powering On and Setting Pressure
- Power On: Press the power button to turn on the inflator. The LED display will illuminate, showing the current pressure and battery level.
- Select Unit: Use the 'M' button to cycle through pressure units: PSI, BAR, KPA, and kg/cm².
- Set Target Pressure: Use the '+' and '-' buttons to adjust the desired target pressure. Refer to your vehicle's manual or the item's specifications for recommended pressure levels.

Image: The TEMOLA TN09 inflator's digital display showing real-time tire pressure and preset target pressure, indicating fast inflation capability.
6.2 Inflation Process
- Ensure the air tube is securely connected to both the inflator and the item's valve.
- Once the target pressure is set, press the start button (usually the power button again, or a dedicated start button if present) to begin inflation.
- The inflator will automatically stop once the preset target pressure is reached.
- Disconnect the air tube from the valve. A small amount of air may escape during disconnection; this is normal.
6.3 Dual Power Mode
The TEMOLA TN09 offers flexibility with its dual power mode:
- Cordless Operation: For maximum portability, use the built-in lithium-ion battery. Ensure it is sufficiently charged.
- Wired Operation: If the battery is low or for extended use, connect the inflator to your vehicle's 12V cigarette lighter socket using the provided cable. This allows continuous operation without relying on the internal battery.
6.4 LED Lighting Functions
The inflator is equipped with an integrated LED light system for enhanced visibility and safety, especially during nighttime use.
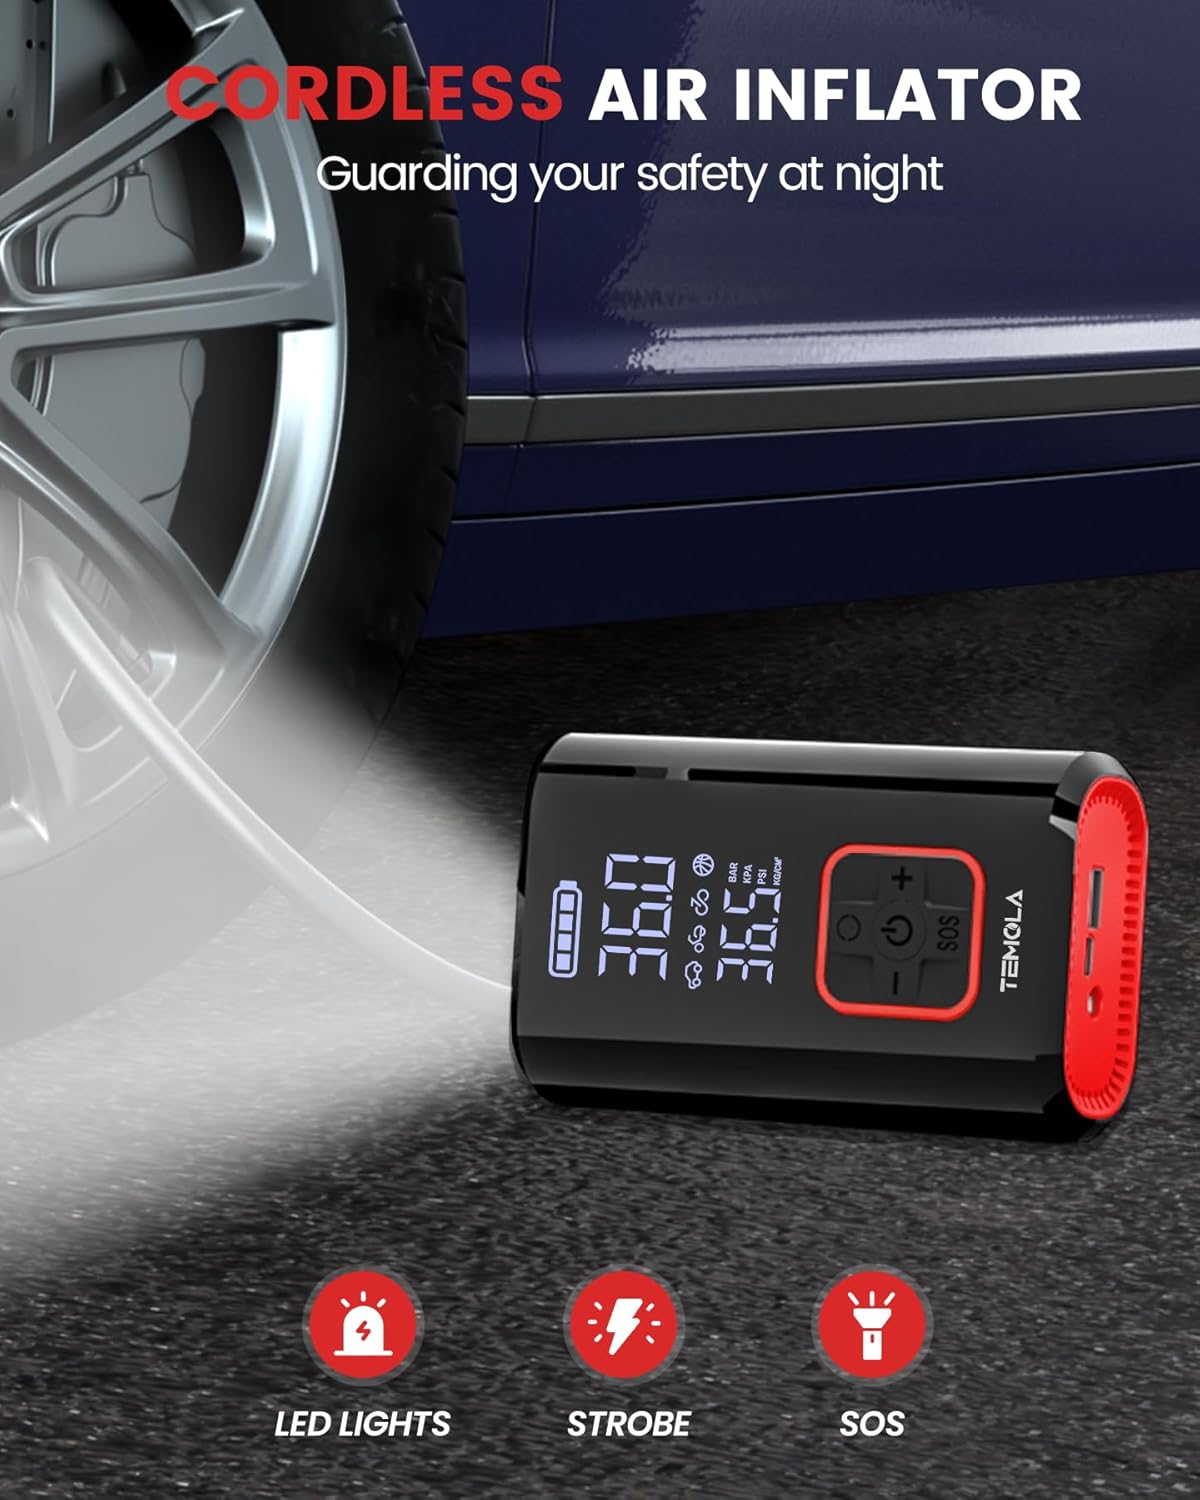
Image: The TEMOLA TN09 inflator demonstrating its LED light, strobe, and SOS functions, providing illumination for nighttime use.
- LED Light: Press the light button (often integrated with the power button or a separate button) once for a steady bright light.
- Strobe Light: Press the light button a second time to activate the strobe function, useful for attracting attention.
- SOS Signal: Press the light button a third time for the SOS flashing pattern, for emergency signaling.
6.5 Power Bank Function
The TEMOLA TN09 can also serve as a portable power bank to charge your electronic devices.
- Connect your device (e.g., smartphone) to the inflator's USB output port using a compatible charging cable.
- The inflator will begin charging your device. Note that using the power bank function will consume the inflator's battery.
6.6 Emergency Escape Hammer
The inflator includes an integrated emergency escape hammer for critical situations.

Image: The TEMOLA TN09 inflator being used as an emergency escape hammer to break a car window, highlighting its safety feature.
- In an emergency where you need to break a window (e.g., car accident), use the pointed end of the safety hammer firmly against the corner of the window glass.
- Caution: Use this feature only in genuine emergencies.
7. Maintenance
Proper maintenance ensures the longevity and optimal performance of your TEMOLA TN09 inflator:
- Cleaning: Wipe the device with a soft, dry cloth. Do not use harsh chemicals or abrasive cleaners. Ensure no water enters the device.
- Storage: Store the inflator in a cool, dry place, away from direct sunlight and extreme temperatures. Use the provided storage bag to protect it from dust and damage.
- Battery Care: For optimal battery life, charge the device at least once every three months if not in regular use. Avoid fully discharging the battery for extended periods.
- Air Tube: Inspect the air tube and nozzles regularly for any signs of wear or damage. Replace if necessary.
8. Troubleshooting
If you encounter issues with your TEMOLA TN09, refer to the following common problems and solutions:
| Problem | Possible Cause | Solution |
|---|---|---|
| Inflator does not turn on. | Low battery; device not charged. | Charge the inflator using the USB-C cable or 12V car power supply cable. |
| Inflation is slow or weak. | Low battery; air tube/nozzle not properly connected; leak in connection. | Ensure battery is charged. Check all connections for tightness. Replace air tube if damaged. |
| Inflator stops before reaching target pressure. | Battery too low; internal safety mechanism triggered (overheating). | Recharge the battery. Allow the device to cool down if it feels hot. |
| Inaccurate pressure reading or fluctuating display. | Air tube not securely connected to valve; valve stem issue. | Ensure the air tube is screwed tightly onto the valve. Check the valve stem for damage or debris. |
| LED light functions are not working. | Low battery; button malfunction. | Charge the inflator. If the issue persists, contact customer support. |
9. Warranty and Support
TEMOLA products are manufactured to high-quality standards. While specific warranty details are not provided in this manual, please retain your proof of purchase. For any product inquiries, technical support, or warranty claims, please contact TEMOLA customer service through the retailer where you purchased the product or visit the official TEMOLA website for contact information.


