1. Important Safety Information
Please read all instructions carefully before using your new WATOOR Wine Cooler and Beverage Refrigerator. Retain this manual for future reference. Failure to follow these safety guidelines may result in fire, electric shock, or injury.
- Electrical Safety: Ensure the appliance is connected to a grounded power outlet with the correct voltage (115 Volts). Do not use extension cords or ungrounded adapters.
- Ventilation: Allow adequate space around the unit for proper air circulation. Do not block ventilation openings.
- Placement: Place the unit on a firm, level surface away from direct sunlight, heat sources (stoves, heaters), and excessive moisture.
- Children Safety: This appliance is not intended for use by persons (including children) with reduced physical, sensory or mental capabilities, or lack of experience and knowledge, unless they have been given supervision or instruction concerning use of the appliance by a person responsible for their safety.
- Flammable Materials: Do not store explosive substances such as aerosol cans with a flammable propellant in this appliance.
2. Product Overview
The WATOOR JC-36 is a compact 1.3 cubic feet beverage refrigerator designed for efficient cooling of wines and other beverages. It features a sleek design with a double-paned glass door for optimal insulation and an ultra-quiet compressor for minimal disturbance.
Key Features:
- 1.3 Cubic Feet Capacity
- Ultra-Quiet Operation
- Double-Paned Glass Door for enhanced insulation
- Adjustable Shelves for flexible storage
- Internal LED Light
- Reversible Door for versatile placement
- Stainless Steel Door Frame
- Qualified Compressor for reliable performance
Components:
- Beverage Cooler Unit
- Wire Shelf (1)
- User Manual
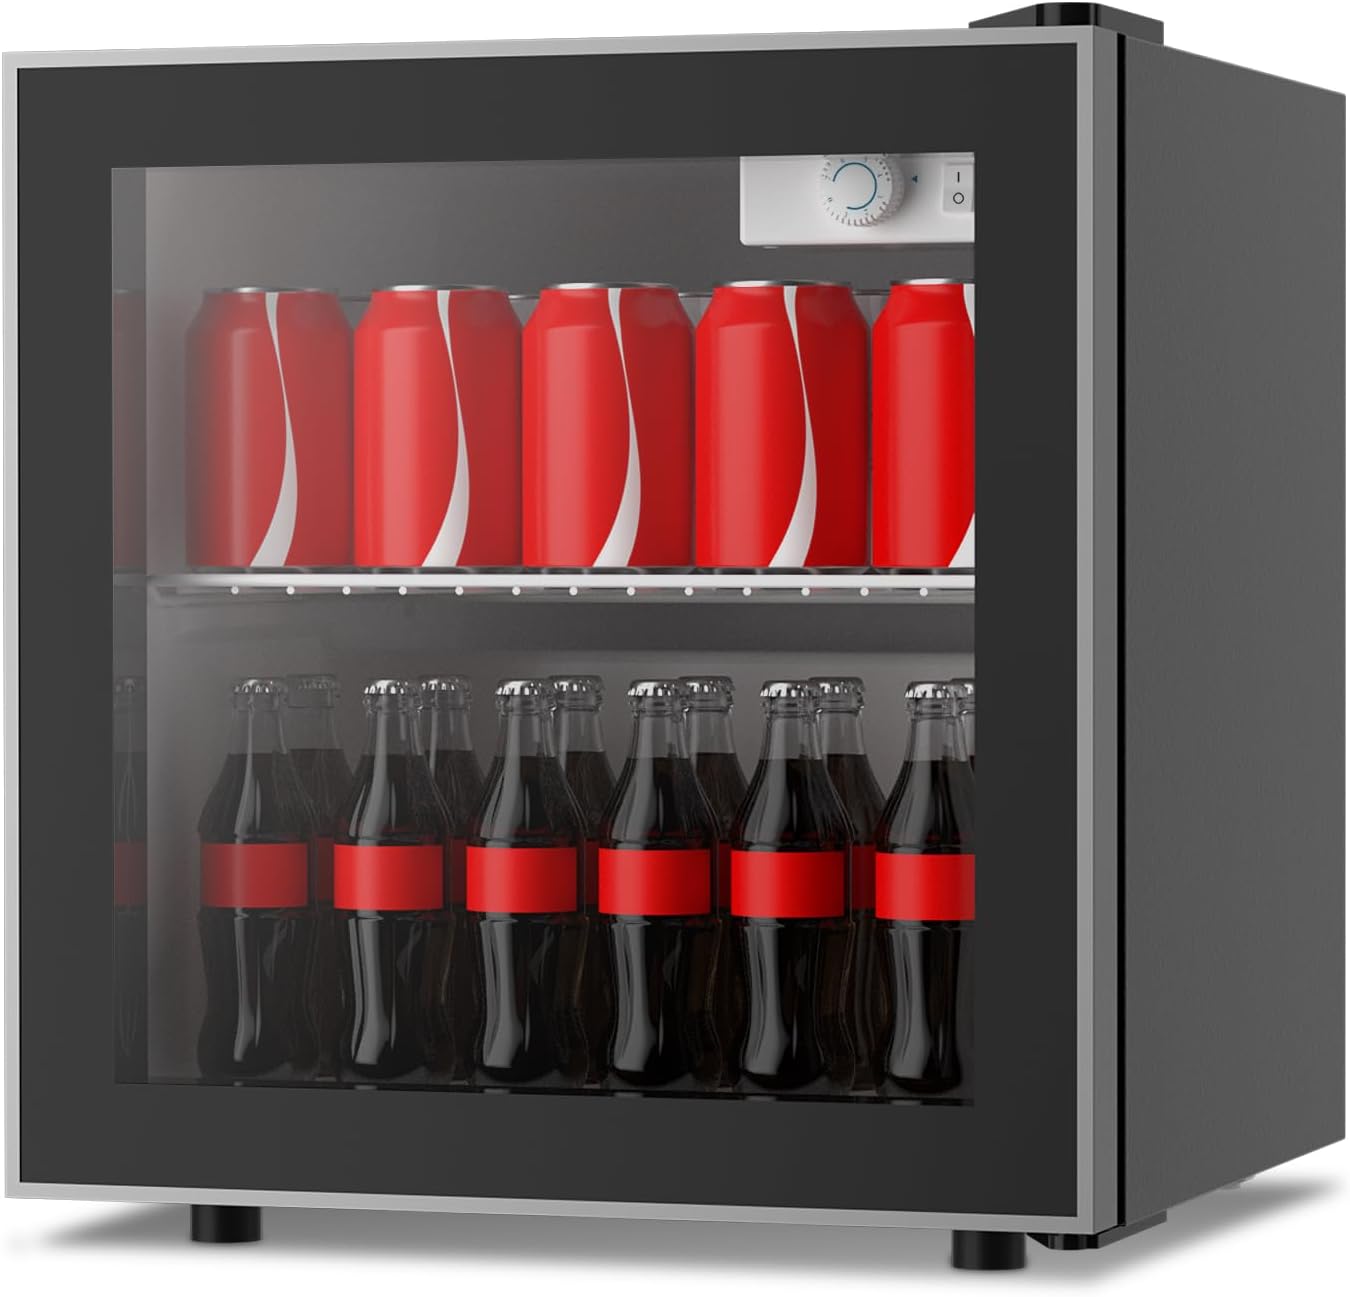
Figure 2.1: Front view of the WATOOR Wine Cooler and Beverage Refrigerator, showcasing its compact design and glass door filled with beverages.

Figure 2.2: Diagram highlighting key features such as the reversible door, internal LED light, removable shelves, double-paned glass door, stainless steel door frame, and adjustable feet.
3. Setup
3.1 Unpacking
- Carefully remove all packaging materials, including foam and adhesive tape.
- Inspect the appliance for any shipping damage. If damage is found, do not operate the unit and contact customer support.
- Remove any protective film from the door and cabinet.
3.2 Placement
- Place the unit on a flat, stable surface strong enough to support the unit when fully loaded.
- Ensure there is at least 2-4 inches (5-10 cm) of space on the back and sides of the unit for proper air circulation.
- Avoid placing the unit near heat sources (e.g., oven, radiator, direct sunlight) or in areas with high humidity.
- The unit is designed for freestanding installation.
3.3 Initial Cleaning
- Before first use, clean the interior and exterior of the unit with a soft cloth and mild detergent. Rinse thoroughly and dry.
3.4 Power Connection
- Allow the unit to stand upright for at least 2-4 hours before plugging it in. This allows the refrigerant to settle.
- Plug the unit into a dedicated, grounded 115V AC outlet.

Figure 3.1: Visual representation of the cooler's dimensions (18.3 inches height, 16.3 inches depth, 16.9 inches width) and capacity, showing it can hold 12 bottles of wine (750ml) or 48 cans of soda (300ml).
4. Operating Instructions
4.1 Temperature Control
The unit is equipped with a manual temperature control dial located inside the cabinet. Rotate the dial to adjust the cooling intensity. Lower numbers indicate warmer temperatures, while higher numbers indicate colder temperatures. Allow several hours for the temperature to stabilize after adjustment.

Figure 4.1: Close-up view of the internal temperature control dial and power switch.
4.2 Loading Beverages
Arrange bottles and cans to allow for proper air circulation within the unit. Do not overload the shelves, as this can impede cooling performance.
4.3 Adjustable Shelves
The wire shelf can be removed or repositioned to accommodate different sizes of bottles or cans. To adjust, simply lift the shelf slightly and slide it out. Reinsert into desired grooves.
4.4 Internal LED Light
The internal LED light illuminates the cabinet for better visibility. The light can be controlled via a switch located near the temperature dial.

Figure 4.2: Close-up of the internal LED light strip located at the top of the cooler's interior.
5. Maintenance
5.1 Cleaning the Interior
- Unplug the unit before cleaning.
- Use a soft cloth and a solution of mild detergent and warm water to clean the interior surfaces.
- Do not use abrasive cleaners, harsh chemicals, or scouring pads, as they can damage surfaces.
- Wipe dry thoroughly after cleaning.
5.2 Cleaning the Exterior
- Clean the exterior with a soft cloth and mild detergent.
- For the glass door, use a glass cleaner.
- Ensure no water enters the control panel or electrical components.
5.3 Door Seal Maintenance
- Regularly check the door seal for any cracks or damage.
- Clean the door seal with a damp cloth to ensure a tight seal, which is crucial for energy efficiency.
5.4 Defrosting
This unit features an automatic defrost system, minimizing the need for manual defrosting. If excessive ice buildup occurs, unplug the unit and allow the ice to melt naturally. Clean up any melted water.
5.5 Power Outage / Extended Absence
- In case of a power outage, keep the door closed to maintain internal temperature as long as possible.
- For extended absences, unplug the unit, empty its contents, clean the interior, and leave the door slightly ajar to prevent odors and mold growth.
6. Troubleshooting
Before contacting customer service, please check the following common issues and solutions:
| Problem | Possible Cause | Solution |
|---|---|---|
| Unit does not operate | Not plugged in; Circuit breaker tripped; Power switch off. | Ensure plug is secure; Reset circuit breaker; Turn power switch ON. |
| Temperature is not cold enough | Temperature setting too high; Door opened too frequently; Poor ventilation; Unit overloaded. | Adjust temperature dial to a colder setting; Minimize door openings; Ensure adequate space around unit; Do not overload. |
| Excessive noise | Unit not level; Objects vibrating against unit; Compressor noise (normal). | Adjust leveling feet; Remove any objects touching the unit; Compressor noise is normal during operation. |
| Condensation on glass door | High humidity environment; Door not sealed properly; Door opened frequently. | This is normal in humid conditions; Check door seal for proper closure; Minimize door openings. |
If the problem persists after checking these solutions, please contact WATOOR customer support for assistance.
7. Specifications
Detailed technical specifications for the WATOOR JC-36 Wine Cooler and Beverage Refrigerator:
| Specification | Value |
|---|---|
| Brand Name | WATOOR |
| Model Info | JC-36 |
| Item Weight | 32 Pounds |
| Product Dimensions | 48 x 50 x 85 inches (or 48"D x 50"W x 85"H) |
| Capacity | 1.3 Cubic Feet |
| Annual Energy Consumption | 0.01 Watts |
| Installation Type | Freestanding |
| Form Factor | Compact |
| Special Features | Adjustable Shelves |
| Voltage | 115 Volts |
| Crispers/Drawers | 1 |
| Defrost System | Automatic |
| Door Hinges | Right (Reversible) |
| Door Material Type | Glass |
| Shelves | 1 (Wire Shelf) |
| Number Of Doors | 1 |
8. Warranty and Support
For warranty information or technical support, please refer to the warranty card included with your product or contact WATOOR customer service directly. Please have your model number (JC-36) and purchase information ready when contacting support.


