
1. Introduction
This manual provides essential instructions for the safe and effective use of your HASWING Cayman GPS Electric Trolling Motor. Please read this manual thoroughly before installation and operation to ensure proper function and to prevent damage or injury. This motor is designed for both saltwater and freshwater fishing, featuring a 12V, 55lbs thrust system with GPS capabilities, remote control, and optional foot control.
2. Safety Information
Always prioritize safety when operating marine equipment. Failure to follow these instructions may result in injury or damage to the product or vessel.
- Read All Instructions: Familiarize yourself with all features and operational procedures before first use.
- Power Disconnection: Always disconnect power to the motor before performing any maintenance, cleaning, or propeller inspection.
- Battery Safety: Ensure proper battery connections (12V DC) and use a marine-grade deep cycle battery. Avoid short circuits.
- Propeller Awareness: Keep hands, feet, and clothing clear of the propeller at all times, especially when the motor is connected to power.
- Emergency Stop: The motor is equipped with a Safety-Buckle in the charging cable. Unplug this buckle immediately in an emergency to stop the motor.
- Environmental Conditions: Do not operate the motor in extreme weather conditions or if visibility is poor.
- Children and Pets: Keep children and pets away from the motor during operation and maintenance.
3. Components and What's in the Box
Your HASWING Cayman GPS Electric Trolling Motor package includes the following items:
- HASWING Cayman Trolling Motor Unit
- Wireless Remote Control
- Quick Release Mounting Bracket
- Wireless Foot Controller (if purchased as part of the package)
- Propeller and Mounting Hardware
- User Manual

This image displays the complete HASWING Cayman GPS Electric Trolling Motor system, including the main motor unit, wireless remote control, optional wireless foot controller, quick release mounting bracket, and a representation of the Helmsman app interface on a smartphone and tablet.
A detailed diagram outlining the specifications of the HASWING Cayman B 12V-55lbs GPS Trolling Motor. It highlights features like the wireless remote controller (included), optional wireless foot controller, depth collar, and replaceable fin, along with key performance metrics.
Motor Head Components

This image provides a close-up view of the HASWING trolling motor's head unit, with labels pointing to key components such as the power reader, pairing setup, adjustable depth collar, motor stabilizer, motor lift-handle, stow/deploy pedal, and side door.
Wireless Remote Control

A diagram illustrating the functions of each button on the HASWING wireless remote controller. Buttons are labeled for speed up, speed down, turn left, turn right, power on/off, indicator light, reboot key, reset, and full speed.
4. Setup and Installation
4.1 Mounting the Motor
The HASWING Cayman is a bow-mount trolling motor. Ensure the mounting surface on your boat's bow is flat, stable, and strong enough to support the motor's weight and operational forces.
- Position the quick release bracket on the bow, ensuring the motor, when deployed, will clear the boat's edge and other obstructions.
- Mark the drilling points for the bracket.
- Drill appropriate holes and secure the quick release bracket using marine-grade fasteners (not included).
- Attach the trolling motor to the quick release bracket. Ensure it is securely locked in place before use.

The HASWING trolling motor is shown securely mounted on the bow of a boat, ready for deployment. This illustrates the typical installation position for bow-mount trolling motors.

An individual is depicted in the process of installing the HASWING trolling motor onto the bow of a boat, demonstrating the physical setup required.
4.2 Power Connection
Connect the motor's power cables directly to a 12V deep cycle marine battery. Ensure correct polarity (red to positive, black to negative). It is recommended to install an appropriate circuit breaker (not included) in the positive line for protection.
4.3 Remote Control Pairing
To pair the wireless remote control with your motor:
- Ensure the motor is powered on.
- Press and hold the pairing button on the motor's control head (refer to the 'Motor Head Components' diagram for location).
- While holding the pairing button on the motor, press and hold the 'Power On/Off' button on the remote control until the indicator light on the remote flashes or a confirmation sound is heard.
- Release both buttons. The remote should now be paired.
4.4 Foot Controller Connection (Optional)
If you have the optional wireless foot controller, follow its specific instructions for connection and pairing. Typically, this involves a similar pairing process to the handheld remote or a direct wired connection to the motor's control head.
4.5 Helmsman App Download and Connection
The Helmsman App provides advanced control and navigation features for your trolling motor.
- Download the 'Helmsman' app from the Apple App Store (for iOS devices) or Google Play Store (for Android devices).
- Ensure your smartphone or tablet's Bluetooth is enabled.
- Open the Helmsman app and follow the on-screen instructions to connect to your HASWING trolling motor.

Screenshots of the Helmsman App displayed on both a smartphone and a tablet, showcasing its live map, navigation features, and control interface for the trolling motor.

Icons for the Apple App Store and Google Play Store, indicating where the Helmsman App can be downloaded for iOS and Android devices.
5. Operating Instructions
5.1 Deploying and Stowing the Motor
To deploy the motor, release the locking mechanism on the quick release bracket and gently lower the motor into the water. To stow, lift the motor out of the water and secure it in the stowed position on the bracket.
5.2 Basic Motor Operation (Remote Control)
Use the wireless remote control to manage motor functions:
- Power On/Off: Press the designated button to turn the motor on or off.
- Speed Control: Use the 'Speed Up' and 'Speed Down' buttons for variable speed adjustment.
- Steering: Use the 'Turn Left' and 'Turn Right' buttons to control the motor's direction.
- Full Speed: Press the 'Full Speed' button for maximum thrust.
- Reboot Key/Reset: Use these buttons for troubleshooting or resetting the remote/motor connection if needed.
5.3 GPS Navigation System Features
The integrated GPS system offers advanced navigation capabilities, accessible via the remote control or Helmsman App.

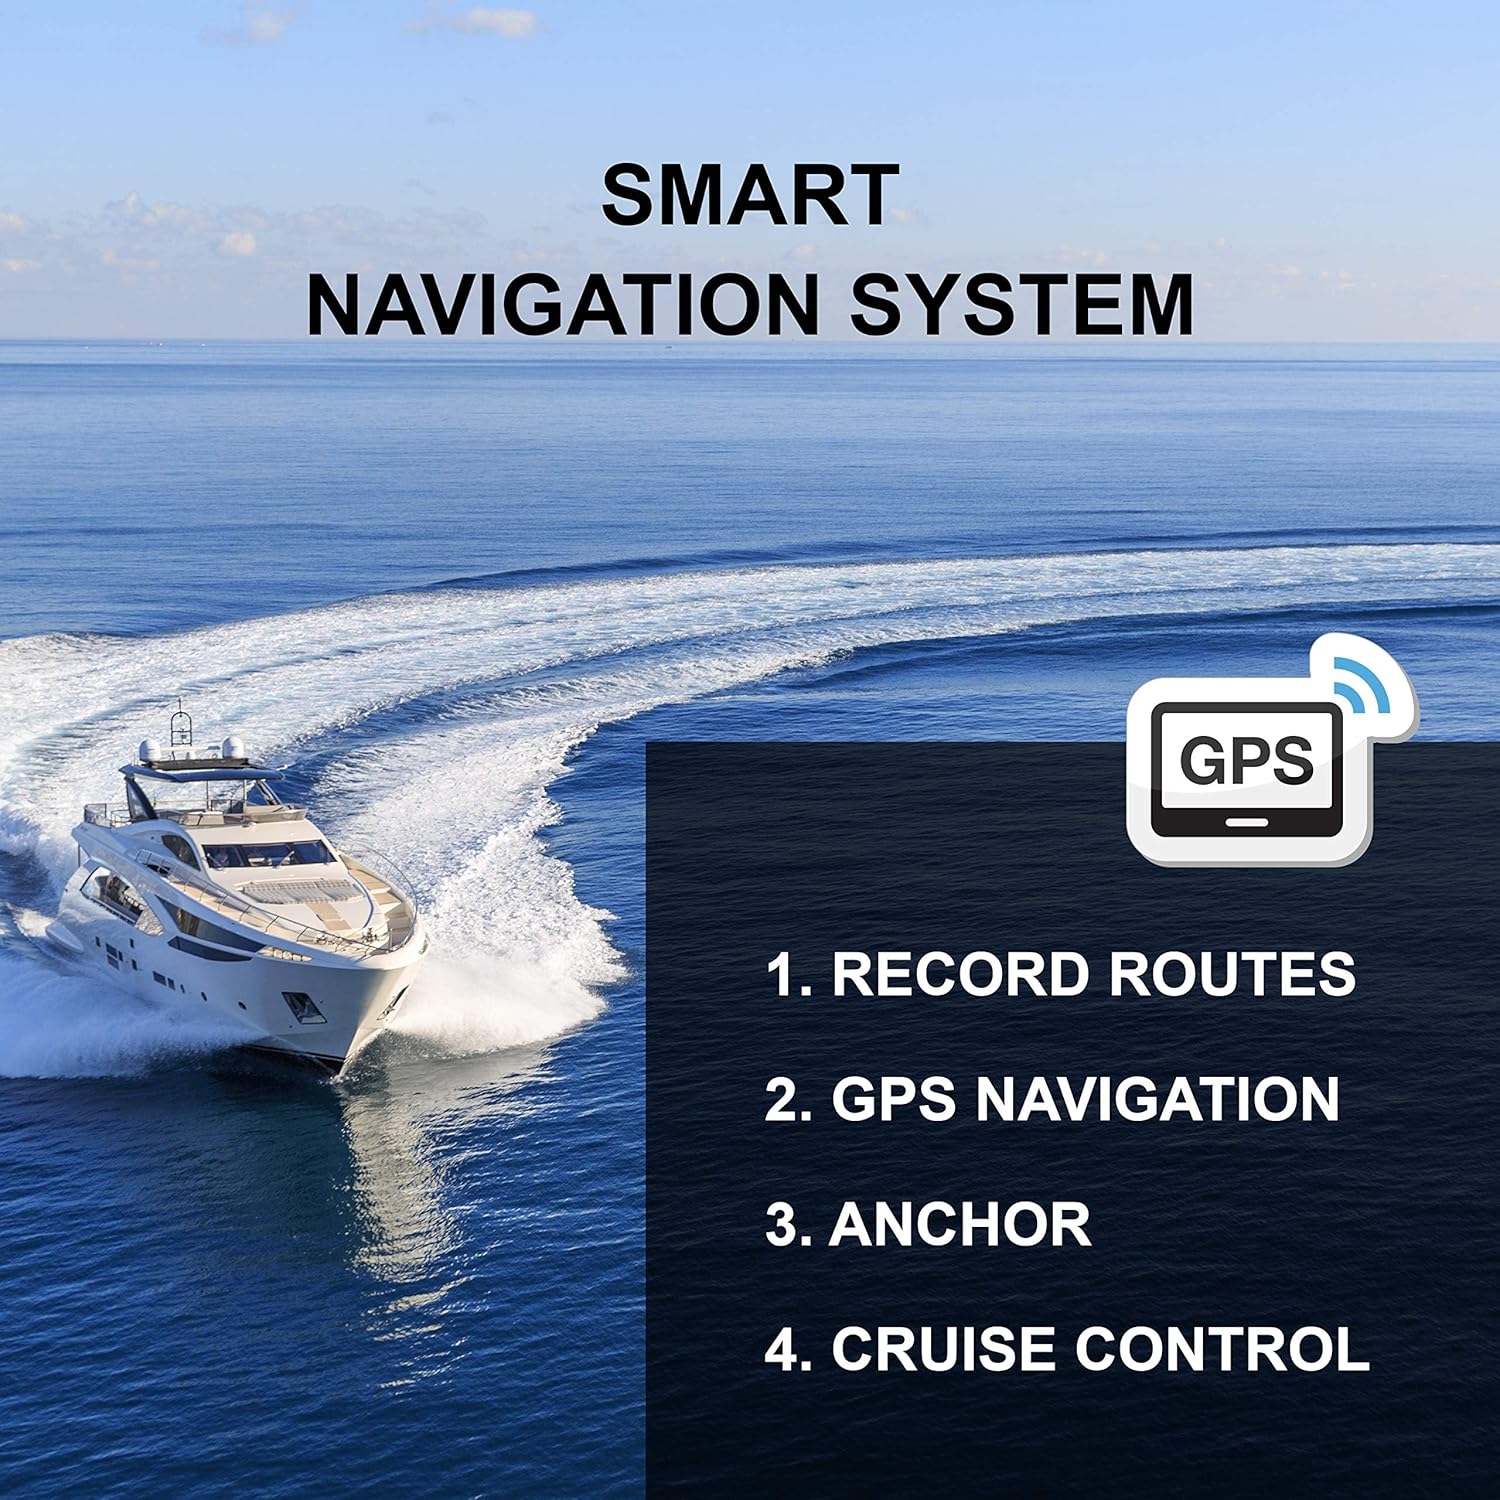
A graphic highlighting the key features of the Smart Navigation System, including the ability to record routes, utilize GPS navigation, activate anchor mode, and engage cruise control.
- Anchor Control (Spot Lock): Activates an electronic anchor function. The motor uses GPS to maintain your boat's position over a specific spot, counteracting wind, waves, and current. Activate by pressing the anchor icon on the remote or app. If the boat drifts more than 6 feet, the motor will automatically adjust to return to the original position.
- Record Routes: Allows you to create, modify, and save specific fishing routes or paths using the Helmsman App. The motor can then follow these pre-recorded routes.
- Auto-Navigation: Enables the motor to follow a set course, such as along a shoreline or structure, maintaining a constant speed.
- Cruise Control: Maintains a desired speed automatically, allowing you to focus on fishing.
5.4 Adjusting Depth
The motor features an adjustable depth collar. Loosen the collar, adjust the motor shaft to the desired depth, and then tighten the collar securely to prevent slippage during operation.
6. Maintenance
Regular maintenance ensures the longevity and optimal performance of your trolling motor.
- After Each Use: Rinse the motor, especially the propeller and lower unit, with fresh water to remove salt, sand, and debris. Wipe down the control head and shaft.
- Propeller Inspection: Periodically check the propeller for fishing line, weeds, or damage. Remove any obstructions. If the propeller is damaged, replace it with an authorized HASWING propeller.
- Electrical Connections: Inspect all electrical connections for corrosion or loose wiring. Clean and tighten as necessary. Apply dielectric grease to connections for added protection.
- Battery Care: Follow the manufacturer's recommendations for your 12V deep cycle battery, including charging and storage procedures.
- Storage: When not in use, store the motor in a dry, protected area. If storing for extended periods, disconnect the battery.
7. Troubleshooting
If you encounter issues with your HASWING trolling motor, refer to the following common problems and solutions:
| Problem | Possible Cause | Solution |
|---|---|---|
| Motor does not turn on. | No power, loose connection, dead battery, blown fuse/breaker. | Check battery connections, ensure battery is charged, inspect fuse/breaker, verify Safety-Buckle is fully inserted. |
| Remote control not responding. | Remote battery low, remote not paired, interference. | Replace remote battery, re-pair the remote control (refer to Section 4.3), move away from sources of interference. |
| Motor runs but propeller does not spin. | Propeller obstructed, damaged propeller, shear pin broken. | Disconnect power, clear any obstructions, inspect and replace propeller or shear pin if damaged. |
| GPS functions are inaccurate or not working. | Poor GPS signal, interference, app not connected. | Ensure clear view of the sky, move away from tall structures, verify Helmsman App is connected and updated. |
| Motor is noisy or vibrates excessively. | Bent propeller, debris on propeller, loose mounting. | Disconnect power, inspect propeller for damage or debris, ensure motor is securely mounted to the boat. |
If the problem persists after attempting these solutions, please contact HASWING customer support.
8. Specifications
Key technical specifications for the HASWING Cayman GPS Electric Trolling Motor (Model CAYMAN 50736-137):
| Feature | Detail |
|---|---|
| Brand | HASWING (MTLAKEMOTOR) |
| Model | CAYMAN 50736-137 |
| Engine Type | Electric |
| Operation Mode | Electric |
| Voltage | 12 Volts |
| Thrust | 55 lbs |
| Max Power | 600W |
| Max Amp | 50A |
| Shaft Length | 54 Inches (1370mm) |
| Shaft Type | Cast Aluminum |
| Propeller Type | 3-blade, 9.3 inch diameter |
| Steering | 360 degree electric control |
| Mounting Type | Bow Mount |
| Recommended Battery | 1 x 10⁵AH Deep Cycle Battery |
| Recommended Max Boat Length | 5.5m / 18 ft |
| Weight | 41 pounds (13.9kg) |
| Material | Stainless Steel (Propeller), Cast Aluminum (Shaft) |
| Color | Black |
9. Warranty and Support
Your HASWING trolling motor is covered by a manufacturer's warranty. Please refer to the warranty card included with your product for specific terms, conditions, and duration. Keep your proof of purchase for warranty claims.
Customer Support
For technical assistance, troubleshooting beyond this manual, or warranty inquiries, please contact HASWING customer support. Contact information can typically be found on the manufacturer's website or on the product packaging.
When contacting support, please have your model number (CAYMAN 50736-137) and purchase date readily available.


