Important Safety Information
WARNING: CHOKING HAZARD – Small parts may be generated. Not for children under 3 years.
This product is recommended for ages 8 and up. Adult supervision is advised during initial assembly and transformation.
Package Contents
Verify that all components are present before beginning assembly.
- 1x Autobot Blaster figure
- 1x Eject mini-cassette figure
- 1x Blaster accessory (weapon)
- 1x Removable backdrop
- 1x Instruction manual (this document)

Image: Front of the product packaging, showing Autobot Blaster and Eject figures.
Setup
- Carefully remove all figures and accessories from the packaging.
- Inspect figures for any manufacturing defects or loose parts.
- Attach the blaster accessory to the Autobot Blaster figure in robot mode by inserting the peg into the designated port on the figure's hand.
- The removable backdrop can be used for display purposes. Position it behind the figures as desired.
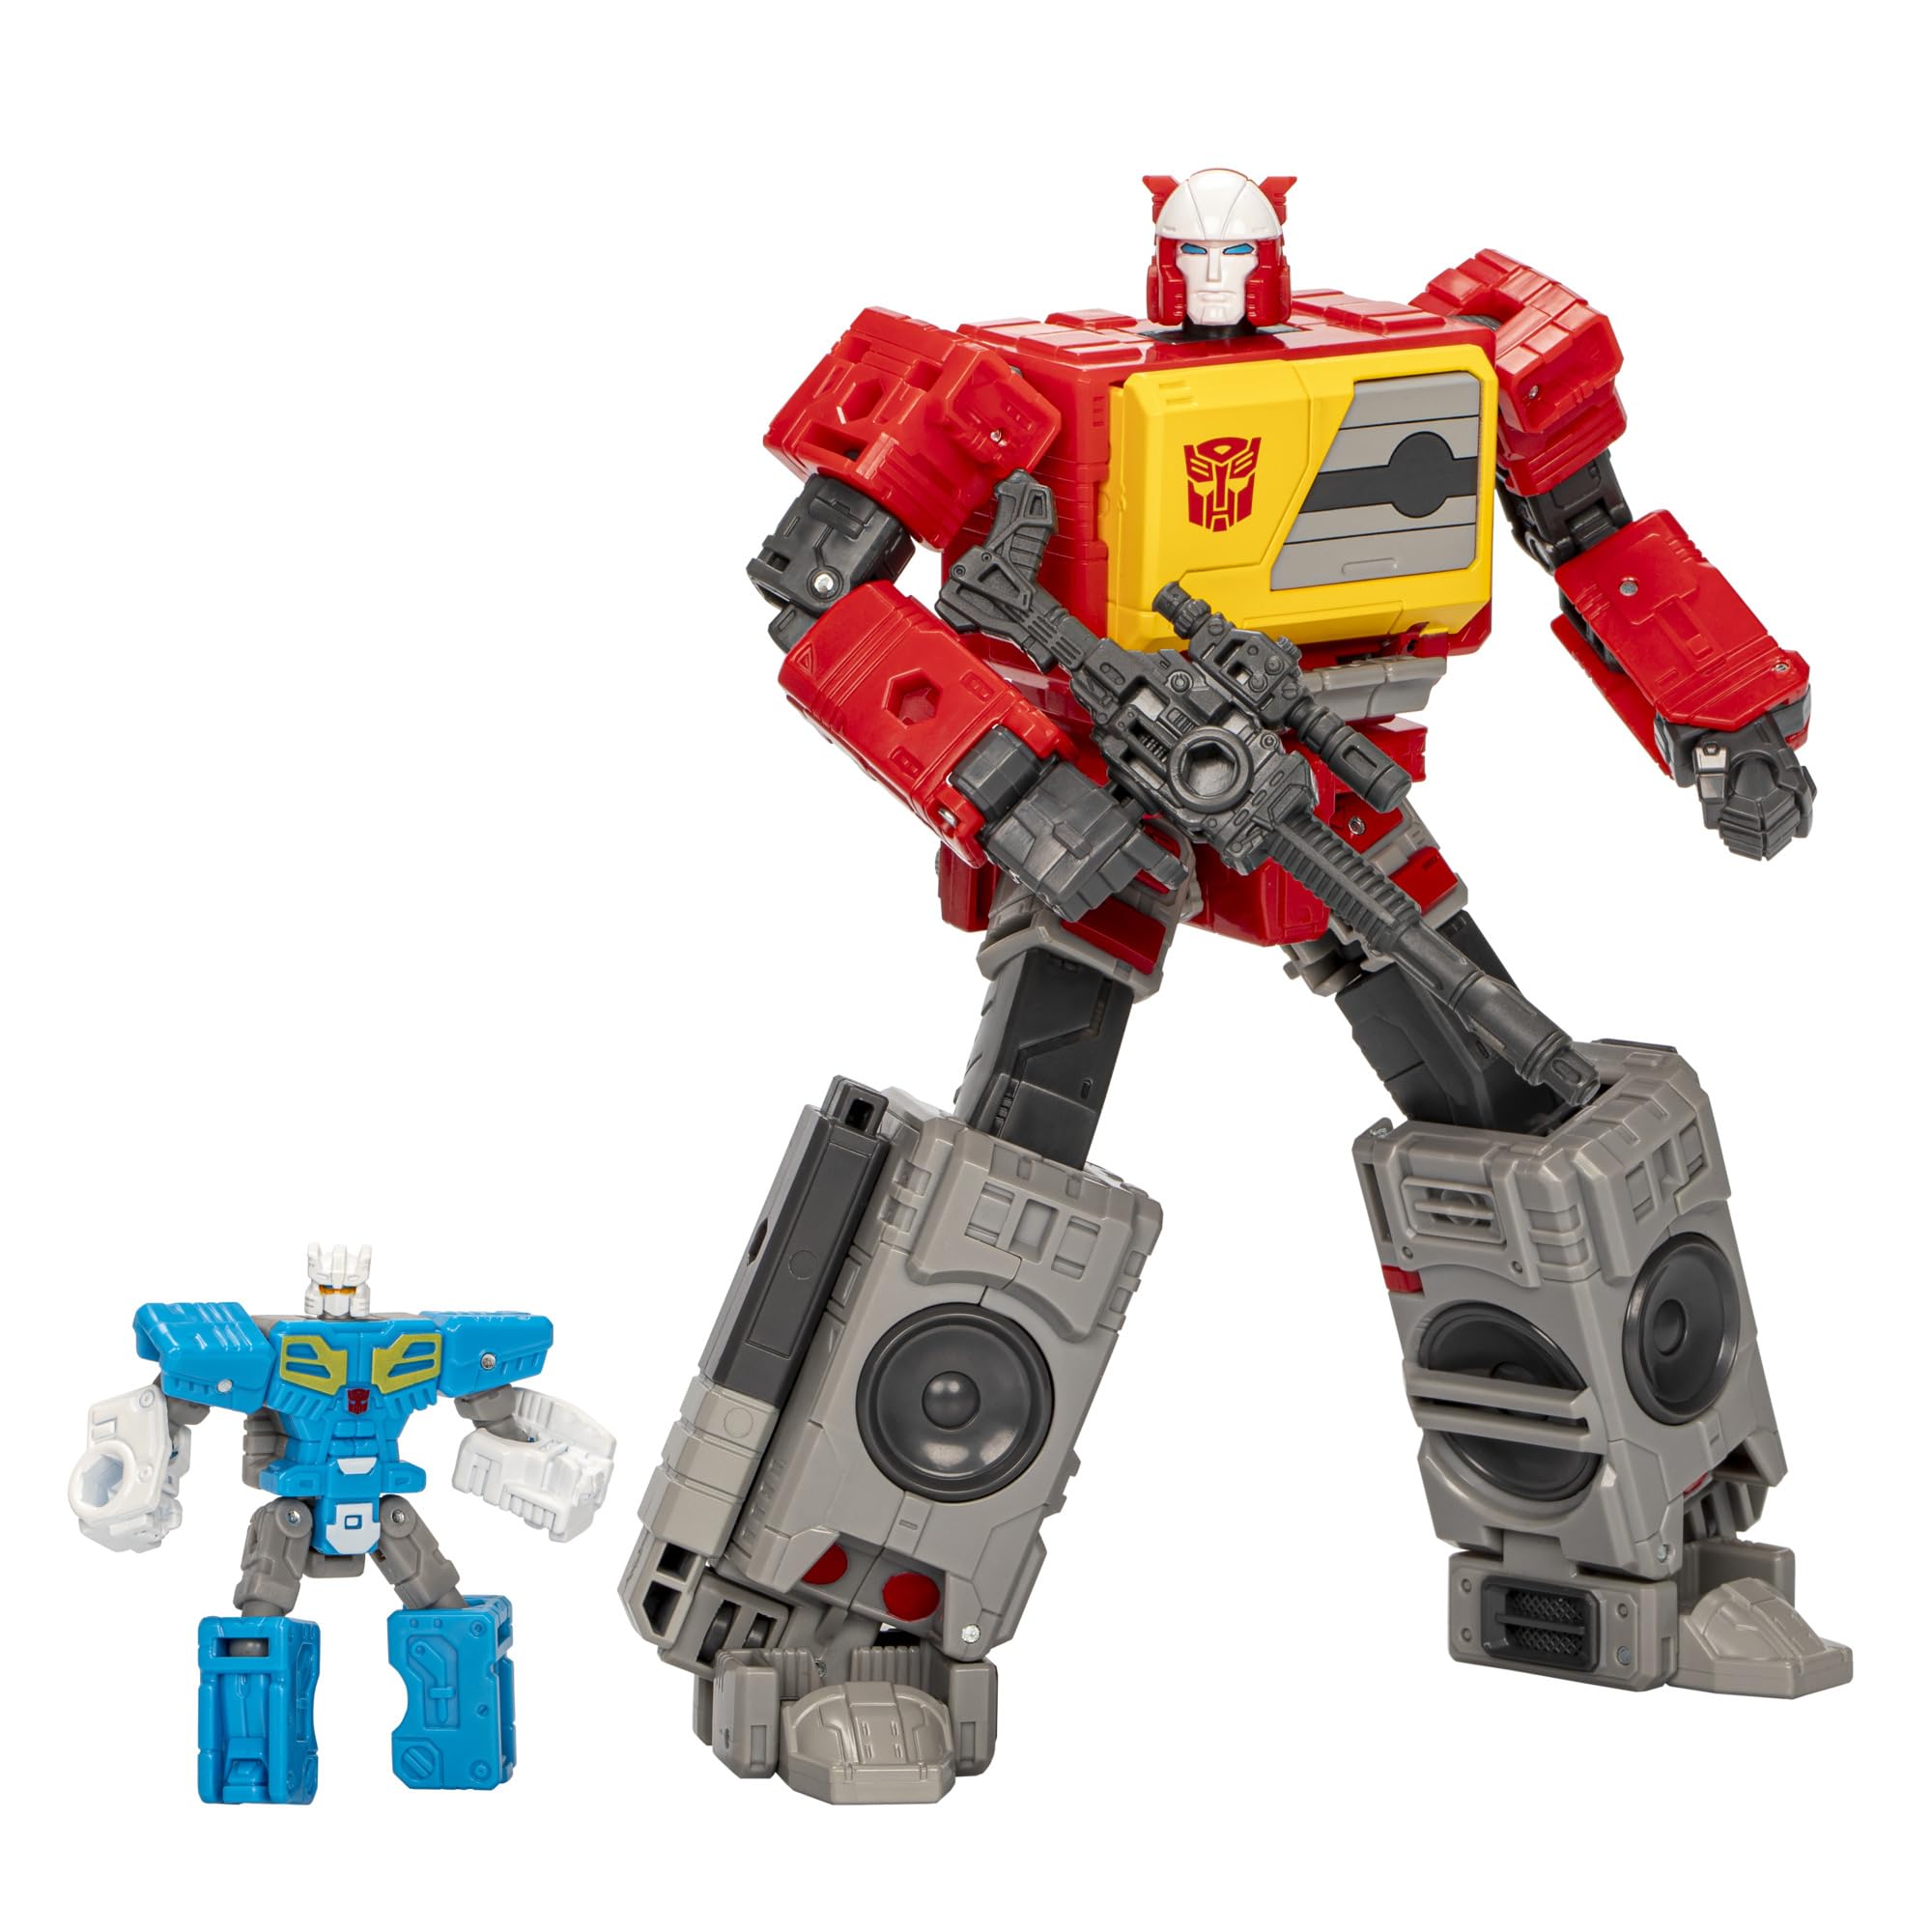
Image: Autobot Blaster in robot mode, holding his blaster accessory, with Eject visible in his chest compartment.
Operating Instructions
The Autobot Blaster and Eject figures are designed for posing and transformation. Handle all joints and moving parts with care to prevent damage.
- Posing: Both figures feature multiple points of articulation, allowing for various dynamic poses. Gently manipulate joints to achieve desired stances.
- Accessory Use: The blaster accessory can be held by Autobot Blaster in robot mode.
- Eject Integration: The Eject mini-cassette figure can be stored within Autobot Blaster's chest compartment in boombox mode.

Image: Autobot Blaster and Eject figures demonstrating posability and interaction.
Transformation Instructions
Follow these steps carefully to transform your figures. Refer to the images for visual guidance.
Autobot Blaster: Robot to Boombox Mode (20 Steps)
The Autobot Blaster figure converts from robot mode to boombox mode in 20 distinct steps. Apply gentle, firm pressure during transformation.
- Begin with Autobot Blaster in robot mode.
- Remove the blaster accessory.
- Fold the robot's hands into the forearms.
- Rotate the forearms inward.
- Collapse the chest panel slightly.
- Fold the head back into the torso.
- Rotate the waist section 180 degrees.
- Extend the legs and rotate the feet.
- Fold the lower legs to form the side speakers of the boombox.
- Connect the leg sections securely.
- Adjust the shoulder panels to align with the top of the boombox.
- Position the arms to form the sides and handle of the boombox.
- Ensure all panels are tabbed and aligned to form a compact boombox.
- The chest compartment opens to store the Eject mini-cassette.
- Re-attach the blaster accessory to the designated port on the boombox if desired.
- (Steps 16-20 are intricate panel alignments and rotations. Refer to the detailed diagrams on the product packaging for precise execution.)

Image: Autobot Blaster fully transformed into boombox mode.
Eject: Robot to Mini-Cassette Mode (8 Steps)
The Eject figure converts from robot mode to mini-cassette mode in 8 steps. This compact form allows it to fit into Autobot Blaster's chest.
- Begin with Eject in robot mode.
- Fold the robot's legs upwards.
- Collapse the arms inward towards the body.
- Fold the head down.
- Align all panels to form a rectangular mini-cassette shape.
- Ensure all tabs are securely locked.
- (Steps 7-8 involve minor adjustments for a flush fit.)

Image: Eject figure fully transformed into mini-cassette mode.

Image: Back of the product packaging, illustrating transformation steps for both figures.
For additional visual guidance, scan the QR code on the packaging or visit http://weixin.qq.com/r/2nVqclHEFgxprRUR9yDI.
Maintenance
- Cleaning: Wipe figures with a soft, dry cloth. Avoid harsh chemicals or abrasive cleaners, as these may damage the paint or plastic.
- Storage: Store figures away from direct sunlight and extreme temperatures to prevent discoloration or warping.
- Joint Care: If joints become stiff, gently work them back and forth. Do not force movement, as this can cause breakage.
Troubleshooting
| Problem | Solution |
|---|---|
| Figure parts are stiff or difficult to move. | Apply gentle, consistent pressure. Avoid forcing movement. Some joints may require a few transformations to loosen. |
| Figure does not transform correctly. | Review the transformation steps carefully. Ensure all panels are aligned and tabbed into place. Refer to the packaging diagrams. |
| Accessory does not attach securely. | Ensure the accessory's peg is correctly oriented and fully inserted into the designated port. |
Specifications
- Model Number: F9654
- Product Dimensions: 3.94 x 1.97 x 0.5 inches (packaging dimensions, figure dimensions vary by mode)
- Item Weight: 11.6 ounces
- Recommended Age: 8 years and up
- Manufacturer: Hasbro
- Conversion Steps: Autobot Blaster (20 steps), Eject (8 steps)
Warranty and Support
For warranty information or customer support, please contact Hasbro directly. Details can typically be found on the product packaging or their official website.
Manufacturer: Hasbro, Inc.
For further assistance, visit the official Transformers brand store: Transformers Store on Amazon


