
Introduction
This manual provides essential instructions for the assembly, operation, maintenance, and troubleshooting of your new Miniature Motors 12V Kids Electric Ride-on Truck Car. Please read this manual thoroughly before assembly and use to ensure safe and proper operation. Retain this manual for future reference.
Safety Information
WARNING: Adult supervision is required at all times. This product is not a transport vehicle and should only be used under adult supervision. Training and practice are necessary for safe operation.
- Ensure all assembly steps are completed correctly before first use.
- Always use the safety belt provided.
- Do not operate near stairs, hills, roads, or swimming pools.
- Recommended age: 36 months - 5 years.
- Maximum weight capacity: 66 lbs.
- Maximum height: 40 inches.
- Only use the provided charger and battery.
- Regularly inspect the vehicle for damage or loose parts.
Package Contents
Verify that all components are present before beginning assembly:
- 1x Miniature Motors Electric Ride-on Car body
- 1x Charger
- 1x Parent Remote Control
- 2x Spanners
- 1x User Manual (this document)
- Wheels (4x)
- Motors (2x 35W)
- 12V Rechargeable Battery (included)
- Steering Wheel
- Windshield
- Side Mirrors (2x)
- Seat with Safety Belt
- Roll Bar with LED Lights
- Front Bumper
- Axles, Washers, Nuts, Screws (various sizes)
Assembly Instructions
Follow these steps carefully for proper assembly. Refer to the assembly video for visual guidance.
Video: Official Assembly Guide for Miniature Motors 12V Kids Ride-on Truck Car. This video demonstrates the step-by-step process of assembling the vehicle, including attaching wheels, connecting wiring, and installing the steering wheel and other accessories.
Step 1: Install Rear Axle Support
Attach the rear axle support bar to the underside of the car chassis using the provided screws and washers. Ensure it is securely fastened.
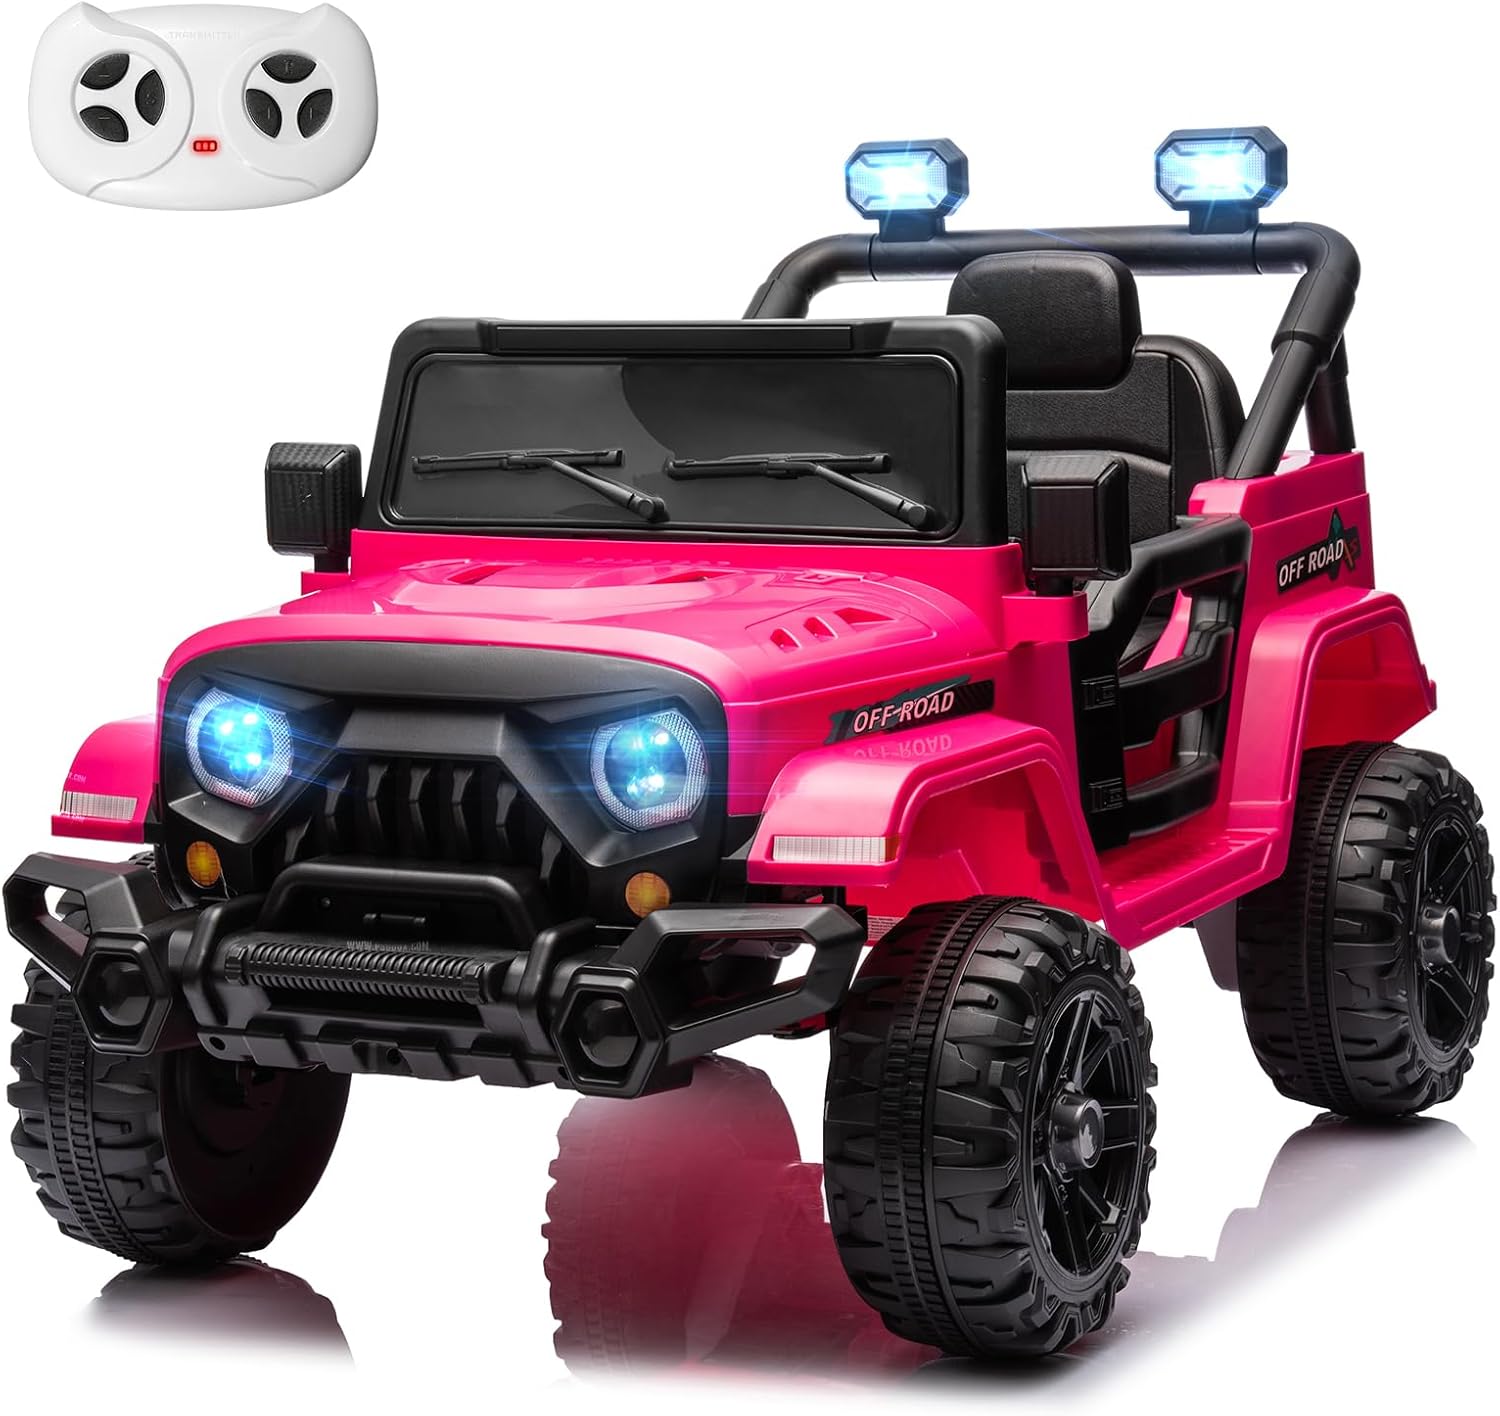
Image: Underside view of the pink ride-on truck with the rear axle support being attached. This component provides structural integrity for the rear wheels.
Step 2: Attach Rear Wheels and Motors
Slide the rear wheels onto the axle. Secure each wheel with a washer and nut. Connect the motor wires to the corresponding ports. Repeat for both rear wheels.
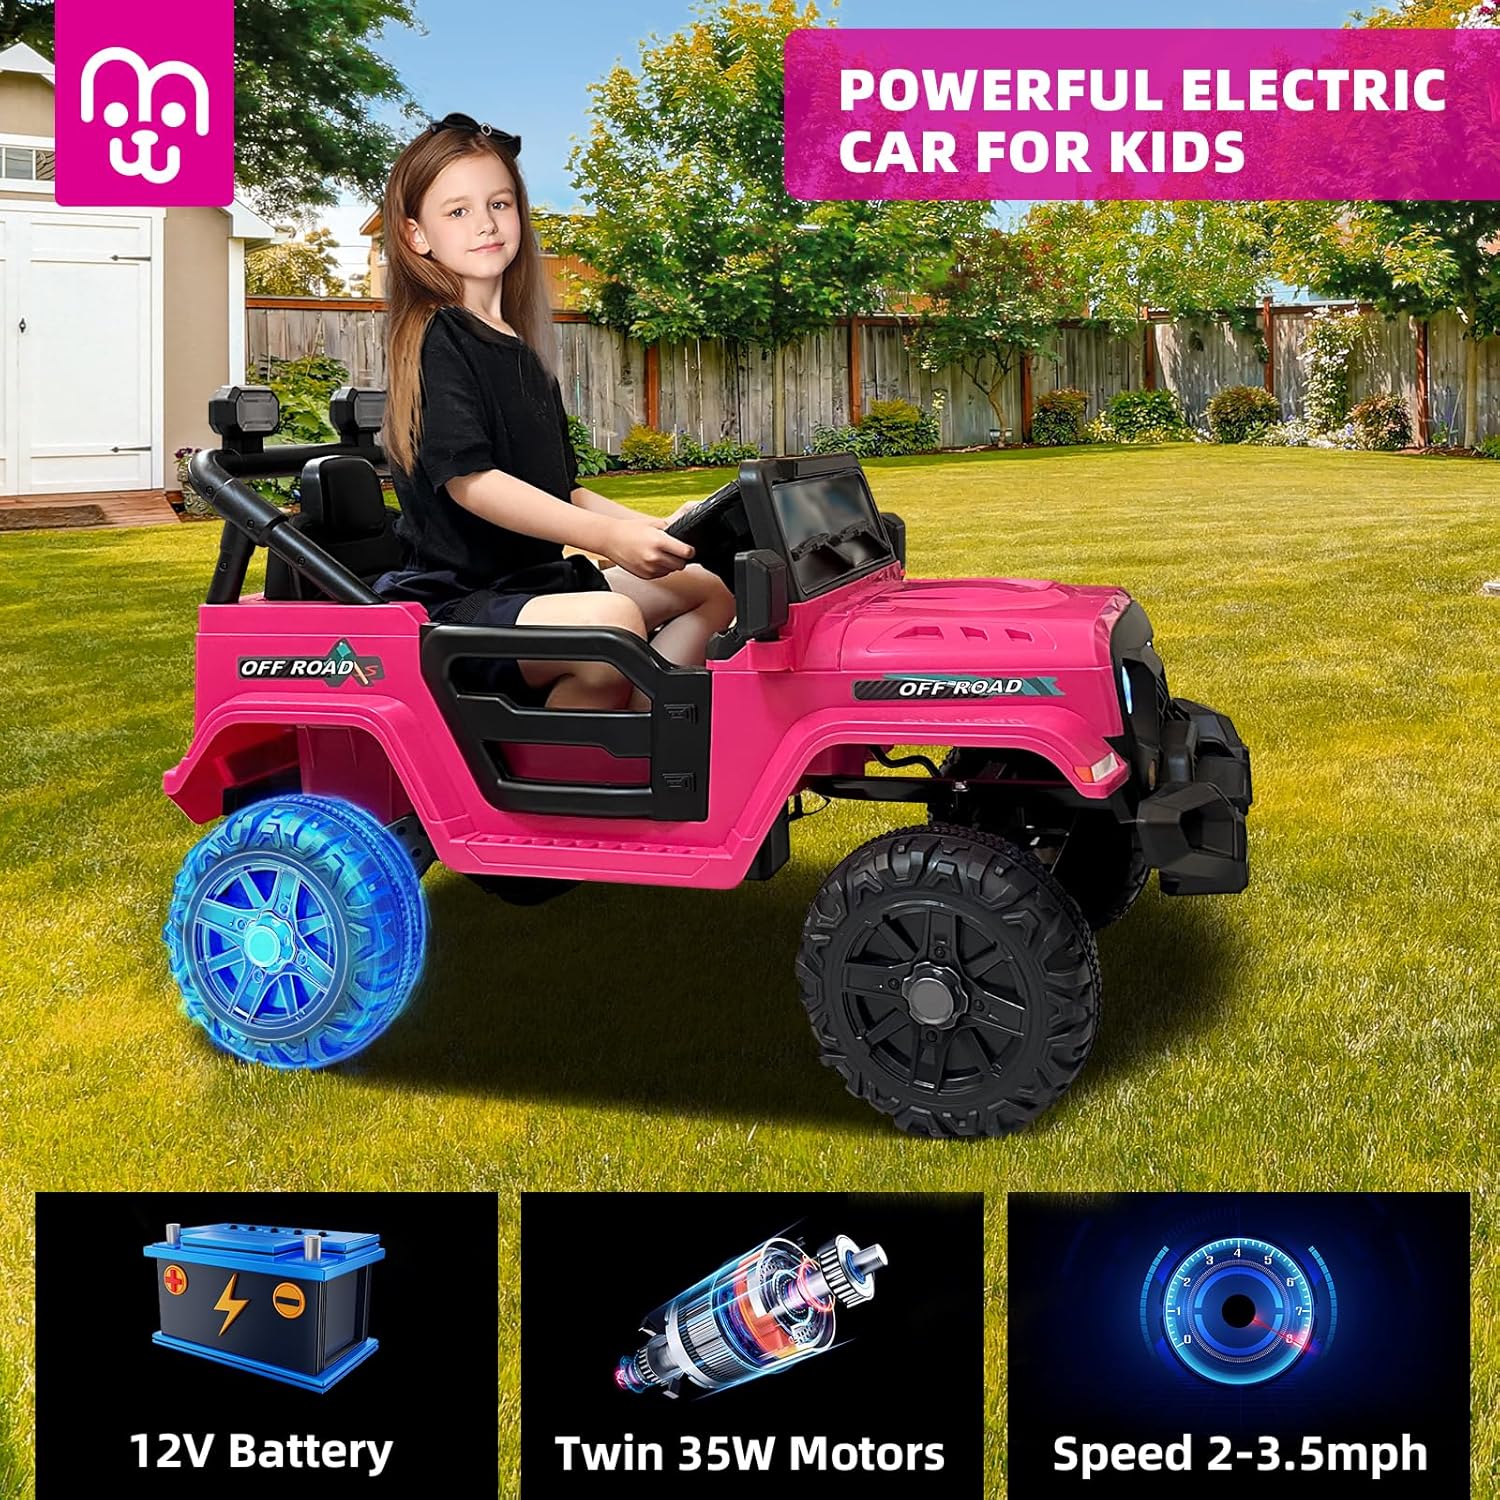
Image: Close-up of the rear wheel assembly, showing the motor connection and how the wheel is secured to the axle.
Step 3: Install Front Axle and Wheels
Insert the front axle through the designated slots in the chassis. Attach the front wheels, securing them with washers and nuts. Ensure the wheels spin freely.

Image: Installation of the front axle and wheels, demonstrating how to secure them for proper function.
Step 4: Connect Battery
Locate the battery compartment. Connect the red terminal of the battery to the corresponding red wire, and the black terminal to the black wire. Ensure connections are firm.

Image: A close-up of the battery compartment, showing the correct connection of the red and black battery terminals.
Step 5: Install Steering Wheel
Connect the steering wheel's electrical connector to the port on the dashboard. Align the steering wheel with the steering column and push it firmly into place until it clicks.

Image: Installation of the steering wheel, highlighting the electrical connection and proper alignment.
Step 6: Attach Windshield and Side Mirrors
Snap the windshield into the designated slots on the front of the car. Attach the side mirrors by pushing them into their respective sockets on the sides of the windshield frame.

Image: The windshield and side mirrors being attached to the front of the ride-on truck, showing the snap-in mechanism.
Step 7: Install Seat and Roll Bar
Place the seat into the car body and secure it with the provided screws. Attach the roll bar to the rear of the car, ensuring it is firmly seated in its mounts.

Image: The completed assembly of the seat and roll bar, showing the secure fit within the vehicle's interior.
Operating Instructions
Manual Mode
- Power On/Off: Press the power button on the dashboard.
- Forward/Reverse: Use the gear shift lever to select forward or reverse.
- Acceleration: Press the foot pedal to accelerate. Release to brake.
- Steering: Turn the steering wheel left or right to change direction.
- Speed: In manual mode, the speed is set at 3.5 MPH.
Remote Control Operation
The remote control allows parents to operate the vehicle for younger children or for interactive playtime. The remote control has three speed settings (2-3.5 MPH).
- Pairing: Refer to the remote control instructions for pairing with the vehicle.
- Direction: Use the directional buttons to move the car forward, backward, left, or right.
- Speed Selection: Use the speed button on the remote to cycle through available speeds.
- Emergency Brake: Press the brake button on the remote to stop the vehicle immediately.
Music Player & Connectivity
- Bluetooth: Activate Bluetooth on your smart device and connect to the vehicle's audio system to play music or stories.
- USB Port: Insert a USB drive with MP3 files into the USB port to play audio.
- Horn & Sounds: Use the buttons on the steering wheel to activate the horn and other built-in sounds.
Charging Instructions
To charge the 12V rechargeable battery:
- Locate the charging port on the vehicle (usually near the battery compartment or dashboard).
- Ensure the vehicle is turned OFF.
- Plug the charger into a standard wall outlet.
- Connect the charger plug to the vehicle's charging port.
- Allow 8-12 hours for a full charge. Do not overcharge.
- Disconnect the charger once charging is complete.
A full charge provides approximately 40-60 minutes of playtime, depending on usage and terrain.
Maintenance
- Cleaning: Wipe the vehicle with a damp cloth. Do not use harsh chemicals or abrasive cleaners.
- Storage: Store the vehicle in a dry, cool place away from direct sunlight. If storing for extended periods, charge the battery fully every 3 months.
- Battery Care: Do not allow the battery to fully discharge. Charge after each use.
- Inspection: Periodically check all screws, nuts, and electrical connections to ensure they are secure.
Troubleshooting
| Problem | Possible Cause | Solution |
|---|---|---|
| Vehicle does not move. | Battery not connected or discharged; loose wiring; blown fuse. | Check battery connections; charge battery; inspect wiring; replace fuse if necessary. |
| Remote control not working. | Remote batteries dead; remote not paired. | Replace remote batteries; re-pair remote control according to instructions. |
| Vehicle moves slowly. | Low battery; overloaded vehicle; rough terrain. | Charge battery fully; reduce load; operate on smooth surfaces. |
| Music player not working. | Incorrect connection; volume too low; incompatible USB format. | Ensure Bluetooth is connected or USB is properly inserted; adjust volume; check USB file format. |
Specifications
- Product Dimensions: 39 x 24.4 x 24.4 inches
- Item Weight: 26.4 pounds
- Battery: 1x 12V (included)
- Motors: Twin 35W Motors
- Max Speed: 3.5 MPH (Remote Control: 2-3.5 MPH)
- Recommended Age: 36 months - 5 years
- Max Load Capacity: 66 lbs
- Features: Bluetooth, USB Music Player, 4-Wheel Suspension, LED Lights, Safety Belt, Remote Control
- Certifications: ASTM, CPSIA
Warranty and Support
This product is exclusively provided by Miniature Motors. For any questions, concerns, or warranty claims, please contact Miniature Motors customer support directly. Refer to your purchase documentation for specific warranty terms and contact information.
Miniature Motors is committed to providing quality products and support. For assistance with parts or technical issues, please visit the Miniature Motors Store or contact their customer service.