
GODOX SBGD-X1T-O
Contents
Godox X1T-O TTL Wireless Flash Trigger User Manual
Model: SBGD-X1T-O
1. Introduction
Thank you for purchasing the Godox X1T-O TTL Wireless Flash Trigger. This device is designed to provide seamless wireless control for your flash units, offering advanced features such as TTL autoflash, manual flash, multi flash, and 1/8000s High-Speed Sync (HSS). Compatible with Olympus and Panasonic cameras, the X1T-O ensures reliable and precise flash triggering for various photographic needs.
Please read this manual carefully before use to ensure proper operation and optimal performance.
2. Package Contents
The Godox X1T-O package includes the following items:
- 1 x Godox X1T-O TTL Wireless Flash Trigger Transmitter
- 1 x User Manual
- 1 x Warranty Card

Image: Godox X1T-O trigger shown with its retail box and user manual.
3. Product Features
- Extended Transmission Range: Built-in 2.4G wireless transmission provides an extra 100 meters of range for flexible shooting.
- Comprehensive TTL Support: Full TTL functionality including TTL autoflash, manual flash, multi flash, and 1/8000s HSS. Features flash exposure compensation (FEC), flash exposure lock (FEL), and modeling flash.
- Seamless Wireless Control: Wireless remote control and grouping system with GR group flash and wireless grouping. Supports up to 5 groups across 32 channels.
- Intuitive LCD Panel: Large, clear LCD panel with backlight for convenient operation in various lighting conditions.
- Enhanced Functionality: Includes synchronization delay settings, wireless shutter release, zoom settings, PC sync socket, 2.5mm sync cable port, USB firmware upgrade capability, and a memory function to store settings.
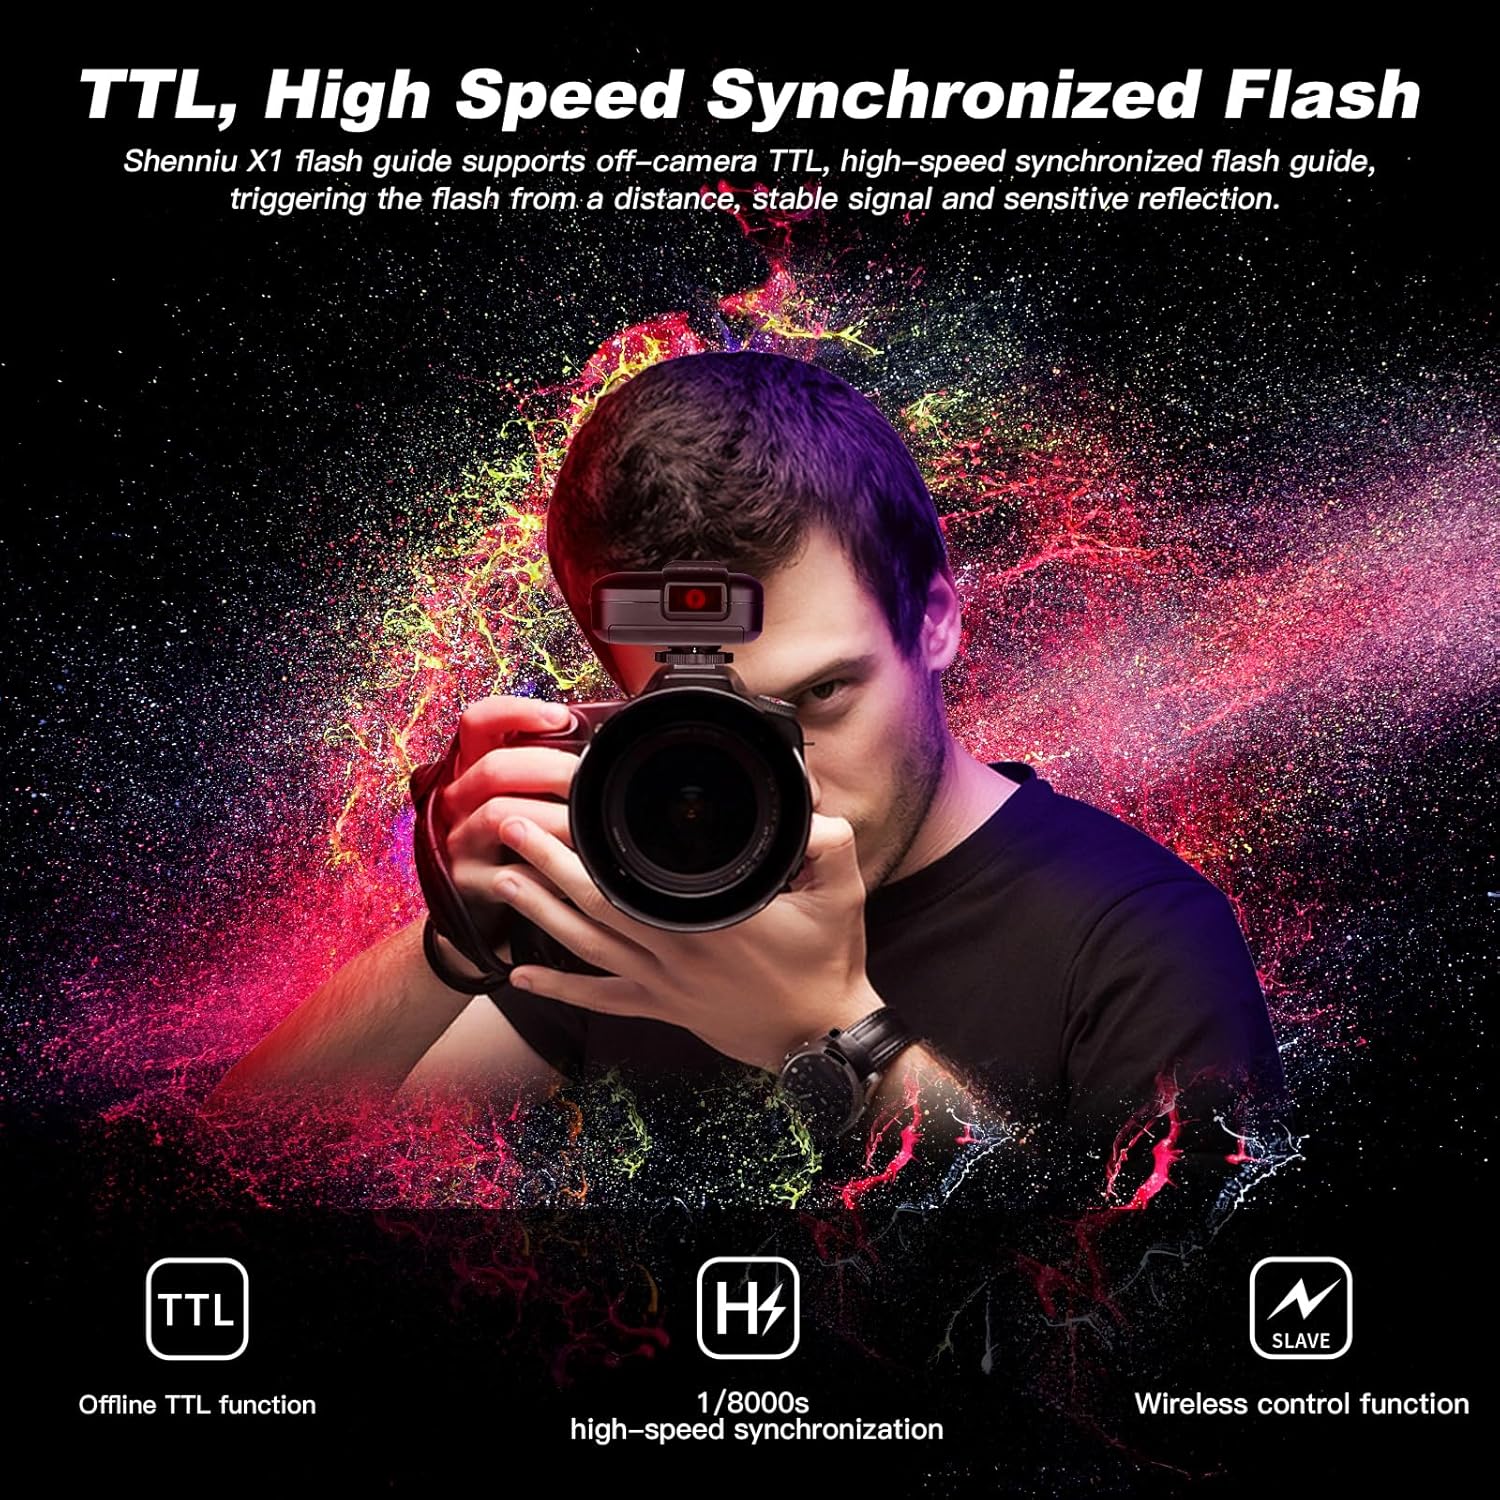
Image: Visual representation of the X1T-O's TTL, 1/8000s HSS, and wireless control capabilities.
4. Parts Identification
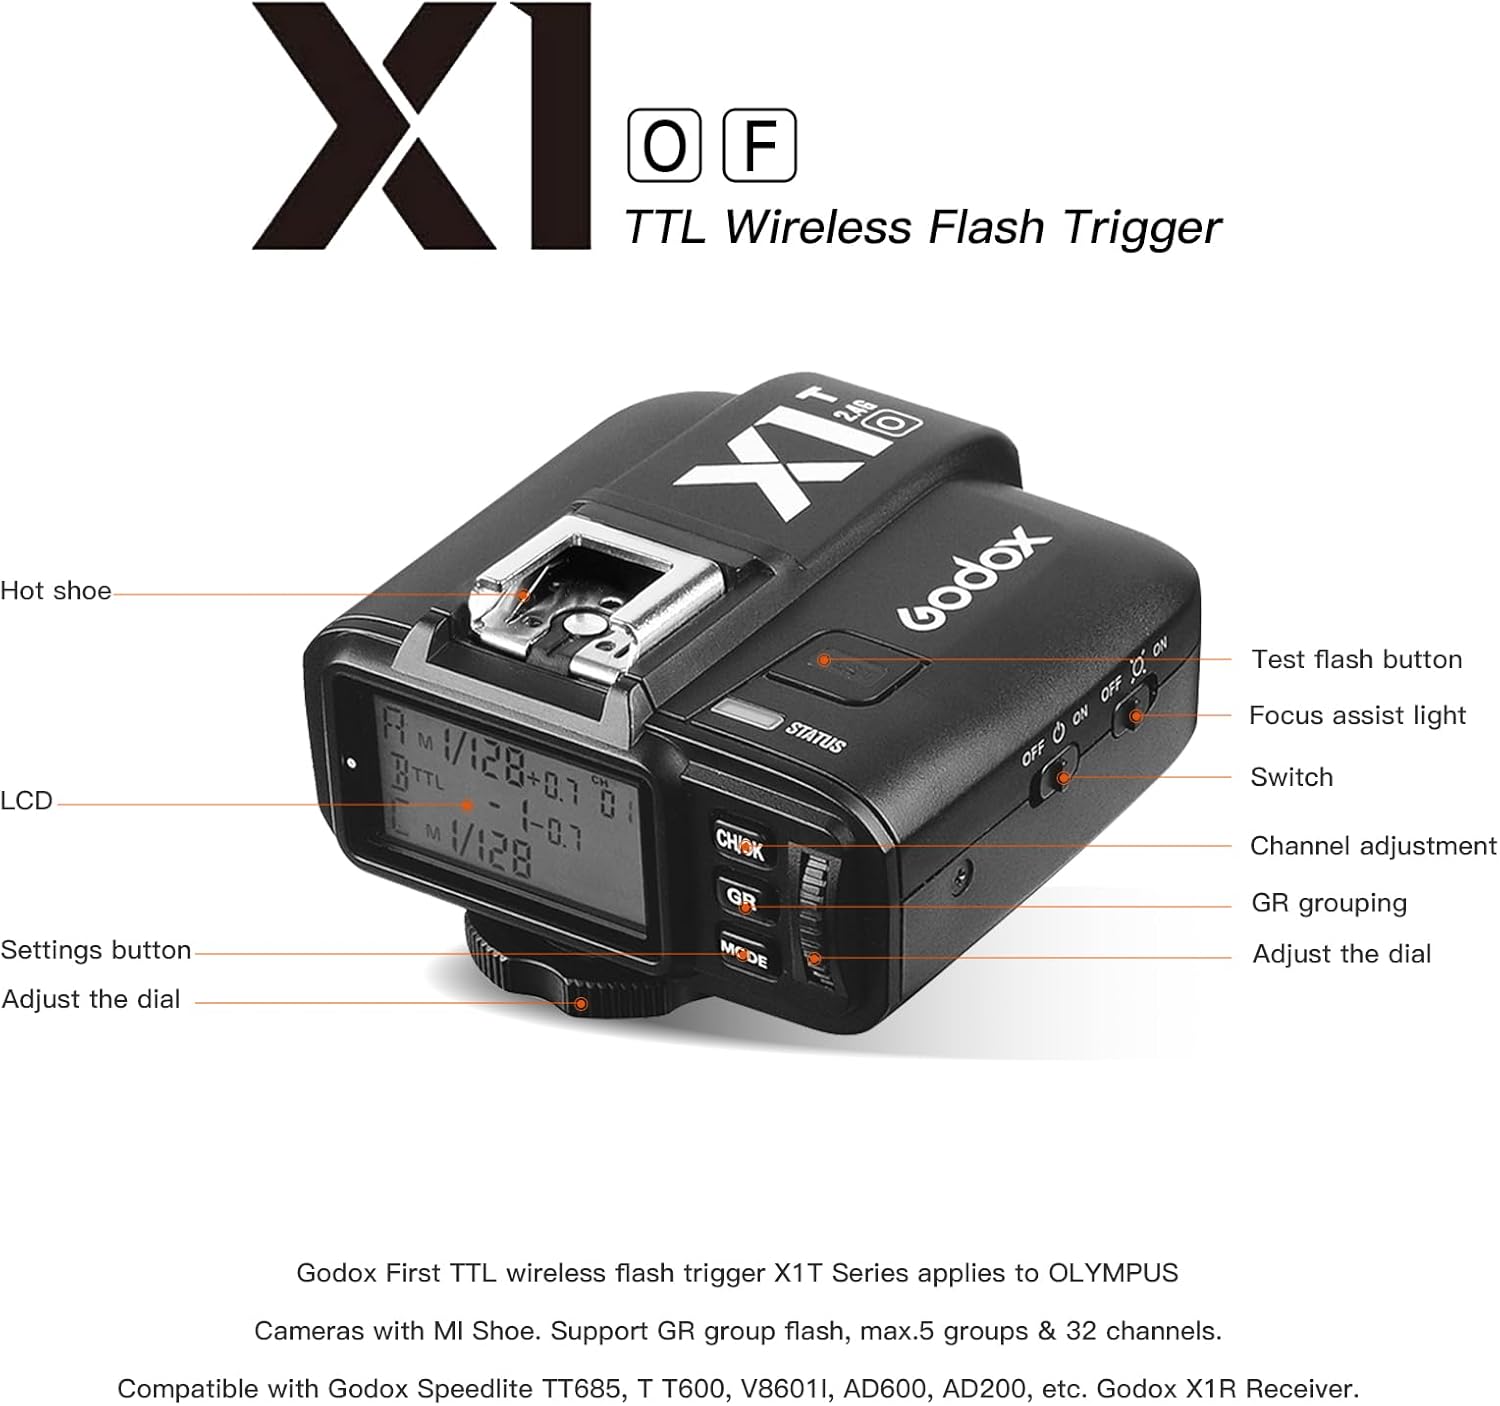
Image: Labeled diagram of the Godox X1T-O showing its various buttons, dials, and ports.
- Hot Shoe: Connects the trigger to the camera's hot shoe.
- LCD Panel: Displays current settings, group status, and channel information.
- Settings Button: Used to access and confirm menu settings.
- Adjust Dial: Rotates to change values and navigate menus.
- Test Flash Button: Triggers a test flash and can also be used as a shutter release button.
- Focus Assist Light: Emits a beam to aid camera autofocus in low light.
- Power Switch: Turns the unit On/Off.
- Channel Adjustment Button: Selects the wireless channel.
- GR Grouping Button: Manages flash groups.
- Micro USB Port: For firmware upgrades.
- Battery Compartment: Holds two AA batteries.

Image: Detailed views of the Micro USB port, front focus assist lamp, LCD screen, and battery compartment.
5. Setup
5.1. Installing Batteries
- Open the battery compartment cover on the bottom of the X1T-O.
- Insert two AA batteries, ensuring correct polarity (+/-).
- Close the battery compartment cover securely.
Image: The X1T-O with its battery compartment open, showing the insertion of two AA batteries.
5.2. Attaching to Camera
- Slide the X1T-O's hot shoe onto your camera's hot shoe mount.
- Tighten the locking ring or lever on the X1T-O to secure it in place.

Image: The Godox X1T-O mounted on a camera, illustrating its compact size and how it connects.
6. Operating Instructions
6.1. Power On/Off
Slide the power switch to the "ON" position to turn on the trigger. Slide it to "OFF" to power down.
6.2. Channel and Group Settings
- Press the CH button to select the desired channel (1-32). Ensure your flash receivers are set to the same channel.
- Press the GR button to select the desired group (A/B/C/D/E). You can control up to 5 groups independently.
- Use the dial to adjust flash power or other parameters for the selected group.
6.3. Flash Modes (TTL/Manual/Multi)
Press the MODE button to cycle through flash modes:
- TTL (Through-The-Lens): Automatic flash exposure.
- M (Manual): Manually set flash power output.
- Multi (Stroboscopic Flash): Fires a series of rapid flashes.
6.4. High-Speed Sync (HSS)
The X1T-O supports 1/8000s HSS. When enabled on your camera and flash, this allows you to use flash at shutter speeds faster than your camera's native sync speed, useful for overpowering ambient light.
6.5. Wireless Shutter Release
The X1T-O can function as a wireless shutter release. Connect a 2.5mm sync cable from the X1T-O to your camera's remote port. Half-press the Test button to focus, full-press to trigger the shutter.

Image: Illustrations of the X1T-O's versatile applications, including triggering flashes and camera shutters wirelessly.
7. Compatibility
The Godox X1T-O TTL Wireless Flash Trigger is specifically designed for use with:
- Olympus Cameras
- Panasonic Cameras
It is compatible with Godox Speedlite models such as TT685, T T600, V860II, AD600, AD200, and Godox X1R Receiver units.
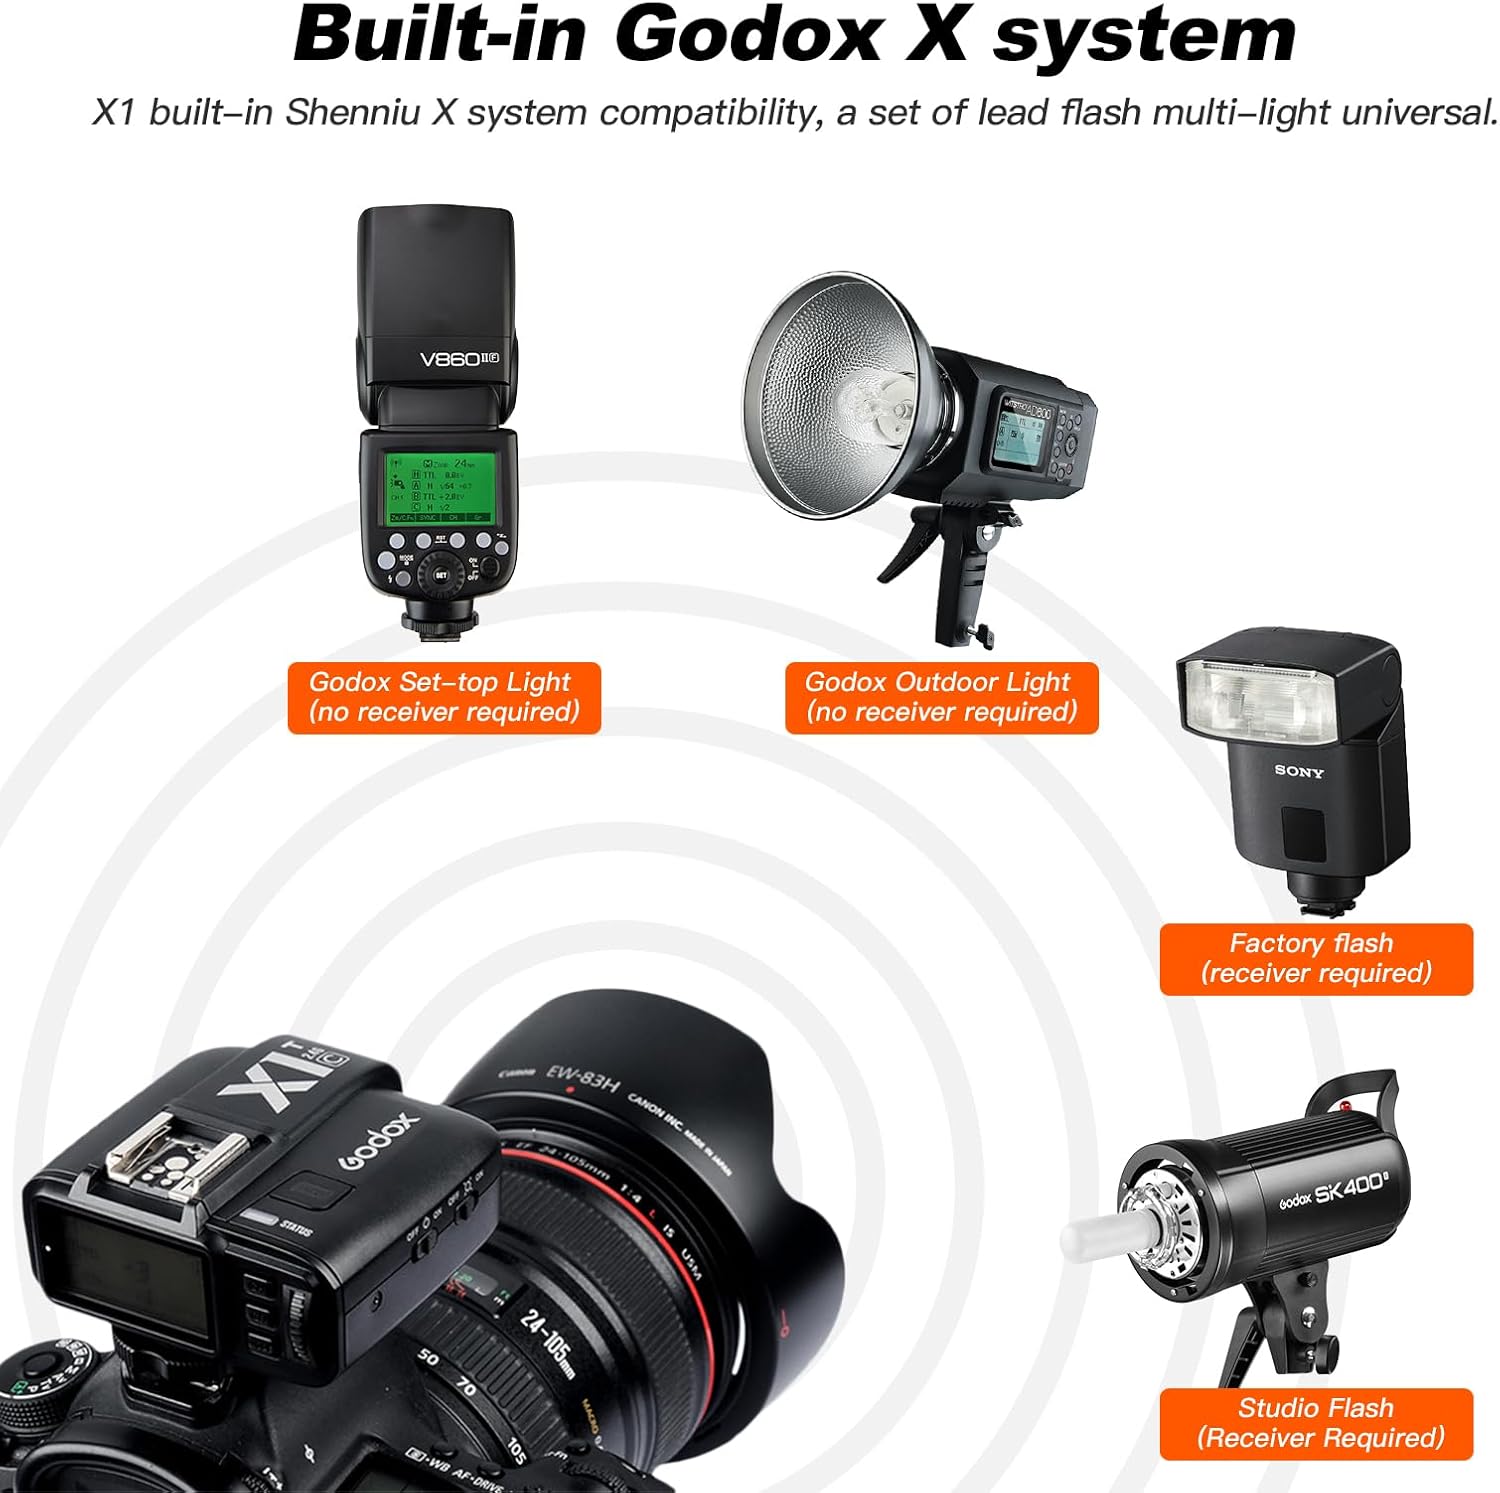
Image: The X1T-O demonstrating compatibility with Godox set-top lights, outdoor lights, and studio flashes.
8. Specifications
| Feature | Detail |
|---|---|
| Model | SBGD-X1T-O |
| Compatible Cameras | Olympus, Panasonic |
| Built-in Remote System | 2.4G Wireless Transmission |
| Transmission Range | Approx. 100 meters |
| Flash Modes | TTL Autoflash, Manual Flash, Multi Flash |
| HSS Support | Yes, up to 1/8000s |
| Flash Exposure Compensation (FEC) | Yes |
| Flash Exposure Lock (FEL) | Yes |
| Modeling Flash | Yes |
| Groups | 5 (A, B, C, D, E) |
| Channels | 32 |
| Synchronization Delay Setting | Yes |
| Zoom Setting | Yes |
| PC Sync Socket | Yes |
| 2.5mm Sync Cable Port | Yes |
| Firmware Upgrade | Via Micro USB port |
| Memory Function | Settings recovery after restart |
| Power Supply | 2 x AA Batteries |
| Dimensions | Approx. 3 x 3 x 2 inches (Package Dimensions) |
| Weight | Approx. 9.9 ounces (Item Weight) |
9. Troubleshooting
9.1. Flash Not Firing
- Ensure the X1T-O is securely mounted on the camera's hot shoe.
- Check if the X1T-O and the flash receiver are set to the same channel and group.
- Verify that batteries in both the X1T-O and the flash unit are charged and correctly inserted.
- Confirm that the flash unit is powered on and in a compatible mode (e.g., TTL or Manual).
- Test the flash by pressing the Test button on the X1T-O.
9.2. Inconsistent Flash Exposure
- Check the Flash Exposure Compensation (FEC) settings on both the camera and the X1T-O.
- Ensure there are no obstructions between the X1T-O and the flash receiver.
- Verify that the flash unit's zoom setting matches the lens focal length or is set to auto.
- For TTL mode, ensure the scene has sufficient contrast for accurate metering.
9.3. HSS Not Working
- Confirm that both your camera and flash unit support High-Speed Sync.
- Ensure HSS is enabled in your camera's flash settings and on the flash unit itself.
10. Maintenance
- Keep the device dry. Do not expose it to rain or moisture.
- Do not disassemble. If repairs are needed, contact authorized service personnel.
- Avoid sudden impacts or drops.
- Clean the hot shoe contacts regularly with a clean, dry cloth to ensure good connection.
- Remove batteries if the device will not be used for an extended period to prevent leakage.
11. Firmware Upgrade
The Godox X1T-O supports firmware upgrades via its Micro USB port. Visit the official Godox website for the latest firmware versions and instructions. Upgrading firmware can improve performance, add new features, or fix bugs.
Image: The Micro USB port on the side of the X1T-O, used for connecting to a computer for firmware updates.
12. Warranty and Support
For warranty information and technical support, please refer to the warranty card included in your package or visit the official Godox website. Keep your purchase receipt as proof of purchase for warranty claims.
Godox Official Website: www.godox.com
Ask a question about this manual
Ask about setup, troubleshooting, compatibility, parts, safety, or missing instructions. Manuals+ will review the question and use this page’s manual context to help answer it.