
1. Introduction
Thank you for choosing the VRURC Portable Charger T01. This 10000mAh power bank is designed for convenience, featuring built-in charging cables and an integrated AC wall plug. This manual provides essential information for safe and efficient use of your device.
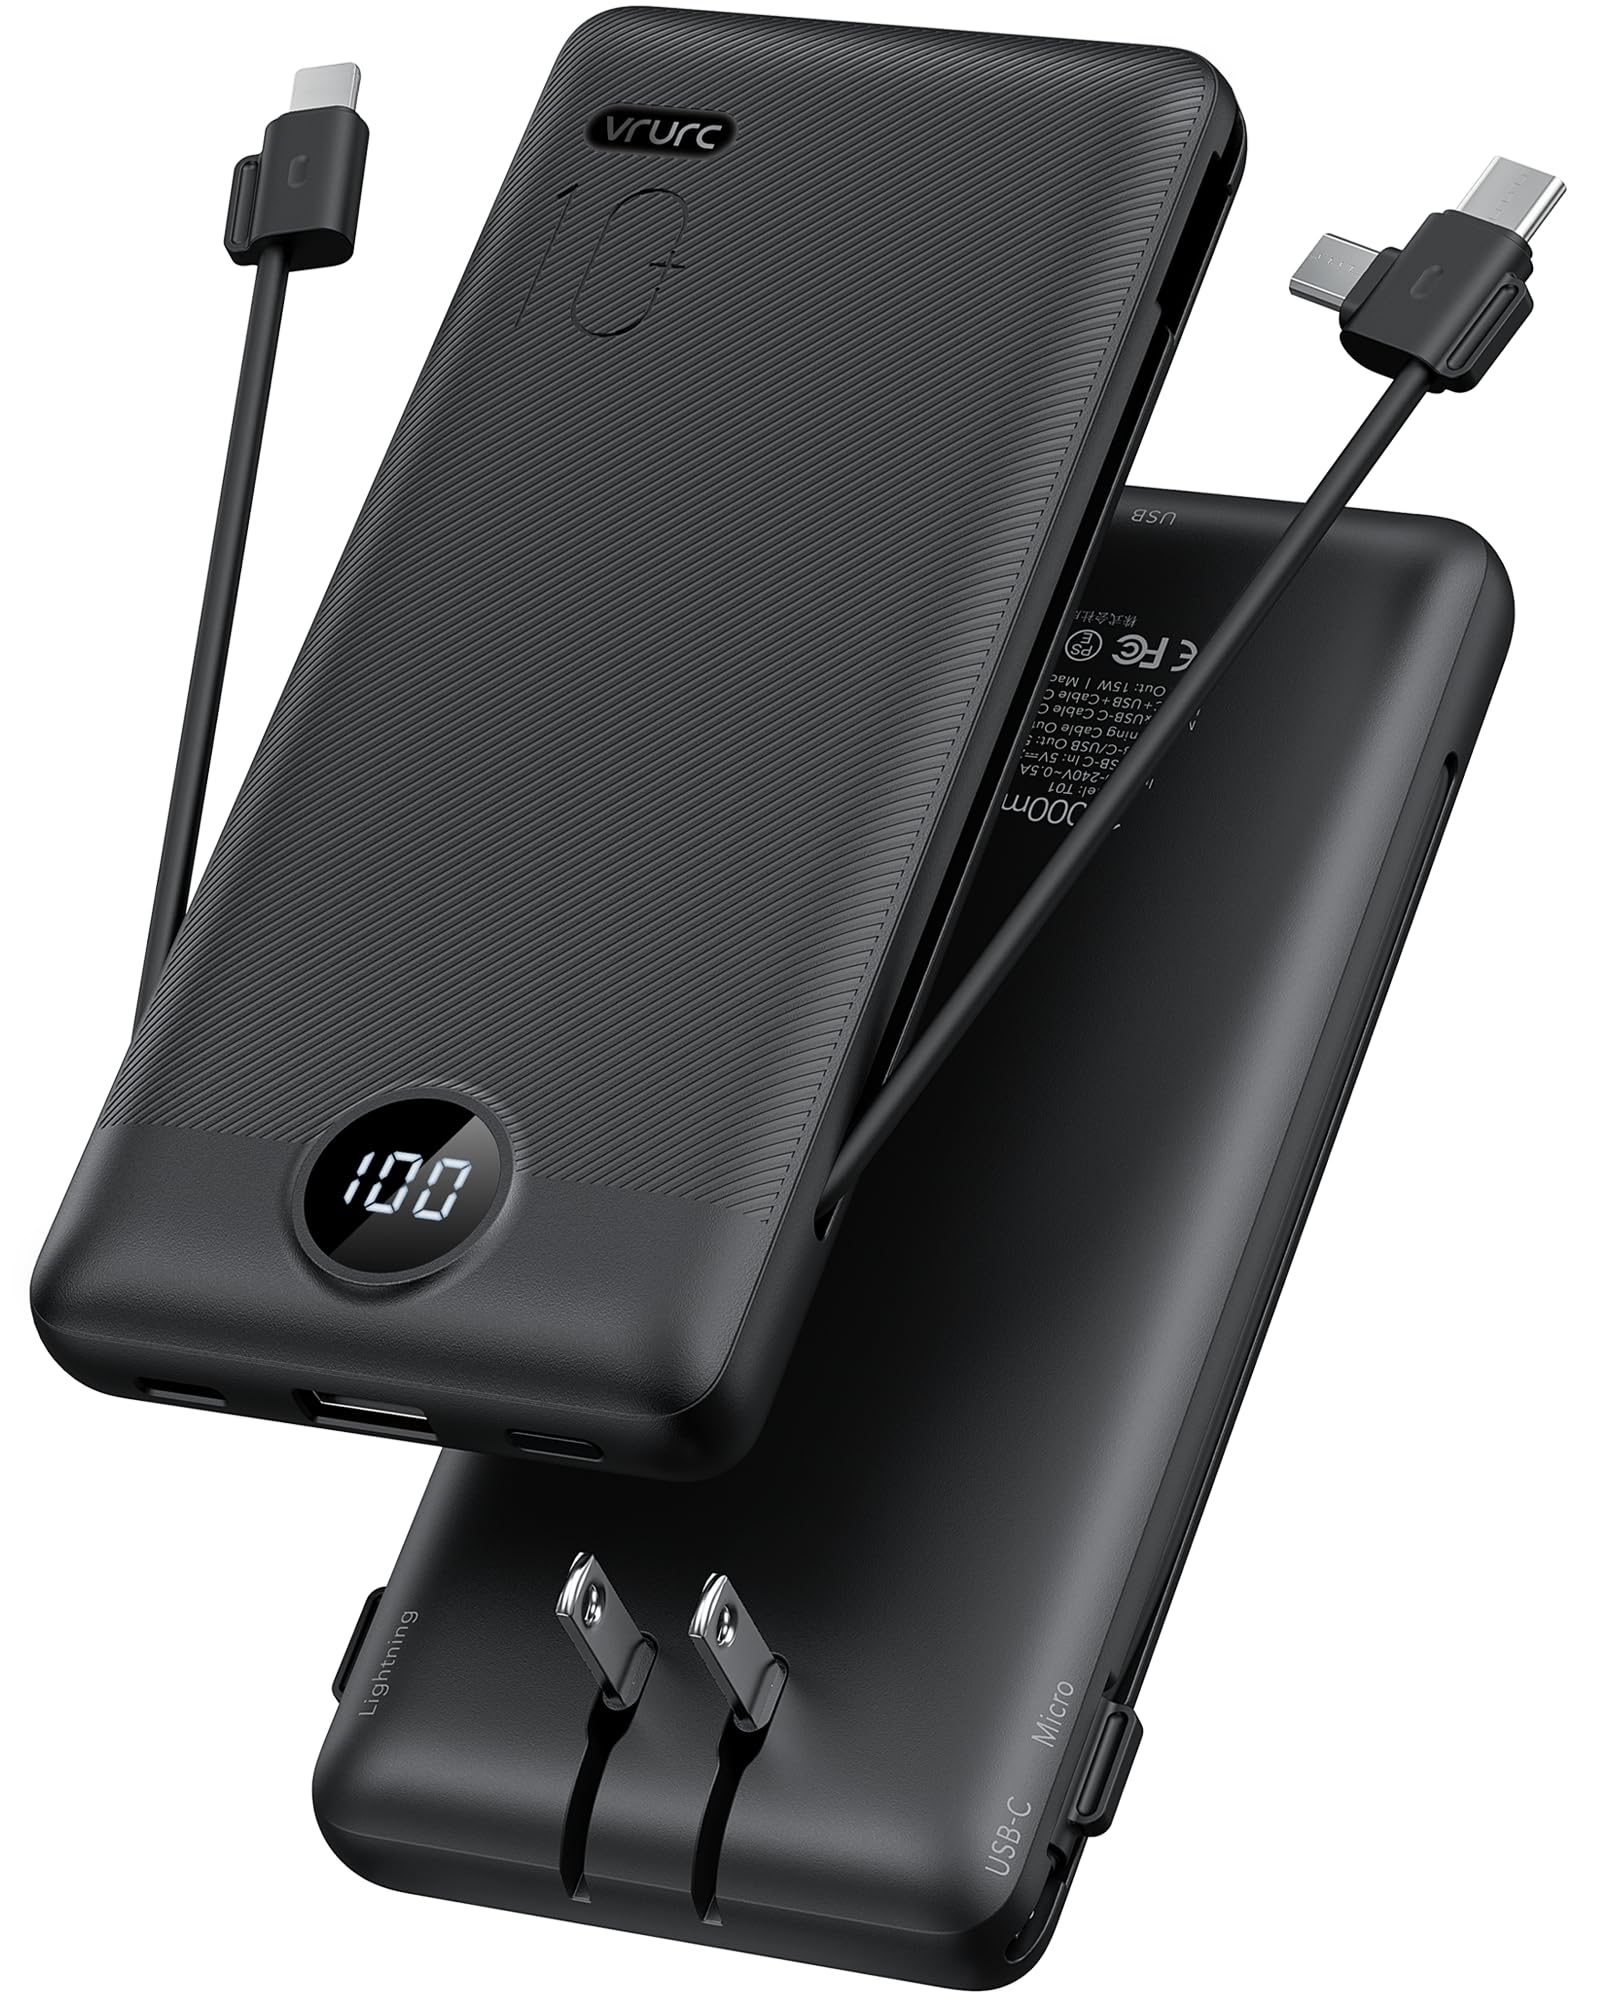
Image 1.1: VRURC Portable Charger T01
2. Product Overview
Key Features
- All-in-One Charging Solution: Includes built-in Micro USB, USB-C, and Lightning cables, plus an extra USB-A port and USB-C port.
- Integrated AC Wall Plug: Charges directly from any wall outlet without additional cables.
- Slim & Lightweight Design: Compact and portable for travel and daily use.
- Smart LED Digital Display: Clearly shows remaining battery power.
- 3D Textured Grip: Ensures a secure hold.
- Wide Device Compatibility: Supports most smartphones, tablets, and other mobile devices.
Components

Image 2.1: Overview of VRURC Portable Charger T01 components, showing the USB-C cable, Micro cable, foldable AC plug, and cable for iPhone (Lightning).
The VRURC T01 Portable Charger is equipped with the following components:
- Built-in USB-C Cable: For charging USB-C compatible devices.
- Built-in Micro USB Cable: For charging Micro USB compatible devices.
- Built-in Lightning Cable: For charging Apple devices.
- Foldable AC Wall Plug: For recharging the power bank directly from a wall outlet.
- USB-A Output Port: For connecting external USB-A charging cables.
- USB-C Input/Output Port: For charging devices or recharging the power bank with an external USB-C cable.
- LED Digital Display: Indicates the remaining battery percentage.
3. Setup
Charging the Power Bank
Before first use, fully charge your VRURC Portable Charger. There are two primary methods to recharge the power bank:
- Using the Built-in AC Wall Plug:
- Fold out the integrated AC wall plug.
- Plug the power bank directly into any standard wall outlet.
- The LED display will show the charging progress. A full charge via AC plug typically takes approximately 6 hours.
- Using an External USB-C Cable:
- Connect a USB-C charging cable (not included) to the power bank's USB-C input port.
- Connect the other end of the cable to a USB wall adapter (not included) or a powered USB port.
- The LED display will show the charging progress. A full charge via 5V/2.6A USB-C input typically takes approximately 5 hours.

Image 3.1: Charging the power bank using its built-in AC plug or an external USB-C cable.
Video 3.1: Demonstration of charging the VRURC Portable Charger T01 using its built-in AC wall plug and cables.
4. Operating Instructions
Charging Your Devices
The VRURC T01 Portable Charger can charge up to four devices simultaneously using its various output options:
- Using Built-in Cables:
- Pull out the appropriate built-in cable (USB-C, Micro USB, or Lightning) for your device.
- Connect the cable to your device's charging port.
- The power bank will automatically begin charging your device.
- Using External Cables (USB-A or USB-C ports):
- Connect your device's charging cable to either the USB-A output port or the USB-C input/output port on the power bank.
- Connect the other end of your cable to your device.
- The power bank will automatically begin charging your device.

Image 4.1: The power bank charging multiple devices at once using its various ports and built-in cables.
LED Digital Display
The integrated LED display shows the remaining battery percentage of the power bank. This allows you to monitor the charge level at a glance, ensuring you know when to recharge the power bank.
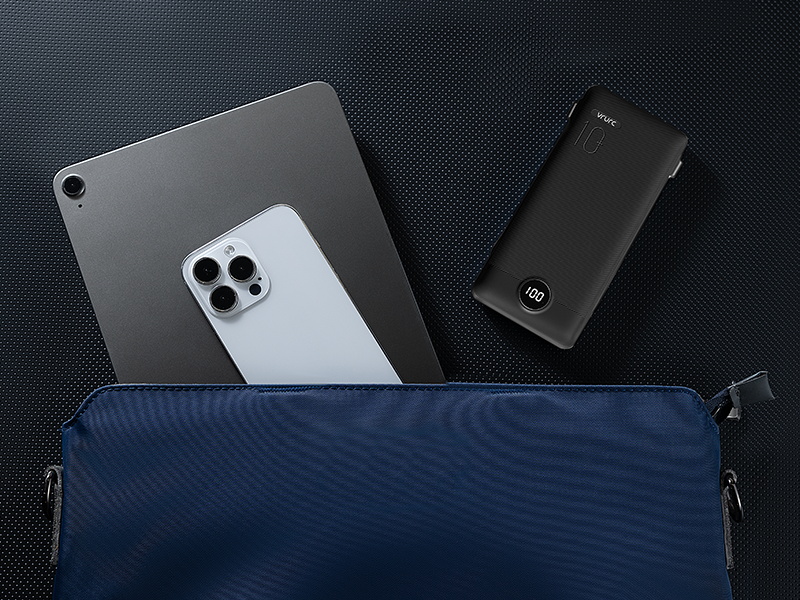
Image 4.2: Close-up of the LED digital display showing the battery percentage.
Pass-Through Charging
The VRURC T01 supports pass-through charging, meaning you can recharge the power bank while it simultaneously charges your devices. Simply plug the power bank into a wall outlet using its AC plug or a USB-C cable, and then connect your devices to the power bank's output ports or built-in cables.

Image 4.3: The power bank plugged into a wall outlet, simultaneously charging a smartphone.
5. Maintenance
To ensure the longevity and optimal performance of your VRURC Portable Charger, follow these maintenance guidelines:
- Cleaning: Use a soft, dry cloth to clean the exterior of the power bank. Avoid using harsh chemicals or abrasive materials.
- Storage: Store the power bank in a cool, dry place away from direct sunlight, extreme temperatures, and humidity.
- Battery Care: For best battery health, avoid fully discharging the power bank regularly. Recharge it when the battery level is low. If storing for extended periods, charge it to about 50-70% every three months.
- Avoid Physical Damage: Protect the device from drops, impacts, and excessive pressure, which can damage internal components.
6. Troubleshooting
If you encounter issues with your VRURC Portable Charger, refer to the following common troubleshooting steps:
- Device Not Charging:
- Ensure the power bank has sufficient charge (check the LED display).
- Verify that the charging cable (built-in or external) is securely connected to both the power bank and your device.
- Try a different cable or port on the power bank.
- Confirm your device is compatible with the power bank's output.
- Power Bank Not Recharging:
- Ensure the AC wall plug is fully inserted into a working wall outlet.
- If using a USB-C cable, ensure the cable and wall adapter are functional and properly connected.
- Try a different wall outlet or USB adapter.
- Slow Charging:
- Ensure you are using appropriate cables for fast charging, if supported by your device.
- Charging multiple devices simultaneously may reduce individual charging speeds.
- Check if your device's battery is nearly full, as charging slows down past 80% to protect battery health.
If the issue persists after trying these steps, please contact customer support.
7. Specifications
Technical Details
| Feature | Detail |
|---|---|
| Model Name | T01 |
| Battery Capacity | 10000 Milliamp Hours |
| Battery Cell Type | Lithium Polymer |
| Connector Type | USB Type C (built-in), Micro USB (built-in), Lightning (built-in), USB-A (port) |
| Number of Ports | 5 (3 built-in cables, 2 external ports) |
| Voltage | 5 Volts |
| Amperage | 2.4 Amps |
| Power Source | AC & Battery |
| Item Weight | 8 Ounces (approx. 227 grams) |
| Item Dimensions (L x W x Th) | 5.9" x 2.8" x 0.72" (151.2 x 70 x 18.2 mm) |
| Compatible Devices | Smartphone, Tablet, Headphone, Gaming Console |
| Compatible Phone Models | Google, Samsung, iPhone |

Image 7.1: Package contents and physical dimensions of the VRURC Portable Charger T01.
Compatibility

Image 7.2: Visual representation of device compatibility, including iPhones, Android phones, and tablets.
8. Warranty and Support
Warranty Information
The VRURC Portable Charger T01 comes with a 24-month warranty from the date of purchase. This warranty covers manufacturing defects and issues arising from normal use. It does not cover damage caused by misuse, accidents, unauthorized modifications, or natural disasters.
Customer Support
For any questions, technical assistance, or warranty claims, please contact VRURC customer support. Refer to the contact information provided with your product packaging or visit the official VRURC website for support details.
VRURC is committed to providing 24-hour friendly customer service and a 30-day exchange service.


