
1. Safety Information
Please read all safety warnings and instructions carefully before using this device. Failure to follow these instructions may result in electric shock, fire, or serious injury.
- Laser Safety: This device uses a Class 2 laser. Do not stare directly into the laser beam or point it at people or animals. Direct eye exposure can cause permanent eye damage.
- Temperature Measurement: Do not use this thermometer on people or animals. It is designed for industrial and object temperature measurement only.
- Handling: Avoid dropping the device or subjecting it to strong impacts.
- Environment: Do not expose the device to extreme temperatures, humidity, or corrosive environments.
- Maintenance: Do not attempt to disassemble or modify the device. Refer all servicing to qualified personnel.

2. Product Overview
The MESTEK IR05A is a versatile dual-mode infrared thermometer designed for accurate and rapid temperature measurement across a wide range of applications. It features both non-contact infrared measurement and contact K-type thermocouple measurement.

2.1 Key Features
- Dual Measurement Modes: Non-contact infrared and contact K-type thermocouple.
- Wide Temperature Range: Infrared: -40°C to 1600°C (-40°F to 2912°F); K-type: -10°C to 500°C (14°F to 932°F).
- High Distance-to-Spot Ratio (D:S): 50:1 for safe measurement of distant or high-temperature objects.
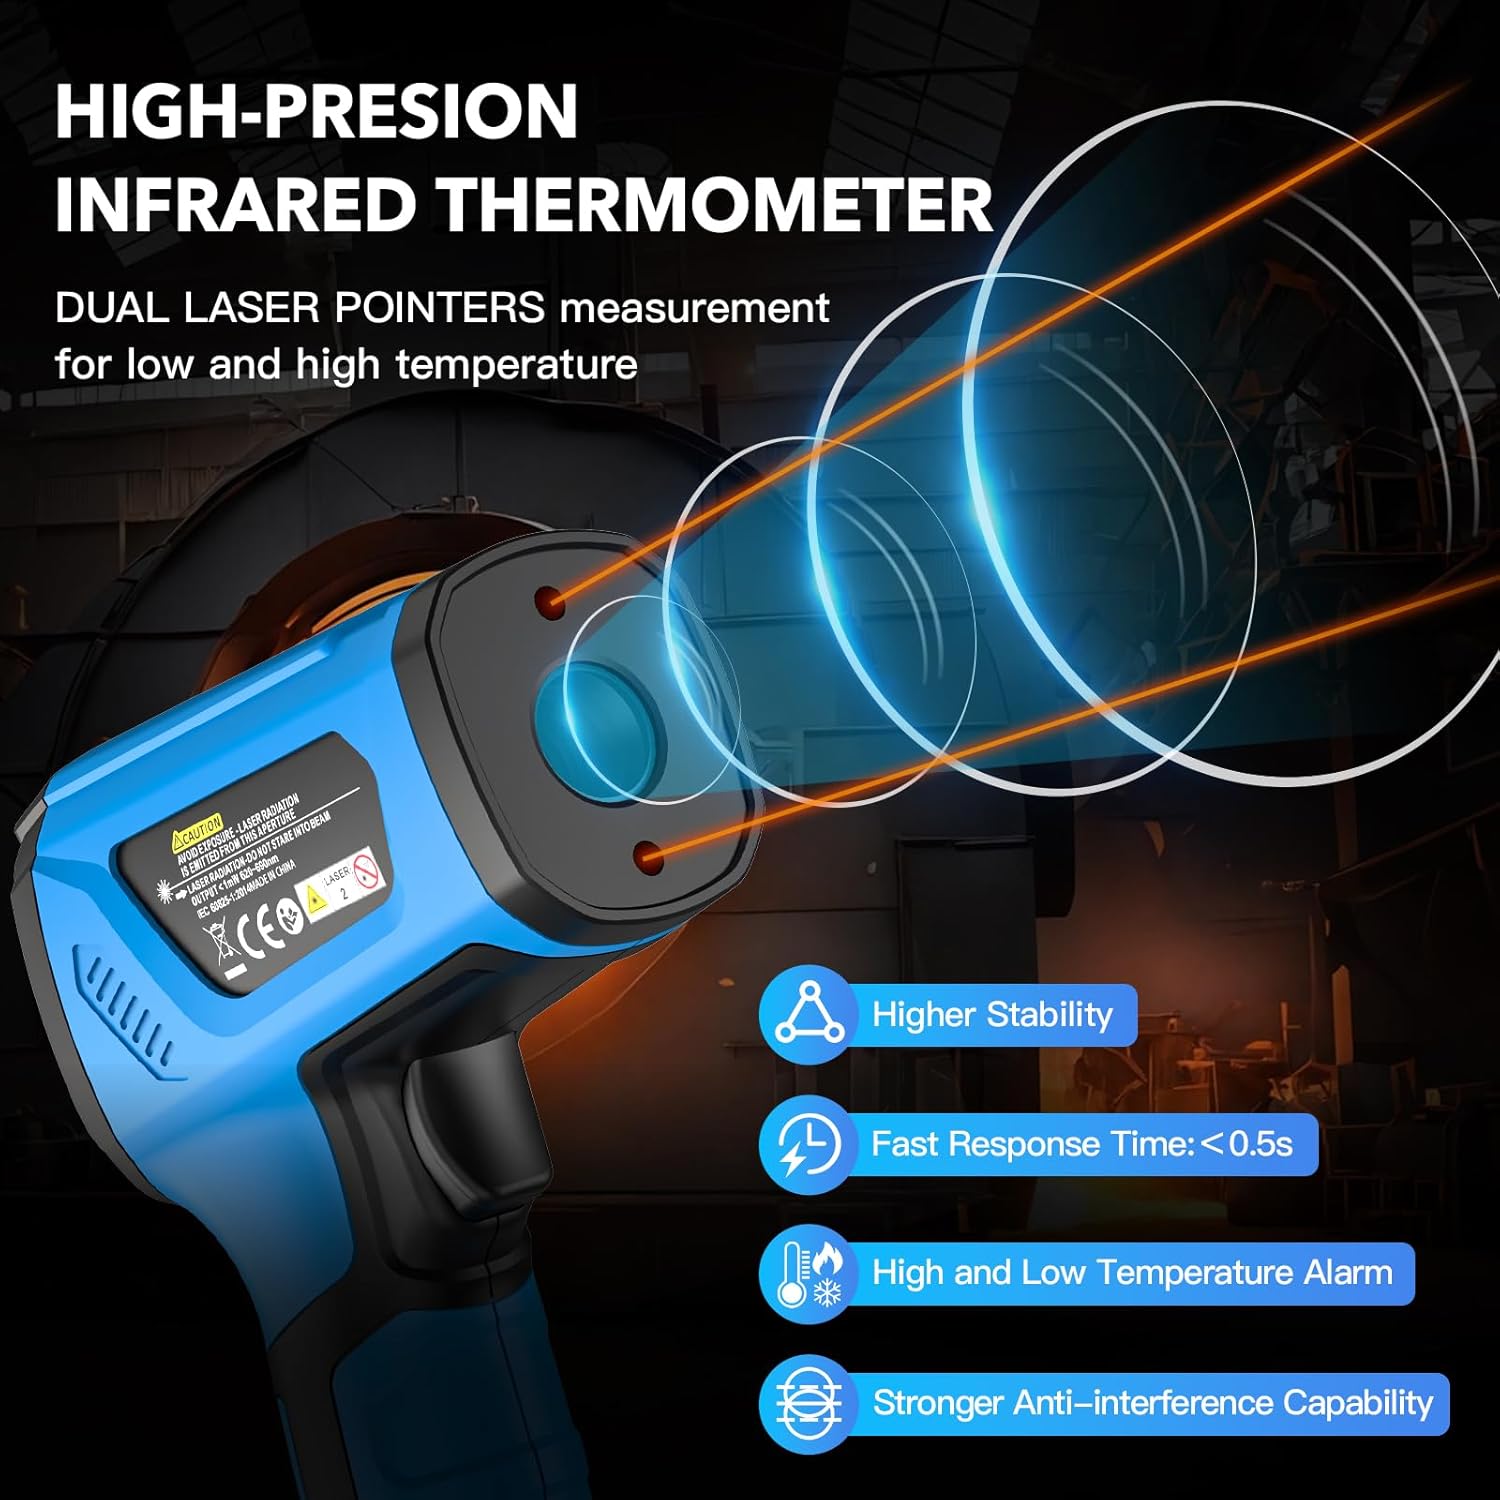
- Dual Laser Pointers: For precise targeting and accurate measurement.
- Adjustable Emissivity: (0.1 - 1.0) for improved accuracy on various surfaces.
- Multiple Measurement Modes: MAX (Maximum), MIN (Minimum), AVG (Average), DIF (Difference).
- High/Low Temperature Alarms: User-definable alarms to detect anomalies.
- VA Reverse Display Color LCD: Clear readability even in dark environments.
- Convenience Features: Low battery indication, 35-second auto-shutdown, °C/°F unit switch.

3. Setup
3.1 Battery Installation
- Locate the battery compartment cover on the handle of the thermometer.
- Open the battery compartment cover. No screwdriver is required.
- Insert two (2) AA batteries, ensuring correct polarity (+/-).
- Close the battery compartment cover securely.

3.2 K-Type Thermocouple Probe Connection
- Locate the K-type thermocouple input port on the top of the thermometer.
- Insert the K-type thermocouple probe into the port, ensuring the positive pole of the probe aligns with the positive pole of the input.
- The device will automatically switch to K-type measurement mode when the probe is connected.

4. Operating Instructions
4.1 Power On/Off
- To power on, press the trigger. The display will light up.
- The device features a 35-second auto-shutdown function to conserve battery power if inactive.

4.2 Non-Contact Infrared Measurement
- Point the thermometer at the target object.
- Press and hold the trigger. The dual laser pointers will activate, indicating the measurement area.
- The measured temperature will be displayed on the LCD screen.
- Release the trigger to hold the reading on the display.
4.3 K-Type Thermocouple Measurement
- Ensure the K-type probe is correctly connected.
- Place the tip of the probe in contact with the object or substance whose temperature you wish to measure.
- The temperature reading will appear on the display.
4.4 Unit Switching (°C/°F)
Press the SET button repeatedly until the C/F switching mode is displayed. Use the Up/Down arrow keys to toggle between Celsius (°C) and Fahrenheit (°F).
4.5 Adjustable Emissivity
Emissivity (ε) is a measure of an object's ability to emit infrared energy. Different materials have different emissivities. Adjusting the emissivity setting improves measurement accuracy.
- Press the SET button repeatedly until the emissivity setting (ε) flashes on the display.
- Use the Up/Down arrow keys to adjust the emissivity value between 0.1 and 1.0.
- Refer to a standard emissivity table for common materials if precise adjustment is needed.
4.6 High/Low Temperature Alarms
The device allows you to set high and low temperature thresholds. An audible and visual alarm will activate if the measured temperature exceeds the high limit or falls below the low limit.
- Long press the SET button to enter High Temperature Setting Mode. The maximum temperature will flash. Use Up/Down keys to adjust.
- Gently press the SET button again to enter Low Temperature Setting Mode. The minimum temperature will flash. Use Up/Down keys to adjust.
- Press the SET button again to exit the alarm setting mode.

4.7 Measurement Modes (MAX/MIN/AVG/DIF)
Press the MIN/MAX button to cycle through the following measurement modes:
- MAX: Displays the maximum temperature recorded during a continuous measurement.
- MIN: Displays the minimum temperature recorded during a continuous measurement.
- AVG: Displays the average temperature recorded during a continuous measurement.
- DIF: Displays the difference between the maximum and minimum temperatures recorded.


5. Maintenance
5.1 Cleaning
- Wipe the device with a soft, damp cloth. Do not use abrasive cleaners or solvents.
- Do not immerse the device in water or any other liquid.
- Keep the lens clean to ensure accurate readings. Use a soft cloth or cotton swab with lens cleaner if necessary.
5.2 Battery Replacement
Replace batteries when the low battery indicator appears on the display. Follow the steps in Section 3.1 for battery installation.
5.3 Storage
When not in use for extended periods, remove the batteries and store the thermometer in its carrying bag in a cool, dry place, away from direct sunlight and extreme temperatures.
6. Troubleshooting
- No Display/Power: Check battery installation and ensure batteries are not depleted. Replace if necessary.
- Inaccurate Readings:
- Ensure the lens is clean.
- Verify the emissivity setting matches the material being measured.
- Ensure the distance-to-spot ratio is appropriate for the target size and distance.
- Allow the thermometer to stabilize if moving between environments with significant temperature differences.
- Laser Not Working: Check if the laser control key is pressed. If still not working, contact support.
- K-Type Probe Not Reading: Ensure the probe is securely connected and making proper contact with the object. Check for any visible damage to the probe.
7. Specifications
| Feature | Specification |
|---|---|
| Model Number | IR05A |
| Infrared Temperature Range | -40°C to 1600°C (-40°F to 2912°F) |
| K-Type Thermocouple Range | -10°C to 500°C (14°F to 932°F) |
| Accuracy (Infrared) | ±2% |
| Accuracy (K-Type) | ±1.5% |
| Distance-to-Spot Ratio (D:S) | 50:1 |
| Emissivity | Adjustable 0.1 - 1.0 |
| Response Time | < 0.5 seconds |
| Display Type | VA Reverse Display Color LCD |
| Power Source | 2 x AA Batteries (included) |
| Auto-Shutdown | 35 seconds |
| Dimensions (L x W x H) | 12 x 6 x 18 cm (4.7 x 2.4 x 7.1 inches) |
| Weight | 550 grams (approx. 1.2 lbs) |
| Exterior Material | Rubber |
| Special Features | Alarm, High Precision, Low Battery Indicator, Ultra Clear Screen |

8. Package Contents
The MESTEK IR05A package includes the following items:
- 1 x MESTEK IR05A Infrared Thermometer
- 1 x K-Type Thermocouple Probe
- 1 x Carrying Bag
- 1 x User Manual (this document)
- 2 x 1.5V AA Batteries

9. Warranty and Support
MESTEK provides a 24-month warranty for the IR05A Infrared Thermometer. We are committed to offering lifetime technical support for our products.
- For any product-related issues or technical assistance, please contact our customer support team.
- We aim to provide a quick response within 24 hours to address your concerns.