
1. Introduction
Thank you for choosing the Primo Touch Compact Tabletop Water Dispenser. This manual provides essential information for the safe and efficient operation of your new appliance. Please read these instructions thoroughly before installation and use, and retain them for future reference.
2. Safety Information
- Always connect the dispenser to a grounded electrical outlet.
- Do not immerse the dispenser, power cord, or plug in water or other liquids.
- Keep the dispenser away from direct sunlight and heat sources.
- Ensure proper ventilation around the unit.
- Unplug the dispenser before cleaning or performing any maintenance.
- This appliance is not intended for use by persons with reduced physical, sensory, or mental capabilities, or lack of experience and knowledge, unless they have been given supervision or instruction concerning use of the appliance by a person responsible for their safety.
- Children should be supervised to ensure they do not play with the appliance.
- Hot water can cause severe burns. Exercise caution when dispensing hot water.
3. Product Overview
The Primo Touch Compact Tabletop Water Dispenser provides convenient access to cold, hot, and ambient temperature water. It features an intuitive control panel and a compact design suitable for various environments.

Figure 1: Front view of the Primo Touch Compact Tabletop Water Dispenser.
Control Panel
The control panel allows you to select your desired water temperature. An LED display indicates the status of the water cooling and heating functions.

Figure 2: Detailed view of the control panel with temperature selection icons.
4. Setup
- Unpacking: Carefully remove the dispenser from its packaging. Inspect for any damage.
- Placement: Place the dispenser on a flat, stable, and level surface. Ensure there is adequate space around the unit for ventilation (at least 10 cm from walls). Avoid placing it in direct sunlight or near heat sources.
- Power Connection: Ensure the dispenser is unplugged.
- Water Bottle Installation: Remove the protective seal from a standard 3 or 5-gallon (11 or 19-liter) water bottle. Invert the bottle and carefully place it onto the support collar on top of the dispenser. Push down firmly until the bottle is seated and water begins to flow into the dispenser's reservoir. The anti-leak system ensures a secure fit.
- Initial Priming: Before plugging in, dispense water from both the cold and hot taps until water flows steadily. This removes air from the system.
- Plug In: Plug the dispenser into a grounded electrical outlet.
5. Operating Instructions
The dispenser is designed for easy operation, providing cold, hot, and ambient water with a simple touch.
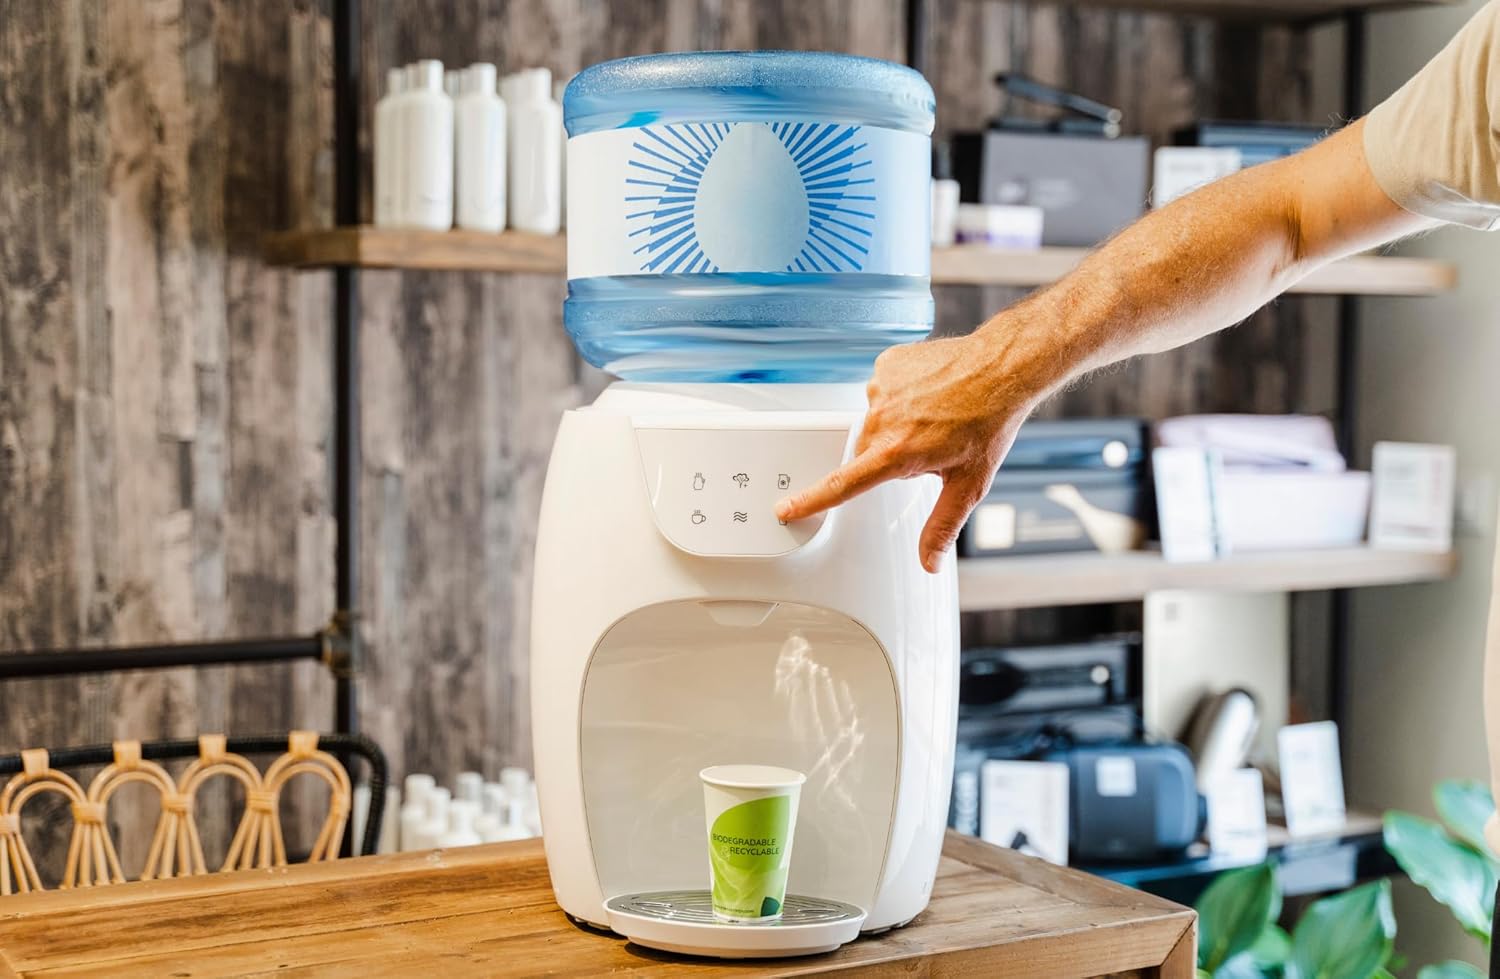
Figure 3: Dispensing water from the unit.
- Power On: Once plugged in, the dispenser will begin cooling and heating water. The LED display will indicate when the cold water has reached its optimal cooling temperature (approximately 5°C) and when the hot water has reached its optimal heating temperature (approximately 95°C).
- Dispensing Cold Water: Place your cup under the cold water tap. Press the cold water button (typically indicated by a snowflake icon). Release the button to stop dispensing.
- Dispensing Hot Water: Place your cup under the hot water tap. Press the hot water button (typically indicated by a teacup or steam icon). Caution: Hot water can cause burns. Release the button to stop dispensing.
- Dispensing Ambient Water: Place your cup under the ambient water tap. Press the ambient water button (typically indicated by a wave icon). Release the button to stop dispensing.
6. Maintenance and Cleaning
Regular cleaning ensures optimal performance and hygiene of your water dispenser.
- Exterior Cleaning: Wipe the exterior surfaces with a soft, damp cloth. Do not use abrasive cleaners or solvents.
- Drip Tray: The drip tray should be emptied and cleaned regularly to prevent overflow and bacterial growth. Remove the tray, wash it with mild soap and water, rinse thoroughly, and dry before replacing.
- Water Reservoir (Internal): For thorough cleaning, it is recommended to periodically sanitize the internal water reservoirs. Consult the manufacturer's website or customer support for detailed sanitization procedures, which may involve specific cleaning solutions. Always unplug the unit and drain all water before attempting internal cleaning.
- Replacing Water Bottle: When the water bottle is empty, lift it off the dispenser. Place a new, full water bottle onto the dispenser as described in the Setup section.
7. Troubleshooting
If you encounter issues with your dispenser, refer to the following common problems and solutions:
| Problem | Possible Cause | Solution |
|---|---|---|
| No water dispensing | Empty water bottle; Airlock in system; Dispenser unplugged. | Replace water bottle; Prime the system by dispensing from all taps; Check power connection. |
| Water not cold/hot enough | Dispenser recently plugged in; Ventilation blocked; Heating/cooling element malfunction. | Allow 1-2 hours for water to reach temperature; Ensure proper ventilation; Contact customer support if problem persists. |
| Water leaking | Water bottle not seated correctly; Damaged water bottle; Internal leak. | Re-seat water bottle firmly; Check bottle for cracks; Unplug and contact customer support. |
| Unusual noise | Normal operation (compressor); Unit not level. | Some noise is normal during cooling/heating cycles; Ensure dispenser is on a level surface. |
8. Specifications
| Feature | Detail |
|---|---|
| Model Number | HC03-ARI |
| Product Dimensions | 37.3 x 30.8 x 37.6 cm |
| Color | White |
| Material | Plastic |
| Installation Type | Countertop |
| Water Access Location | Top-loading |
| Number of Settings | 5 (Hot, Cold, Ambient, Hot for cooking, Cold jug - based on image interpretation) |
| Hot Water Temperature | Up to 95°C |
| Cold Water Temperature | Down to 5°C |
| Power Source | Corded Electric |
9. Warranty and Support
For warranty information or technical support, please refer to the documentation included with your purchase or visit the official Primo website. Keep your proof of purchase for warranty claims.