
Introduction
The EZVALO Puck Lights are versatile, rechargeable lighting solutions designed for various indoor applications such as kitchens, cabinets, closets, and hallways. Featuring a PIR motion sensor, remote control capabilities, and adjustable color temperatures, these lights offer convenience and customizable illumination. This manual provides detailed instructions for installation, operation, and maintenance to ensure optimal performance.

Image: EZVALO Puck Lights, remote control, and charging cables.
What's in the Box
Verify that all components are present in the package:
- 6 x Motion Sensor Puck Lights
- 6 x Adhesive Iron Sheets
- 2 x USB-C Charging Cables
- 1 x Remote Control
- 1 x Instruction Manual
Specifications
| Feature | Detail |
|---|---|
| Brand | EZVALO |
| Model Number | LR-2 |
| Dimensions | 1.2"L x 3.3"W x 3.3"H |
| Material | Acrylonitrile Butadiene Styrene, Glass, Plastic |
| Power Source | Battery Powered (1200mAh Lithium Ion) |
| Light Source Type | LED |
| Color Temperatures | 3000K (Warm White), 5000K (Cool White) |
| Brightness | Dimmable (5-100%), 50 Lumen |
| Motion Sensor Range | 120°, 10 ft |
| Control Method | Remote Control, Motion Sensor |
| Timing Off Settings | 15/60/120 minutes |
| Connectivity Protocol | Wi-Fi (for remote communication) |
| Indoor/Outdoor Usage | Indoor |
Setup and Installation
The EZVALO Puck Lights offer two primary installation methods:
- Direct Magnetic Attachment: Each puck light has a built-in super large magnet. If your desired surface is iron-based (e.g., certain metal shelves), simply attach the light directly.
- Adhesive Iron Sheet: For non-iron surfaces (e.g., wood cabinets, plastic), use the provided adhesive iron sheets. Peel off the protective film from one side of the adhesive iron sheet and firmly press it onto the desired clean, dry surface. Once the sheet is securely attached, the puck light can be magnetically affixed to the iron sheet. This allows for easy removal for recharging.
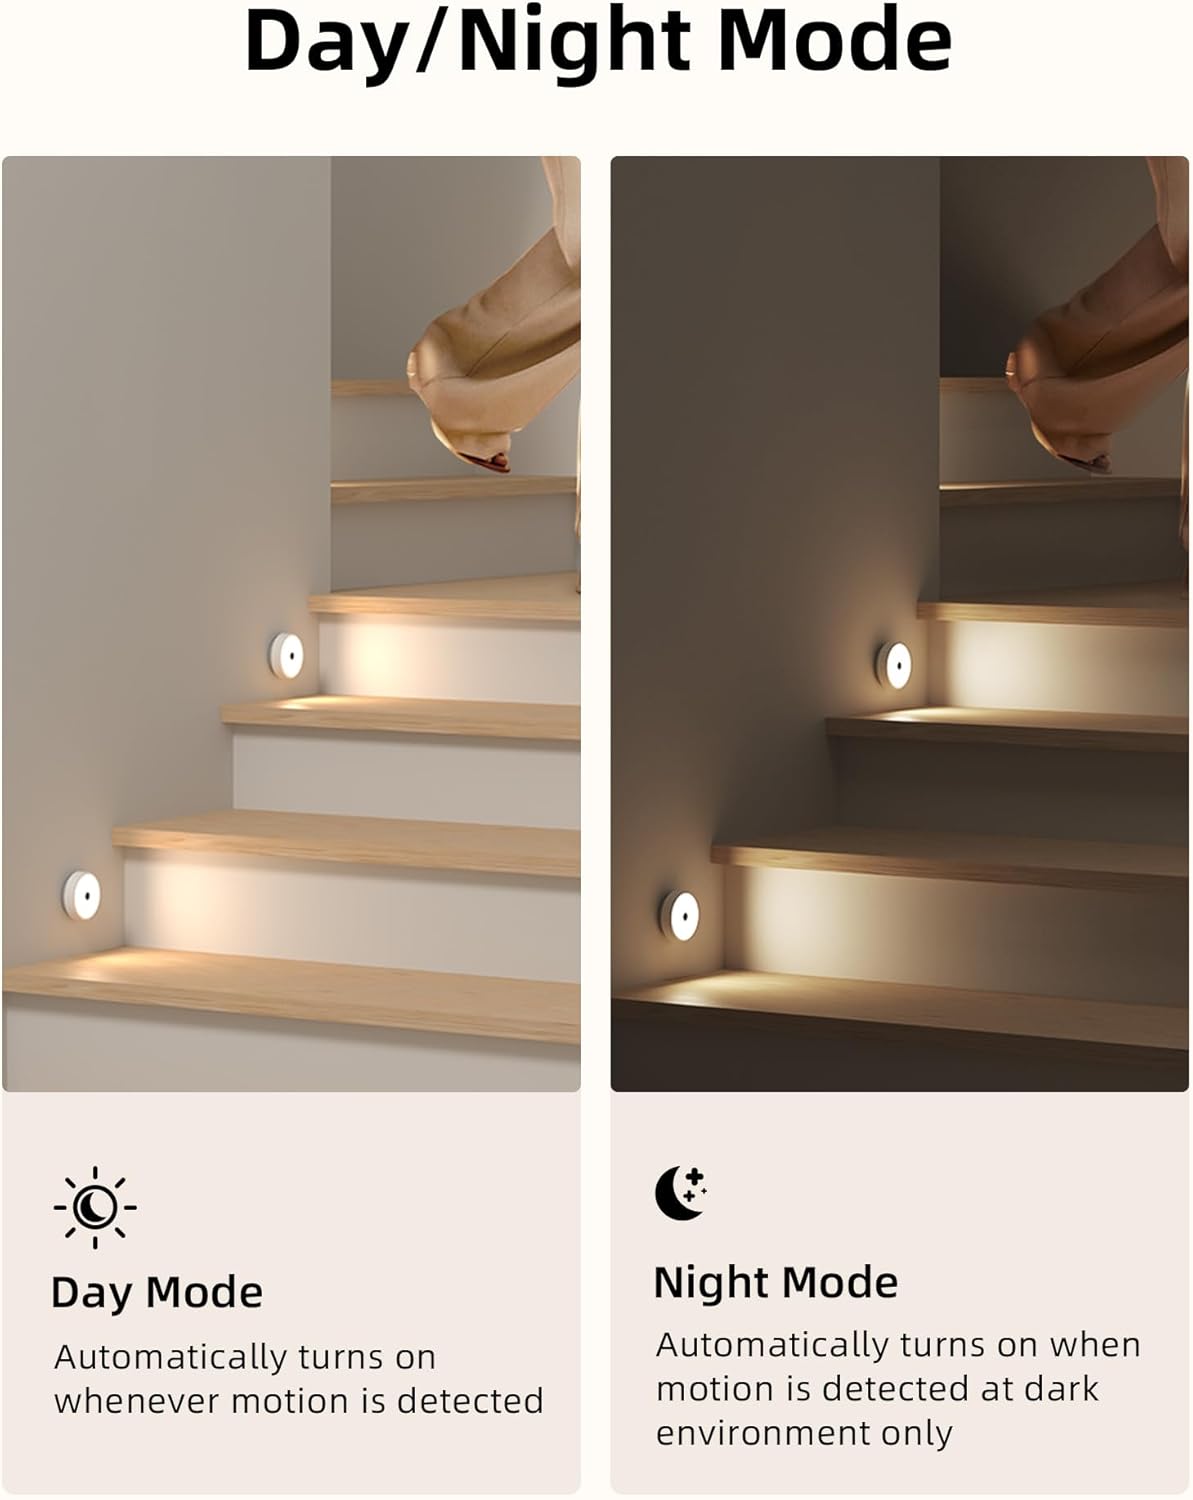
Image: Step-by-step guide for installing the puck lights on non-magnetic surfaces using adhesive iron sheets.

Image: Illustration of the wireless installation method using the magnetic sheet.
Operating Instructions
Charging the Puck Lights
Before first use, fully charge all puck lights. Use the provided USB-C charging cables. The built-in 1200mAh lithium battery provides extended use. A red indicator light signifies charging, and a green light indicates a full charge.

Image: A puck light being charged via its USB-C port, highlighting the 1200mAh rechargeable battery.

Image: Detailed view of the puck light's charging port and an explanation of its 1200mAh battery capacity.
PIR Motion Sensor Functionality
The puck lights are equipped with a Passive Infrared (PIR) motion sensor that detects movement within a 120° angle and up to 10 feet. The light automatically turns on when motion is detected in a dark environment and turns off approximately 25 seconds after the last movement is detected.

Image: A woman in a kitchen demonstrating the motion sensor light automatically turning on when motion is detected.
Day/Night Mode
The lights feature two operational modes:
- Day Mode: Lights will automatically turn on whenever motion is detected, regardless of ambient light conditions.
- Night Mode: Lights will only turn on when motion is detected in a dark environment. This conserves battery life during daylight hours.

Image: Visual comparison of Day Mode (lights on with motion) and Night Mode (lights on with motion only in dark environments) on a staircase.
Remote Control Functions
The included remote control allows for comprehensive management of your puck lights. It operates on a 2.4GHz frequency, enabling signals to transmit up to 10 feet away, even through glass obstructions.

Image: A hand holding the remote control, demonstrating its ability to control multiple puck lights in different cabinet sections.

Image: A detailed diagram illustrating each button on the remote control and its corresponding function.
Group Control
The remote control allows you to assign lights into two distinct groups (G1 and G2). All lights within the same group can be controlled in unison, eliminating the need to adjust each light individually.

Image: Visual representation of the remote's group control feature, showing how lights can be assigned to G1 or G2 for unified control.
Brightness Adjustment (Dimming)
Adjust the brightness from 5% to 100% using the remote control to suit your lighting needs.

Image: Illustration of the stepless dimming feature, showing the range from 5% to 100% brightness.
Color Temperature Selection
Choose between two color temperatures:
- 3000K (Warm Light): Provides a cozy, inviting ambiance.
- 5000K (Cool White): Offers a bright, clear illumination suitable for task lighting.

Image: Visual demonstration of the two available light temperatures: 3000K (Warm White) and 5000K (Cool White).

Image: The remote control displaying the options to switch between 3000K (Warm) and 5000K (Cool) color temperatures.
Timing Off Settings
Set the lights to automatically turn off after a specified duration:
- 15 minutes
- 60 minutes
- 120 minutes
Maintenance
To ensure the longevity and optimal performance of your EZVALO Puck Lights:
- Cleaning: Wipe the lights with a soft, dry cloth. Do not use abrasive cleaners or immerse the lights in water.
- Battery Care: Recharge the lights when the brightness noticeably diminishes. Avoid completely draining the battery frequently to prolong its lifespan. Store in a cool, dry place if not in use for extended periods.
- Placement: Ensure the motion sensor is not obstructed for optimal detection.
Troubleshooting
| Problem | Possible Cause & Solution |
|---|---|
| Light does not turn on. | Battery Low: Recharge the light fully. Incorrect Mode: Ensure it's not in Night Mode in a bright environment. Sensor Obstructed: Clear any obstructions from the motion sensor. Remote Issue: Check remote battery or re-pair if necessary. |
| Motion sensor not detecting. | Range/Angle: Ensure motion is within 10 ft and 120° detection angle. Ambient Light: If in Night Mode, ensure the environment is dark enough. Obstruction: Remove any objects blocking the sensor. |
| Remote control not working. | Battery: Replace the remote control battery. Distance: Ensure you are within 10 ft of the lights. Pairing: Re-pair the remote with the lights if connection is lost (refer to remote instructions). |
| Battery life is shorter than expected. | Frequent Activation: High traffic areas will deplete battery faster. Always-on Mode: If used in Always-on Mode, battery life will be significantly shorter than motion sensor mode. Brightness Level: Higher brightness settings consume more power. |
| Lights in a group are not responding uniformly. | Incorrect Group Assignment: Verify all lights intended for a group are correctly assigned to G1 or G2. Interference: Ensure no strong interference sources are nearby. |
Warranty and Support
EZVALO is committed to customer satisfaction. If you encounter any issues with your product, such as damage upon arrival or quality concerns, please contact EZVALO directly. We are dedicated to providing a satisfactory solution and ensuring a positive shopping experience for every customer.
For support, please visit the official EZVALO store on Amazon or contact their customer service through the platform where you purchased the product.
Visit the EZVALO Store for more information and support.