
1. Introduction and Overview
This manual provides detailed instructions for the assembly, operation, and maintenance of your AODK Computer Desk. Designed for efficiency and comfort, this desk features RGB LED lights, a convenient power outlet, four fabric drawers, an ergonomic monitor stand, and a flexible reversible design.
Key features include:
- RGB LED Lights: 10 static colors and 10 dynamic modes for customizable ambiance.
- Convenient Power Outlet: 3 standard AC outlets and 2 USB ports for device charging.
- 4 Fabric Drawers: Includes a professional file drawer and three additional storage drawers for organization.
- Ergonomic Monitor Stand: Raises screen to eye level to reduce neck strain.
- Flexible Reversible Design: Allows printer shelf to be positioned on either left or right side.
2. Safety Information
Please read all safety warnings and instructions carefully before assembly and use. Failure to follow these instructions may result in injury or damage to the product.
- Do not overload the desk with more weight than it can safely support.
- Always use the power strip according to the manufacturer's instructions to prevent electrical hazards.
- Keep small parts and packaging materials away from children to prevent choking hazards.
- Ensure all screws and fasteners are securely tightened before use. Periodically check and re-tighten as needed.
- Avoid placing hot items directly on the desk surface without protective padding.
3. Setup and Assembly
For ease and safety, we recommend two people for assembly. The entire assembly process typically takes about half to one hour. Please ensure all parts are included and in good condition before beginning.
Assembly Video Guide
Official AODK Product Installation Video. This video provides a step-by-step visual guide for assembling your computer desk.
Step-by-Step Assembly Instructions
- Install Adjustable Foot Pads: Install adjustable foot pads (part 10) on parts E, F, and G. Ensure they are securely tightened.
- Connect Frame Parts: Connect part N to part E, and part N to part F and part G with screws (part 1). Please note the screw holes on Part E and Part F face upward.
- Install Crossbars: Install part M and part L on part E and part F with screws (part 1). Ensure side screw holes on parts E, F, M, and L are placed right.
- Install Back Supports: Install 6 parts O on the frame with screws (parts 3 and 9). Please note the Parts O are concave inwards.
- Install Side Board: Install Board B with the screws (part 7) onto the side frame.
- Connect Monitor Stand Base: Connect Part P and Part I with the screws (part 4) and install them to the frame with the screws (part 1). Please note the groove of the Part I are placed right.
- Install Vertical Supports: Install the Part H to the frame with the screws (part 1). Please note insert screws (part 1) to the rivet holes on the parts H and the through holes are face upward.
- Assemble Monitor Stand Top: Use screws (part 4) and Part R to connect the Board C and D. Please use the right screws. Install the Part K on the Board D with the screws (part 4). Please use the right screws. Install 2 Part J on the Board with the screws (part 2). Please use the right screws.
- Attach LED Light Strip: Attach the light strip (part 13) to the bottom of the monitor stand. Ensure it is securely adhered.
- Install Monitor Stand: Install the monitor stand on the Board A with the screws (part 2). Please use the right screws.
- Install Desktop: Install the desktop on the frame with the screws (part 1). Please note the 2 screw holes on the Part H are face upward and the side screw holes on the Part E and Part F are face backward of the desk.
- Install Stability Bars: Install the Part Q on the frame with the screws (part 4).
- Install Power Outlet Box and Hook: Install the outlet box with the screws (part 6) and install the hook with the screws (part 4).
- Assemble Drawers (Small): Expand drawers U, S and put in the Part Y, then install the drawers handle (part 14) with the screwdriver and screws (part 5).
- Assemble Drawers (Large): Expand drawers T and put in the Part Z, then install the drawers handle (part 14) with the screwdriver and screws (part 5).
- Install File Drawer Supports: Install the Part V in the drawer S with the screws (parts 4 and 8), then install the Part W on the Part V.
- Final Step: Finally put the drawers into the desk.

Image: Fully assembled AODK Computer Desk, showcasing its features including the monitor stand, LED lighting, and integrated storage.
4. Operating Instructions
4.1. RGB LED Lights
The AODK gaming desk features RGB LED lights with 10 static colors and 10 dynamic modes. These can be customized for various activities such as work, gaming, or relaxation.
- Color Adjustment: Use the control panel to cycle through 10 static colors.
- Dynamic Modes: Select from 10 dynamic lighting effects.
- Brightness Control: Adjust the brightness level to suit your preference.

Image: Close-up of the RGB LED strip installed under the monitor stand, illustrating various lighting options.
4.2. Convenient Power Outlet
The desk is equipped with a built-in power outlet for easy access to charging. This eliminates tangled cords and the need to search for wall outlets.
- AC Outlets: Features 3 standard AC outlets for laptops, monitors, and other electronics.
- USB Ports: Includes 2 USB ports for fast-charging mobile phones, tablets, and gaming devices.
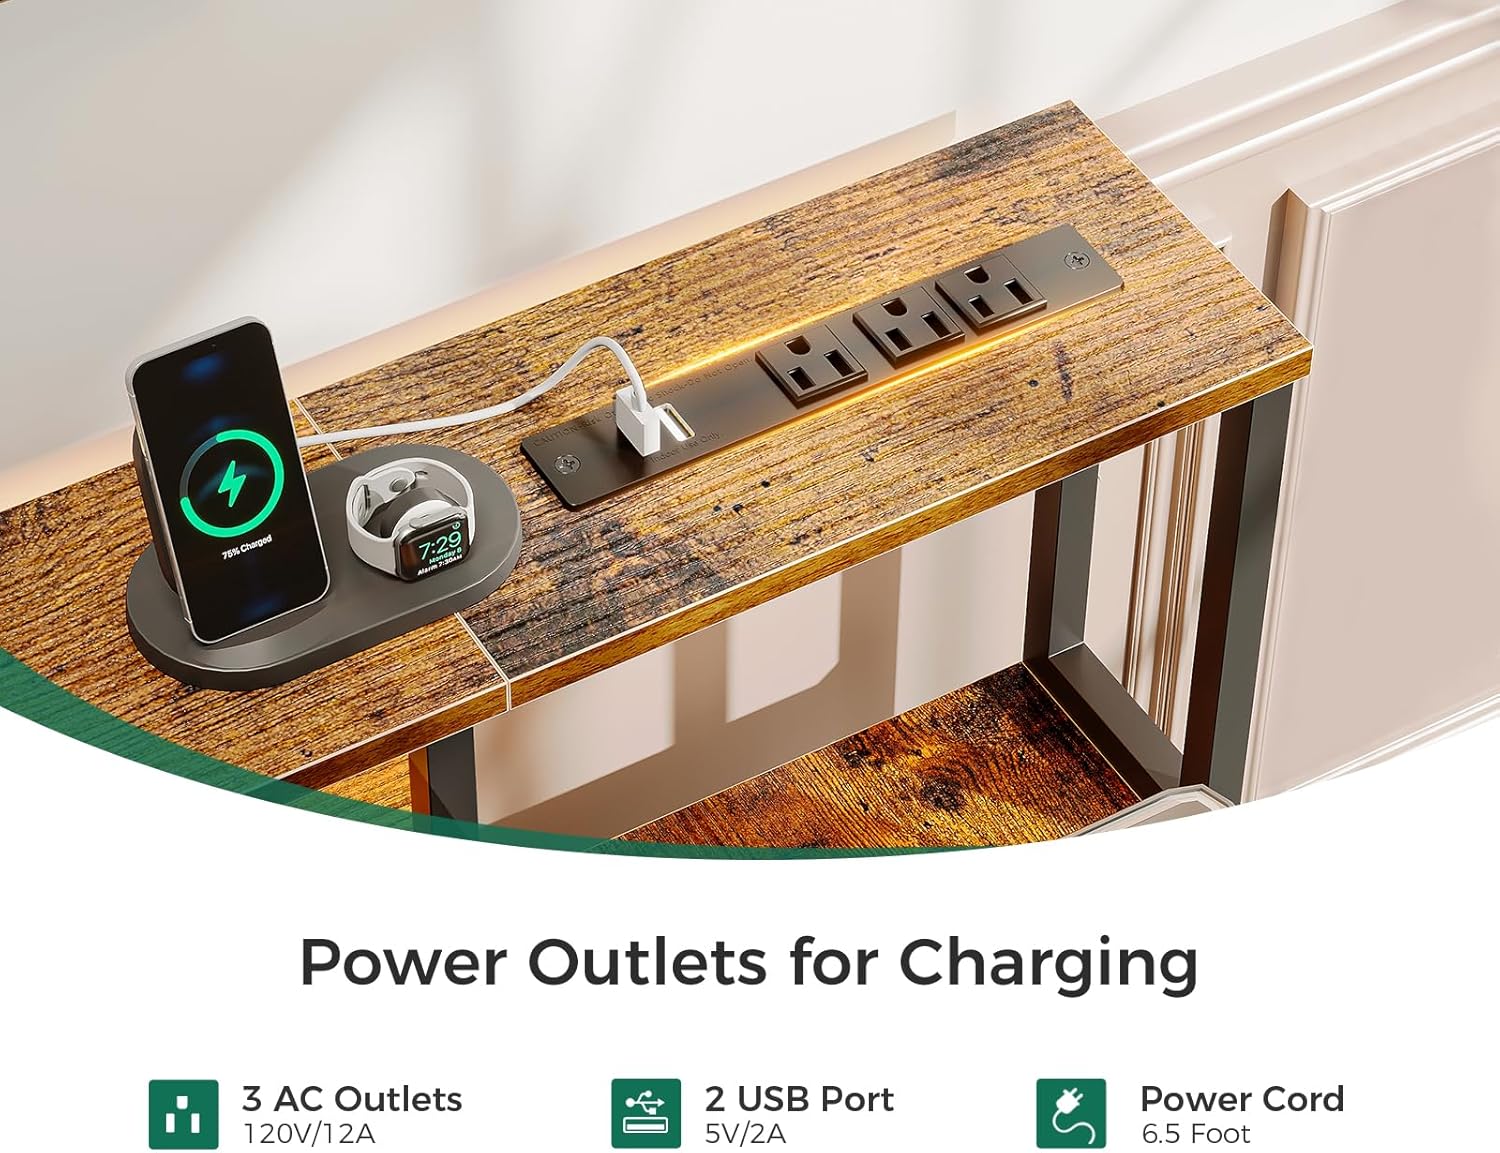
Image: Detail of the integrated power outlet with AC and USB ports, showing devices charging.
4.3. Fabric Drawers
The desk includes four fabric drawers designed for efficient storage and organization of office supplies and documents.
- File Drawer: One professional file drawer is suitable for books, letter, and A4 legal documents.
- Storage Drawers: Three additional fabric drawers provide space for various office supplies and gaming accessories.

Image: View of the fabric drawers, highlighting the file drawer's capacity for documents and the smaller drawers for supplies.
4.4. Ergonomic Monitor Stand
The raised monitor stand helps position your screen at an ergonomic eye level, reducing neck strain and improving comfort during long periods of use.

Image: A lifestyle shot of the desk in use, demonstrating the elevated monitor stand and overall workspace setup.
5. Maintenance
To ensure the longevity and appearance of your AODK Computer Desk, follow these simple maintenance guidelines:
- Cleaning: Wipe the desk surfaces with a damp cloth. Avoid using harsh chemicals or abrasive cleaners that could damage the finish.
- Dusting: Regularly dust all surfaces to prevent buildup.
- Spills: Immediately wipe up any spills to prevent staining or damage to the wood and metal components.
- Fasteners: Periodically check all screws and fasteners to ensure they remain tight. Re-tighten as necessary to maintain stability.
- Weight Distribution: Distribute weight evenly across the desk surface and shelves to prevent warping or structural stress.
6. Troubleshooting
If you encounter any issues with your AODK Computer Desk, please refer to the following common troubleshooting tips:
- Desk Wobbles:
- Ensure all assembly screws are fully tightened.
- Adjust the non-slip foot pads on the bottom of the legs to stabilize the desk on uneven floors.
- LED Lights Not Working:
- Check if the power adapter is securely plugged into both the desk and a working wall outlet.
- Verify that the light strip is properly connected to its power source.
- Ensure the control panel is functioning correctly and not damaged.
- Power Outlets Not Functioning:
- Confirm the desk's main power cord is securely plugged into a live wall outlet.
- Check if any circuit breakers on the power strip (if applicable) have tripped.
- Test the outlet with another device to ensure the issue is with the desk's power unit and not the wall outlet.
- Drawers Not Sliding Smoothly:
- Ensure the fabric drawers are correctly assembled and not overfilled.
- Check for any obstructions within the drawer compartments.
If you experience issues such as damaged or missing parts upon arrival, or if troubleshooting steps do not resolve your problem, please contact AODK customer support. Our professional team is available to assist you within 24 hours.
7. Specifications
| Feature | Detail |
|---|---|
| Brand | AODK |
| Model | 55 Inch Computer Desk with 4 Drawers |
| Product Dimensions | 18.89"D x 55.9"W x 35.39"H |
| Color | Rustic Brown |
| Base Material | Metal |
| Top Material Type | Engineered Wood |
| Number of Drawers | 4 (Fabric Drawers) |
| Power Outlet | 3 AC Outlets, 2 USB Ports |
| Special Features | Reversible, Built-In Monitor Stand, Ergonomic, Built-In USB Outlet, Scratch Resistant, RGB LED Lights |
| Recommended Assembly | 2 People |
| Product Care Instructions | Wipe with Damp Cloth |
8. Warranty and Support
AODK is committed to providing high-quality products and excellent customer service.
- Warranty: This product comes with a limited warranty. For specific details regarding coverage and duration, please refer to the warranty information provided with your purchase or contact customer support.
- Customer Support: If you have any questions, concerns, or require assistance with assembly, parts, or product functionality, please contact AODK customer support. Our team aims to respond and resolve issues within 24 hours.
- Contact Information: Refer to your purchase documentation or the AODK official website for the most current contact details.


