
1. Introduction
Thank you for choosing the Vestel TDH8SPT3DS 8kg Electric Heat Pump Condenser Dryer. This manual provides essential information for the safe and efficient operation, installation, and maintenance of your appliance. Please read these instructions carefully before using the dryer and keep them for future reference.
1.1 Safety Information
- Electrical Safety: Ensure the dryer is connected to a properly grounded electrical outlet. Do not use extension cords or adapters. Disconnect the power supply before any maintenance or cleaning.
- Child Safety: This appliance is not intended for use by persons with reduced physical, sensory or mental capabilities, or lack of experience and knowledge, unless they have been given supervision or instruction concerning use of the appliance by a person responsible for their safety. Children should be supervised to ensure that they do not play with the appliance. The dryer features a child lock system for added safety.
- Ventilation: Ensure adequate ventilation around the dryer. Do not block ventilation openings.
- Flammable Materials: Do not dry items that have been soiled with flammable substances such as cooking oil, gasoline, or dry-cleaning solvents.
- Installation: The dryer must be installed on a firm, level surface. Refer to the 'Setup' section for detailed installation instructions.
2. Product Overview
The Vestel TDH8SPT3DS is an 8kg capacity electric heat pump condenser dryer designed for efficient and gentle drying of various fabric types. It features a digital display, multiple drying programs, and advanced sensor technology.
2.1 Main Components
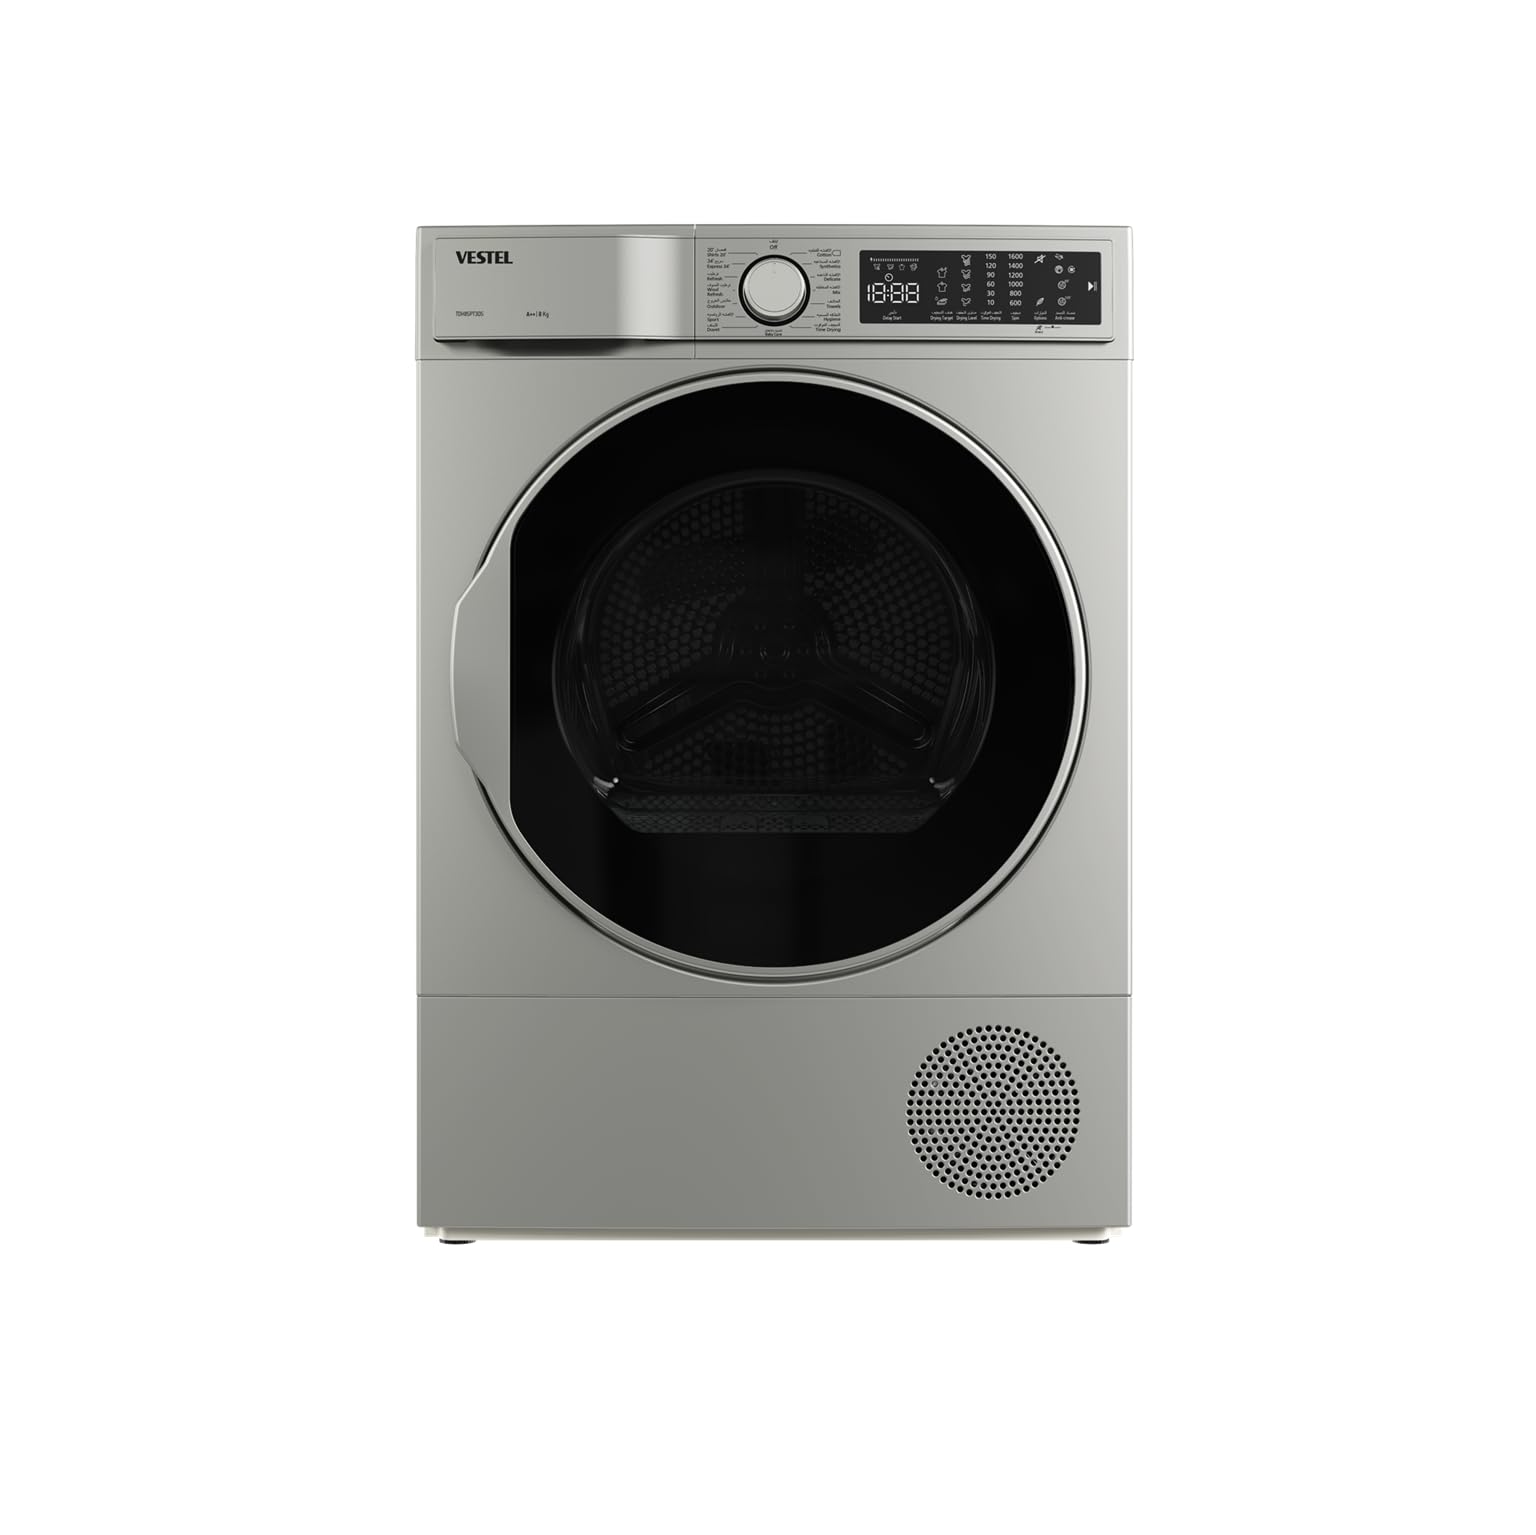
The dryer consists of a main body, a front-loading door with a left hinge, an internal drum, a control panel, a lint filter, and a water collection tank.

2.2 Control Panel
The control panel is located on the top front of the dryer and includes a digital display, a program selection knob, and various function buttons for options like delay start, dryness level, and child lock activation.
3. Setup
3.1 Unpacking
- Carefully remove all packaging materials, including any protective films or foam inserts.
- Check the dryer for any signs of damage during transit. Contact your retailer immediately if any damage is found.
3.2 Placement and Leveling
- Place the dryer on a solid, level floor. Avoid placing it on carpets or uneven surfaces that could obstruct ventilation.
- Ensure there is sufficient space around the dryer for air circulation.
- Adjust the leveling feet at the bottom of the dryer to ensure it is stable and perfectly level. This prevents excessive vibration and noise during operation.
3.3 Electrical Connection
- Connect the dryer to a dedicated, grounded electrical outlet that matches the voltage and current requirements specified on the product label.
- Do not use multi-sockets or extension cords.
3.4 First Use
- Before drying clothes, wipe the inside of the drum with a damp cloth to remove any dust or residues from manufacturing.
- Run an empty drying cycle (e.g., a short, low-heat program) to ensure proper functioning and to remove any residual odors.
4. Operating Instructions
4.1 Loading Laundry
- Sort laundry by fabric type and desired dryness level.
- Do not overload the dryer. The 8kg capacity refers to dry weight. Overloading can reduce drying efficiency and cause excessive wrinkling.
- Ensure all items are suitable for tumble drying according to their care labels.
- The dryer includes a shoe drying rack. Place shoes on the rack inside the drum for gentle drying, ensuring they do not tumble.
4.2 Program Selection
- Turn the program selection knob to choose one of the 15 available drying programs. Each program is designed for specific fabric types or drying needs (e.g., Cotton, Synthetics, Delicates, Refresh).
- The digital display will show the estimated drying time and selected options.
4.3 Special Features
- Digital Display: Provides information on program status, remaining time, and selected options.
- Delay Start: Allows you to postpone the start of a drying cycle by a set number of hours.
- Sensor Drying Technology: Automatically detects the moisture level of the laundry and adjusts the drying time accordingly, preventing over-drying and saving energy.
- Reverse Drum Action: The drum periodically reverses its rotation direction to prevent tangling and ensure more even drying.
- Child Lock: Activates to prevent accidental changes to settings or starting/stopping the dryer by children. Refer to the control panel instructions for activation/deactivation.
4.4 Starting and Stopping a Cycle
- After selecting the program and any desired options, press the 'Start/Pause' button to begin the drying cycle.
- To pause a cycle, press the 'Start/Pause' button. Press it again to resume.
- To cancel a cycle, press and hold the 'Start/Pause' button for a few seconds, or turn the program knob to 'Off'.
5. Maintenance
Regular maintenance ensures optimal performance and extends the lifespan of your dryer.
5.1 Cleaning the Lint Filter
- The lint filter is located inside the door opening. It must be cleaned after every drying cycle.
- Pull the filter out, open it, and remove any accumulated lint by hand or with a soft brush.
- Rinse the filter under running water if necessary, and ensure it is completely dry before reinserting.
5.2 Emptying the Water Tank
- The water collection tank accumulates condensed water during the drying process. It must be emptied after every drying cycle.
- Pull out the water tank (usually located at the top left of the control panel), empty the water, and push it back into place.
5.3 Cleaning the Condenser Filter
- The condenser filter should be cleaned regularly, typically every few cycles or as indicated by the dryer.
- Refer to your dryer's specific instructions for accessing and cleaning the condenser filter, as its location can vary.
5.4 General Care
- Wipe the exterior of the dryer with a soft, damp cloth. Do not use abrasive cleaners or solvents.
- Clean the door seal periodically to prevent lint buildup.
6. Troubleshooting
Before contacting customer service, please check the following common issues and solutions:
| Problem | Possible Cause | Solution |
|---|---|---|
| Dryer does not start | No power supply; Door not closed properly; Program not selected; Child lock active. | Check power connection; Close door firmly; Select a program; Deactivate child lock. |
| Clothes not drying properly | Lint filter clogged; Water tank full; Overloaded dryer; Incorrect program selected. | Clean lint filter; Empty water tank; Reduce load size; Select appropriate program. |
| Excessive noise/vibration | Dryer not level; Foreign objects in drum. | Adjust leveling feet; Check drum for loose items. |
| Water leaking | Water tank not inserted correctly; Condenser filter not sealed. | Ensure water tank is fully pushed in; Check condenser filter seal. |
If the problem persists after checking these points, please contact Vestel customer support or an authorized service technician.
7. Specifications
| Feature | Specification |
|---|---|
| Brand | Vestel |
| Model | TDH8SPT3DS |
| Type | Electric Heat Pump Condenser Dryer |
| Capacity | 8 kg |
| Color | Dark Silver |
| Material | Stainless Steel (Drum) |
| Dimensions (H x W x D) | 84.5 cm x 59.6 cm x 60.9 cm |
| Door Hinge | Left |
| Number of Programs | 15 |
| Key Features | Digital Display, Delay Start, Sensor Drying, Reverse Drum Action, Child Lock, Shoe Drying Rack |
| Manufacturer | Vestel, Turkey |
| First Available Date | March 6, 2024 |
7.1 Energy Efficiency Information

- Condensing Efficiency: B
- Annual Energy Consumption: 235 kWh
- Standard Drying Time: 179 minutes
- Type: Condensing
- Registration No: E62959/2023
- Standard Reference: SASO 2883:2017
- For more details on the energy efficiency certification, please visit: SASO Certificate Authentication
8. Warranty and Support
Your Vestel TDH8SPT3DS dryer comes with a manufacturer's warranty. Please refer to the warranty card provided with your purchase for specific terms, conditions, and duration. Keep your proof of purchase for warranty claims.
8.1 Customer Support
For technical assistance, spare parts, or service requests, please contact your local Vestel authorized service center or the retailer where you purchased the appliance. Ensure you have your model number (TDH8SPT3DS) and serial number ready when contacting support.

