1. Introduction
Thank you for choosing the MangoKit PR2S Portable DAB/DAB+ and FM Radio. This device offers high-quality digital and analogue radio reception, Bluetooth connectivity for audio streaming, dual alarm functions, and a sleep timer. Its portable design allows for both mains and battery operation, making it suitable for use in various environments. This manual provides detailed instructions to help you set up and operate your radio effectively.
2. Safety Information
- Read all instructions carefully before use and retain for future reference.
- Do not expose the unit to rain, moisture, or extreme temperatures.
- Avoid placing the unit near heat sources such as radiators, heat registers, stoves, or other apparatus (including amplifiers) that produce heat.
- Use only the power adapter supplied with the unit.
- Do not attempt to disassemble or modify the unit. Refer all servicing to qualified service personnel.
- Ensure proper ventilation around the unit.
- When using batteries, ensure they are inserted with correct polarity. Do not mix old and new batteries, or different types of batteries.
3. Package Contents
Please check the box for the following items:
- MangoKit PR2S DAB/DAB+ and FM Radio
- User Manual
- Quick Start Guide
- Power Adapter
- Type C USB Cable

Figure 3.1: MangoKit PR2S with included accessories and dimensions.
4. Product Overview
The MangoKit PR2S features an intuitive control panel and a clear display for easy navigation. Key components include:
- Display Screen: Shows station information, time, and menu options.
- Control Buttons: Including Menu, Info, Back, Source, Preset buttons (1, 2, 3+), and navigation buttons.
- Rotary Knob: For Power On/Off and Volume control.
- Telescopic Antenna: For optimal radio signal reception.
- 3.5mm Headphone Jack: For private listening.
- Type C USB Port: For power input.

Figure 4.1: Front view of the MangoKit PR2S DAB Radio.

Figure 4.2: Key features of the MangoKit PR2S.

Figure 4.3: Headphone connectivity for personal listening.
5. Setup
5.1 Powering the Device
The MangoKit PR2S can be powered by mains electricity or 4 x AA batteries (not included).
- Mains Power: Connect the supplied Type C USB cable to the radio's USB port and the power adapter to a wall outlet.
- Battery Power: Open the battery compartment on the back of the unit and insert 4 x AA batteries, ensuring correct polarity. The device does not charge rechargeable batteries.
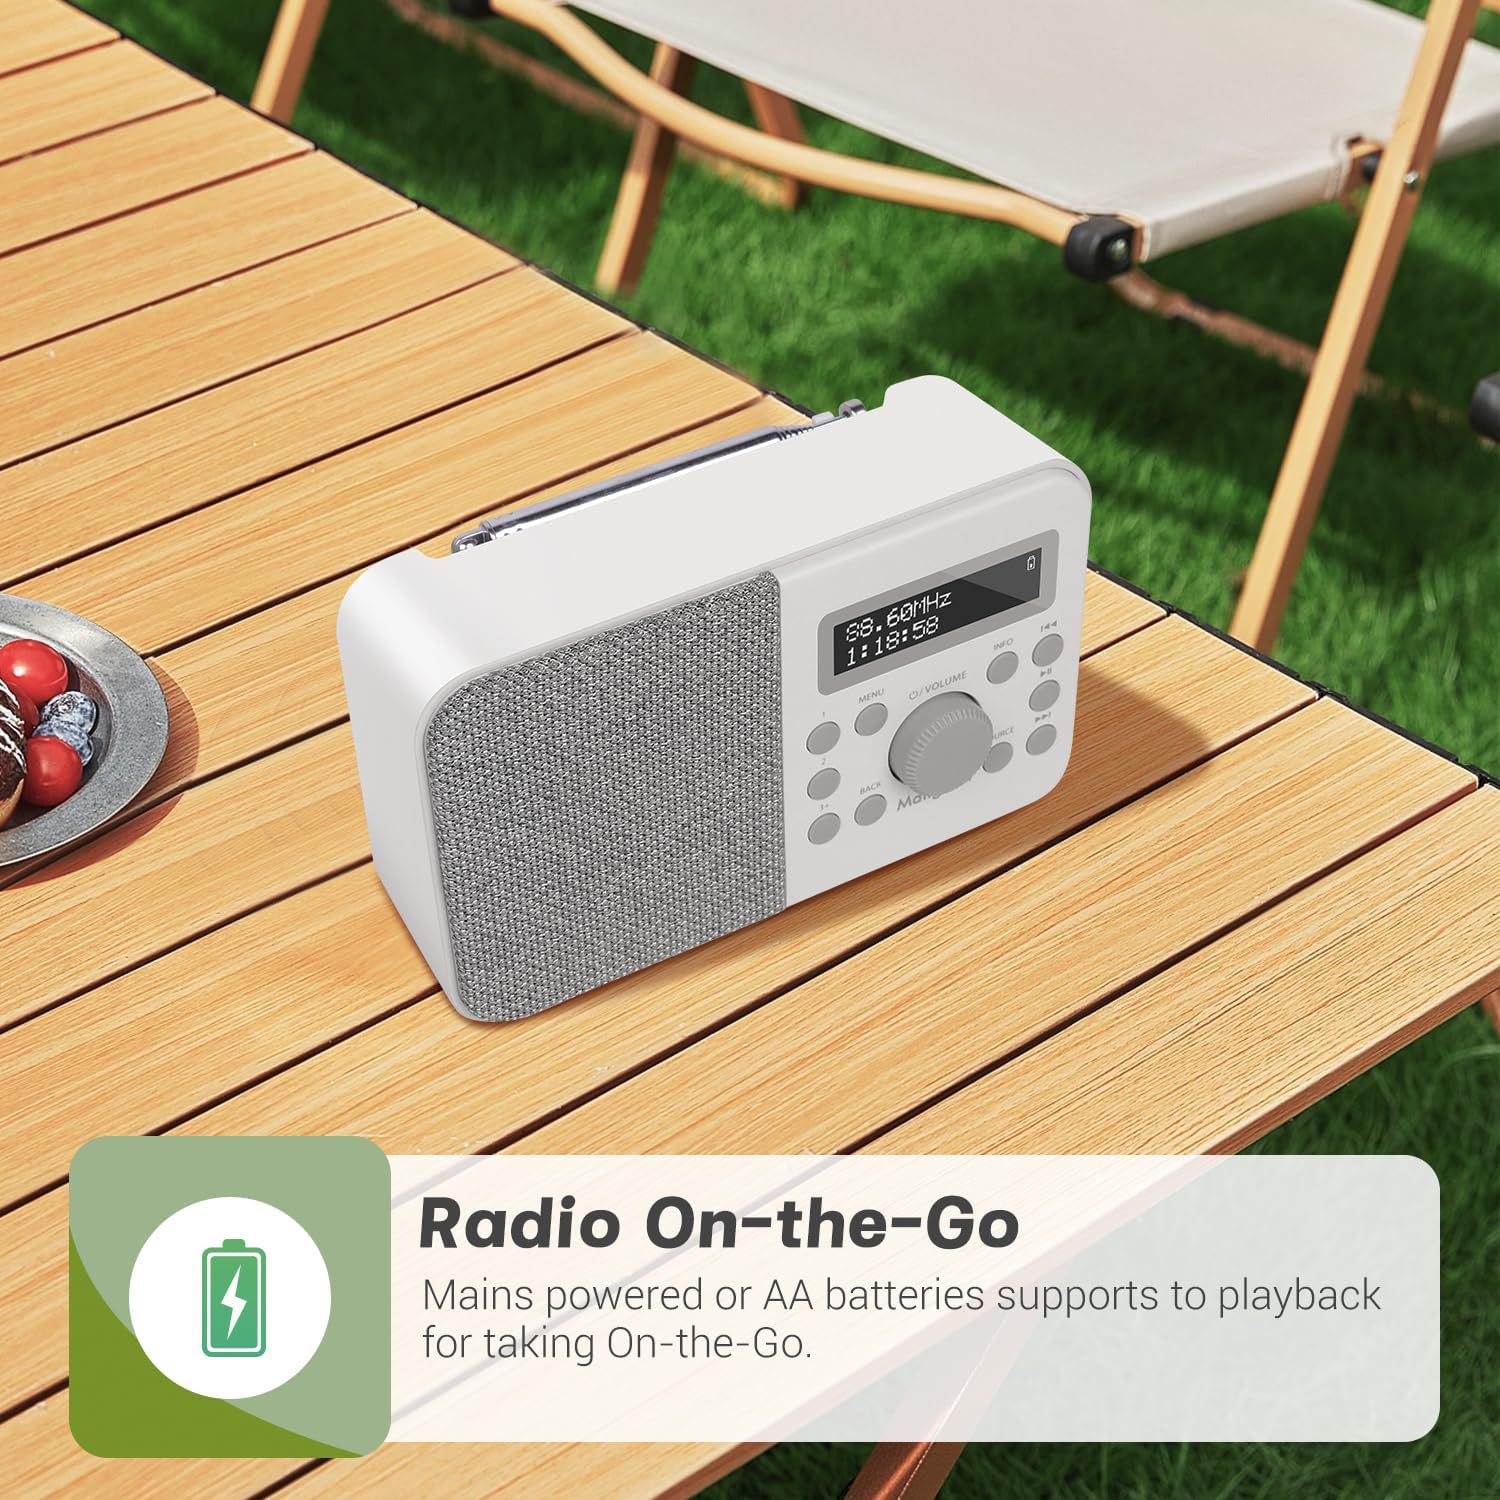
Figure 5.1: The radio can be powered by mains or AA batteries for portability.
5.2 Initial Setup and Auto-Scan
Upon first power-on, the radio will automatically perform a full scan for DAB/DAB+ stations. Extend the telescopic antenna fully for best reception.
- Press the O/VOLUME knob to turn on the radio.
- The radio will display 'Scanning...' and begin searching for available DAB/DAB+ stations.
- Once the scan is complete, the radio will automatically tune to the first available station.
6. Operating Instructions
6.1 DAB/DAB+ Radio Mode
To switch to DAB/DAB+ mode, press the SOURCE button until 'DAB' is displayed.
- Station Selection: Use the << or >> buttons to navigate through the list of available stations. Press the O/VOLUME knob to select a station.
- Manual Scan: If reception is poor, you can perform a manual scan by pressing the MENU button, navigating to 'Full Scan', and pressing the O/VOLUME knob.
- Information Display: Press the INFO button repeatedly to cycle through various information such as program type, signal strength, bit rate, frequency, and date/time.
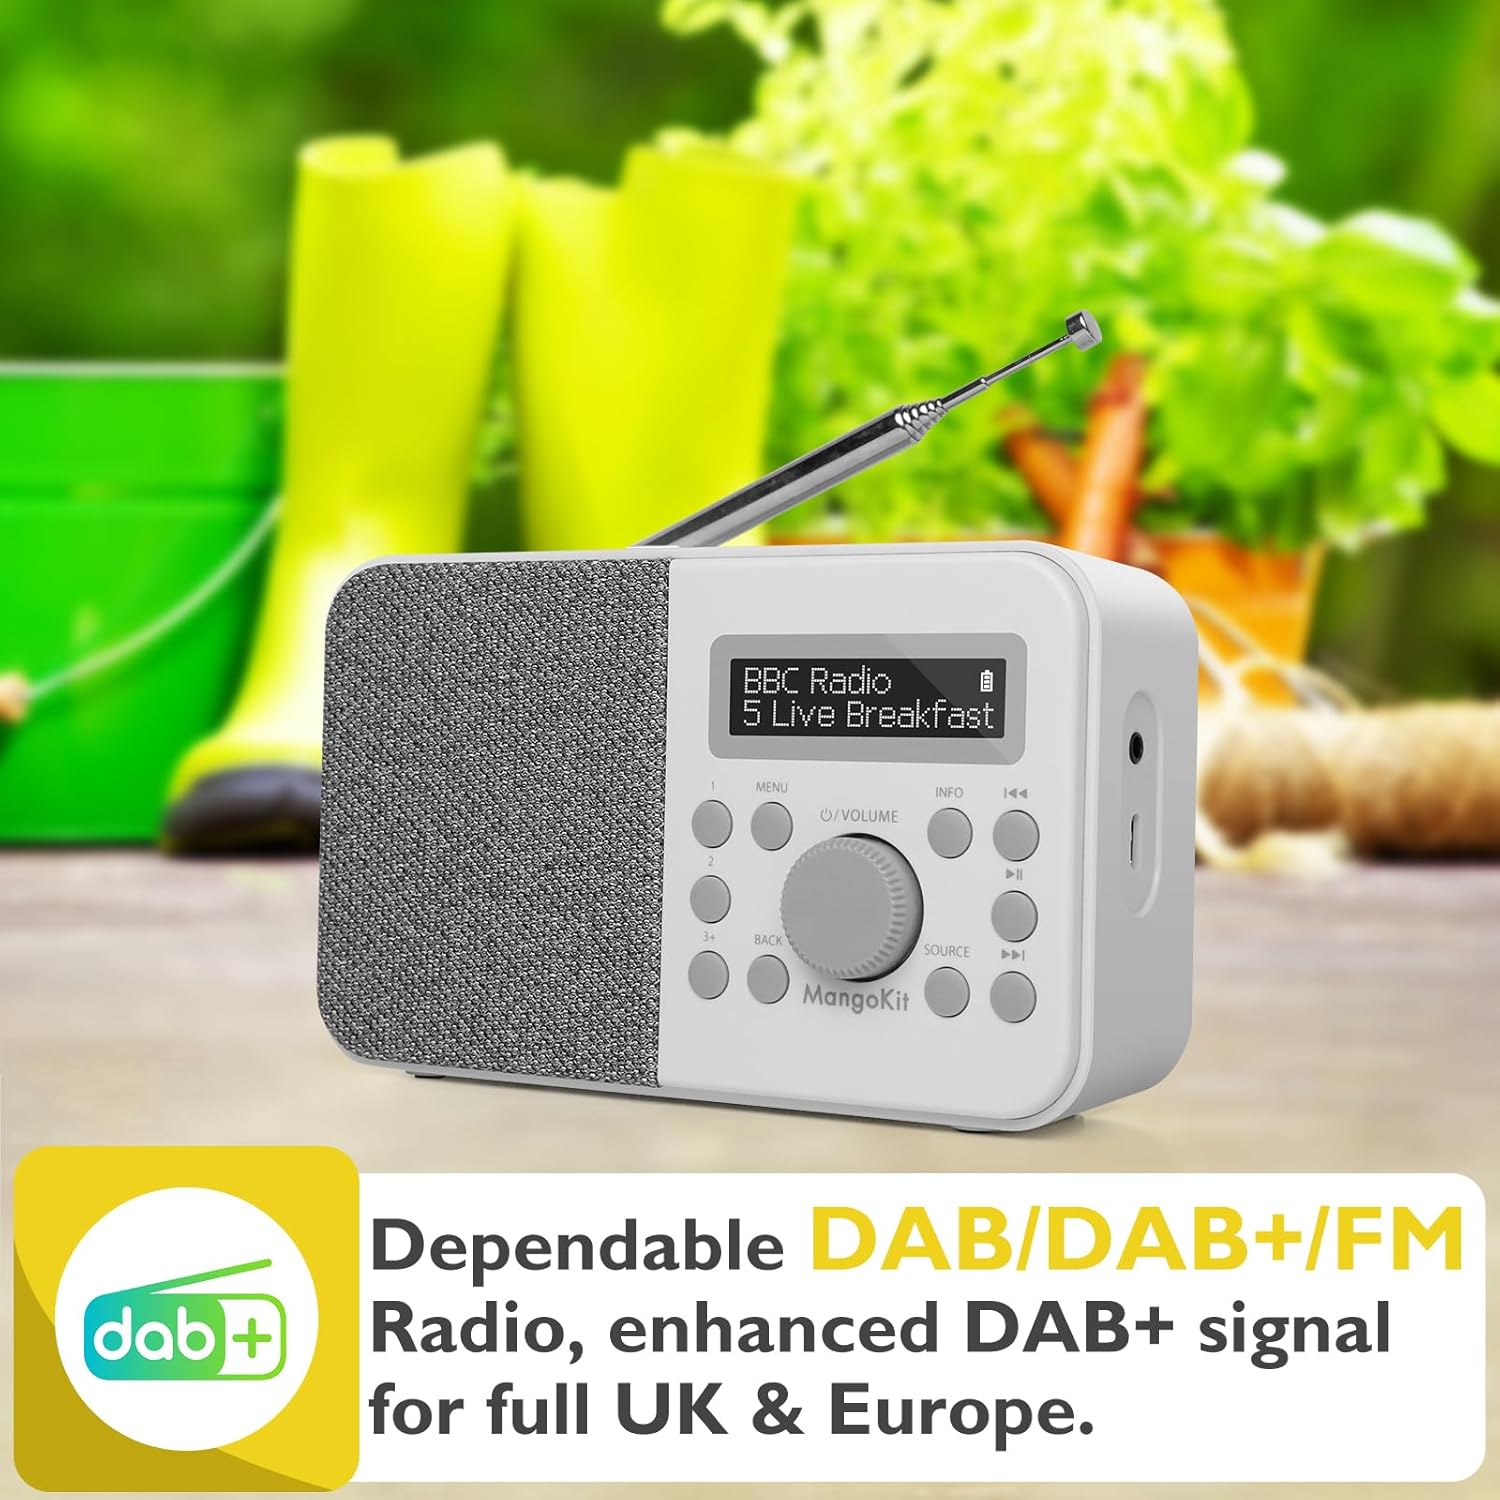
Figure 6.1: DAB+ radio mode display.
6.2 FM Radio Mode
To switch to FM mode, press the SOURCE button until 'FM' is displayed.
- Auto Scan: Long press the >> button to automatically scan for the next available FM station.
- Manual Tuning: Short press the << or >> buttons to fine-tune the frequency in 0.05 MHz steps.
- Information Display: Press the INFO button repeatedly to cycle through various information such as station name, program type, and frequency.
6.3 Storing and Recalling Preset Stations
The radio allows you to store up to 40 preset stations (20 DAB/20 FM).
- To Store: While listening to a station, long press one of the preset buttons (1, 2, or 3+). The display will show 'Preset Store <X>'. Use the navigation buttons to select a preset number (1-20) and press the O/VOLUME knob to confirm.
- To Recall: Short press one of the preset buttons (1, 2, or 3+). Use the navigation buttons to select the desired preset number and press the O/VOLUME knob to tune to it.
6.4 Bluetooth Mode
To stream audio wirelessly, switch to Bluetooth mode by pressing the SOURCE button until 'Bluetooth' is displayed.
- The radio will enter pairing mode, indicated by 'Bluetooth Pairing' on the display.
- On your Bluetooth-enabled device (e.g., smartphone, tablet), search for 'MangoKit PR2S' in the Bluetooth settings.
- Select 'MangoKit PR2S' to pair. Once connected, the display will show 'Bluetooth Playing'.
- You can now play audio from your device through the radio's speaker.
Note: The MangoKit PR2S functions as a Bluetooth receiver only; it cannot transmit audio to Bluetooth headphones.

Figure 6.2: Bluetooth streaming from a mobile device.
6.5 Alarm Settings
The radio features dual alarms with customizable settings.
- Press the MENU button and navigate to 'System Settings' > 'Alarm'.
- Select 'Alarm 1' or 'Alarm 2'.
- Configure the alarm time, duration, source (Buzzer, DAB, or FM), frequency (Daily, Once, Weekends, Weekdays), and volume.
- Ensure the alarm is set to 'On' and press the O/VOLUME knob to confirm.

Figure 6.3: Setting dual alarms for your schedule.
6.6 Sleep Timer
The sleep timer allows the radio to automatically turn off after a set period.
- Press the MENU button and navigate to 'System Settings' > 'Sleep'.
- Select the desired sleep duration (e.g., 15, 30, 45, 60 minutes).
- The radio will automatically switch off after the selected time.
6.7 Snooze Function
When an alarm sounds, press the O/VOLUME knob to activate the snooze function. The alarm will temporarily pause and sound again after a short interval.
7. Maintenance
- Cleaning: Use a soft, dry cloth to clean the radio's surface. Do not use abrasive cleaners or solvents.
- Antenna: Handle the telescopic antenna with care to avoid damage.
- Battery Care: If the radio will not be used for an extended period, remove the batteries to prevent leakage.
8. Troubleshooting
| Problem | Possible Cause | Solution |
|---|---|---|
| No power | Power adapter not connected; Batteries depleted or incorrectly inserted. | Ensure power adapter is securely connected. Replace batteries or check polarity. |
| Poor DAB/FM reception | Antenna not fully extended; Weak signal area. | Fully extend the telescopic antenna. Reposition the radio to an area with better signal. Perform a full scan. |
| Bluetooth device cannot pair | Radio not in Bluetooth mode; Device too far; Bluetooth not enabled on source device. | Ensure radio is in Bluetooth mode. Move devices closer. Enable Bluetooth on your source device. |
| Alarm not sounding | Alarm not activated; Volume too low. | Check alarm settings to ensure it is 'On'. Increase alarm volume. |
| Sound distortion | Volume too high; Poor signal. | Reduce volume. Adjust antenna or reposition radio for better signal. |
9. Specifications
| Feature | Specification |
|---|---|
| Model Number | PR2S (dbe6e6fe-de32-4eaa-8852-dac52a3e5f3f) |
| Product Dimensions | 15.7L x 5.1W x 9.5H centimetres |
| Weight | 500 g |
| Tuner Technology | DAB/DAB+ and FM |
| Connectivity Technology | Bluetooth 5.3, 3.5mm Audio in |
| Power Source | Mains (Type C USB) and Battery (4 x AA) |
| Preset Stations | 40 (20 DAB, 20 FM) |
| Special Features | Portable, Dual Alarms, Sleep Timer, Snooze |
| Colour | Stone Grey |
| Manufacturer | Mangokit |
10. Warranty and Support
MangoKit products are designed for reliability and performance. For warranty information and customer support, please refer to the warranty card included with your purchase or visit the official MangoKit website. Keep your proof of purchase for any warranty claims.
For further assistance, you may contact MangoKit customer service through their official channels. Details are typically provided in the Quick Start Guide or on the manufacturer's website.


