
1. Introduction
This manual provides detailed instructions for the setup, operation, maintenance, and troubleshooting of your VEVOR Smart1 Vinyl Cutting Machine. Please read this manual thoroughly before using the device to ensure safe and efficient operation.

Figure 1.1: VEVOR Smart1 Vinyl Cutting Machine with all included accessories. The machine is white and orange, accompanied by a cutting mat, various vinyl sheets, a USB cable, a power adapter, a blade holder, and a pen holder.
2. Package Contents
Verify that all items listed below are present in your package:
- 1 x Vinyl Cutting Machine
- 1 x User Manual
- 1 x Power Adapter (with cable)
- 1 x USB Cable
- 1 x Blade Holder
- 1 x Engraving Blade (pre-installed in blade holder, placed in accessory box)
- 1 x Pen Holder
- 1 x Cutting Mat (30.5 x 30.5 cm, low adhesion)
- 1 x U-disk (2 GB)
- 1 x Software Serial Number Card
- 2 x Test Materials (A5 size)
3. Setup Guide
3.1 Unpacking and Placement
- Carefully remove the machine and all accessories from the packaging.
- Place the machine on a stable, flat surface with adequate space around it for material feeding and operation.
- Ensure the power switch is in the OFF position before connecting any cables.
3.2 Connecting Power and USB
- Connect the power adapter to the machine's power input port.
- Plug the power adapter into a suitable electrical outlet.
- For wired connection, connect the USB cable from the machine to your computer.
3.3 Software Installation
The VEVOR Smart1 Vinyl Cutting Machine comes with dedicated software. Follow these steps for installation:
- Insert the provided U-disk into your computer's USB port.
- Locate and run the installer file on the U-disk.
- Follow the on-screen prompts to complete the software installation.
- Activate the software using the serial number provided on the Software Serial Number Card.
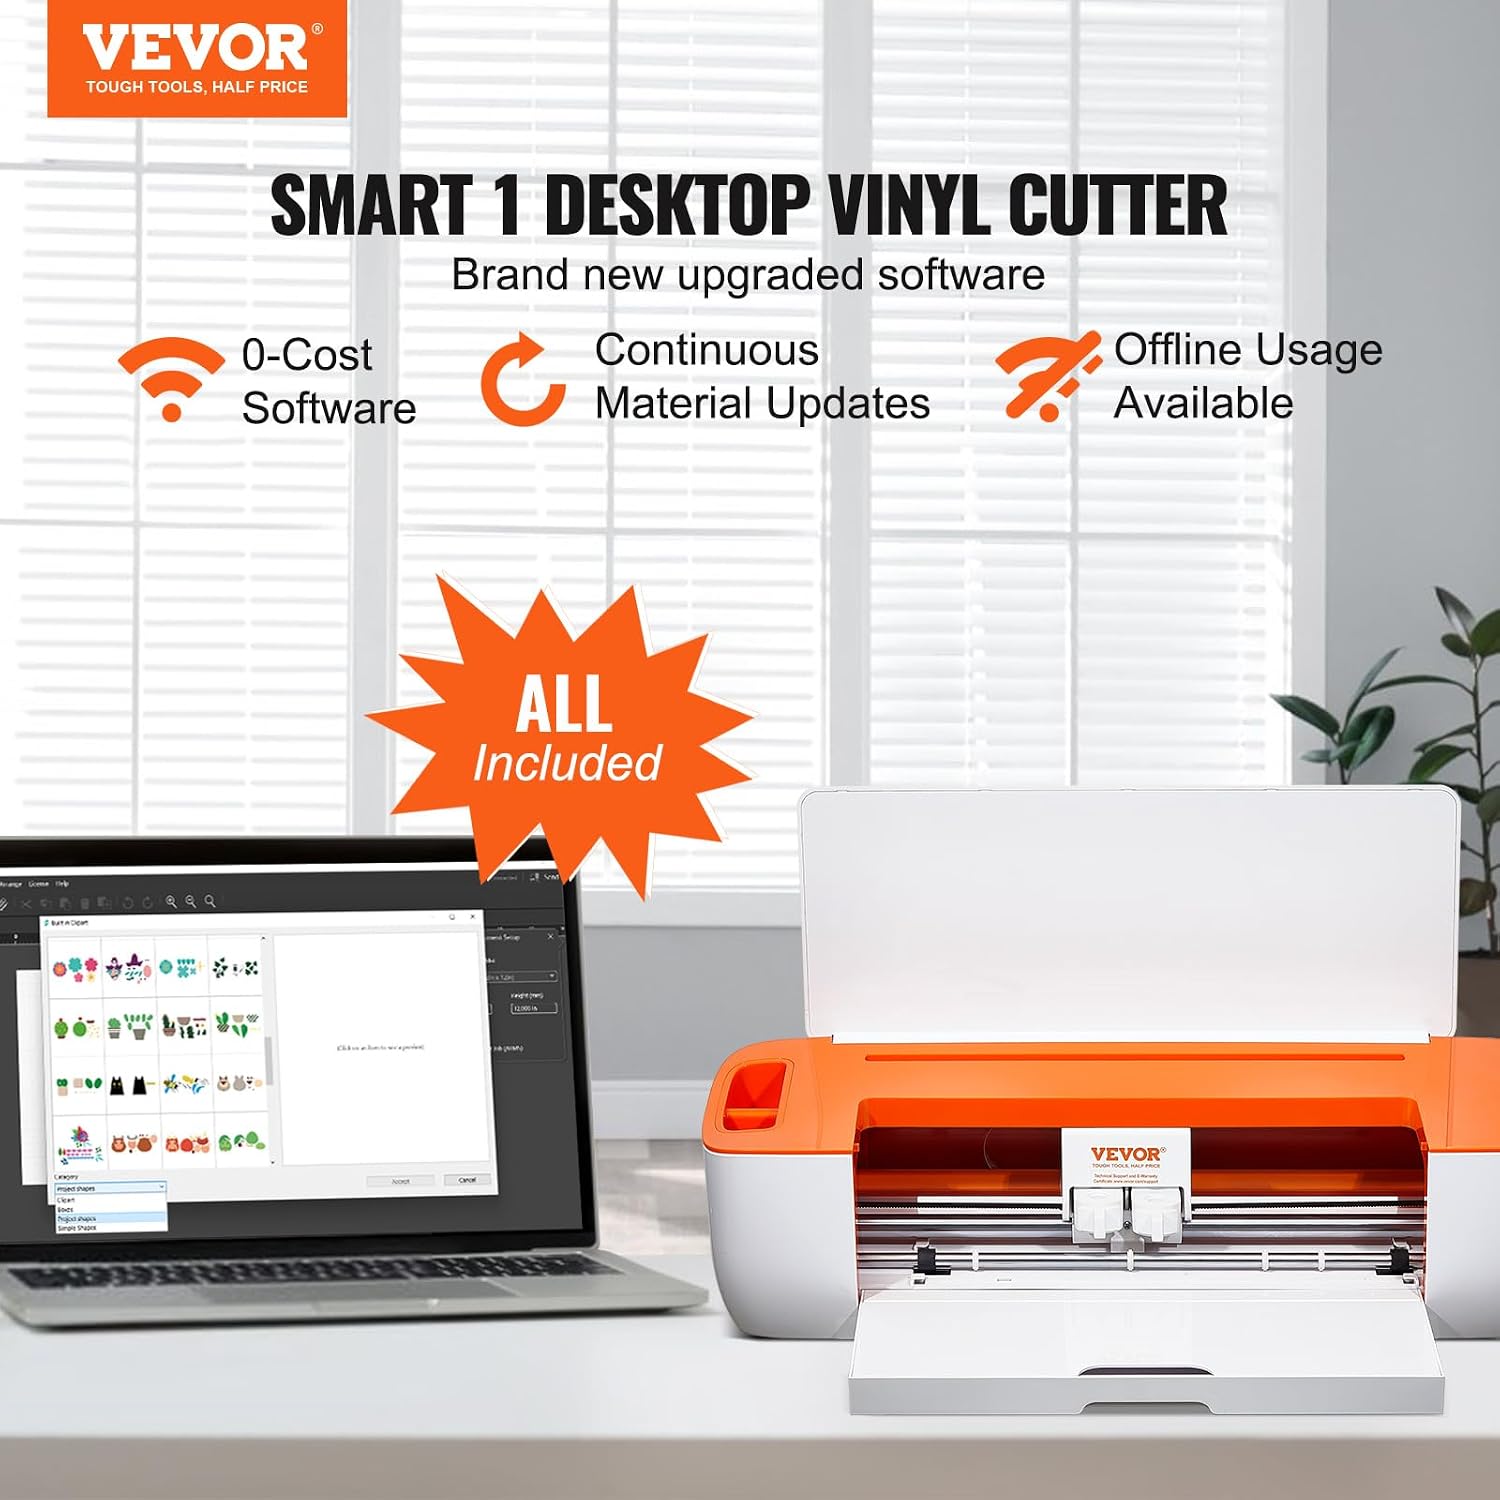
Figure 3.1: The VEVOR Smart1 Desktop Vinyl Cutter shown with a laptop displaying its user-friendly software interface, highlighting its offline usage capability and included design library.
4. Operating Instructions
4.1 Loading Material
- Place your cutting material onto the cutting mat, ensuring it adheres smoothly and is aligned with the grid.
- Insert the cutting mat with the material into the machine, aligning it with the rollers.
- Press the "Load" button on the machine to automatically feed the mat into position.
4.2 Design and Cutting
The VEVOR Smart1 supports various design software and offers automatic blade pressure adjustment.

Figure 4.1: The VEVOR Smart1 Vinyl Cutter demonstrating its fully automatic features, including automatic blade pressure setting and auto-tracking, simplifying the cutting process.
- Open your design software (e.g., AI, CDR compatible software) and create or import your desired design.
- Adjust the design size and position as needed within the software.
- Select the material type in the software; the machine will automatically adjust blade pressure.
- Click "Cut" or "Send" in the software to begin the cutting process.
4.3 Bluetooth Connectivity
The machine supports Bluetooth 4.2ble for wireless operation.
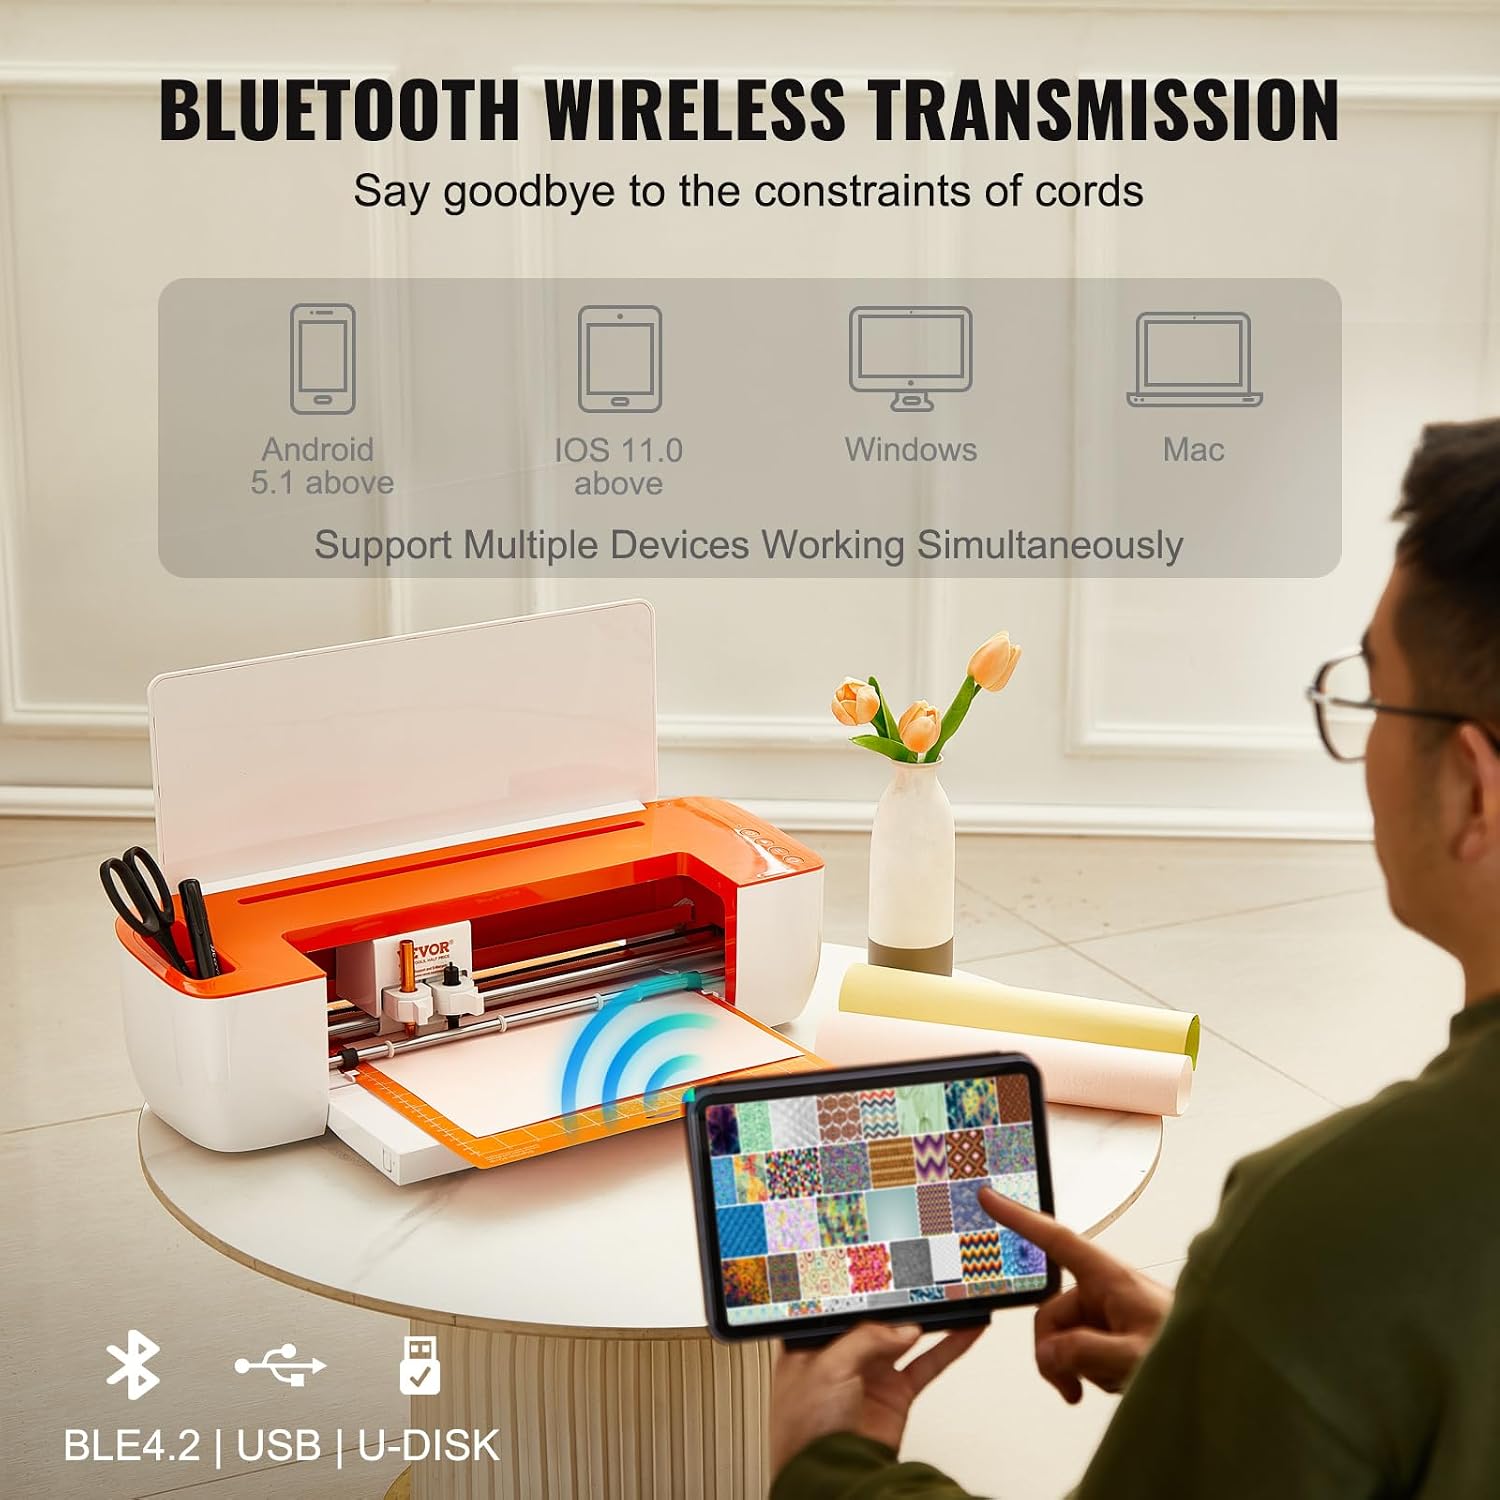
Figure 4.2: The VEVOR Smart1 Vinyl Cutter highlighting its Bluetooth wireless transmission capability, allowing connection to multiple devices such as Android, iOS, Windows, and Mac systems simultaneously.
- Ensure Bluetooth is enabled on your device (Mac, Windows, Android 5.1+, iOS 11.0+).
- Turn on the VEVOR Smart1 machine.
- Search for available Bluetooth devices on your computer or mobile device and select "VEVOR Smart1" to pair.
- Once paired, you can send cutting commands wirelessly from your device.
4.4 Using the Pen Holder
To use the machine for drawing instead of cutting:
- Remove the engraving blade holder from the carriage.
- Insert a compatible pen into the pen holder and secure it.
- Place the pen holder into the machine's carriage.
- Proceed with your design in the software, selecting the "Draw" or "Pen" function.
5. Maintenance
5.1 Cleaning the Machine
- Regularly wipe down the exterior of the machine with a soft, dry cloth.
- Use a soft brush or compressed air to remove dust and debris from the cutting area and rollers.
- Do not use abrasive cleaners or solvents.
5.2 Blade Replacement
- When cuts become less precise or material tears, it may be time to replace the blade.
- Carefully remove the blade holder from the carriage.
- Unscrew the cap of the blade holder and replace the old blade with a new one.
- Securely reassemble the blade holder and place it back into the carriage.
5.3 Cutting Mat Care
- Keep the cutting mat clean and free of debris to maintain its adhesive properties.
- If the mat loses its stickiness, it can often be cleaned with warm water and mild soap, then air-dried.
- Replace the cutting mat when it no longer holds material securely.
6. Troubleshooting
| Problem | Possible Cause | Solution |
|---|---|---|
| Machine not powering on | Power cable loose; power outlet faulty | Check power connections; try a different outlet. |
| Cuts are not precise or incomplete | Dull blade; incorrect blade pressure; material not adhering to mat | Replace blade; adjust blade pressure in software; clean or replace cutting mat. |
| Bluetooth connection issues | Bluetooth off on device; interference; machine not in pairing mode | Ensure Bluetooth is on; move closer to machine; restart machine and device. |
| Software not recognizing machine | USB cable faulty; driver issue; software not updated | Try a different USB cable; reinstall software drivers; check for software updates. |
7. Specifications
| Feature | Detail |
|---|---|
| Model Number | Smart1 |
| Maximum Cutting Size | 305 mm (12 inches) |
| Connectivity | USB / U-disk / Bluetooth 4.2ble |
| Memory | 1 MB |
| Compatible Software System | Mac, Windows, Android 5.1 and above, iOS 11.0 and above |
| Cutting Accuracy | ± 0.1 mm |
| Cutting Speed Range | 10-300 mm/s |
| Main Blade Pressure | Automatic adjustment, 10-500 gf |
| Secondary Blade Pressure | Automatic adjustment, 50-500 gf |
| Net Weight (including accessories) | 7.7 kg (17 lbs) |
| Product Dimensions (L x W x H) | 579 × 187 × 168 mm (22.8 × 7.36 × 6.61 inches) |
| Material Compatibility | Over 100 types, including vinyl, cardstock, heat transfer materials |

Figure 7.1: Detailed dimensions and key specifications of the VEVOR Smart1 Vinyl Cutting Machine, including cutting size, speed, and blade pressure ranges.
8. Warranty and Support
For warranty information and technical support, please refer to the official VEVOR website or contact their customer service directly. Keep your purchase receipt and serial number (found on the Software Serial Number Card) for any warranty claims.
Official VEVOR Website: www.vevor.com


