
Introduction
This manual provides essential information for the proper setup, operation, and maintenance of your SANSUI 32-Inch WQHD 180Hz Curved Gaming Monitor (Model ES-G32C3). Please read this manual thoroughly before using the product to ensure optimal performance and safety.

Image: SANSUI 32-Inch Curved Gaming Monitor, showcasing its sleek design and curved screen.
Key Features
- 32-inch Curved WQHD Display: Experience immersive visuals with a 2560 x 1440 resolution and 1500R curvature.
- High Refresh Rate & Response Time: Enjoy smooth gameplay with a 180Hz refresh rate and 1ms (OD) response time.
- Vibrant Color & HDR: Features sRGB 125%, DCI-P3 95%, 8-bit color depth, 300 nits brightness, and HDR support for rich, detailed images.
- Adaptive Sync Technology: Reduces screen tearing and stuttering for fluid motion.
- Eye Care Features: Includes blue light reduction and flicker-free technology to minimize eye strain.
- Versatile Connectivity: Equipped with 2 HDMI ports (up to 144Hz), 2 DisplayPort 1.4 ports (up to 180Hz), and an earphone jack.
- Ergonomic Design: Offers tilt adjustment and VESA compatibility (100 x 100mm) for flexible setup.
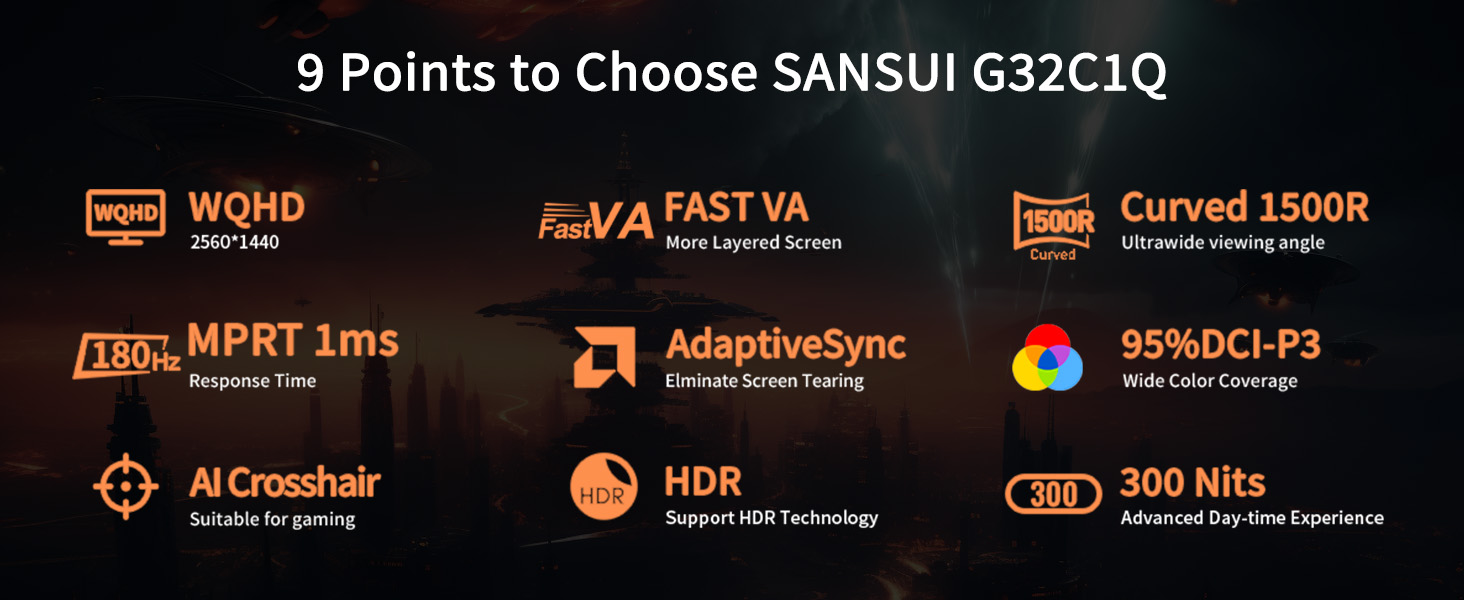
Image: Visual summary of the monitor's key features including WQHD, Fast VA, 1500R Curved, 180Hz, 1ms, AdaptiveSync, DCI-P3, AI Crosshair, HDR, and 300 Nits.
Setup Guide
1. Unpacking the Monitor
Carefully remove the monitor and all accessories from the packaging. Ensure all components listed in the 'What's in the Box' section are present.
Video: An unpacking guide for a 32-inch computer monitor, showing how to safely remove components from the box.
2. Assembling the Stand
- Attach the stand base to the stand neck using the provided screws.
- Align the assembled stand with the mounting area on the back of the monitor.
- Secure the stand to the monitor using the designated screws.
Video: Detailed instructions on how to install the monitor stand, including attaching the base and securing it to the monitor.
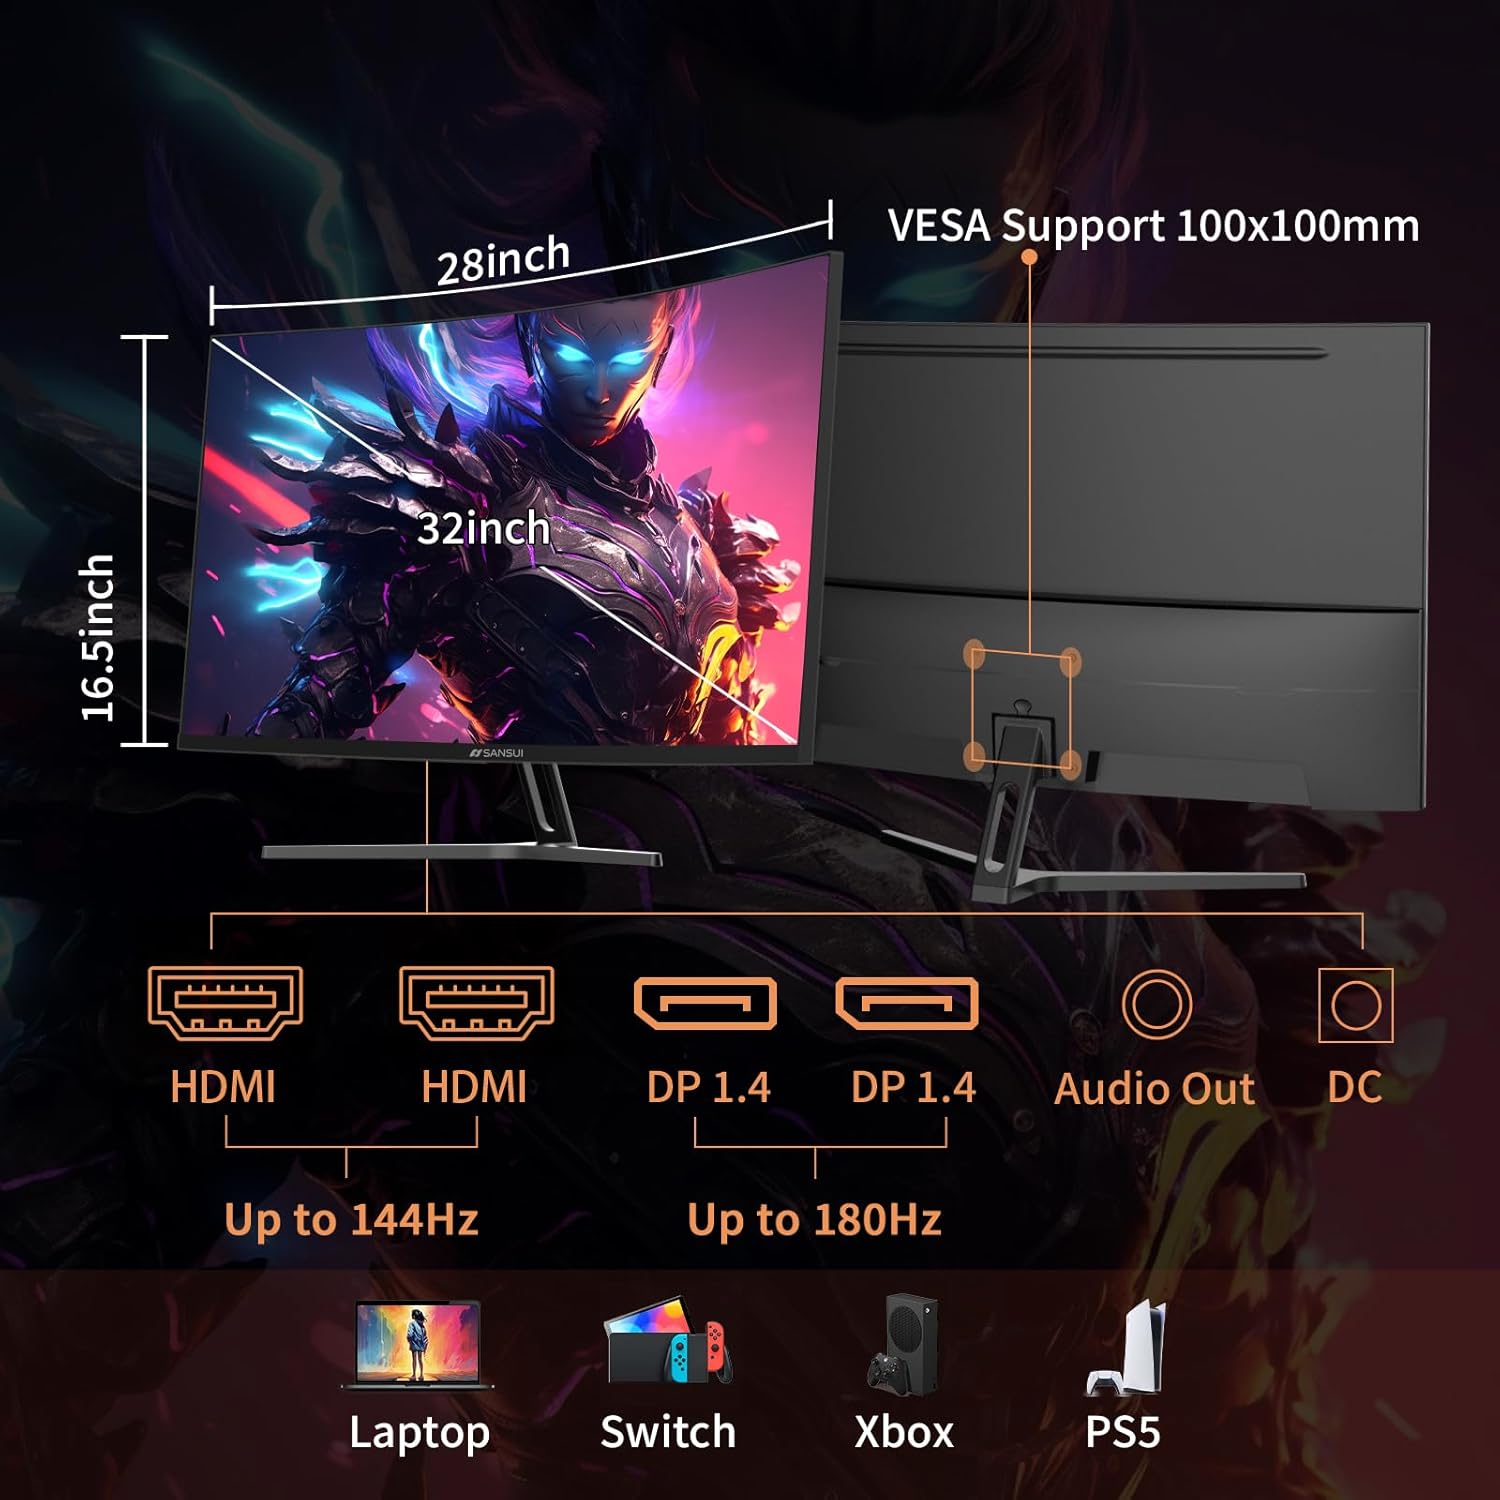
Image: Diagram showing the monitor's dimensions, connectivity ports (HDMI, DP, Audio Out, DC), and VESA mount compatibility.
3. Connecting to a Device
Connect your computer or gaming console to the monitor using one of the provided cables (DP cable included). The monitor supports:
- 2 x HDMI ports (up to 144Hz)
- 2 x DisplayPort 1.4 ports (up to 180Hz)
Ensure the power adapter is connected to the monitor and a power outlet.
Operating Instructions
1. Power On/Off
Press the power button located on the back of the monitor to turn it on or off.
2. On-Screen Display (OSD) Menu
Use the joystick or buttons (if applicable) on the back of the monitor to navigate the OSD menu. The OSD menu allows you to adjust various settings:
- Picture Settings: Brightness, Contrast, HDR, Color Temperature.
- Display Settings: Resolution, Aspect Ratio, Refresh Rate.
- Gaming Features: FreeSync, Response Time (OD), Black Equalizer, AI Crosshair, Game Timer.
- Audio Settings: Volume (for earphone output, as no built-in speakers).
- System Settings: Input Source, Language, Reset.
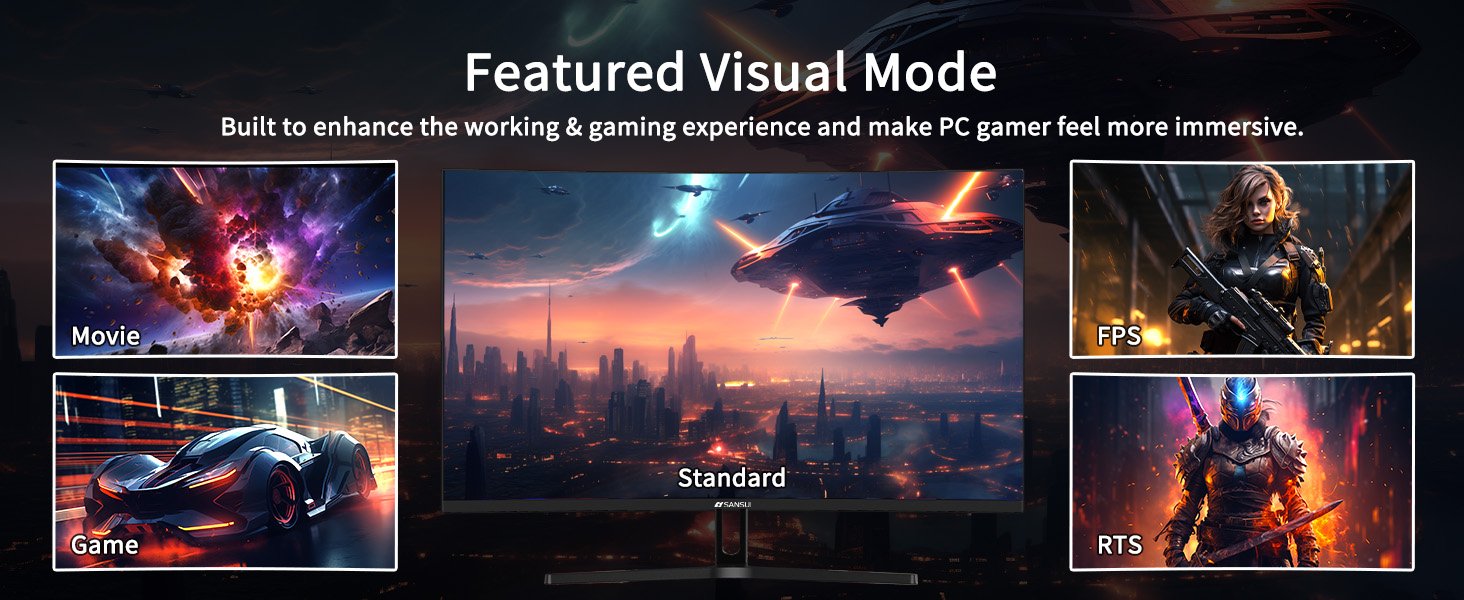
Image: Illustration of the monitor's featured visual modes: Movie, FPS, Standard, Game, and RTS, accessible via the OSD.
3. Adjusting Display Settings
- Refresh Rate: For optimal gaming, ensure your device's display settings match the monitor's maximum refresh rate (180Hz via DisplayPort).
- Adaptive Sync: Enable FreeSync in the OSD menu and your graphics card settings to prevent screen tearing.
- HDR: Activate HDR in the OSD and your operating system's display settings for enhanced contrast and color.
- Eye Care: Utilize the blue light reduction and flicker-free options for comfortable extended viewing.

Image: Visual representation of Flicker-Free, Eye-Care, and Low Blue Light features for reduced eye strain.
Maintenance
- Cleaning the Screen: Use a soft, lint-free cloth lightly dampened with a screen cleaner. Avoid harsh chemicals or abrasive materials.
- Cleaning the Casing: Wipe the monitor casing with a soft, dry cloth.
- Storage: When not in use for extended periods, store the monitor in a cool, dry place, ideally in its original packaging.
- Safety: Do not attempt to open the monitor casing. Refer all servicing to qualified personnel.
Troubleshooting
| Problem | Possible Cause | Solution |
|---|---|---|
| No image on screen | Power cable disconnected; Input source incorrect; Device not powered on. | Check power connections; Select correct input source via OSD; Ensure connected device is on. |
| Flickering or distorted image | Loose video cable; Incorrect refresh rate; Adaptive Sync not enabled. | Secure video cable; Adjust refresh rate in device settings; Enable FreeSync in OSD and GPU settings. |
| No sound from earphone jack | Volume too low; Earphones not properly connected; Audio output not selected. | Increase volume in OSD; Ensure earphones are fully plugged in; Check device audio output settings. |
| Monitor not tilting | Stand not properly installed or overtightened. | Ensure stand is correctly assembled and not excessively tightened. |
Specifications
| Model Number | ES-G32C3 |
| Screen Size | 32 inches |
| Panel Type | Fast VA |
| Curvature | 1500R |
| Resolution | WQHD (2560 x 1440) |
| Refresh Rate | 180Hz |
| Response Time | 1ms (OD) |
| Brightness | 300 nits |
| Color Gamut | sRGB 125%, DCI-P3 95% |
| HDR Support | Yes |
| Adaptive Sync | FreeSync |
| Viewing Angle | 178° |
| Connectivity | 2 x HDMI, 2 x DisplayPort 1.4, 1 x Earphone Jack |
| VESA Compatibility | 100 x 100mm |
| Dimensions (Product) | 8.06 x 24.19 x 17.75 inches |
| Item Weight | 13.2 pounds |
Warranty and Support
Your SANSUI monitor comes with the following:
- 30-Day Money-Back and Free Replacement Warranty: Applicable from the order date.
- Lifetime Technical Support: SANSUI provides ongoing technical assistance for the product's lifespan.
For any inquiries or support, please refer to the contact information provided in your product packaging or visit the official SANSUI website.
