1. Introduction
Thank you for choosing the Garvee Commercial 12L Double Tank Slushy Machine. This manual provides essential information for the safe and efficient operation, maintenance, and troubleshooting of your new appliance. Please read all instructions carefully before use and retain this manual for future reference.
2. Safety Instructions
To prevent injury or damage, always follow basic safety precautions, including:
- Ensure the machine is placed on a stable, level surface.
- Do not operate with wet hands or near water.
- Keep children and unauthorized personnel away from the machine during operation.
- Unplug the machine before cleaning or maintenance.
- Do not immerse the main unit in water.
- Use only food-grade ingredients.
- Ensure proper ventilation around the machine.
3. Product Features
- High Capacity: Two 12L (3.2 gal) tanks, capable of producing up to 100 cups (250 ml each) per hour.
- Durable Construction: Made from high-quality stainless steel for corrosion resistance and easy cleaning.
- Powerful Cooling: 700W professional compressor for stable operation, rapid cooling, and quick slush formation.
- Versatile Beverage Production: Suitable for margaritas, frozen cocktails, juices, smoothies, and snow melts.
- User-Friendly Design: Independent tank lids, removable drip trays, built-in light, and self-cleaning function.
- Easy Operation: Simple control panel with real-time temperature monitoring and dual-mode settings for cold drinks or slush.
4. Setup
- Unpacking: Carefully remove the machine from its packaging. Inspect for any damage.
- Placement: Place the machine on a sturdy, level surface with adequate ventilation around all sides. Ensure it is away from direct sunlight or heat sources.
- Drip Trays: Install the detachable drip trays below the dispensing spouts.
- Power Connection: Plug the machine into a grounded electrical outlet. Allow the unit to sit upright for at least 2 hours before first use to let the refrigerant settle.
5. Operating Instructions
5.1. Preparing Slush Drinks
- Prepare Mixture: Mix your desired beverage concentrate with water. Ensure the sugar content is between 13-20% for optimal slush consistency. For alcoholic slush, ensure alcohol content is less than 13%.
- Fill Tanks: Open the independent lids and pour the prepared mixture into the tanks. Ensure the liquid level is above the minimum mark and below the maximum fill line.
- Select Tank: On the control panel, press "Bowl I" or "Bowl II" to select the tank you wish to operate.
- Set Mode: Press the "SET" key until "SLS" (slush mode) appears on the display.
- Adjust Gear Level: Use the "+" or "-" keys to set the desired gear level (e.g., SLS 03 for standard slush).
- Start Freezing: The machine will begin the rapid stirring and freezing process. Monitor the real-time temperature on the display.
- Dispense: Once the slush reaches the desired consistency, pull the dispensing handle to serve.
5.2. Troubleshooting Slush Consistency
If your slush is too watery or too icy, adjust the sugar content or gear level:
- Slush Too Watery:
- Method 1: Remove some liquid and add more syrup to increase sugar content (aim for 13-20%).
- Method 2: Do not add water. Increase the gear level using the "+" key on the control panel.
- Slush Too Icy:
- Method 1: Remove some liquid and add water to decrease sugar content (aim for 13-20%).
- Method 2: Do not add syrup. Decrease the gear level using the "-" key on the control panel.
6. Cleaning and Maintenance
6.1. Daily Cleaning (Self-Cleaning Function)
- Empty Tanks: Dispense any remaining liquid from the tanks.
- Add Water: Pour clean water into the tanks.
- Select Tank: Press "Bowl I" or "Bowl II" to select the tank.
- Activate Clean Mode: Press the "SET" key until "CLEAN" appears on the display. The machine will stir the water for cleaning.
- Drain Water: Dispense the dirty water from the tanks. Repeat if necessary.
6.2. Disassembly and Assembly for Deep Cleaning
For thorough cleaning, especially of the freezing cylinders and agitators, follow these steps:
- Remove Tank: Lift the tank from the main unit.
- Disassemble Agitator: Carefully remove the agitator (spiral part) and the sealing rings from the freezing cylinder.
- Remove Freezing Cylinder: Gently pull out the metal freezing cylinder.
- Clean Components: Wash all removed parts (tank, agitator, sealing rings, freezing cylinder) with warm, soapy water. Rinse thoroughly and dry completely.
- Lubricate: Apply a thin layer of food-grade lubricant to the sealing rings before reassembly.
- Reassemble: Reverse the disassembly steps to reassemble the machine. Ensure all parts are securely in place.
7. Troubleshooting
| Problem | Possible Cause | Solution |
|---|---|---|
| Machine not turning on | No power supply | Check power cord connection and wall outlet. |
| Slush is too watery | Insufficient sugar content or incorrect gear level | Increase sugar content (13-20%) or increase gear level. |
| Slush is too icy/hard | Excessive sugar content or incorrect gear level | Decrease sugar content or decrease gear level. |
| Machine making unusual noise | Liquid level too low or agitator not properly installed | Ensure liquid is above minimum level. Check agitator assembly. |
| Error code on display | Refer to the machine's specific error code table (usually on a sticker or in the full manual). | Consult the full product manual or contact customer support. |
8. Specifications
- Model Number: 12x2CSM
- Brand: Garvee
- Tank Capacity: 2 x 12 Liters (approx. 2 x 3.2 Gallons)
- Power: 700W
- Material: Stainless Steel (housing)
- Item Weight: 124.3 pounds
- Package Dimensions: 35.83 x 22.83 x 20.28 inches
9. Warranty and Support
This product comes with a manufacturer's warranty. For warranty details, customer support, or service inquiries, please refer to the warranty card included in your packaging or visit the Garvee website. You can also contact Garvee Direct, the seller, for assistance.
10. Visual Aids and Demonstrations
10.1. Product Images
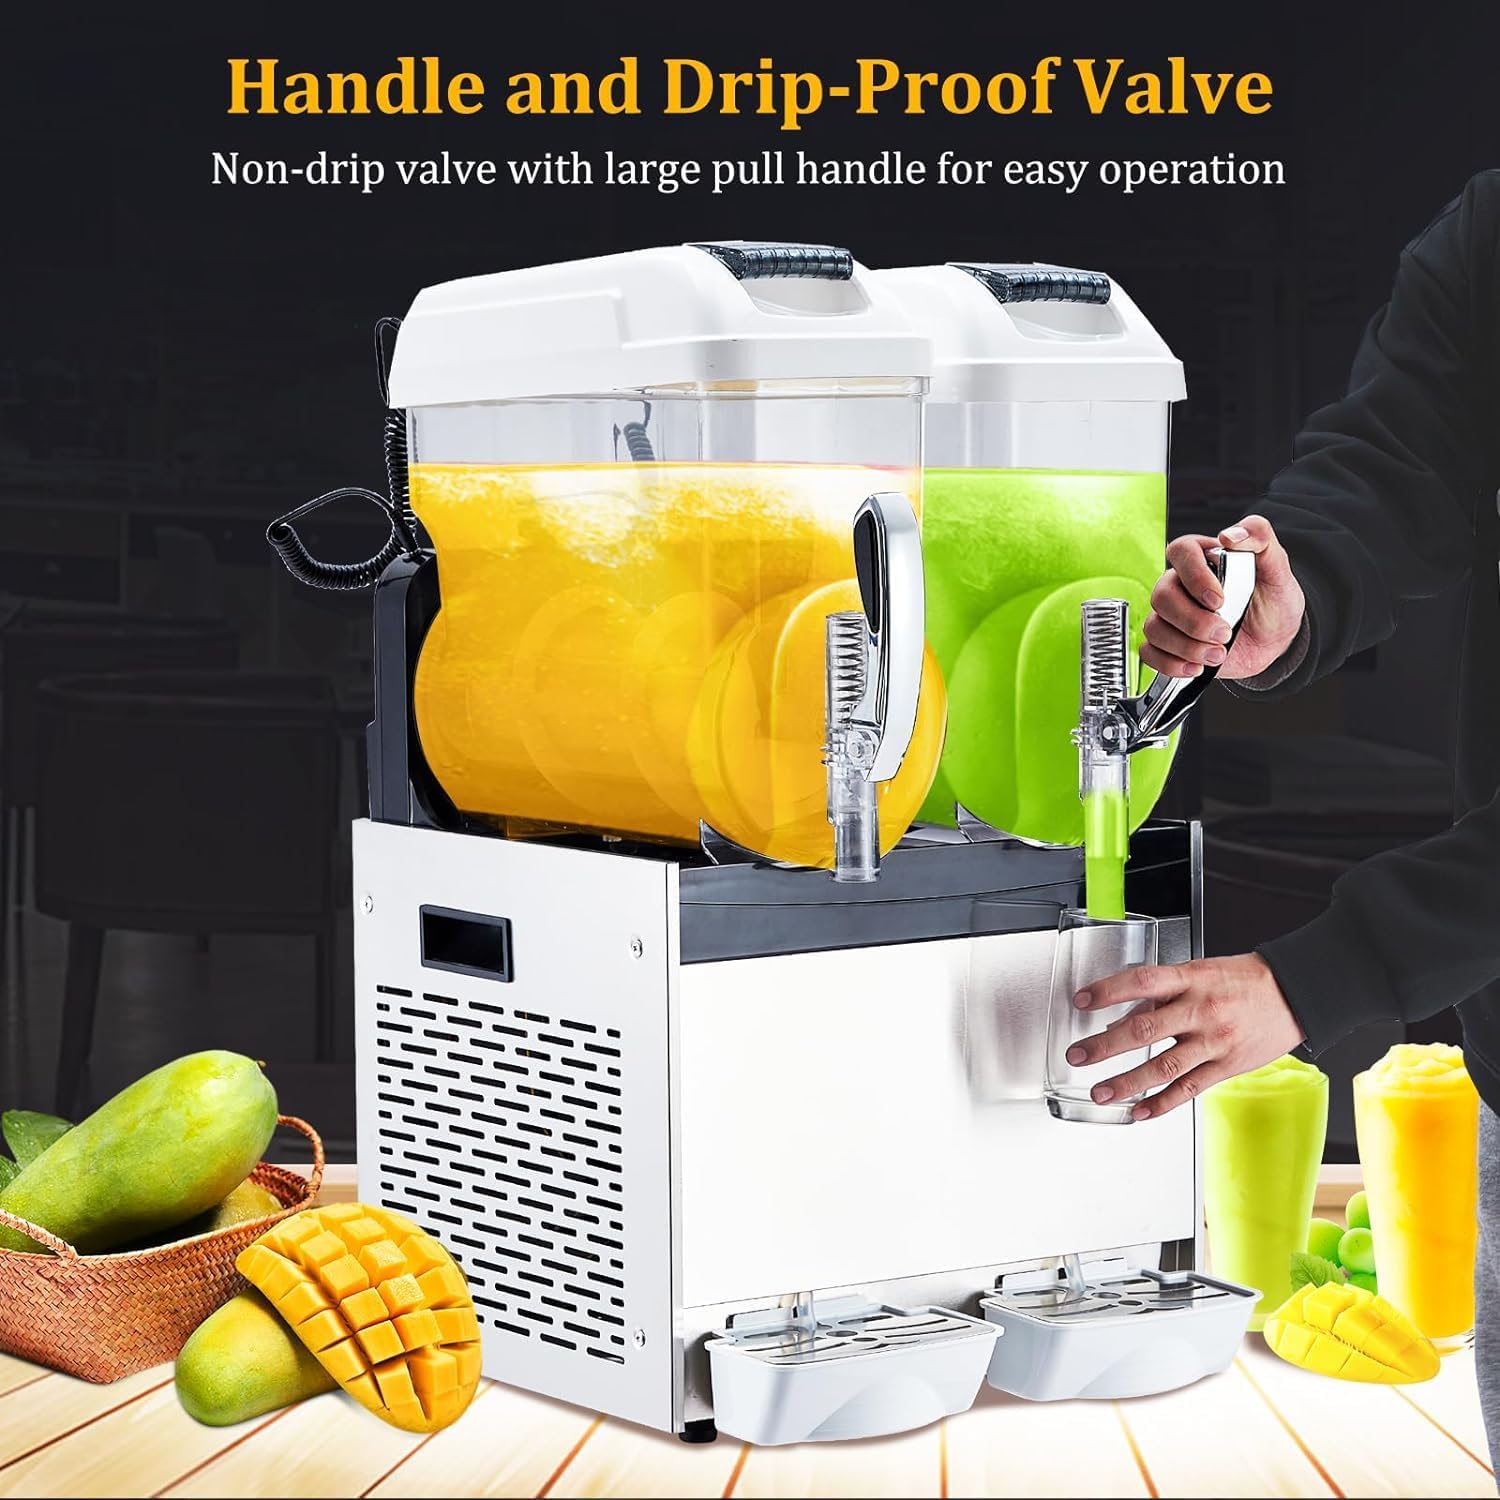
Figure 1: Garvee Commercial Slushy Machine with two tanks filled with different colored slush drinks, showing the handles and drip-proof valves.
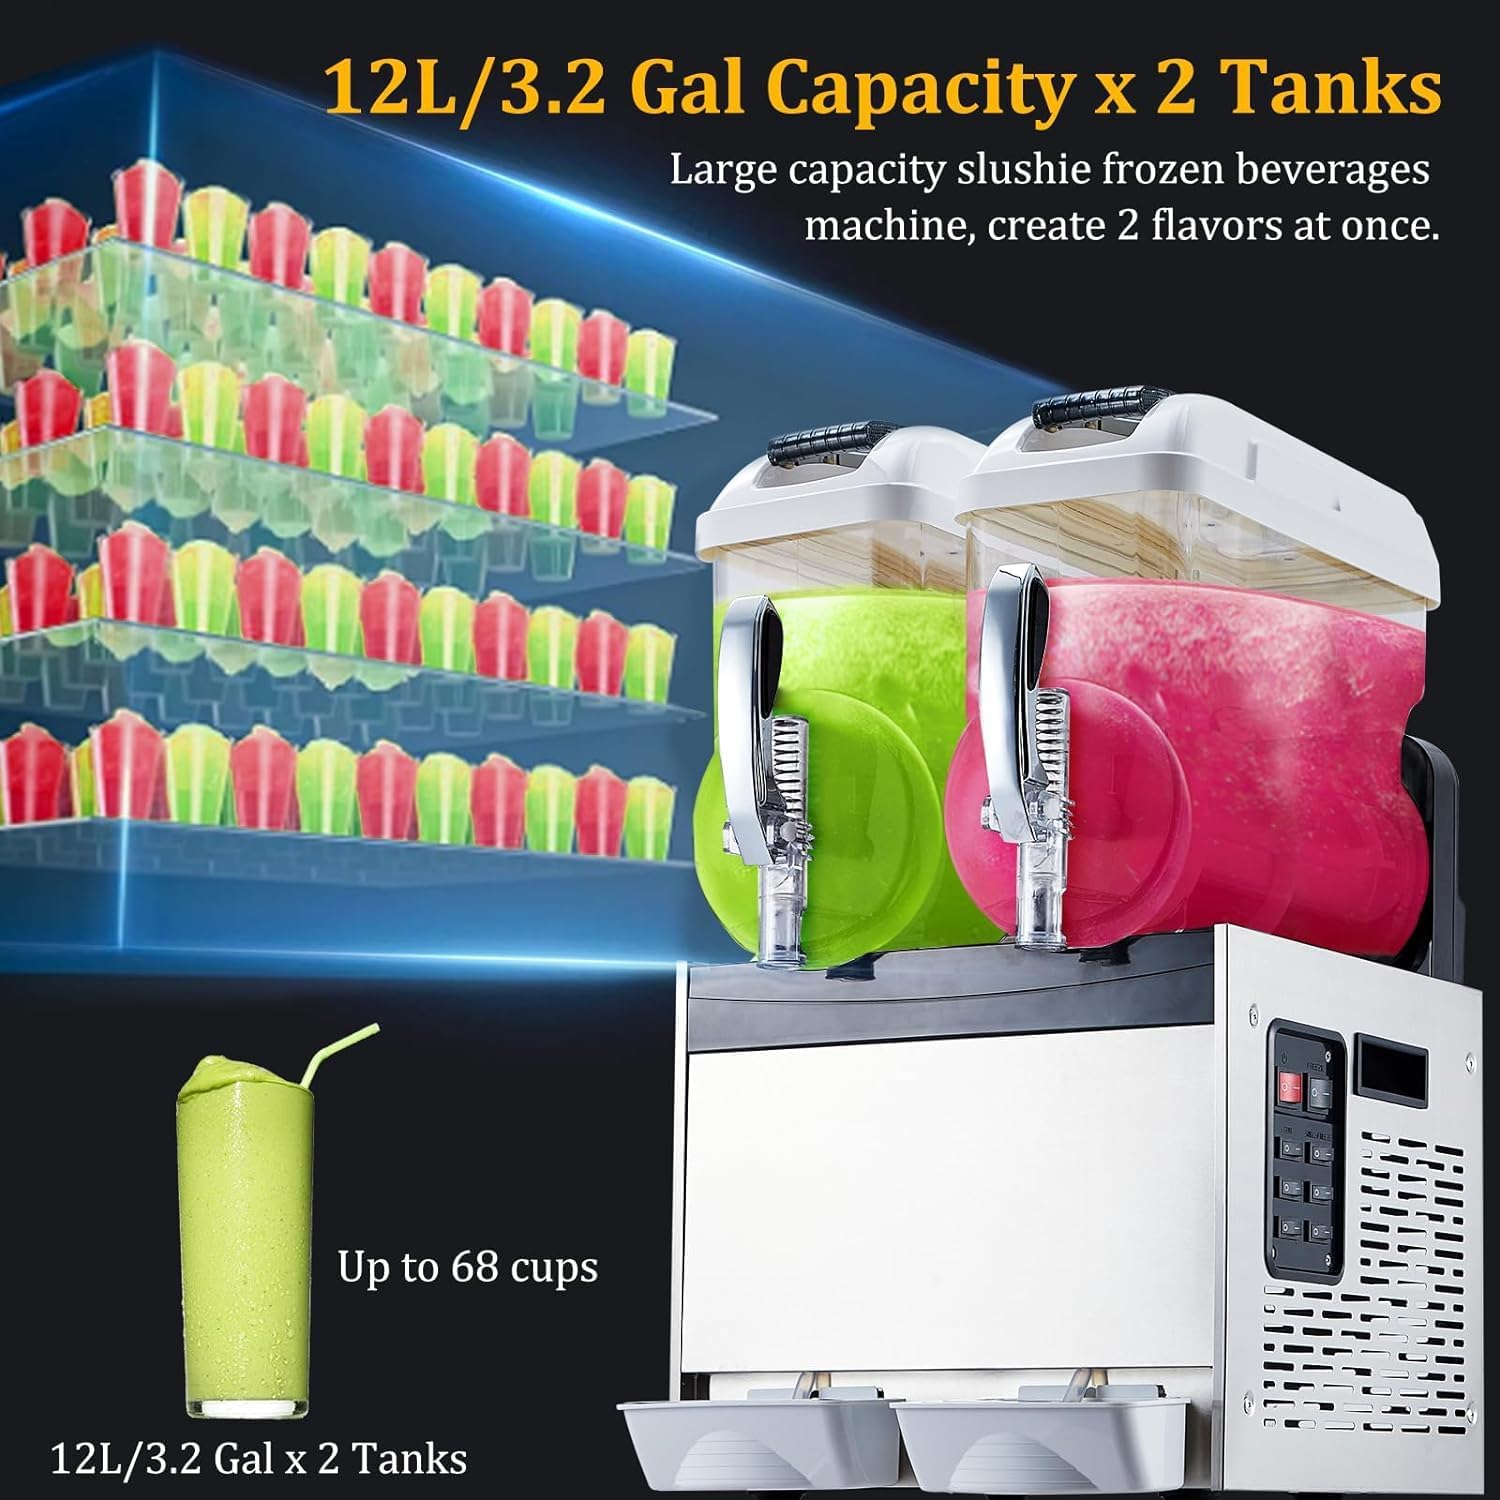
Figure 2: Close-up of the Garvee Slushy Machine's tanks, highlighting the 12L capacity and ability to create two flavors simultaneously.
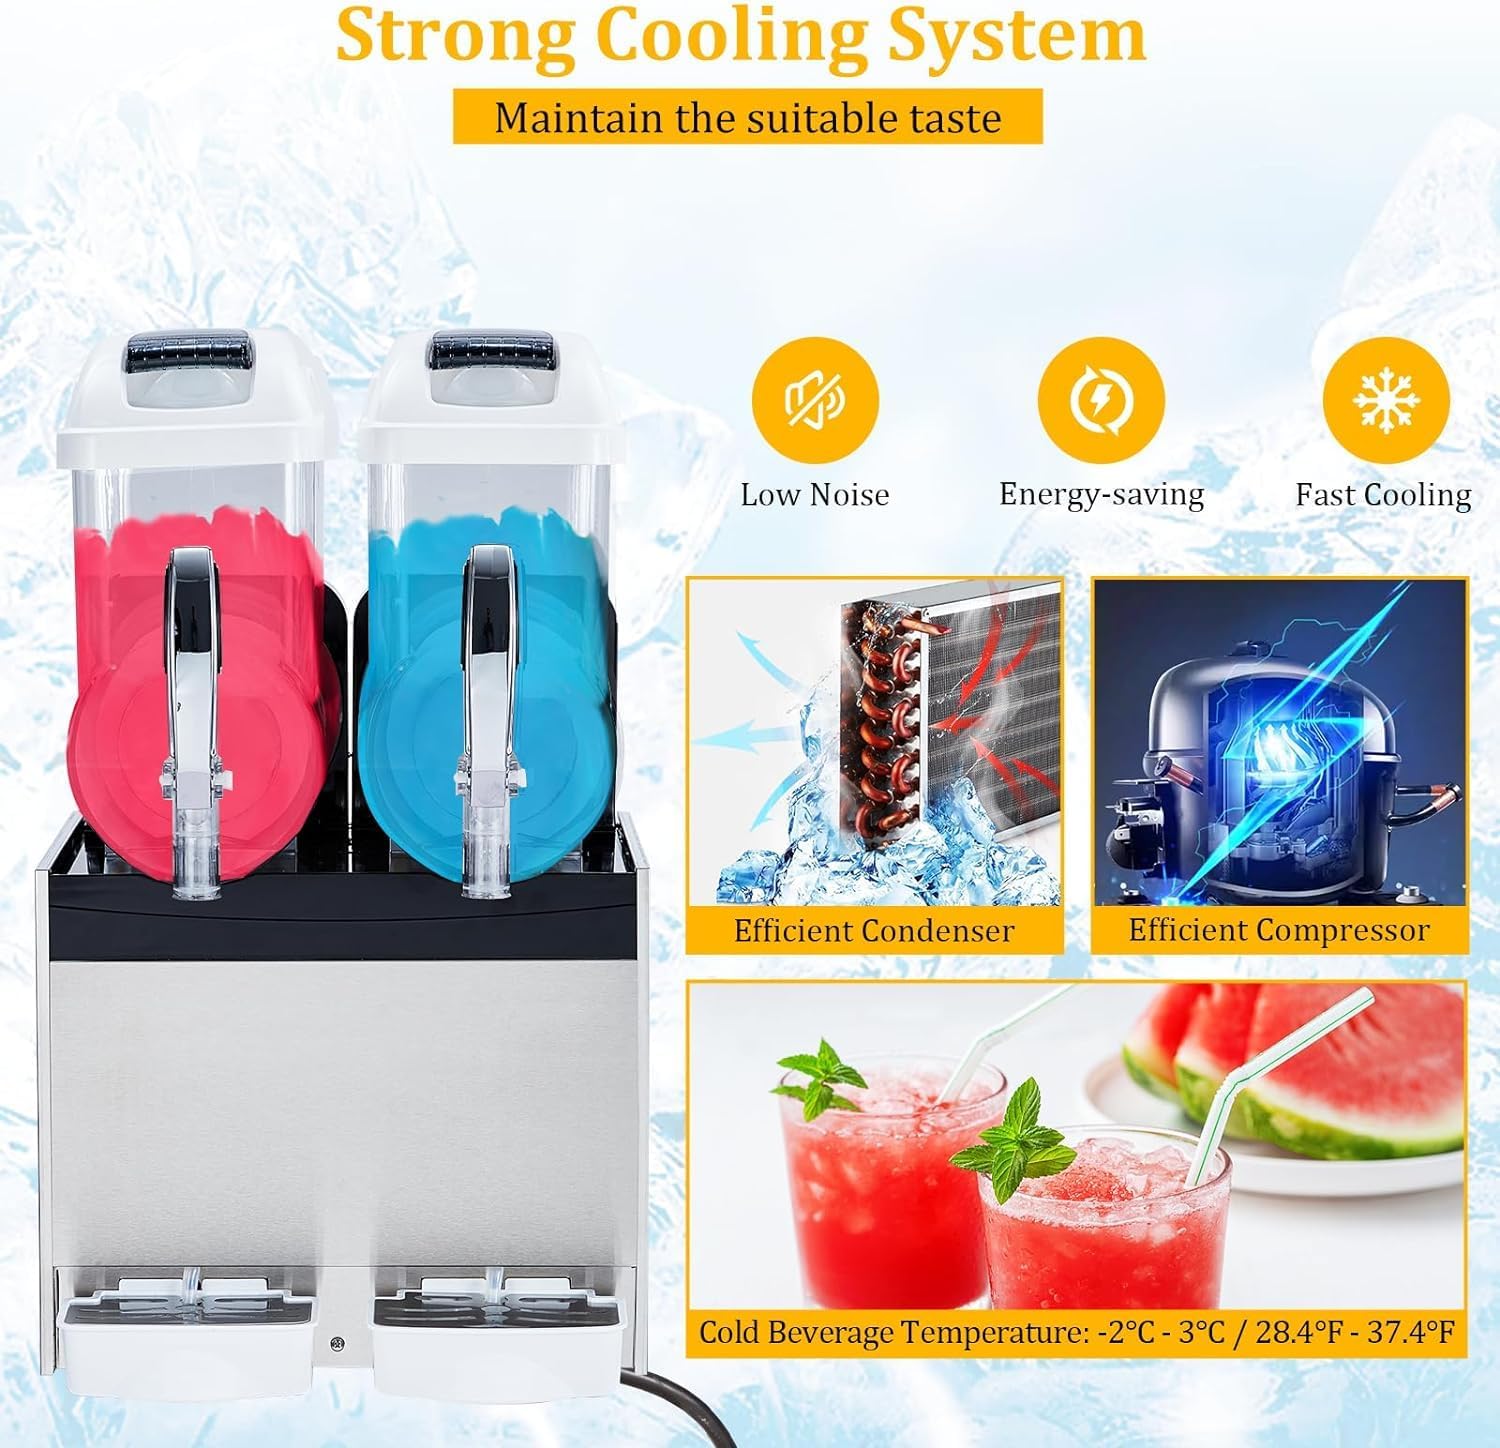
Figure 3: Image showing the strong cooling system of the Garvee Slushy Machine, with an efficient condenser and compressor, and cold beverage temperature range.

Figure 4: Detailed view of the Garvee Slushy Machine's user-friendly design, including rebound handles, heat dissipation vents, detachable drip trays, and a simple operation panel.

Figure 5: Dimensions of the Garvee Slushy Machine and examples of its use in multiple scenarios like parties, bars, and kitchens.
10.2. Official Product Videos
Video 1: Commercial Slushy Machine Operation Demonstration Video by Garvee Direct. This video provides a visual guide on how to operate the slushy machine, including filling, setting modes, and dispensing drinks.
Video 2: Commercial Slushy Machine Operation Demonstration Video by Garvee Direct. This video offers another perspective on the machine's operation, showcasing its features and ease of use.


