
Introduction
This manual provides detailed instructions for the installation, operation, and maintenance of your Tedeligo Wireless Roller Shutter Control Set. This set includes a wireless receiver module and a remote control transmitter, designed for convenient control of roller shutters, blinds, and awnings. Please read this manual thoroughly before installation and use to ensure proper function and safety.
What's in the Box
The package contains the following components:
- 1 x Wireless Remote Control Switch (Transmitter)
- 1 x Curtain Control Module (Receiver)
- 1 x Product Manual
- Connection Cables
- Double-sided Adhesive Tape
- Screws and Wall Plugs
- 1 x 12V Battery (included for remote control)

Image: All components included in the Tedeligo Wireless Roller Shutter Control Set, including the remote, receiver module, and installation accessories.
Product Overview
The Tedeligo Wireless Roller Shutter Control Set provides a convenient way to automate your window coverings. The compact receiver module integrates seamlessly with existing setups, while the remote control offers flexible operation.

Image: Various applications of the control set, including curtains, projection screens, awnings, and roller shutters, demonstrating its versatility.
Dimensions
- Receiver Module: 45 mm (L) x 16 mm (W) x 45 mm (H)
- Remote Control: 110 mm (L) x 38 mm (W) x 15 mm (H)

Image: Detailed dimensions of the RF Curtain Module (receiver) and the remote control, showing their compact size.
Setup and Installation
The control module offers two primary installation methods, compatible with both conventional panel switches and 4-wire AC motors.
Method 1: Connection with Conventional Panel Switches
The curtain control module features 8 cable holes, allowing direct connection to conventional switches without the need for additional cable clamps. This method integrates the module into your existing switch setup.

Image: A detailed wiring diagram illustrating how to connect the RF Curtain Module to an AC motor and integrate it with a conventional panel switch.
Method 2: Direct Installation with 4-Wire AC Motors
The module can be directly installed with 4-wire motors, such as those found in roller shutters, awnings, or other AC motors. This requires connecting 2 output cables, 1 neutral conductor, and 1 earth cable.

Image: A wiring diagram showing direct connection of the RF Curtain Module to a 4-wire AC motor, bypassing a traditional panel switch.
Important: Ensure all power is disconnected before performing any wiring. If you are unsure about the wiring process, consult a qualified electrician.
Operating Instructions
The remote control is pre-paired at the factory for immediate use. Once the curtain control module is powered on, you can operate it directly using the remote control or any connected manual control.
Remote Control Functions
- Up Arrow: Opens the curtain/shutter.
- Square Button: Stops the curtain/shutter.
- Down Arrow: Closes the curtain/shutter.
Pairing Additional Remote Controls
To pair an additional remote control or re-pair an existing one:
- Press the pairing button on the receiver module once.
- Immediately press any button on the remote control once. The module will confirm successful pairing.

Image: Visual guide for pairing a remote control by pressing the module button once, then a remote button once.
Clearing All Paired Remote Controls
To clear all previously paired remote controls from the module's memory:
- Press the pairing button on the receiver module 8 times consecutively. The module will confirm successful clearing.

Image: Visual guide for clearing all paired remote controls by pressing the module button eight times.
Scalability and Range
The system does not require a network connection. You can add or remove wireless remote controls as needed to operate curtains remotely. Multiple remote control sets can be used in the same area without interference. The control distance is up to 30 meters indoors and 100 meters outdoors, maintaining effectiveness even through partition walls.
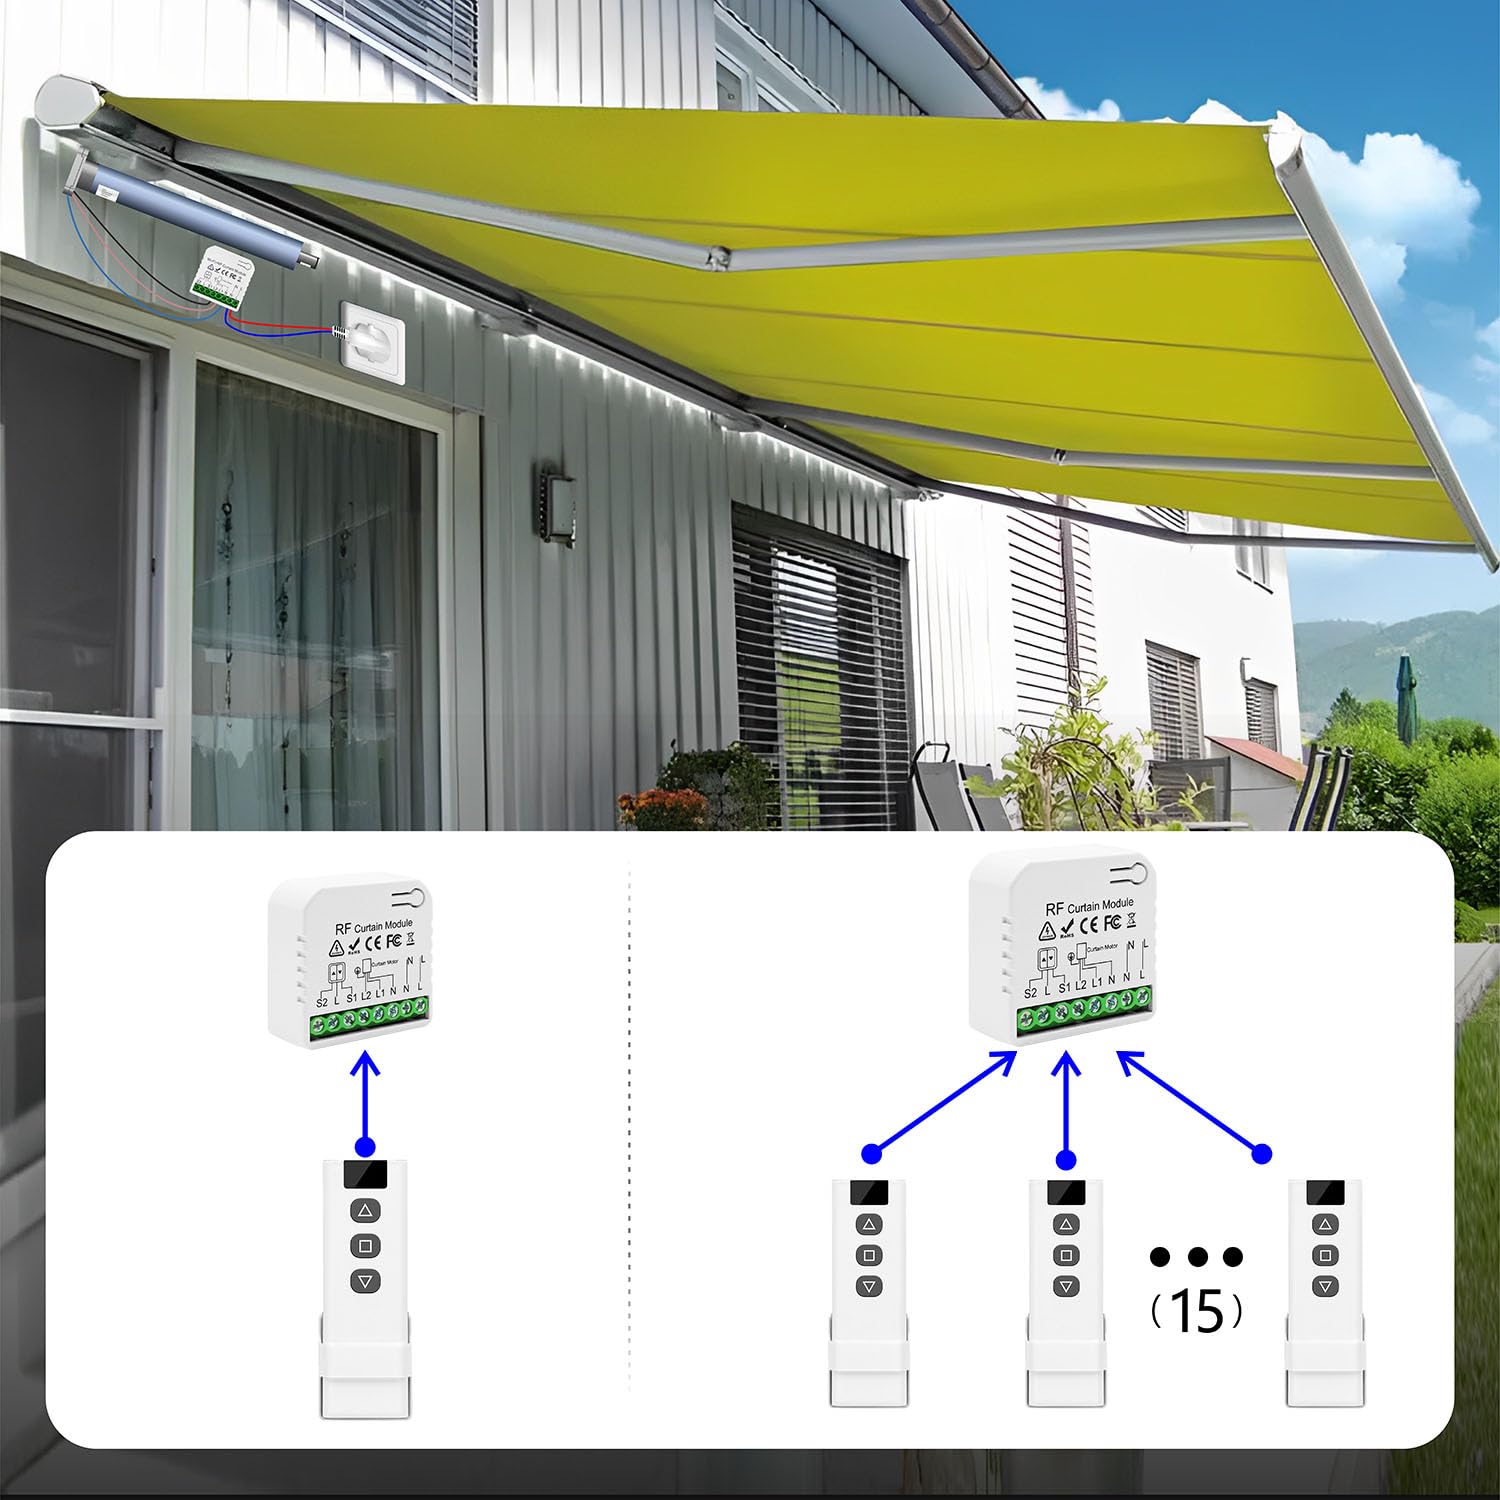
Image: An illustration demonstrating how multiple remote controls can be paired to operate a single receiver module, allowing control from various locations.
Image: An illustration depicting the effective wireless range of the remote control, even when operating through multiple partition walls.
Video Demonstration
Video: A demonstration of the Tedeligo Wireless Roller Shutter Control Set, showing the components, remote control pairing, and operation of a motor.
Specifications
| Feature | Detail |
|---|---|
| Brand | Tedeligo |
| Model Number | TDcurtainRF+TD203up |
| Product Dimensions (Receiver) | 45 x 16 x 45 mm |
| Operating Mode | ON-OFF |
| Current Rating | 10 Ampere |
| Operating Voltage | 220-230 Volts AC (VAC) |
| Contact Type | Normally Open |
| Connector Type | Terminal (Screw) |
| Material | Thermoplastic |
| Switch Type | Push Button, 1-way |
| Mounting Type | Surface Mount |
| Actuator Type | Push Button |
| Number of Positions | 1 |
| Upper Temperature Range | 50 Degrees Celsius |
| Controller Type | Wireless RF Remote Control |
| Control Method | Remote Control |
| Connection Protocol | RF |
| Wattage | 500 Watts |
| Compatible Devices | Conventional panel switches, 4-wire motors (roller shutter/awning/AC motors) |
| Smart Home Compatibility | Not compatible with smart home systems |
| International Protection Rating | IP00 |
| Compliance | CE |
| Batteries | 1 x 12V battery required (included) |
Maintenance
The Tedeligo Wireless Roller Shutter Control Set requires minimal maintenance. Ensure the remote control battery is replaced when its performance degrades. Keep the module and remote clean and dry. Avoid exposing the devices to extreme temperatures or humidity.
- Battery Replacement: When the remote control's range decreases or it becomes unresponsive, replace the 12V battery.
- Cleaning: Use a soft, dry cloth to clean the surfaces of the module and remote control. Do not use liquid cleaners or abrasive materials.
Troubleshooting
If you encounter issues with your Tedeligo Wireless Roller Shutter Control Set, refer to the following common troubleshooting steps:
- Device not responding to remote:
- Check if the module is powered on.
- Ensure the remote control battery is not depleted. Replace if necessary.
- Re-pair the remote control with the module following the "Pairing Additional Remote Controls" instructions.
- Ensure the remote is within the effective operating range (30m indoors, 100m outdoors).
- Motor not operating:
- Verify all wiring connections to the module and motor are secure and correct according to the installation diagrams.
- Check the power supply to the module.
- Ensure the motor itself is functional.
- Interference with other devices:
- The system is designed to avoid interference, but if issues occur, ensure no other strong RF signals are operating on similar frequencies nearby.
Warranty and Support
Tedeligo is committed to providing high-quality products and excellent customer service.
- Our Promise: We aim to answer your questions within 24 hours and are dedicated to resolving any issues our customers encounter during use.
- Product Quality Assurance: All products are configured with control signals before shipping. If there are any product issues within 2 years of purchase, we will replace it free of charge.
For further assistance, please contact Tedeligo customer support through your purchase platform.