
Twotrees SK1
Twotrees SK1 3D Printer User Manual
Model: SK1
Introduction
This manual provides comprehensive instructions for the setup, operation, and maintenance of your Twotrees SK1 3D Printer. The SK1 is a high-speed FDM 3D printer featuring Klipper firmware, a CoreXY motion system, automatic leveling, and a touch color screen, designed for efficient and precise 3D printing.

Figure 1: Front view of the Twotrees SK1 3D Printer.
Key features of the Twotrees SK1 include:
- High-Speed Printing: Capable of printing at speeds up to 700mm/s in legendary mode and 350mm/s in normal mode, significantly reducing print times.
- Klipper Firmware: Utilizes Klipper firmware for advanced control and performance.
- CoreXY Structure: Ensures stable and precise movement during printing.
- Automatic Leveling: Features Z-Tilt inclined leveling and mesh bed compensation for hassle-free bed calibration.
- High-Temperature Nozzle: Heats to 300°C in approximately 30 seconds, supporting a wide range of filament types.
- Filament Sensor: Automatically detects filament run-out or breakage, allowing for print resumption.
- Print Resume Function: Recovers from power interruptions, continuing prints from the last position.
- User-Friendly Interface: Equipped with a 4.3-inch color touch screen supporting multiple languages for intuitive operation.
- Double Linear Guide: Enhances printing precision and stability.
Setup
Before operating your Twotrees SK1 3D Printer, ensure proper assembly and initial calibration. Refer to the included quick start guide for detailed assembly steps.
1. Unpacking and Inspection
- Carefully remove all components from the packaging.
- Verify that all parts listed in the packing list are present and undamaged.
- Remove any protective films or shipping restraints from the printer.
2. Assembly
Follow the step-by-step assembly instructions provided in the separate assembly manual. Ensure all screws are tightened securely and connections are properly seated.
3. Power Connection
- Connect the power cable to the printer's power input.
- Plug the power cable into a grounded electrical outlet.
- Ensure the power switch is in the OFF position before connecting to power.
4. Initial Calibration and Leveling
The SK1 features automatic leveling. Upon first power-on or after moving the printer, it is recommended to perform an automatic calibration.
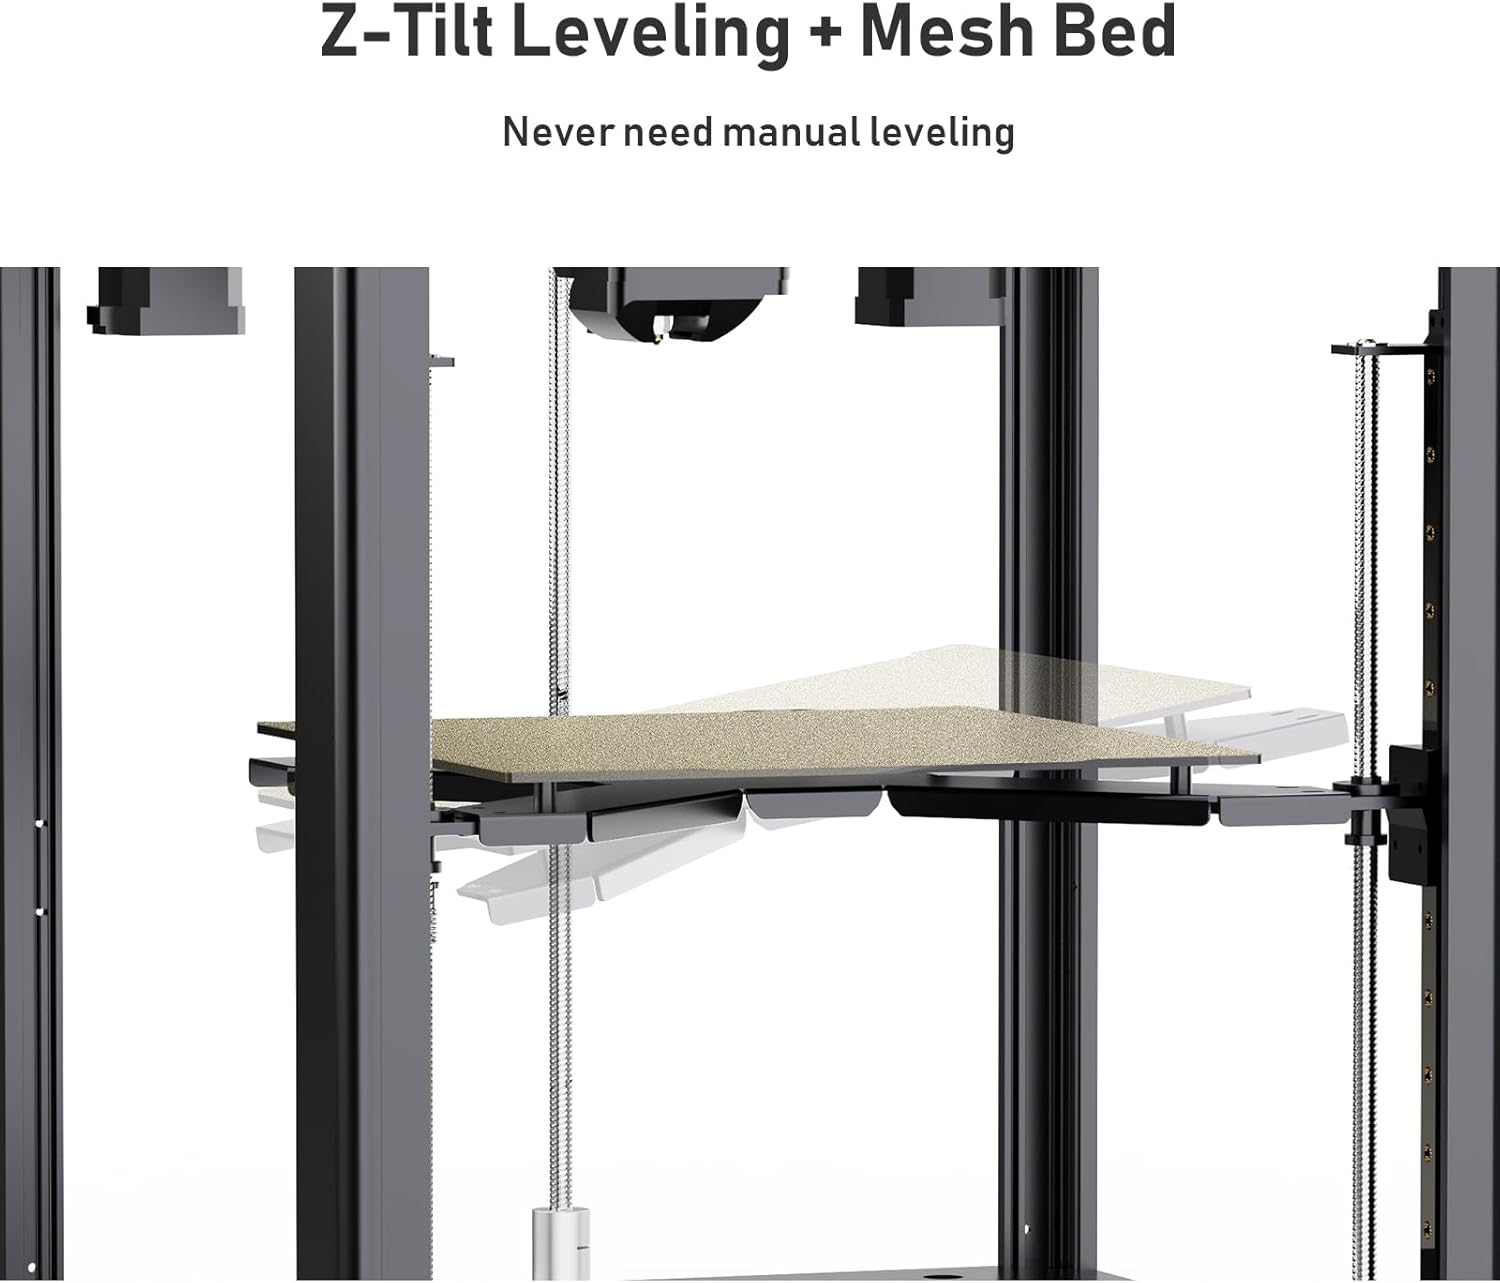
Figure 2: Illustration of Z-Tilt Leveling and Mesh Bed compensation, eliminating the need for manual leveling.
- Navigate to the "Leveling" or "Calibration" menu on the touch screen.
- Select the automatic leveling option. The printer will perform a series of movements to measure and compensate for bed irregularities.
- The Z-Tilt leveling system automatically adjusts the bed's inclination for optimal first layer adhesion.
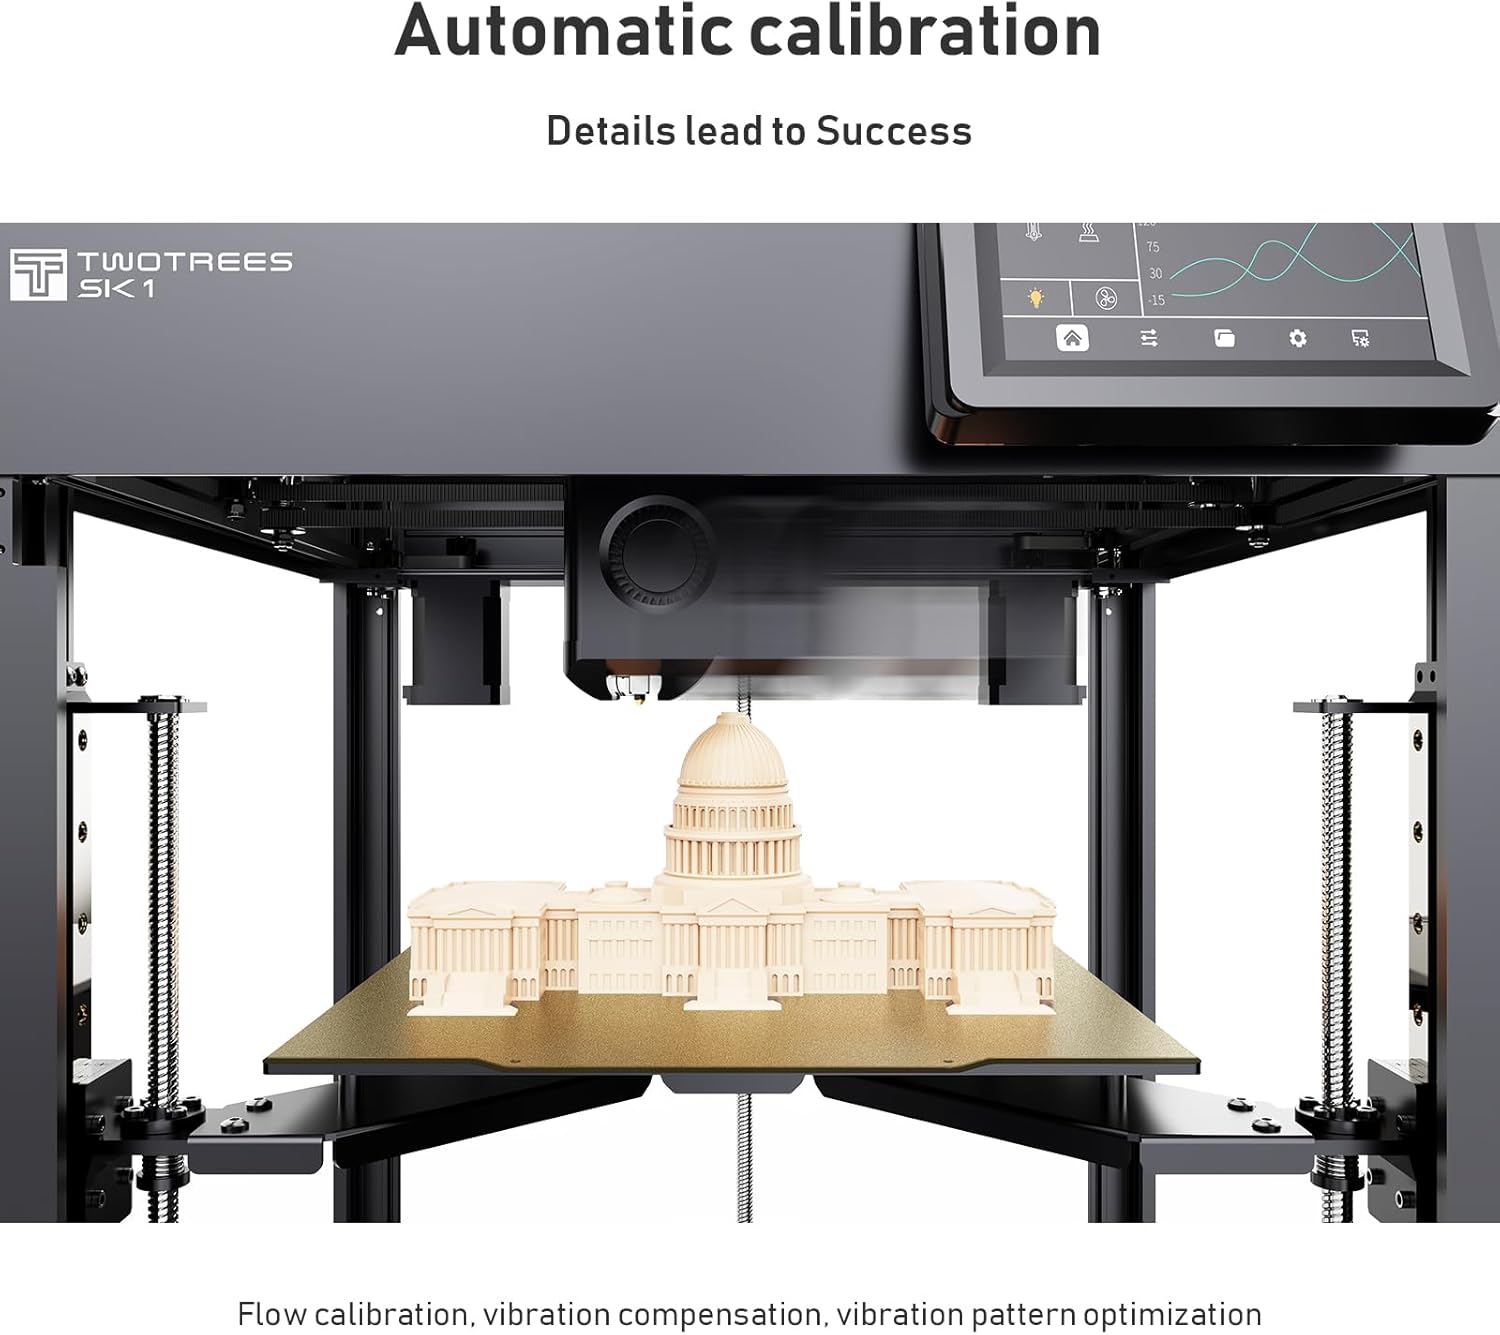
Figure 3: The printer performing automatic calibration, including flow calibration, vibration compensation, and vibration pattern optimization.
5. Filament Loading
- Place the filament spool on the designated holder.
- Feed the filament through the filament sensor and into the extruder.
- On the touch screen, select the "Load Filament" option. The extruder will heat up and pull the filament through until it exits the nozzle.
- Ensure the filament is loaded smoothly without kinks.
Operating
Operating the Twotrees SK1 involves preparing your 3D model, transferring it to the printer, and initiating the print process.
1. Slicing Your Model
- Use a compatible slicing software (e.g., Cura, PrusaSlicer) to convert your 3D model (STL, OBJ) into G-code.
- Configure print settings such as layer height, infill density, print speed, and support structures according to your model and filament type.
- Save the generated G-code file to a USB drive or transfer it via Wi-Fi if configured.
2. Starting a Print
- Insert the USB drive into the printer's USB port or ensure the G-code file is accessible via network.
- On the 4.3-inch color touch screen, navigate to the "Print" menu.
- Select your desired G-code file from the list.
- Confirm print settings and initiate the print. The printer will begin heating the bed and nozzle to the specified temperatures before starting the print.

Figure 4: The Twotrees SK1 demonstrating its ultra-high speed printing capability, reaching up to 700mm/s in legendary mode and 350mm/s in normal mode.
3. Monitoring and Adjusting Prints
- Monitor the print progress via the touch screen.
- Adjust print speed, temperature, or fan speed during printing if necessary, using the on-screen controls.
- The filament sensor will pause the print if filament runs out or breaks, allowing you to load new filament and resume.
- In case of a power outage, the print resume function will allow the printer to continue from where it left off once power is restored.
4. Removing a Print
- Once the print is complete and the bed has cooled, carefully remove the printed object from the PEI build plate.
- Flexing the PEI plate slightly can help in detaching the print.
- Use a spatula or scraper if needed, being careful not to damage the build surface.
Maintenance
Regular maintenance ensures the longevity and optimal performance of your Twotrees SK1 3D Printer.
1. Cleaning the Build Plate
- After each print, clean the PEI build plate with isopropyl alcohol to remove any residue and ensure good adhesion for future prints.
- Avoid using abrasive materials that could scratch the surface.
2. Nozzle Maintenance
- Periodically inspect the nozzle for clogs or wear.
- If a clog occurs, perform a cold pull or use a nozzle cleaning needle to clear it.
- Replace the nozzle if it shows signs of significant wear or damage. The high-temperature nozzle can reach 300°C.

Figure 5: Close-up view of the high-temperature nozzle, capable of reaching 300°C for printing with various filament types.
3. Lubricating Linear Rails and Screws
- The printer features double linear guides and ball screw guide rails. Periodically apply a small amount of lithium-based grease to the linear rails and Z-axis lead screws to ensure smooth movement.
- Wipe off any excess lubricant.
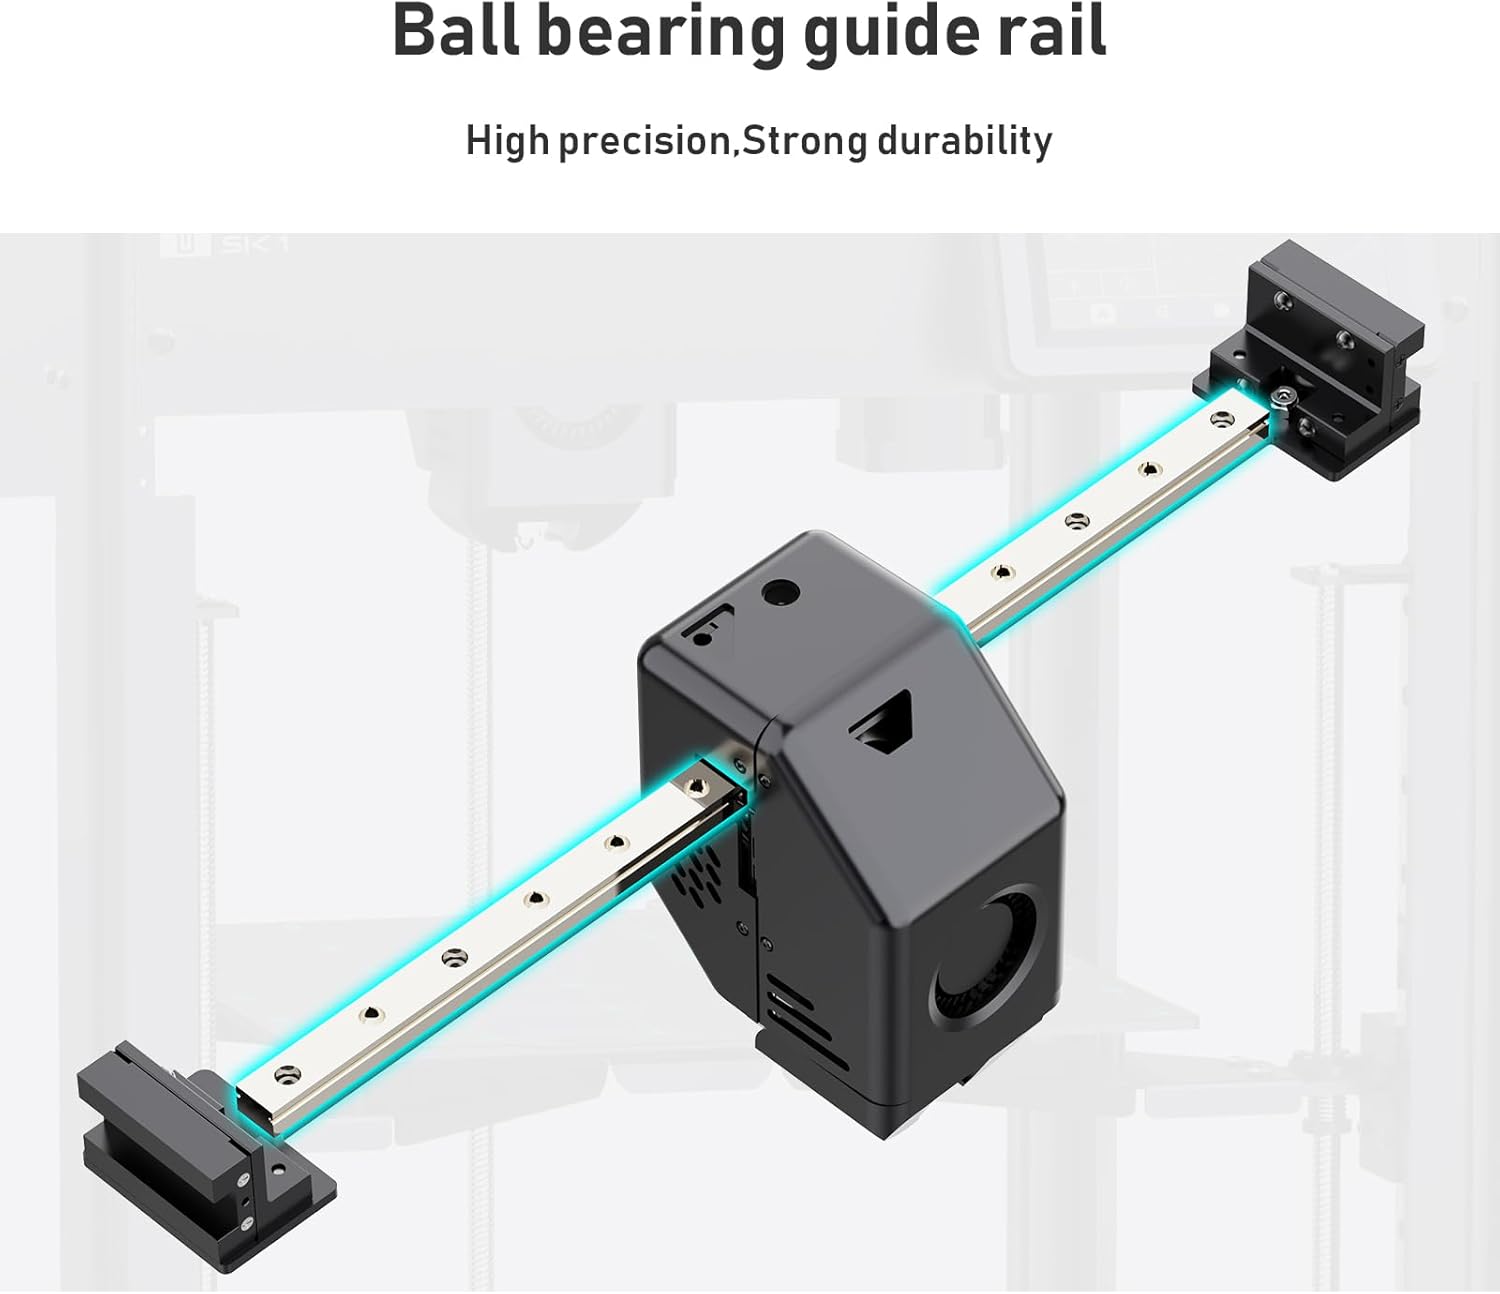
Figure 6: Illustration of the ball bearing guide rail system, designed for high precision and strong durability.
4. Firmware Updates
- Check the official Twotrees website for the latest firmware updates.
- Follow the provided instructions carefully when updating firmware to ensure compatibility and avoid issues.
Troubleshooting
This section addresses common issues you might encounter with your Twotrees SK1 3D Printer.
| Problem | Possible Cause | Solution |
|---|---|---|
| Print not sticking to bed | Bed not level, bed temperature too low, dirty build plate, incorrect Z-offset. | Perform automatic bed leveling. Increase bed temperature. Clean the PEI build plate with isopropyl alcohol. Adjust Z-offset slightly closer to the bed. |
| Filament not extruding | Clogged nozzle, tangled filament, incorrect temperature, extruder gear slip. | Clear nozzle clog (cold pull or needle). Untangle filament. Ensure nozzle temperature is appropriate for filament. Check extruder gear for debris. |
| Layer shifting | Loose belts, motor issues, print speed too high, object not adhering to bed. | Check and tighten X/Y axis belts. Reduce print speed. Ensure proper bed adhesion. Inspect linear rails for obstructions. |
| Poor print quality (stringing, blobs) | Incorrect retraction settings, excessive temperature, wet filament. | Adjust retraction distance and speed in slicer. Lower print temperature. Dry filament if it has absorbed moisture. |
| Printer not powering on | Power cable disconnected, faulty power supply, power switch off. | Check power cable connections. Ensure power switch is ON. Test power outlet. Contact support if power supply is suspected. |
Specifications
Detailed technical specifications for the Twotrees SK1 3D Printer.

Figure 7: The Twotrees SK1 offers a generous printing volume of 256x256x256mm (approximately 10x10x10 inches).
| Parameter | Value |
|---|---|
| Model | SK1 |
| Printing Size | 256 x 256 x 256 mm |
| External Dimensions | 400 x 400 x 510 mm |
| Max Printing Speed | 700 mm/s (Legendary Mode), 350 mm/s (Normal Mode) |
| Max Acceleration | 20000 mm/s² |
| Nozzle Max Temperature | 300°C |
| Guide Rail Material | Ball Screw Guide Rail |
| Screen | 4.3-inch Touch Color Screen |
| Leveling | Z-Tilt Inclined Leveling |
| Hot Bed Panel | Single Side PEI |
| AI Camera | Optional |
| EMMC Capacity | 8 GB |
| Wifi Connection | Available |
| Material | Metal |
| Item Weight | 13.8 kg |
| Compatible Devices | Laptop, Personal Computer |
Warranty and Support
Twotrees provides customer support and warranty services for the SK1 3D Printer. For specific warranty terms and conditions, please refer to the warranty card included with your product or visit the official Twotrees website.
Customer Support
If you encounter any issues not covered in this manual or require further assistance, please contact Twotrees customer support through their official channels. Be prepared to provide your product model (SK1) and purchase details.
- Official Website: www.twotrees3d.com
- Email Support: Refer to the website or product packaging for contact email.
Firmware and Software Resources
For the latest firmware, slicing profiles, and software tools, visit the Twotrees support page. Regularly checking for updates can improve printer performance and add new features.
Related documentsSK1


Ask a question about this manual
Ask about setup, troubleshooting, compatibility, parts, safety, or missing instructions. Manuals+ will review the question and use this page’s manual context to help answer it.